

Here’s a fact that surprises a lot of Mac owners: Apple has shipped a free, built-in tool for making bootable installers since around 2013, and most people have never opened it. It’s called createinstallmedia, it lives inside every macOS installer app, and it does the whole job in a single Terminal command. No third-party software, no sketchy downloads, no mystery utilities from a forum thread.
That matters because a bootable USB is still the most reliable rescue tool a Mac user can own. It installs a clean copy of macOS when Recovery won’t load, it lets you wipe a drive before selling a machine, and it upgrades multiple Macs without re-downloading an 8 to 15 GB installer each time. The catch is that the process has a few sharp edges, and one wrong keystroke can erase the wrong disk. This guide walks through the whole thing carefully, from choosing the drive to booting from it on both Apple silicon and Intel Macs.
Why a Bootable USB Still Beats Recovery Mode
Every modern Mac can reinstall macOS over the internet through Recovery, so why bother with a USB stick? Three practical reasons keep coming up.
First, internet recovery depends on a working network and Apple’s servers. If the Wi-Fi driver is broken, the router is locked down, or the connection is painfully slow, a local installer sidesteps all of it. Second, a bootable USB gives you a known-good copy of the OS that hasn’t been touched by a failed update. Third, if you manage more than one Mac, one USB drive serves the whole household or office.
There’s also a security angle worth understanding. macOS installers are code-signed by Apple, and the system’s security layer checks those signatures before letting an installer run. That’s why downloading from Apple’s own sources matters so much. A tampered installer copied from a random file-sharing site may simply refuse to boot, or worse, it may not be what it claims to be. Apple documents its broader security architecture in the Apple Platform Security guide, which is a useful read if you want the technical background on installer signing. (Create a bootable installer for macOS)
What You Need Before You Start
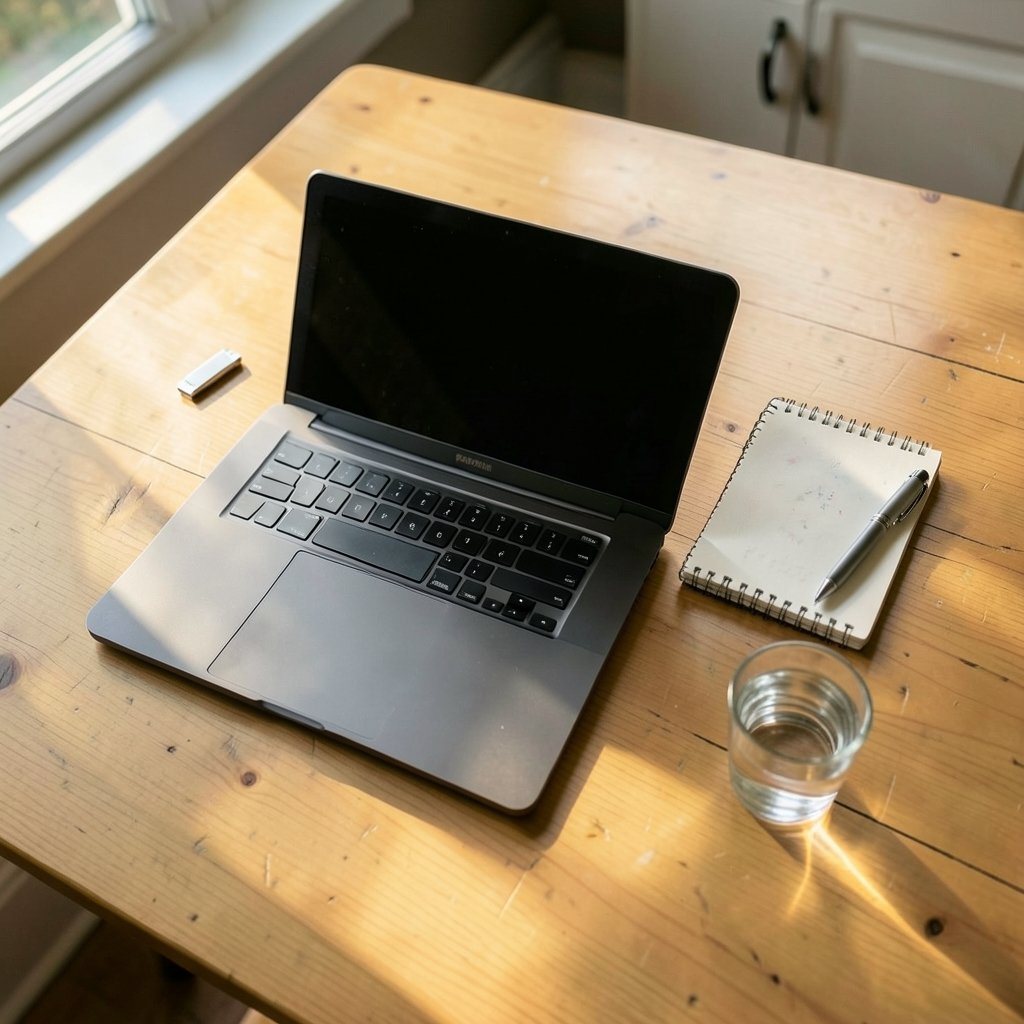
The shopping list is short, but each item matters.
A USB flash drive with enough capacity. Recent macOS installers generally need 16 GB or more. Older installers fit on 8 GB drives, but those days are mostly gone as installers have grown. A 32 GB drive costs very little and removes the guesswork entirely.
The full macOS installer app. Not a stub, not a delta update — the complete installer, usually 12 GB or more, sitting in your /Applications folder. You can grab it from the Mac App Store, or from Terminal with the `softwareupdate –fetch-full-installer` command.
A Mac running a macOS version that can host the installer. As a rule, you can’t build an installer for a newer macOS than the one you’re running.
Time and a stable connection. The download is the slow part. Writing the drive itself usually takes 10 to 30 minutes depending on the drive’s speed.
One warning before anything else: the process erases the USB drive completely. Every file on it disappears. Move anything you care about to another disk first. This is the single most common mistake people make, and it’s an unrecoverable one.
Step 1: Format the USB Drive Correctly
Apple’s instructions call for the drive to be formatted as Mac OS Extended (Journaled) with a GUID Partition Map. The `createinstallmedia` tool erases the drive anyway, but starting from the right format avoids errors and makes the volume behave predictably.
Here’s how to do it:
- Plug the USB drive into the Mac.
- Open Disk Utility (found in Applications > Utilities).
- Click View in the menu bar and choose Show All Devices. This is the step almost everyone misses — without it, you may only see the volume name and not the physical drive.
- Select the top-level entry for the USB drive, not the indented volume beneath it.
- Click Erase, set the format to Mac OS Extended (Journaled) and the scheme to GUID Partition Table, then confirm.
Double-check you selected the USB drive and not your startup disk. Disk Utility will happily erase the wrong thing if you point it at the wrong row.
Step 2: Get the Full macOS Installer Into /Applications
If the installer isn’t already in /Applications, fetch it. The App Store route is the friendliest: search for the macOS version you want, click Get, and let it download. When it finishes, the installer opens automatically — quit it with Command-Q rather than running it, because you want the app file, not an upgrade right now.
The Terminal route is faster for people who like typing:
`softwareupdate –fetch-full-installer –full-installer-version 15.0`
Swap the version number for whichever release you need. Either way, confirm the app is sitting in /Applications before moving on. If it’s in Downloads or on the Desktop, the standard command won’t find it.
Step 3: Run the createinstallmedia Command
This is the heart of the process. Open Terminal (Applications > Utilities) and type the command that matches your installer’s name. The general shape looks like this:
`sudo /Applications/Install macOS [Name].app/Contents/Resources/createinstallmedia –volume /Volumes/MyVolume`
A few details make the difference between success and a frustrating error message:
- The backslash before each space in the app name is required. Terminal treats spaces as separators, and the backslash tells it otherwise.
- `/Volumes/MyVolume` should match the actual name of your USB drive as it appears in Finder. If you renamed the drive, use that name.
- `sudo` asks for your administrator password. Nothing appears as you type it — that’s normal, not a frozen keyboard.
Press Return, confirm the erase prompt when it appears, and let it work. You’ll see progress output as the tool copies the installer and makes the volume bootable. When it finishes, the drive is typically renamed to something like Install macOS [Name]. That rename is a good sign, not a problem.
If Terminal throws an error, the usual culprits are a mistyped app name, an installer that isn’t in /Applications, or a drive name that doesn’t match. Fix the typo and run it again.
Step 4: Boot From the USB Drive
How you boot depends on which chip is inside the Mac. The two methods are genuinely different, and mixing them up is a common source of confusion.
| Mac type | How to reach the boot picker | What you’ll see |
|---|---|---|
| Apple silicon (M-series) | Shut down, then press and hold the power button until “Loading startup options” appears | A startup options screen with your disks and the installer volume |
| Intel | Restart and immediately hold the Option (⌥) key | The startup manager showing bootable volumes |
On Apple silicon, Apple’s guidance on reaching recovery and startup options is worth reading once so the screen looks familiar before you need it in a hurry. On Intel Macs, the classic startup key combos still work exactly as they always have.
Once the installer volume appears, select it and let the Mac boot. You’ll land in the macOS installer, where you can either install the OS over the existing system or open Disk Utility first to erase the internal drive for a truly clean install.
Common Mistakes and How to Avoid Them
A short list of the traps, drawn from the questions people ask most often:
Erasing the wrong disk. Always confirm the drive name in Disk Utility and in the Terminal command. Read it twice.
Using a drive that’s too small. A 16 GB drive is the practical minimum for recent installers, and 32 GB removes all doubt.
Skipping “Show All Devices.” Without it, Disk Utility may not let you set the GUID partition scheme at all.
Letting the installer run on launch. Quit it. You need the app file intact, not a half-finished upgrade.
Assuming a third-party tool is required. It isn’t. Apple’s own tool is the most reliable option, and it’s already on the Mac. If you’re the type who likes automating adjacent tasks while you’re in Terminal, the same DIY spirit applies to things like building your own AI assistant — a little setup now saves a lot of repetition later.
Forgetting the drive is now dedicated. A bootable installer isn’t a normal storage drive anymore. Keep it labeled and stored somewhere safe, or reformat it when you’re done.
Keeping the Drive Useful Over Time
A bootable installer has a shelf life. Once you move to a newer macOS, the old installer on the drive becomes a historical artifact rather than a rescue tool. Rebuilding it takes one download and one Terminal command, so it’s worth refreshing whenever you upgrade the household’s main Mac.
There’s a quiet satisfaction in having a rescue drive in a drawer. It turns a panicked “my Mac won’t start” moment into a 20-minute fix. The same principle of preparing ahead applies to creative work too: if you generate AI videos or build consistent characters with Leonardo AI, having your tools and templates ready before a deadline is what separates a smooth project from a scramble. Preparation is the whole game.
One more habit worth building: label the drive with a piece of tape and the macOS version written on it. Six months from now, “Install macOS” won’t tell you which release is on there, and you’ll be glad you wrote it down. (macOS)
Conclusion
Creating a bootable macOS USB installer comes down to four moves: format the drive correctly with a GUID partition map, get the full installer into /Applications, run Apple’s own `createinstallmedia` command with the right volume name, and boot from it using the power button on Apple silicon or the Option key on Intel. The tool has been built into macOS for over a decade, it’s free, and it produces a more dependable result than most third-party alternatives.
The mistakes are predictable, which means they’re avoidable. Watch the drive name, use a 16 GB or larger stick, quit the installer instead of running it, and accept that the drive gets wiped. Do those things and the process is genuinely boring — which is exactly what you want from a rescue tool. Build one before you need one, refresh it when you upgrade, and label it. Future you will be grateful.
Frequently Asked Questions
How big should the USB drive be for a macOS installer?
For recent macOS versions, use a drive of at least 16 GB, and 32 GB if you want zero risk of running out of space. Older installers fit on 8 GB drives, but installers have grown substantially over the years, so an 8 GB stick is no longer a safe bet.
Does creating a bootable installer erase the USB drive?
Yes. The `createinstallmedia` tool wipes the target drive completely, and Disk Utility’s erase step does the same. Copy any files you want to keep to another disk before you begin. There is no undo for this.
Why does Terminal say the installer app can’t be found?
The most common cause is that the installer isn’t in the /Applications folder, or the app name in the command doesn’t match exactly. Spaces in the name must be escaped with a backslash, and the volume path after `–volume` must match your drive’s actual name in Finder.
How do I boot from a USB installer on an Apple silicon Mac?
Shut the Mac down completely, then press and hold the power button until “Loading startup options” appears on screen. Select the installer volume from the startup options screen. This is different from Intel Macs, which use the Option key at startup instead.
Can I make a bootable USB for a newer macOS than the one I’m running?
Generally no. The Mac building the installer needs a macOS version at least as new as the one being installed. If you’re trying to prepare an installer for a newer release, build it on a Mac that already runs that version or later.
Do I need third-party software to create a bootable macOS USB?
No. Apple’s built-in createinstallmedia tool, located inside the installer app, handles the entire job. Third-party utilities exist, but Apple’s own tool is the documented method, it’s already on your Mac, and it avoids the compatibility and maintenance questions that come with outside tools.



