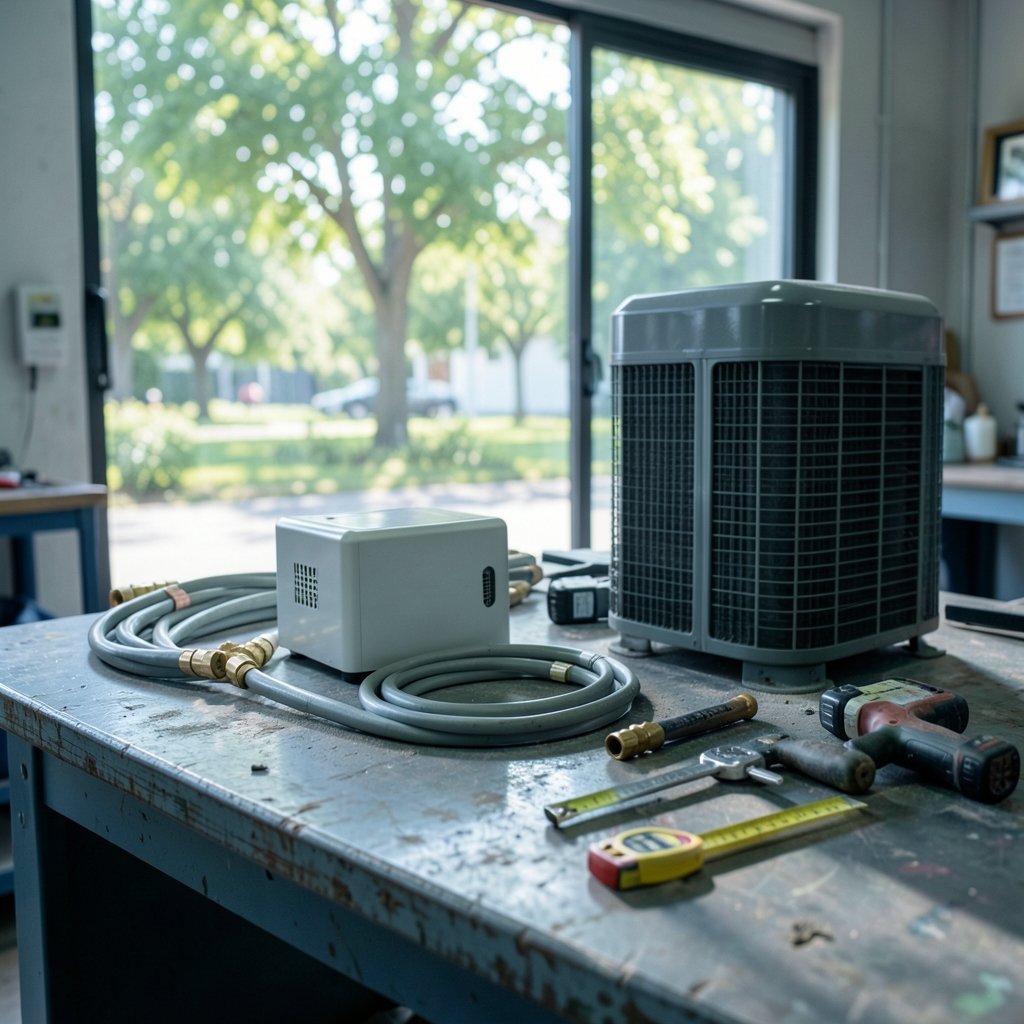
Can you really install a ductless heat pump in a weekend with nothing but a drill and a YouTube video? Sometimes yes, sometimes absolutely not. The answer depends less on courage than on which type of system you buy and how much of the job your local rules let you touch. The gap between a pre-charged quick-connect kit and a standard split system is enormous, and most failed DIY mini split projects start with someone buying the wrong one. (Mini led blooming subtitles actually reduces halo)
What “DIY Mini Split” Actually Means
The phrase gets used for two very different products. A true DIY mini split is a pre-charged, quick-connect ductless heat pump. The refrigerant is sealed inside the factory line set or the outdoor unit, and the homeowner clicks the connections together instead of brazing copper, pulling a vacuum, and charging the system. A standard split system is the other thing entirely. It ships with separate components, needs a vacuum pump and gauges, and requires a certified technician to handle refrigerant legally in the United States. (Evercade nexus vs retroid pocket 6 vs miyoo mini plus which)
That distinction matters because refrigerant handling is regulated under Section 608 of the Clean Air Act. Since 2018, technicians must be certified to work with regulated refrigerants, and knowingly venting refrigerant is prohibited. Whether a homeowner may legally connect pre-charged quick-connect lines varies by state and by whether the unit counts as self-contained. Anyone planning a DIY mini split install should check state and local rules before ordering equipment, not after it arrives on a pallet.
Quick-Connect vs Standard Split: Know What You’re Buying
Here is the practical comparison most buyers wish they had seen first.
| Feature | DIY quick-connect | Standard split system |
|---|---|---|
| Refrigerant charging | Factory pre-charged | Field charged by technician |
| Line connections | Click-fit, sealed | Brazed copper, vacuum required |
| Typical installer | Homeowner | Licensed HVAC tech |
| Tools needed | Drill, level, basic hand tools | Vacuum pump, gauges, torch |
| Warranty coverage | Varies; some brands allow homeowner install | Usually requires licensed install |
| Permit requirements | Often still required | Almost always required |
The third row is where the trouble hides. Many manufacturers require installation by a licensed contractor to honor the full warranty, though some sell DIY-friendly lines with homeowner warranties. Terms vary by brand and change over time, so read the actual warranty document for the specific model. A warranty that looks generous in the marketing brochure can quietly exclude self-installation in the fine print.
The Refrigerant Transition Is Changing What You Can Buy
The AIM Act, enacted in December 2020, directs the EPA to phase down hydrofluorocarbons and authorizes restrictions on certain refrigerants. That is why new equipment increasingly uses R-32 and R-454B instead of R-410A. The exact compliance dates for specific equipment classes have shifted more than once, so buyers should confirm the current schedule and what it means for their chosen model.
Why care? R-410A operates at roughly 50 to 70 percent higher pressures than the older R-22, and it is a near-azeotropic blend that cannot retrofit an R-22 system. Mixing refrigerants or topping off a system with the wrong one is not a shortcut, it is a dead compressor. DIY kits sidestep this problem entirely because the charge is sealed at the factory. That is precisely why they exist.
Tools and Skills You Actually Need
A quick-connect install is closer to mounting a heavy appliance than to HVAC work, but it still demands respect. The realistic kit looks like this:
- A drill with masonry bits for the wall penetration, plus a hole saw sized to the line-set cover.
- A level long enough to span the indoor unit, because a tilted evaporator drips.
- A torque wrench if the manufacturer specifies torque values for flare or quick-connect fittings.
- A vacuum pump only for models that require evacuation, which true pre-charged kits do not.
- Basic electrical tools for the disconnect and circuit work, plus the knowledge to size a breaker correctly.
That last item is where many projects stall. Mini splits typically need a dedicated circuit, often 208/230V single-phase for larger units or 115V for small ones, with a disconnect and proper breaker sizing per the National Electrical Code and local amendments. Requirements are jurisdiction-specific, and guessing at breaker size is not a plan. If the panel work feels unfamiliar, hire an electrician for that portion and do the mounting yourself.
Step by Step: A Realistic Install Sequence
The order of operations matters more than speed. A sensible sequence for a pre-charged unit looks like this:
- Confirm permits and rules. Many jurisdictions require a mechanical or electrical permit for mini split installation, and some require licensed installers. Confirm before you buy.
- Pick the indoor location. High on the wall, clear of furniture, with airflow that reaches the whole room. Avoid corners where supply air short-circuits straight back into the return.
- Pick the outdoor location. Shaded, level, with clearance for airflow and service access per the manual.
- Mount the indoor bracket and verify level in both directions.
- Core the wall hole with a slight downward slope toward the outside so condensate and rain run out, not in.
- Run the line set and drain. Condensate drainage must slope continuously, commonly about a quarter inch per foot, to a drain or a pump. Improper slope is one of the most common DIY failures and it causes water damage inside the wall.
- Connect the quick-connect fittings per the manual, torquing to spec where required.
- Wire the electrical circuit with a proper disconnect and correctly sized breaker.
- Pressure check, leak check, and power up. Watch for frost, unusual noise, or a drain that backs up.
- Commission the system and record the readings for your own records.
Line-set length and elevation limits are set by the manufacturer and live in the installation manual. Small residential units often cap around 25 feet of line length and 30 feet of vertical rise, but that varies widely by model. Exceeding those limits quietly degrades performance and can void coverage.
The Mistakes That Actually Bite
A few failure modes show up again and again.
Skipping the permit. It feels like paperwork until an inspector or a future buyer asks for it. Unpermitted work can complicate a home sale and, in some places, insurance claims.
Ignoring the drain slope. Water finds the path of least resistance, and that path is often your drywall. A condensate pump solves many awkward layouts for modest cost.
Undersizing the circuit. A dedicated circuit exists for a reason. Sharing one with a garage freezer is how breakers trip at 2 a.m.
Buying on price alone. Efficiency ratings use SEER2 and HSPF2 under test procedures that took effect in January 2023 for most residential equipment. Comparing an old-stock unit rated under the previous system against a new one is apples to oranges.
Forgetting the outdoor unit’s service clearance. A condenser boxed into a corner looks tidy and runs hot.
When DIY Is Genuinely Fine, and When It Isn’t
DIY is a reasonable path when the unit is a true pre-charged quick-connect, the electrical work is straightforward or hired out, local rules allow homeowner installation, and the warranty explicitly covers it. It is a bad path when the system needs brazing and evacuation, when the panel has no capacity, when the run exceeds manufacturer limits, or when local rules require a licensed installer regardless of what the box says.
There is a middle route too: mount the indoor and outdoor units, core the wall, and run the drain yourself, then pay a licensed tech for the line set, vacuum, and commissioning on a standard system. That split keeps costs down without gambling on refrigerant handling. The same logic of matching the tool to the job applies across the desk, which is why guides like this practical split screen Mac walkthrough and this breakdown of which mini PC actually matters before you buy spend so much time on fit rather than specs.
Efficiency, Sizing, and the Numbers That Matter
Bigger is not better. An oversized unit short-cycles, dehumidifies poorly, and feels clammy. A rough manual-J style load estimate, or a contractor’s calculation, beats guessing by square footage alone. Look for units with strong SEER2 and HSPF2 figures, and remember that cold-climate performance depends on the specific model’s rated operating range, not on marketing language.
Also budget for the unglamorous parts: a mounting pad or brackets, a line-set cover, surge protection, and a condensate pump if gravity drainage is impossible. Those extras routinely add a few hundred dollars and are the difference between a clean install and a hacked one. If the project sits alongside other desk or workspace upgrades, it helps to think about the whole setup, much like choosing a display to match a compact desktop in this guide to monitors for a Mac mini workflow.
Conclusion
A DIY mini split can be a genuinely smart purchase, but only when the product matches the promise. Pre-charged quick-connect systems exist precisely so homeowners can handle the mechanical work without touching refrigerant. Standard split systems do not, and pretending otherwise risks your warranty, your walls, and your standing with the local building department. Check the rules first, read the specific warranty, respect the drain slope, and hire out the electrical work if it makes you uneasy. Do that, and the weekend project stays a weekend project.
Frequently Asked Questions
Is a DIY mini split legal to install yourself?
It depends on where you live and what you buy. Pre-charged quick-connect units are sold for homeowner installation, but many jurisdictions still require a mechanical or electrical permit, and some require licensed installers. Refrigerant handling is separately regulated under Section 608 of the Clean Air Act. Check state and local rules before ordering.
Do DIY mini splits need a vacuum pump?
True pre-charged quick-connect kits do not, because the refrigerant is sealed at the factory and the lines click together. Standard split systems do require evacuation with a vacuum pump before charging. If a seller hands you a standard split and calls it DIY, ask hard questions.
Will self-installing void the warranty?
Often, yes, but not always. Many manufacturers require licensed installation to honor the full warranty, while some sell DIY-friendly lines with homeowner coverage. Terms vary by brand and change over time, so read the warranty document for your exact model rather than trusting a product page.
How long does a DIY mini split install take?
A straightforward single-zone quick-connect install on an accessible wall typically takes a full day for a careful first-timer, including mounting, the wall penetration, drain routing, and electrical hookup. Difficult wall materials, long line runs, or panel work add time. Rushing the drain slope is the most common cause of callbacks.
Can I install the indoor unit and hire someone for the rest?
Yes, and it is a common middle path. Many homeowners mount the brackets, core the wall, and run the drain, then pay a licensed technician to handle the line set, vacuum, and commissioning on a standard system. Confirm with the technician first, since some will not warranty work on partially self-installed systems.
What is the biggest mistake people make with DIY mini splits?
Ignoring the condensate drain slope. Water that cannot drain by gravity needs a pump, and a flat or backward-sloping line eventually stains ceilings and rots framing. The second biggest mistake is skipping the permit, which can surface years later during a home sale or insurance claim.