
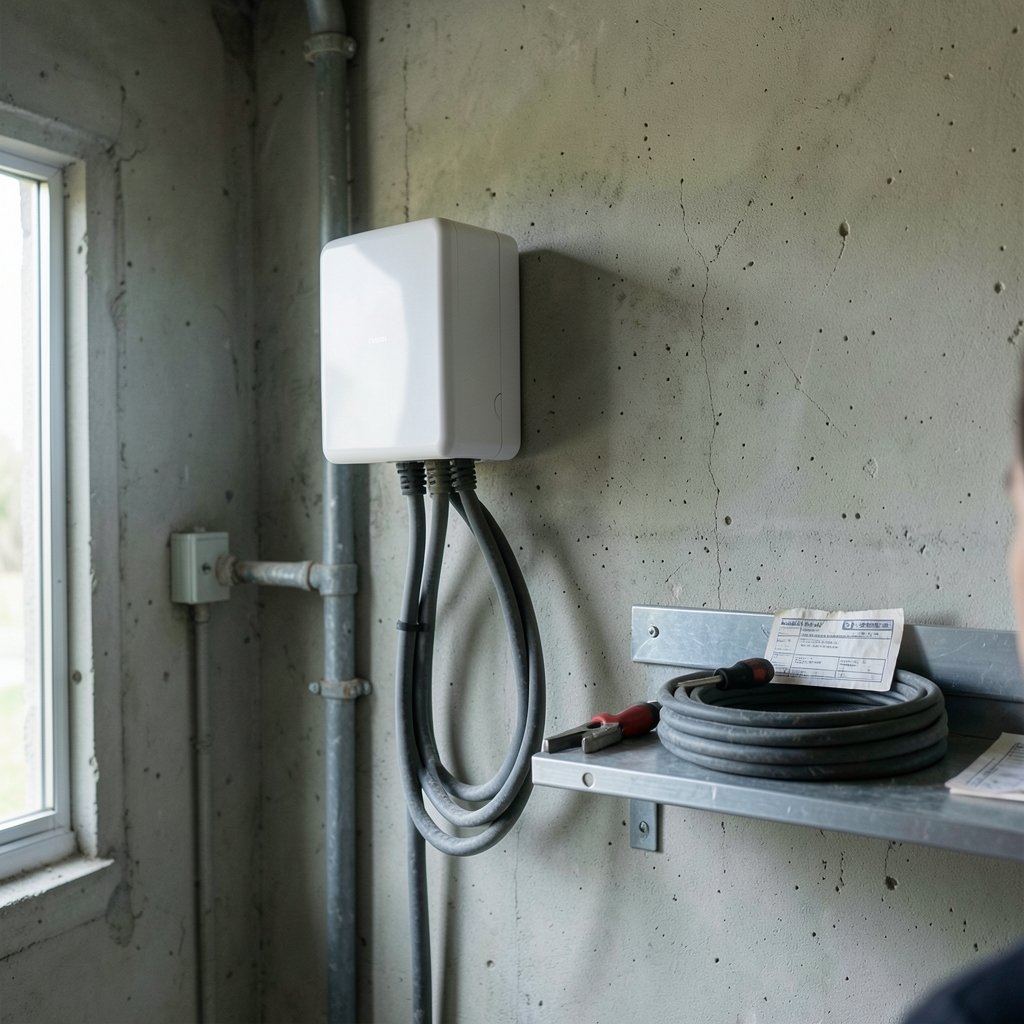
What if the hardest part of owning an electric car isn’t the car at all, but the box on your garage wall? That’s the surprise most new EV owners hit. The vehicle arrives in a week, and suddenly there’s a decision tree involving electrical panels, permits, wire gauges, tax forms, and a contractor who may or may not call you back. EV charger installation is not complicated in principle. It’s just a chain of small decisions where one wrong assumption gets expensive.
This guide walks through the whole chain: what equipment you need, how much electrical capacity it takes, where the paperwork lives, and which mistakes cost the most.
Start With the Charger Type Before Anything Else
Almost every home installation is Level 2: a 240-volt AC charger that adds roughly 20 to 40 miles of range per hour, depending on the vehicle and the circuit. Level 1 is just the cord that came in the trunk, plugged into a standard 120-volt outlet. It works, but it adds only a few miles of range per hour, which is fine for a plug-in hybrid and painful for a long-commute EV. If you’re weighing the two, the practical difference between slower and faster home charging comes down to circuit size and how often you actually drive.
The connector matters too. In North America, the long-standing AC standard is SAE J1772, and the Tesla-origin connector is now standardized as SAE J3400, commonly called NACS. Many 2025-model-year US vehicles began shipping with NACS inlets, and adapters exist in both directions. In Europe, public AC charging has required Type 2 connectors since 2017 under the 2014 Alternative Fuels Infrastructure Directive, which the 2023 AFIR regulation replaced. The lesson for buyers: check the inlet on your car before buying a hardwired charger, and prefer a unit that handles both via adapter.
One more equipment note. Hardwired versus plug-in is a real fork in the road.
| Setup | Typical use | Trade-offs |
|---|---|---|
| Plug-in (NEMA 14-50) | Renters, easy replacement | Requires a GFCI breaker in many jurisdictions; slightly lower max current |
| Hardwired | Higher amperage, outdoor installs | Cleaner, more reliable, but needs an electrician to swap |
Hardwiring usually wins for anything above 40 amps. It also avoids nuisance tripping that some plug-in setups hit with GFCI protection.
The Electrical Panel Is the Real Gatekeeper

Here’s the part that surprises people: the charger is cheap compared with the circuit. A typical Level 2 install needs a dedicated 240-volt circuit, and common setups run 40 to 60 amp breakers delivering 32 to 48 amps of continuous charging. That math comes from the 80% rule in the National Electrical Code: a continuous load can’t exceed 80% of the breaker rating. A 50-amp breaker, for example, supports 40 amps of charging. (Charging station)
Before promising yourself a 48-amp charger, look at your panel. Two things matter:
- Available capacity. A load calculation tells you whether the service can handle the new circuit alongside the oven, dryer, and AC.
- Physical space. Two adjacent empty breaker slots are the minimum for a 240-volt circuit.
If the panel is full or the service is undersized, you’re looking at a panel upgrade, which can dwarf the charger cost. This is where load management earns its keep. Smart hardware can pause or throttle charging when the house is drawing heavy power, sometimes letting you install a large charger without touching the service. Some utilities offer programs and rebates around exactly this, so it’s worth a phone call before you accept a quote for a service upgrade. (Wireless charger alignment problems your phone wont charge)
Permits, Inspection, and the Paperwork Nobody Mentions
Most US jurisdictions require an electrical permit and an inspection for a new 240-volt EV circuit. There is no single national rule; requirements vary by state and city, and some places want a load calculation submitted with the application. Skipping the permit is the single most common shortcut, and it tends to surface at resale, at insurance claim time, or when a future electrician refuses to touch unpermitted work. (NFPA 70 National Electrical Code)
The good news is that the process is usually routine. A licensed electrician pulls the permit, the inspector checks the bonding, grounding, breaker sizing, and mounting height, and you get a sticker. Budget a week or two for scheduling in busy areas.
Equipment should carry a listing. In North America, EV charging equipment is typically listed to UL 2594 or an equivalent standard, and installation should follow the manufacturer’s instructions plus local code. A bargain charger with no listing is not a bargain.
Rebates and Tax Credits: Read the Fine Print
Incentives change constantly, and this is the area where outdated blog posts do the most damage. In the US, the 30C Alternative Fuel Vehicle Refueling Property Credit offers up to $1,000 for residential property and was extended and modified by the 2022 Inflation Reduction Act. Eligibility rules and census-tract requirements shifted, and the credit’s status after recent tax legislation should be checked against current IRS guidance before you count on it. The official rules live with IRS Form 8911, and they’re worth reading directly rather than trusting a summary.
In the UK, the Electric Vehicle Chargepoint Grant for renters and flat owners subsidizes home chargepoint installation. The older homeowner scheme closed to most homeowners around 2022, so eligibility depends heavily on your situation. Confirm the current rules on the GOV.UK chargepoint grant guidance rather than relying on a forum post from three years ago.
Two practical habits help here:
- Save the itemized invoice showing hardware and labor separately, since some programs reimburse one but not the other.
- Apply before installation if the program requires pre-approval. Retrofitting paperwork afterward rarely works.
What Installation Actually Looks Like
A straightforward garage install takes a few hours. A detached garage with a long trench run takes days. Here’s the sequence that actually works:
- Check your panel and photograph the label and open slots before calling anyone.
- Get three quotes with the amperage, wire gauge, and permit spelled out in writing.
- Confirm the permit is included in the price, not billed later.
- Decide mounting height and cable management before the electrician arrives. A charger mounted at chest height with a hook for the cable is far nicer than one crouched at ankle level.
- Test everything on day one, including the app, the scheduled charging, and a full session at maximum current.
- Keep the paperwork in one folder: permit, inspection sticker, invoice, and warranty.
Common mistakes show up again and again. People buy a 48-amp charger before checking whether the panel supports it. They run cable through an attic in summer heat without derating. They mount the unit in direct sun where the electronics throttle. They forget that a second device on the same circuit can cause odd behavior; the same principle shows up in smaller gear, where a charger disconnecting when a second device is plugged in usually traces back to shared power budgeting. And they ignore the small stuff: a charger that hums audibly is often just coil whine from the transformer, which is annoying but rarely dangerous.
Living With the Charger After Day One
Once it’s installed, a few habits keep it healthy. Charging to 80% for daily driving and saving 100% for road trips is gentler on most battery packs. Scheduling charging overnight lowers cost on time-of-use rates and reduces heat stress on the hardware. And keep the connector clean and dry; a dirty pilot pin causes more “car won’t charge” complaints than any software bug.
If you’re setting up a new unit, take twenty minutes to configure the app, set an amperage limit that matches your breaker, and enable notifications. A properly configured charger prevents most of the mysterious failures people blame on the car. The same care applies to smaller accessories: earbuds and other low-draw devices need a low-current mode to charge reliably, and a power bank’s low-current mode for earbuds explains why some tiny gadgets seem to refuse a normal charger. (Set up usb c charger best performance)
Temperature deserves a mention because it worries people unnecessarily. Chargers get warm. A GaN charger’s normal temperature range is wider than most owners expect, and a unit that’s warm to the touch after an hour at full output is usually doing exactly what it should. What’s not normal is a hot plug, a burning smell, or a breaker that trips repeatedly.
Finally, keep the firmware current. Updates occasionally fix handshake problems with specific vehicles, and doing them safely matters if the charger is mid-session. Learning how to update a USB-C charger safely without losing data is a useful skill for any powered accessory, and the same caution applies to networked EV equipment.
Matching the Charger to Your Actual Driving
The temptation is to buy the biggest charger available. The better move is to size it to your routine. A driver covering 30 miles a day recovers that in about an hour on a 32-amp circuit. Someone with a 90-mile commute and a short overnight window needs more headroom. Someone with a second gas car in the driveway may not need Level 2 at all.
Three questions settle it:
- How many hours is the car parked overnight?
- How many miles do you drive on a typical day, not the worst day?
- Does your utility offer a time-of-use rate with a narrow cheap window?
If the answer to the third is yes, a larger circuit often pays for itself because you can cram the same energy into fewer cheap hours.
Conclusion
EV charger installation rewards planning more than spending. The charger itself is rarely the expensive part; the circuit, the panel capacity, and the permit are where the money and the surprises live. Check your panel first, confirm your connector standard, get itemized quotes with the permit included, and verify every incentive against the primary source before you budget around it. Do those four things and the install becomes a boring afternoon rather than a months-long project. The car is the fun part. The wall box just needs to be done right.
FAQ
How much does EV charger installation cost?
Costs vary too widely for a single reliable figure, because hardware, labor, panel capacity, and trenching for a detached garage all move independently. A short run from a panel with spare capacity is a very different job from one requiring a service upgrade. Get three itemized quotes that separate hardware, labor, and permit fees.
Do I need a permit to install a home EV charger?
In most US jurisdictions, yes. A new 240-volt circuit generally requires an electrical permit and inspection, and requirements vary by state and city with no single national rule. A licensed electrician typically pulls the permit as part of the job. Unpermitted work can complicate insurance claims and home sales.
Can I install a Level 2 charger myself?
Physically mounting the unit is easy. Running a new 240-volt circuit, sizing the breaker, and getting it inspected is not, and many jurisdictions restrict that work to licensed electricians. The risk isn’t just code compliance; it’s fire and shock hazard from undersized wire or a bad termination.
What size breaker does a home EV charger need?
Common installations use 40 to 60 amp breakers delivering 32 to 48 amps of continuous charging. The 80% rule governs the math: continuous loads can’t exceed 80% of the breaker rating. A 50-amp breaker supports 40 amps of charging. Your panel’s available capacity decides what you can actually install.
Will I need to upgrade my electrical panel?
Only if the load calculation shows insufficient capacity or there’s no physical space for the breaker. Load management hardware can sometimes avoid an upgrade by sharing capacity with existing appliances. Some utilities offer programs and rebates for this, so ask before accepting a quote for a full service upgrade.
Are there rebates or tax credits for home charger installation?
Possibly, and the rules change often. In the US, the 30C credit has offered up to $1,000 for residential property, but eligibility and post-2025 status need checking against current IRS guidance. In the UK, the chargepoint grant for renters and flat owners has specific eligibility. Always verify against the official source before budgeting.



