
Have you ever switched on new under-cabinet lighting only to see a row of bright dots glaring back at you from the countertop? That polka-dot effect is the number one complaint about bare LED strips in kitchens, and it is exactly what a diffuser is designed to fix. A diffuser spreads the light from individual diodes into a smooth, even wash, turning a harsh strip into something that looks like a built-in light source. It sounds simple, and in many ways it is, but the details matter more than most people expect. This guide walks through what diffusers actually do, which types work best above a countertop, how to install them without wrecking your cabinets, and the mistakes that show up again and again in real kitchens. (LED strip light)
What an LED strip diffuser actually does
A diffuser is any translucent material placed between the LED diodes and the room. It can be a milky plastic lens that slides into an aluminum channel, a clip-on cover, or a built-in coating on certain strips. Its job is to scatter light in many directions instead of letting it shoot straight out in narrow beams.
Three things happen when you add one. First, the visible dots disappear, because the light mixes before it reaches your eyes. Second, glare drops, which matters a lot in a kitchen where you stand close to the counter and look slightly downward. Third, reflections on glossy surfaces like quartz, granite, or polished tile become soft pools instead of sharp bright bands.
There is a trade-off, though. Diffusers absorb and scatter some light, so the countertop gets a little less brightness than a bare strip would deliver. The exact loss depends on the material, its thickness, and how far the strip sits from the lens, so check the manufacturer’s datasheet rather than trusting a single rule of thumb. In most kitchen setups the visual improvement is worth far more than the small drop in output, especially since you can compensate by choosing a slightly brighter strip or adding a second run.
Why bare strips look bad in kitchens
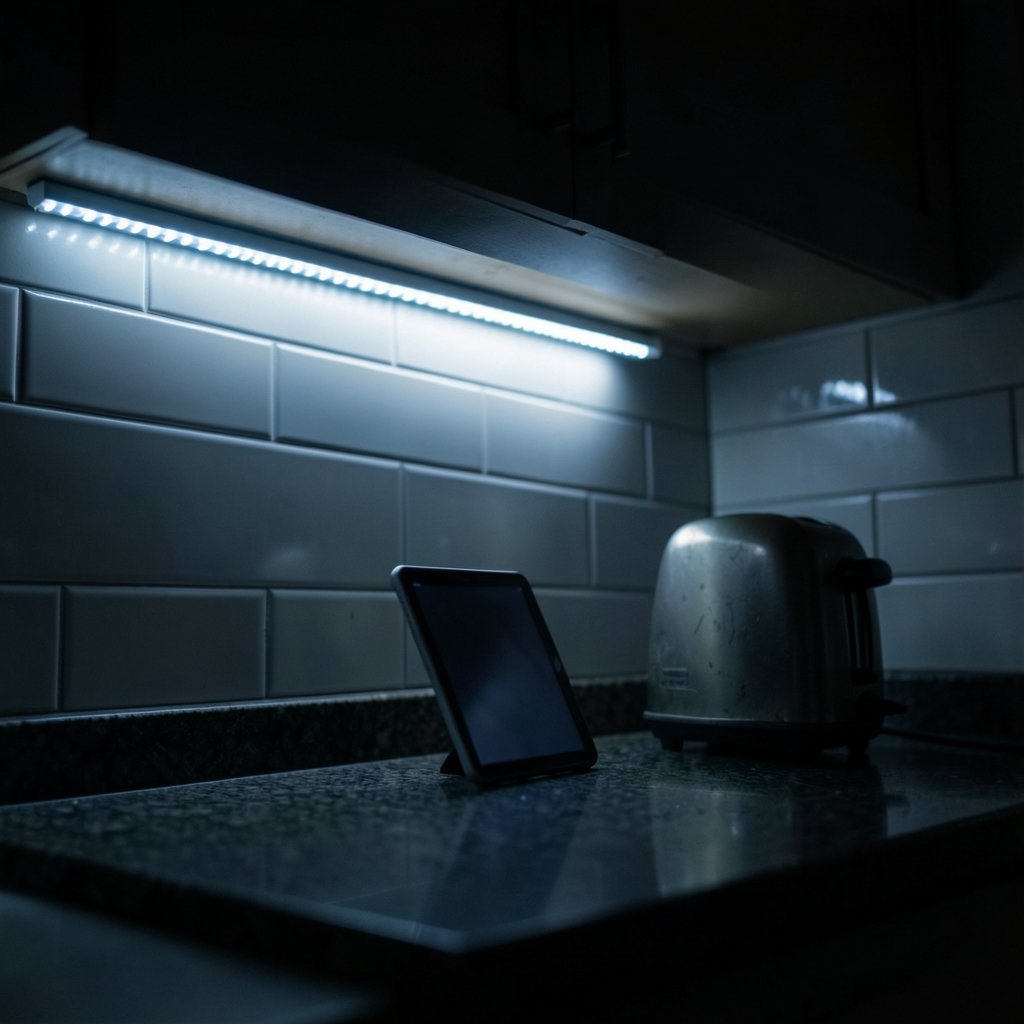
Kitchens are unusually unforgiving spaces for lighting. Counters are horizontal, so they catch light head-on and show every hotspot. Cabinet doors and backsplashes are often glossy, which doubles the reflections. And people stand close to the work surface, meaning they see the strip from a shallow angle where dots are most obvious.
There is also the spacing problem. LED strips have diodes at fixed intervals, and when the strip sits close to a surface, each diode creates its own bright circle. The closer the strip is to the counter, the tighter and more obvious those circles become. A diffuser increases the effective distance between the light source and the surface, which is why it fixes the problem so effectively.
The main diffuser types compared
Not all diffusers are equal, and the right choice depends on whether you are retrofitting an existing strip or planning a new install.
| Type | How it works | Best for | Watch out for |
|---|---|---|---|
| Aluminum channel with slide-in lens | Strip sits inside a metal profile; a frosted PC or PMMA cover clicks or slides in | New installs, long runs, heat dissipation | Needs end caps and careful cutting; measure twice |
| Clip-on plastic or silicone cover | Flexible cover clips directly over the strip | Quick retrofits, curved or short runs | Can sag over long spans; less heat management |
| Pre-diffused COB strip | Continuous phosphor coating instead of discrete diodes | Seamless look with no channel at all | Still benefits from a channel for cooling and protection |
| Extruded profile with deep lens | Taller channel lifts the lens further from the diodes | High-end kitchens, very close mounting surfaces | Bulkier; check clearance under the cabinet |
Aluminum channels do double duty: they hold the diffuser and act as a heat sink, which helps the strip run cooler and last longer. That combination is why professional installers rarely fit bare strips under cabinets.
Matching the diffuser to your kitchen layout
Where the strip goes changes what you need. A strip tucked at the front edge of the cabinet, close to where you chop and prep, throws light back toward the wall and creates strong reflections on the backsplash. Moving it slightly toward the wall, or angling the channel, softens that bounce.
For a galley kitchen with long continuous runs, an aluminum channel with a slide-in lens gives the cleanest line and hides the strip’s adhesive backing. For islands with seating on one side, consider a channel that directs light downward rather than outward so guests are not staring into the source. If you are planning a bigger driving trip and want inspiration for spacing and pacing your route, the same principle of planning ahead applies; see these best road trip routes in europe for how thoughtful sequencing pays off.
Depth matters too. Cabinets with a shallow light valance leave little room for a tall profile, so a low-profile channel with a thin lens may be the only option. Measure the gap between the cabinet bottom and the wall before ordering anything.
Light quality: CRI, color temperature, and brightness
A diffuser improves evenness, but it cannot fix poor color quality. For kitchen task lighting, look for a CRI of 90 or higher so that food, wood, and stone look natural rather than washed out or greenish. Color temperature is a personal call, but most kitchens sit comfortably between 3000K and 4000K, with warmer tones feeling cozy and cooler tones feeling crisp and clean.
Brightness is where the diffuser trade-off shows up. If a bare strip delivers a certain lumen output, the diffused version will deliver less. Rather than guessing, work backward from the goal: aim for a bright but comfortable wash across the counter, then pick a strip with enough output to still hit that target after diffusion. Dimming helps here, since a slightly over-specified strip dimmed down often looks better than a marginal strip run at full power.
Installation steps that actually work
- Plan the run and the power source. Decide where the strip starts and ends, where the driver will live, and how the cable will reach it. Drivers are often tucked in a cabinet or above the fridge.
- Clean and dry the mounting surface. Adhesive fails on greasy or dusty cabinet undersides. Wipe with a degreaser and let it dry fully.
- Cut the channel and lens to length. Use a fine-tooth blade and deburr the edges so the lens slides smoothly.
- Mount the channel first, then the strip. Screw or adhere the channel, then press the strip inside. This avoids fighting the adhesive while holding a long profile overhead.
- Slide in the diffuser and fit end caps. Leave a little expansion room on long runs.
- Wire the driver and test before final fixing. Check for flicker and even coverage, then secure cables with clips.
If you are also mapping out a larger project around the house and want a sense of how to structure a multi-stop plan, this guide to the best road trip routes in Europe shows how sequencing and pacing decisions shape the final result, much like planning lighting zones room by room.
Common mistakes to avoid
The most frequent error is buying a diffuser that is too thin or too close to the diodes. A lens sitting almost on top of the strip barely spreads the light, so dots remain visible. Give the light some room to mix.
The second mistake is skipping the aluminum channel to save money. Bare strips with clip-on covers run hotter and often peel away from the cabinet over time. The channel is not just cosmetic.
Third, people forget about dimming compatibility. A diffuser has no effect on dimming, but mismatched drivers and switches cause flicker that no lens can hide. Confirm the driver and dimmer work together before installation.
Fourth, installers underestimate moisture. Strips near sinks, dishwashers, or steam vents benefit from a higher IP rating, and the diffuser should seal reasonably well at the ends. Finally, many people cut the channel before checking clearance under the cabinet, then discover the profile does not fit behind the light valance. (Electrical)
Cost, effort, and whether it is worth it
Diffusers are one of the cheapest upgrades in a kitchen lighting project. A channel with a lens costs a fraction of what new fixtures run, and the visual difference is immediate. The effort is moderate: a short run under a single cabinet can be done in an afternoon, while a full kitchen perimeter takes longer because of cutting, wiring, and driver placement.
The payoff is a kitchen that looks finished rather than improvised. Even, glare-free light makes counters easier to work on, reduces eye strain during evening prep, and hides the hardware that would otherwise draw the eye. For anyone who has already installed strips and been disappointed, adding a diffuser is often the single change that makes the setup feel professional.
Conclusion
A diffuser is a small component with an outsized effect on how under-cabinet lighting looks and feels. It removes the dotted look, softens glare, and turns a hardware store strip into something that reads as built-in lighting. Choose an aluminum channel with a slide-in lens for most kitchen runs, give the light room to mix, and pair it with a high-CRI strip and a compatible dimmer. The small loss in brightness is easy to offset and rarely noticed, while the improvement in evenness is obvious every time someone switches the lights on.
Frequently asked questions
Do I really need a diffuser for under-cabinet LED strips?
Not strictly, but without one you will usually see individual diodes reflected on the counter and backsplash. A diffuser smooths the light and cuts glare, which matters most in kitchens where people stand close to the work surface.
Will a diffuser make my lights noticeably dimmer?
It reduces output somewhat, and the exact amount varies by material and thickness. Rather than relying on a fixed percentage, check the product datasheet and choose a strip with a little extra output so the diffused result still meets your brightness goal.
Can I add a diffuser to strips I already installed?
Often yes. Clip-on covers and surface-mount channels can be fitted over existing strips, provided there is clearance and the adhesive is still holding. If the old strip is peeling or running hot, replacing it inside a proper aluminum channel is the better long-term fix.
What is the difference between a diffuser and a COB strip?
A diffuser is a separate cover placed over a strip. A COB strip has a continuous light-emitting coating instead of distinct diodes, so it looks seamless on its own. Many installers still put COB strips inside a channel for protection and heat management.
How do I stop flicker after installing a diffuser?
Flicker almost always comes from the driver or dimmer, not the diffuser. Check that the driver is compatible with your dimmer type, confirm the load is within the driver’s range, and make sure all connections are secure.
Does the diffuser help the LEDs last longer?
An aluminum channel acts as a heat sink and helps the strip run cooler, which is good for longevity. A plastic cover alone offers little cooling benefit, so choose a metal profile if long life matters to you.



