
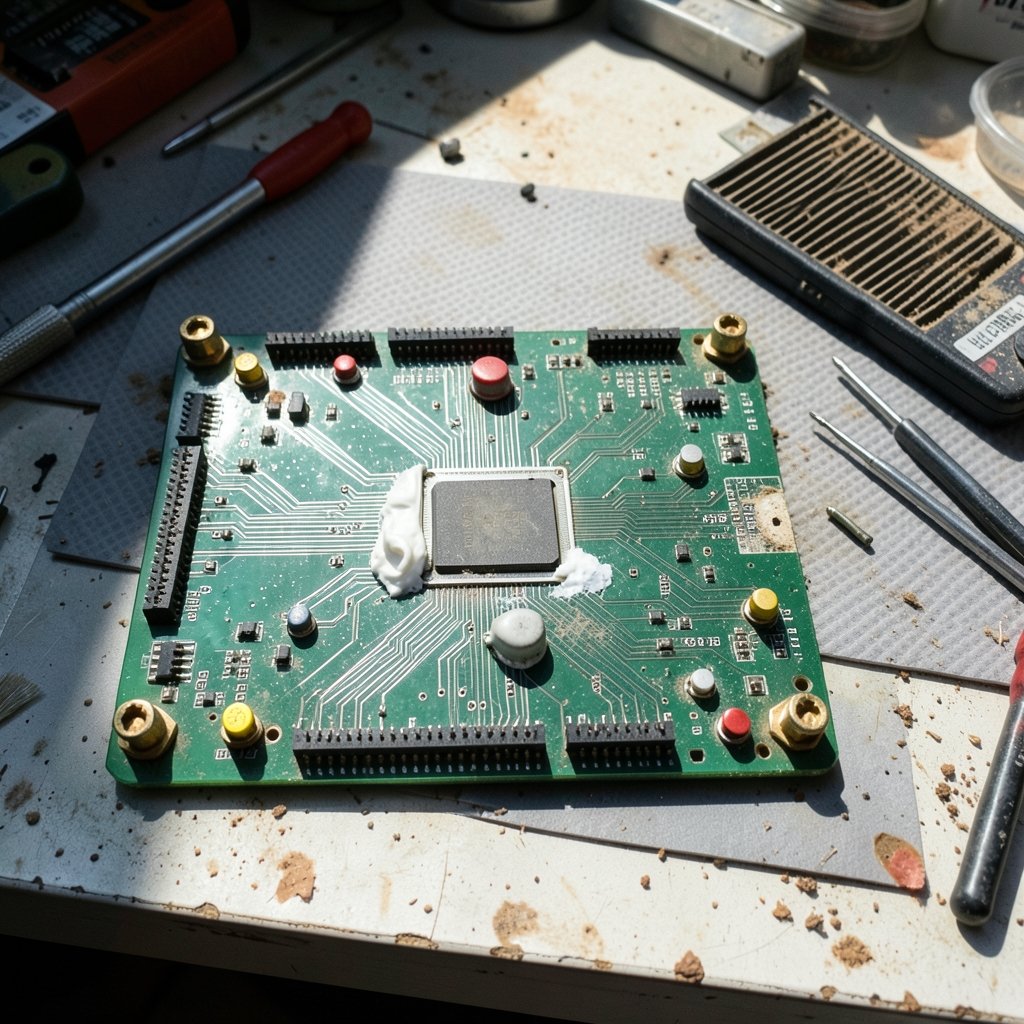
What do you do when a computer refuses to power on, beeps in strange patterns, or shuts down the moment it warms up? Most people assume the motherboard is dead and start shopping for a replacement. That assumption is sometimes right, but it is wrong more often than you might think. Motherboard repair sits somewhere between a lost art and a practical skill, and understanding when a board can be saved, when it should be replaced, and how the work actually happens will save you money and a lot of frustration. (Best motherboard for gaming) (Motherboard)
Why Motherboards Fail in the First Place
A motherboard is a dense network of copper traces, power delivery components, and chips soldered onto a fiberglass board. Every element has a failure mode. The most common culprits fall into a few categories.
Power delivery failures top the list. Voltage regulator modules (VRMs) run hot, and their capacitors and MOSFETs degrade over years of thermal cycling. A board that booted fine for five years can suddenly refuse to POST because one rail is out of spec.
Electrolytic capacitor aging is the classic example. These components have a finite life that shortens dramatically with heat, and their failure modes are well documented. The capacitor plague of roughly 1999 to 2007 was the most dramatic mass-failure event in motherboard history, when a stolen or incomplete electrolyte formula caused widespread bulging and venting capacitors across the industry. Even today, older boards from that era are recognizable by their domed or leaking caps.
Physical damage comes next: cracked traces from a dropped case, bent CPU socket pins, liquid damage, or a slipped screwdriver during a build. Thermal damage from a failed fan or dried thermal paste can also cook a chipset or VRM over time.
Finally, there is solder joint fatigue. Repeated heating and cooling cycles stress the joints between chips and the board, especially under ball grid array (BGA) packages where the connections are hidden underneath the chip.
The Diagnosis Order That Actually Works
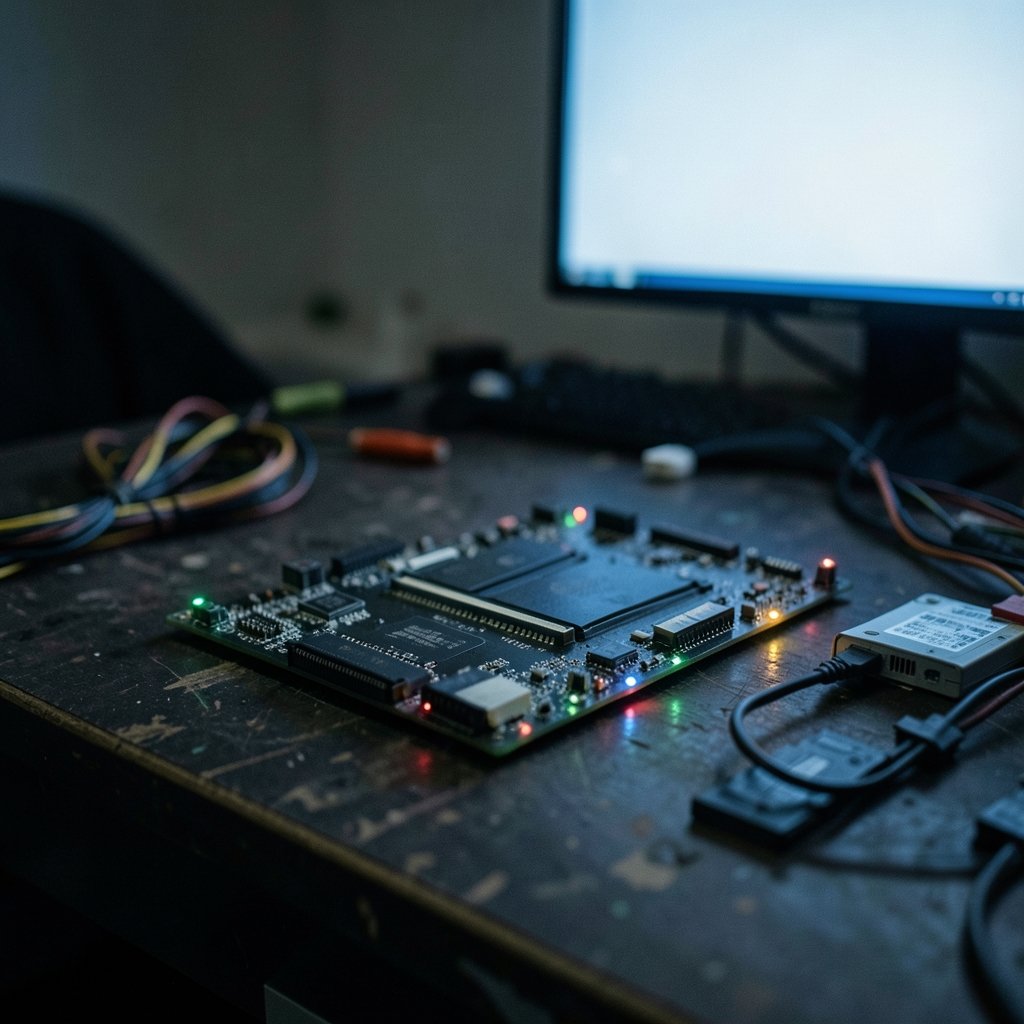
Experienced technicians follow a sequence, and skipping steps is the most common mistake beginners make. Working from power source outward saves time and prevents chasing the wrong component.
- Verify the power supply first. A failing PSU mimics a dead board constantly. Check the 24-pin and 8-pin connectors, test the PSU with a known-good unit, and confirm the standby voltage is present.
- Strip to minimum. Remove drives, expansion cards, and all but one stick of RAM. A shorted USB port or failed drive can prevent boot entirely.
- Read the board. Modern boards have debug LEDs or a POST code display. Older ones beep. Those codes point directly at memory, graphics, or CPU faults.
- Check for visible damage. Look for bulging capacitors, burn marks, corrosion from liquid, and bent socket pins under bright light.
- Measure voltages. With a multimeter, confirm the main rails are within tolerance at the VRM test points if the board exposes them.
- Inspect the socket and slots. Re-seat the CPU, clean the socket, and check for debris in the RAM slots.
If you are troubleshooting a machine that will not display anything at all, it helps to separate software from hardware early. A step-by-step guide to fixing brightness not working on Windows 11 can rule out a driver or display issue before you tear the machine apart, since a black screen is not always a dead board.
Component-Level Repair: What Is Realistic
Once diagnosis points to the board itself, the question becomes whether component-level repair makes sense. Some jobs are approachable for a careful hobbyist with basic tools. Others demand equipment that costs more than a new board.
| Repair Type | Difficulty | Typical Tools | When It Makes Sense |
|---|---|---|---|
| Capacitor replacement (through-hole) | Moderate | Soldering iron, solder sucker, replacement caps | Older or retro boards where caps are visibly failed |
| Surface-mount capacitor or MOSFET swap | Hard | Hot air station, flux, tweezers, microscope | High-value boards, servers, industrial gear |
| BGA reflow or reball (GPU, chipset) | Very hard | Reflow oven or IR station with preheat profile | Expensive or scarce boards only |
| Trace repair | Hard | Fine wire, UV solder mask, microscope | Physical damage with clear break points |
| CPU socket pin straightening | Moderate | Fine tweezers, magnification | Bent pins without a cracked socket |
The single biggest factor in surface-mount work is controlled heat. Replacing a BGA-packaged chip requires a reflow oven or a hot-air station with a proper preheat profile, because uneven heating warps the board and can crack joints or damage nearby components. Understanding how a ball grid array package is constructed explains why the connections are invisible and why amateur heat-gun work so often makes things worse.
Soldering temperatures also shifted industry-wide after lead-free rules took effect. The EU’s Restriction of Hazardous Substances Directive pushed manufacturers toward higher-melting-point lead-free solder, which raised rework temperatures and changed repair practice for everyone working on boards made after the mid-2000s.
Repair or Replace? The Honest Math
For consumer desktops and laptops, replacement usually wins on cost. A new mid-range board costs less than two hours of skilled bench time, and component-level repair carries no guarantee that the fault is isolated. That calculus flips in three situations:
- The board is scarce or expensive. Server boards, industrial controllers, and vintage hardware often cannot be replaced at any reasonable price.
- The data or configuration is tied to the board. Some systems pair firmware or licensing to the specific hardware.
- The fault is simple and visible. A single failed capacitor on a retro board is a twenty-minute job with a five-dollar part.
A useful rule of thumb: if the board costs less than the repair quote, replace it. If it costs more, get a second opinion before scrapping it.
Tools and Safety: The Part People Skip
Electrostatic discharge is the silent killer of motherboard repair attempts. Handling a board without grounding risks damaging sensitive integrated circuits in ways that only show up later as intermittent faults. An anti-static wrist strap and a grounded mat are not optional accessories; they are baseline equipment. Formal programs for controlling static in electronics handling exist, and the ANSI/ESD S20.20 standard describes what a proper static-control setup looks like.
Beyond ESD, a few practical habits separate successful repairs from ruined boards:
- Photograph everything before disassembly. Cable routing and screw placement are easy to forget.
- Use flux generously. It is the difference between a clean joint and a cold one.
- Never force a connector. Plastic retention clips break before the connector does.
- Work under magnification. Hairline cracks and lifted pads are invisible to the naked eye.
- Test after every step. Changing three things at once makes diagnosis impossible.
If the machine in question is a laptop with a swollen battery or a cracked chassis, board repair may be the wrong first move. The same diagnostic discipline applies to other hardware jobs, and resources like this guide on finding a trustworthy garage door repair pro fast show how the same “verify before you commit” logic works for any service call.
Board-Level Repair in Servers and Industrial Gear
Server and industrial motherboards are where component-level repair earns its keep. These boards are built for long service lives, cost hundreds or thousands of dollars, and often run in environments where downtime is expensive. A failed VRM on a server board is a routine bench repair for a specialist, not a replacement event.
The same logic applies to legacy and retro computing. Vintage boards are irreplaceable, so recapping and trace repair are standard practice in that community. Enthusiasts have documented capacitor replacement procedures in detail, and the skills transfer directly to modern board work.
What Right-to-Repair Rules Change
Several jurisdictions have moved to require access to parts and repair information, and the direction of travel favors independent repair. The EU has adopted ecodesign and right-to-repair rules through the 2020s, and multiple US states have passed repair laws since 2023. How far these rules extend to motherboards specifically varies by jurisdiction and is still evolving, so check current local requirements rather than assuming coverage. The practical effect so far has been better access to service documentation and parts for some product categories, which gradually lowers the barrier to board-level work. (Totp clock drift fix your 2fa codes fail repair it)
Common Mistakes That Turn a Fixable Board Into Scrap
A few errors account for most failed repair attempts.
Recapping without testing the power rail first. If the VRM is outputting the wrong voltage, fresh capacitors will fail too. Find the cause before replacing the symptom.
Overheating nearby components. Hot air spreads. Shield adjacent parts with foil or kapton tape, and use the lowest temperature that flows the solder.
Ignoring the CMOS battery and BIOS. A dead coin cell or corrupted firmware looks exactly like a hardware fault. Clear the CMOS and reflash before reaching for the soldering iron.
Skipping the socket inspection. Bent pins are common and fixable, but only if you look. A board declared dead often just has one pin touching its neighbor.
Forgetting the standoffs. A board shorted against the case will not boot no matter how good the repair is. Check mounting hardware before condemning the board.
When to Stop and Hand It Over
There is a point where the honest answer is “send it to a specialist.” BGA rework, micro-soldering on dense boards, and anything requiring a reflow profile belongs in a shop with proper equipment. The cost of a failed attempt on a valuable board is usually higher than the bench fee. If you are unsure whether a job is within your skill level, that uncertainty is itself the answer. (IPC)
Conclusion
Motherboard repair is less mysterious than it looks and more demanding than beginners expect. The board fails for predictable reasons, diagnosis follows a logical order from power source inward, and the repair-or-replace decision comes down to simple economics: board cost versus bench time. For consumer hardware, replacement usually wins. For servers, industrial controllers, and vintage machines, component-level repair is often the only sensible path. Whichever route you take, start with the power supply, ground yourself, and photograph everything before you touch it. That discipline is what separates a repaired board from a ruined one.
How do I know if my motherboard is dead or just the power supply?
Test the power supply first with a known-good unit or a PSU tester, and confirm the standby voltage is present. A failing PSU produces identical symptoms to a dead board, so ruling it out before anything else prevents unnecessary replacement. If a known-good PSU produces no boot, move on to POST codes and visible damage checks.
Can a dead motherboard be repaired at home?
Sometimes. Through-hole capacitor replacement and trace repair are realistic for a careful hobbyist with basic soldering tools and magnification. BGA rework, chipset replacement, and micro-soldering on dense boards require equipment and experience that most home setups lack, and failed attempts often make the damage worse.
Is it cheaper to repair or replace a motherboard?
For consumer desktops and laptops, replacement is usually cheaper than skilled bench time. Repair becomes the better option when the board is scarce or expensive, such as server, industrial, or vintage hardware, or when the fault is a single visible component like a failed capacitor.
What causes motherboard capacitors to fail?
Electrolytic capacitors have a finite lifespan that shortens sharply with heat, so years of thermal cycling degrade them. The capacitor plague of roughly 1999 to 2007 was a separate mass-failure event caused by a faulty electrolyte formula that made caps bulge and vent prematurely across many manufacturers.
How long does a motherboard repair usually take?
A simple capacitor swap takes under an hour on the bench. Surface-mount and BGA work typically runs several hours to a few days depending on parts availability and whether the board needs a full diagnostic pass first. Shipping time often exceeds repair time for specialized shops.
Do I need an anti-static wrist strap to work on a motherboard?
Yes. Handling a board without grounding risks electrostatic discharge damage to sensitive chips, and the resulting faults often appear later as intermittent failures that are hard to trace. A wrist strap and grounded mat are basic equipment, and formal static-control standards describe how a proper setup should be configured.



