
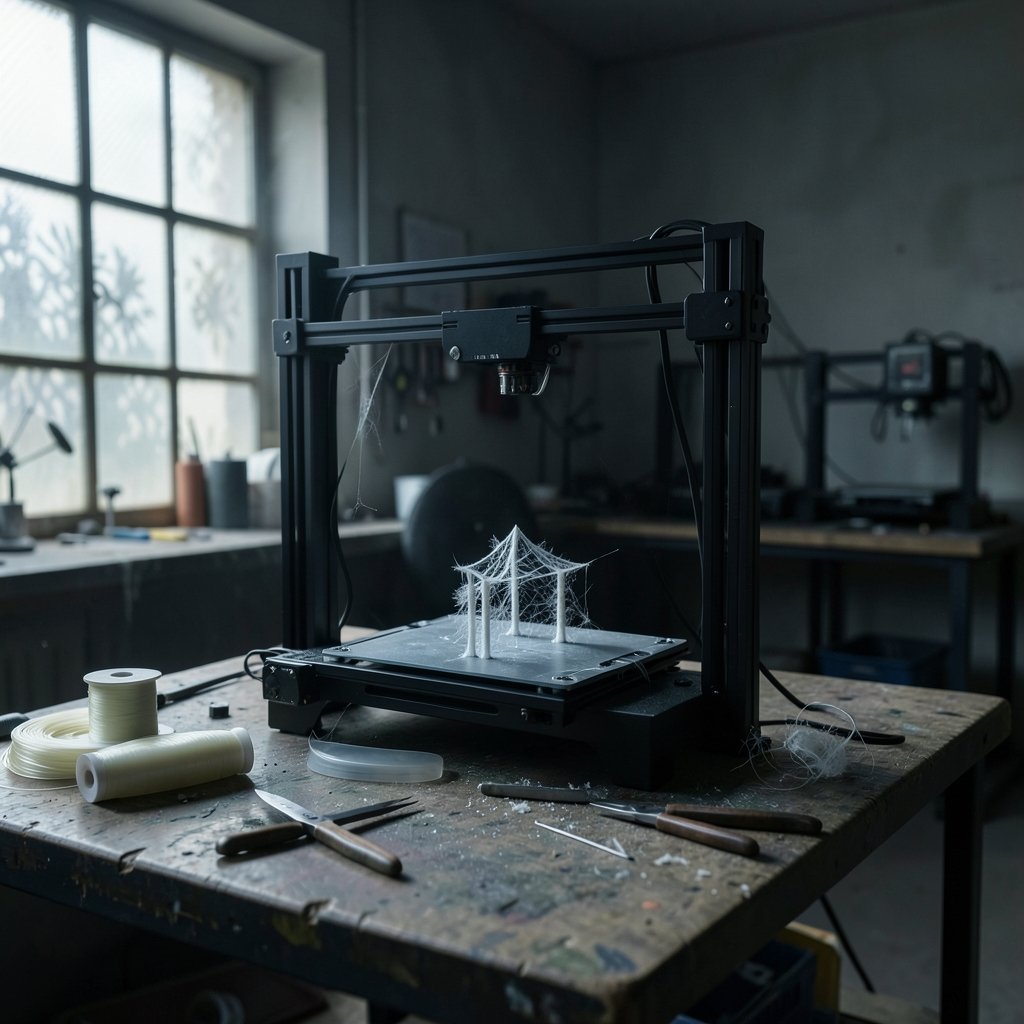
Does it feel like your 3D printer is spinning cotton candy instead of laying down clean plastic? If you print with PETG, you have probably seen it: wispy threads, spider-web strands, and fuzzy hairs clinging to an otherwise perfect part. Stringing is the most common complaint about PETG, and it drives plenty of makers back to PLA out of frustration.
Here is the good news. Stringing is not a sign that your printer is broken or that PETG is a bad material. It is a predictable side effect of how PETG behaves when it melts, and almost every case can be fixed with a handful of settings. This guide explains why PETG strings so much, walks through the fixes in the order that actually works, and covers the mistakes that make things worse.
Why PETG Strings More Than PLA
Stringing happens when molten plastic keeps flowing out of the nozzle during travel moves, the quick jumps the print head makes between two points on the model. The oozed plastic stretches into a thin thread that cools and sticks to the part. Every filament oozes a little. PETG oozes a lot.
There are three reasons. First, PETG prints hot, commonly in the 220 to 250 °C range depending on the brand, and hotter plastic flows more easily. Second, PETG is stretchy and slightly rubbery when molten, so instead of snapping cleanly when the nozzle pulls away, it draws out a long strand. Third, PETG is hygroscopic, meaning it absorbs moisture from the air, and wet filament produces bubbles and popping that make oozing worse.
PLA gets compared to PETG constantly, and the difference is worth understanding before you start tuning. The table below sums up the practical gap.
| Factor | PLA | PETG |
|---|---|---|
| Typical nozzle temperature | 190–220 °C | 220–250 °C |
| Oozing tendency | Low to moderate | High |
| Molten behavior | Snaps fairly cleanly | Stretchy, draws threads |
| Moisture sensitivity | Moderate | High |
| Best retraction starting range | 0.8–2 mm (direct) | 1–3 mm (direct) |
The takeaway is simple. Settings that keep PLA clean will usually still leave PETG stringing. You need to tune specifically for PETG.
Start With the Filament, Not the Settings
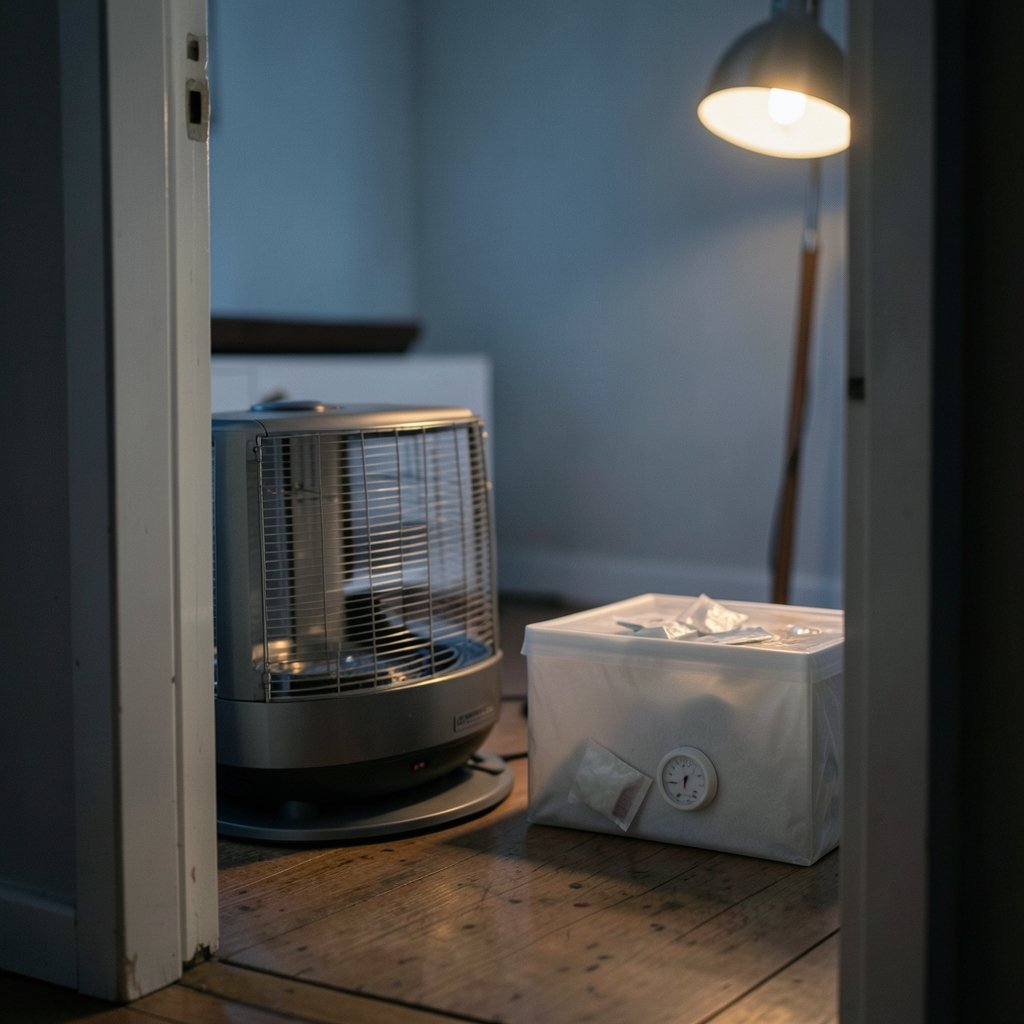
Before touching a single slicer value, check the filament itself. Damp PETG is the most overlooked cause of stringing, and no amount of retraction tuning will fix wet plastic.
PETG pulls moisture out of the air even in a normal room. When that moisture hits the hot nozzle, it turns to steam, which pushes plastic out of the nozzle between moves. The result is popping sounds, a rough surface, and heavy stringing that seems to come out of nowhere. If a spool that printed cleanly last month suddenly strings badly, suspect moisture first.
The fix is straightforward. Dry the spool in a filament dryer at the temperature the manufacturer recommends, usually somewhere around 60 to 65 °C for several hours. Then store it in a sealed box with desiccant. A dry spool often cuts stringing in half before you change any settings.
Tune Temperature Down Within the Safe Range
Temperature is the single most powerful lever for stringing. Hotter plastic flows more freely, so it oozes more. Lowering the nozzle temperature by 5 to 10 °C, while staying inside the range printed on the spool, often produces a visible improvement.
Do not go cold just to fight stringing. PETG printed too cool loses layer adhesion, and poor layer bonding is a much worse problem than a few wisps. Print a small temperature tower first, find the lowest temperature that still gives strong, well-bonded layers, and run your stringing test at that setting.
The same logic applies to the print cooling fan. PETG generally wants modest part cooling, and a fan running too high can cause poor layer bonding while a fan running too low lets the plastic stay molten and stringy. Many makers find a sweet spot somewhere in the middle. It takes testing, but the fan is a real variable, not a background setting.
Get Retraction Right for Your Printer
Retraction pulls filament back slightly at the end of an extrusion so the nozzle stops oozing during travel. It is the classic fix for stringing, but PETG is fussy about it, and more retraction is not automatically better.
The right values depend heavily on your hardware. Direct-drive extruders, where the motor sits right above the hotend, need short retractions, often in the 1 to 3 mm range for PETG. Bowden setups, where the filament travels through a long tube, need much longer retractions, sometimes 5 to 7 mm. Copying settings from a stranger on the internet is one of the most common mistakes, because their printer is not your printer.
There is a real trade-off here. Push retraction distance or speed too far and PETG, which is soft and grippy, can grind against the extruder gears or clog the hotend. Increase in small steps, test after each change, and stop as soon as stringing drops off. If you are still choosing hardware, the guide to the best 3d printer for beginners covers which machines make this tuning easier.
Retraction speed matters too
Distance gets all the attention, but speed often does more of the work with PETG. A faster retraction pulls the molten strand back before it has time to stretch. Try increasing retraction speed in increments of 5 to 10 mm/s and watch what happens. If the extruder starts clicking or the filament gets chewed up, you have gone too far and should back off.
Use Travel Moves and Wiping to Your Advantage
Even perfect retraction leaves a little plastic at the nozzle tip. The slicer has tools to hide it.
Turn on wipe on retract or coasting if your slicer offers it. These features let the nozzle travel a short distance along the part before lifting, which wipes the oozing plastic onto the model instead of into the air. Also raise your travel speed. A fast travel move gives oozed plastic less time to stretch into a visible thread, and the improvement is often immediate.
Two more slicer tricks are worth knowing. Z-hop, which lifts the nozzle slightly during travel, helps on prints with tall features but can make stringing worse on flat surfaces, so test it rather than assuming. And combing or avoid crossing perimeters keeps travel moves inside the part where possible, so any string that forms gets hidden inside the model instead of hanging off the outside.
Slow Down the Flow, Not the Print
Over-extrusion makes stringing worse because the nozzle is under more pressure, and pressurized plastic wants to escape. Calibrate your flow rate for the specific spool. A flow multiplier a few percent lower than default often reduces oozing without any visible downside.
Print speed plays a role too, but not the one people expect. Printing slower can actually increase stringing because the nozzle sits over the same spot longer, giving plastic more time to drool. Moderate speeds tend to work best with PETG. If you are working with a tight budget and older hardware, the picks in this roundup of the best budget 3d printer can still produce clean PETG prints once these settings are dialed in. (3D printing)
A Practical Tuning Order That Works
Randomly changing five settings at once is how people spend a weekend chasing stringing and end up more confused than when they started. Change one thing at a time and test after each step. Here is an order that saves time. (ASTM Committee F42 on Additive Manufacturing Technologies)
- Dry the filament and confirm it is actually dry.
- Print a temperature tower and pick the lowest temperature with good layer strength.
- Run a retraction test at that temperature, adjusting distance first, then speed.
- Enable wipe on retract and raise travel speed.
- Calibrate flow rate and nudge it down slightly if oozing persists.
- Adjust part cooling fan speed last, since it interacts with layer bonding.
A small stringing test model with two towers and a gap between them is all you need. Print it after each change, compare results side by side, and keep notes. Ten minutes of structured testing beats hours of guessing.
Common Mistakes That Make Stringing Worse
A few habits reliably backfire with PETG.
- Cranking retraction to the maximum. This causes clogs and filament grinding more often than it fixes stringing.
- Printing too cold to stop oozing. Weak layer adhesion is a structural failure, not a cosmetic one.
- Ignoring moisture. Wet filament defeats every other fix.
- Changing many settings at once. You lose track of what helped.
- Copying settings from a different printer. Direct drive and Bowden machines need completely different values.
When Stringing Is Actually Acceptable
Not every wisp is a failure. Light stringing that brushes off with a fingernail or a quick pass with a heat gun is normal for PETG and often not worth chasing. If the part is strong, dimensionally accurate, and the strings are thin and few, you are in good shape. Chasing a perfectly clean nozzle on every print can cost more time than it saves.
Post-processing is a legitimate fix too. A few seconds with a heat gun or a brief pass with a deburring tool removes surface strings cleanly. Many experienced makers accept minor stringing and clean it up afterward rather than spending hours tuning for a cosmetic gain.
Conclusion
PETG stringing is a solvable problem, not a permanent personality trait of the material. The root cause is almost always the same combination: hot, stretchy plastic oozing during travel moves, often made worse by damp filament. Dry your spool, find the lowest safe printing temperature, tune retraction to your specific extruder, and let travel speed and wiping handle the rest.
Work through the fixes one at a time, keep notes on what changed, and resist the urge to max out every setting. Within an afternoon of structured testing, most printers go from cotton-candy mess to clean, strong PETG parts. And if you are still shopping for a machine or setting one up for a young maker, the picks for the best 3d printer for kids are a good place to start before you dive into material tuning.
FAQ
Why does my PETG string so much more than PLA?
PETG prints hotter and stays stretchy when molten, so instead of snapping off cleanly during travel moves, it draws out long threads. It also absorbs moisture easily, and damp filament bubbles at the nozzle and oozes more. The combination makes stringing far more common with PETG than with PLA.
What retraction settings should I use for PETG?
There is no universal number. Direct-drive printers usually land somewhere around 1 to 3 mm, while Bowden setups often need 5 to 7 mm. Start low, increase in small steps, and test after each change. Retraction speed matters as much as distance, so tune both.
Can wet filament cause stringing?
Yes, and it is one of the most common causes. PETG absorbs moisture from the air, and that moisture turns to steam at the nozzle, pushing plastic out between moves. Popping sounds and rough surfaces are warning signs. Dry the spool and store it sealed with desiccant.
Will lowering the nozzle temperature stop the stringing?
It usually helps a lot, but only within the range printed on the spool. Dropping 5 to 10 °C often reduces oozing noticeably. Going too cold ruins layer adhesion, which is a worse problem than stringing, so find the lowest temperature that still produces strong parts.
Does a higher travel speed reduce stringing?
Often, yes. Faster travel moves give oozed plastic less time to stretch into a visible thread. Pair higher travel speed with wipe on retract and combing settings so the nozzle has less opportunity to leave strands on the outside of the part.
Is a little stringing on PETG prints normal?
Yes. Light wisps that brush off easily are typical for PETG and usually not worth chasing. If the part is strong and accurate, a quick pass with a heat gun cleans it up. Perfectly clean nozzles on every print are rare and rarely necessary.



