
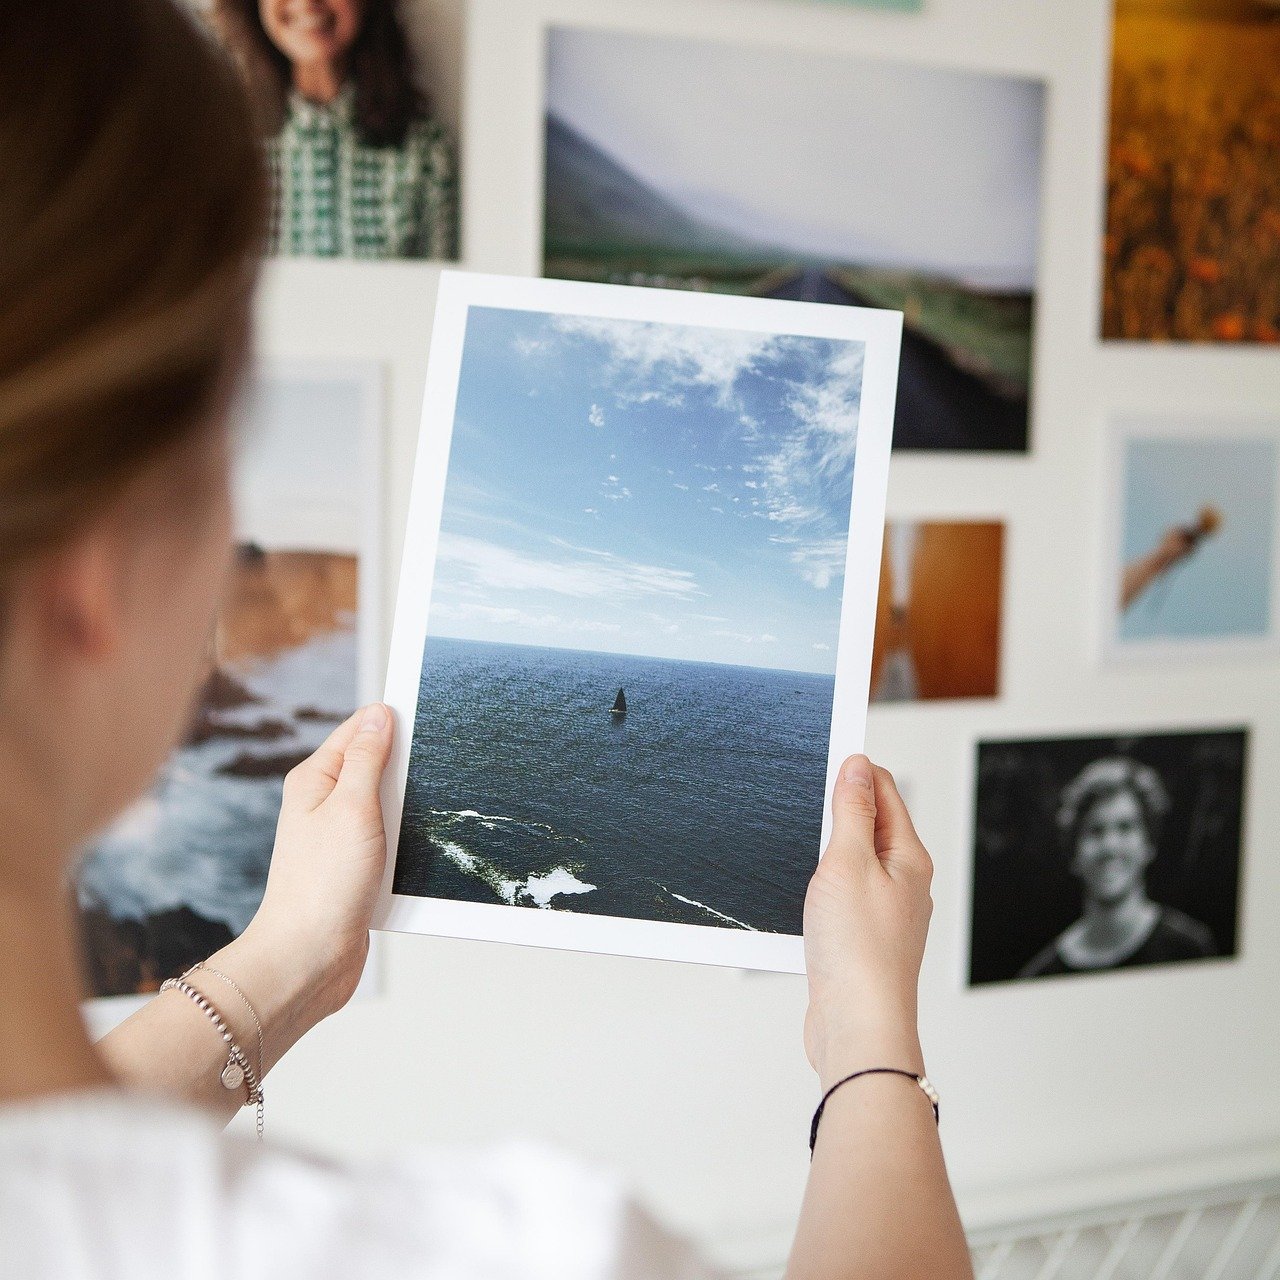
What happens when you press a favorite photograph onto a stiff board, hang it on the wall, and then decide five years later that you want the print back? For a lot of people, the answer is nothing good. The print is stuck. The corners have curled. There is a faint yellowish stain where the adhesive sat. That single scenario explains why “photos mount” is such a loaded phrase in photography circles. It sounds like a simple craft project, but it hides a decision that can be permanent.
The term itself is not a standard piece of English. It usually means one of three things: the act of attaching a print to a backing, the board a photo sits on, or, in computing, a folder called Photos on a mounted drive. This guide covers all three, with the bulk of the attention on the physical side, because that is where most people get burned.
What “Photos Mount” Actually Means
Before buying anything, it helps to sort out which job you are doing. The three common readings are quite different, and mixing them up wastes time and money.
| Meaning | What it involves | Who it is for |
|---|---|---|
| Mounting photos (verb) | Attaching a print to a rigid backing with adhesive, tape, or hinges | Framers, exhibitors, scrapbookers |
| A photo mount (noun) | The card or board a photograph is attached to | Anyone framing or displaying prints |
| The /Photos folder on a mounted volume | A directory on a disk attached to the operating system | Anyone managing files on a computer |
If someone hands you a stack of old family pictures and says “get these mounted,” they almost certainly mean the first two. If a tech support forum mentions “photos mount,” they probably mean the third. Keep the distinction in mind, because the advice below splits along the same lines.
The Permanent Option: Dry Mounting and Its Risks
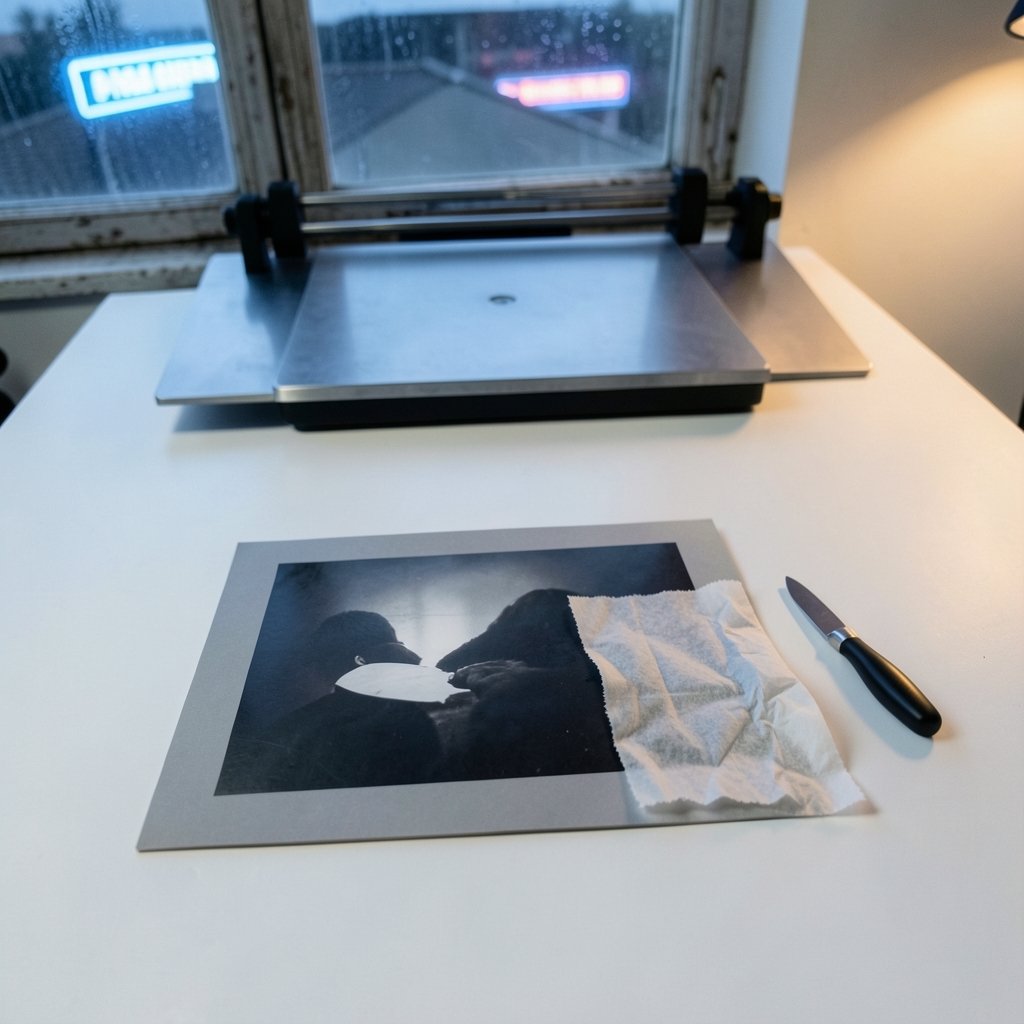
Dry mounting bonds a print to a board using a heat-activated tissue adhesive, pressed down with a heated press. The technique became widespread in the 20th century for exhibition and commercial display, and it produces a beautifully flat, professional-looking result. No ripples, no waves, no shadow under the glass.
The catch is reversibility. Heat-activated adhesives are difficult or impossible to undo, and over time they can stain or distort prints. Conservation guidance generally discourages permanent mounting for photographs of value for exactly this reason. A dry-mounted print is committed. If the board warps, the print warps with it. If the adhesive fails unevenly, you get bubbles you cannot fix.
Practical rule: dry mount the poster you bought for twenty dollars. Do not dry mount the only print of your grandmother’s wedding. (Video doorbell wedge mount angle which degree actually fixes)
The Reversible Option: Matting and Hinging
Matting uses a window mat to hold the photograph away from the glazing while providing rigid support. Because nothing is glued to the face of the print, the process is reversible, which makes it the standard alternative to permanent mounting for framed photographs.
The mechanics matter more than people expect:
- Choose a mat board that passes the photographic activity test (PAT), a lab test for whether enclosure materials are safe for long-term contact with photographs. The test is covered by ISO 18916, published in 2007.
- Attach the print to the backing board with hinges, not with tape across the surface. Hinges go on the back, usually two along the top edge, so the paper can expand and contract with humidity.
- Use a window mat deep enough that the print never touches the glass. Contact with glazing is how condensation marks happen.
- Leave a small gap between the hinge and the top edge of the print so the paper has room to move.
A common mistake is taping all four sides. That sounds secure, but it locks the paper in place. When humidity rises, the print buckles in the middle because it has nowhere to go. Two hinges at the top and nothing else is the safer habit.
Another frequent error: using ordinary masking tape or craft glue because it is what is in the drawer. Both can discolor and fail. If a job is worth framing, it is worth the right materials.
Choosing Boards and Enclosures That Will Not Backfire
Storage enclosures, including boxes, folders, sleeves, and albums, are specified under ISO 18902, a standard first published in 2001 and revised in 2013. It addresses board quality and the avoidance of materials that off-gas harmful compounds. In plain terms: cheap cardboard and certain plastics release fumes that slowly attack a photograph from the inside of the box.
What actually works in practice:
- Buffered or unbuffered board, chosen deliberately. Not every photographic process likes the same enclosure. Color prints and certain digital outputs behave differently from older black-and-white material. When in doubt, ask a conservator rather than guessing.
- Plastic sleeves that pass the PAT. A sleeve that fails the test can do more harm than no sleeve at all.
- Vertical storage. Prints stored flat in a stack carry weight on the bottom items. Standing folders on edge, supported, spreads the load.
- Cool, dry, stable conditions. A hot attic and a damp basement are both bad, for different reasons.
The Image Permanence Institute publishes ongoing research on storage and enclosure materials and how mounting choices affect long-term stability. That work is worth a look before committing a whole collection to one method.
Mounting Photos in Albums and Scrapbooks
Album mounting is its own genre, and it is where enthusiasm most often outruns good sense. The appeal is obvious: photos in an album get looked at, and photos in a shoebox do not. The risk is that album adhesives, magnetic pages, and self-stick corners are frequently the least stable materials in the house.
A few things that hold up:
- Photo corners let you place a print without adhesive touching it. They are not archival by default, so check the material.
- Acid-free, lignin-free pages reduce the slow yellowing that ruins albums.
- No magnetic albums for anything you care about. The adhesive strips and vinyl pages in older magnetic albums are a well-known problem.
- Label in pencil, not pen. Ink can bleed or transfer.
If the album is a casual record of a birthday party, relax. If it holds the only copies of anything, treat it like the archive it is. The same instinct applies to your phone: a backup habit is what saves you when a device dies, which is why a guide on how to back up your Android phone without losing photos or chats is worth reading before you need it.
The Digital Sense: A Photos Folder on a Mounted Drive
In computing, a mount attaches a filesystem or storage volume to a directory in the operating system’s directory tree. A folder such as `/Photos` on a mounted volume becomes accessible at that path. The concept dates to early Unix in the 1970s, and the same idea now shows up on Windows, macOS, and Linux in slightly different clothing.
Why does this matter to a photographer? Because external drives, network shares, and memory cards all have to be mounted before their contents appear. When someone says “the photos mount isn’t showing up,” they usually mean one of a few things:
- The drive is connected but not mounted, so the operating system has no path to it.
- The drive is mounted at a different path than the software expects.
- The volume mounted read-only, so files can be seen but not written.
- The folder name changed case, and a script that expects `/Photos` cannot find `/photos`.
The fix is usually to check the mount point first, then the permissions, then the path. It is rarely a corrupted card, even though that is the first thing people fear.
Where Digital Tools Fit Into the Photo Workflow
Mounting is not only physical. Modern photo workflows lean on software for the parts that happen before a print exists. Upscaling a small file before printing is now routine, and the best AI image upscalers for high-resolution photos can turn a modest capture into something worth framing. Similarly, the best AI image generators for realistic photos have changed how people produce images that never had a camera involved at all. (Recover deleted photos android realistic step by step guide)
Editing is the other half. Learning how to edit photos with AI covers the basics of cleanup, cropping, and color, and it is a reasonable starting point for anyone preparing a print for mounting. For portraits specifically, an AI headshot generator for professional photos can produce a usable image without a studio session.
None of this replaces good materials. A perfectly edited file still curls if it is hinged badly. But a strong file plus a sound mount is the combination that lasts.
A Realistic Step-by-Step for Mounting a Print
Here is a sequence that works for most framed photographs, in order:
- Decide whether the print is replaceable. If yes, dry mounting is on the table. If no, go reversible.
- Measure the print and choose a mat with a window slightly smaller than the image, so the edges sit under the mat.
- Confirm the board and hinges pass the photographic activity test.
- Hinge the print at the top only, with a small gap for expansion.
- Attach the mat to the backing, then the assembly to the frame.
- Use glazing that blocks ultraviolet light if the piece will hang in daylight.
- Hang it away from direct sun, radiators, and exterior walls that sweat.
For anyone also tackling wall hardware in the same afternoon, a mount TV wall step by step guide that won’t end in tears covers the drilling side of the job, which has its own set of expensive mistakes.
Mistakes That Show Up Again and Again
Certain errors repeat so often they are almost predictable.
- Taping the whole print down. Locks the paper and causes buckling.
- Using craft glue on the face. Stains, and often permanently.
- Skipping the PAT check. Saves a few dollars, costs a print.
- Storing flat in a heavy stack. The bottom prints bear the weight.
- Hanging above a radiator. Heat and dry air do the rest.
- Assuming a digital copy is a backup. A file on one drive is one failure away from gone. The same logic applies if you have ever needed to recover deleted photos on Android, where a realistic step by step guide makes the difference between a save and a loss.
Conclusion
“Photos mount” is a small phrase with three different jobs behind it, and the physical one carries the most risk. The choice between permanent and reversible mounting is the decision that matters most, and it is made before any adhesive comes out of the drawer. Dry mounting gives a flawless flat finish and takes away your options. Matting and hinging give you a frame you can open again. Board quality, hinge placement, and storage conditions do the quiet work that keeps a print looking right for decades, while the digital side of the phrase is mostly about knowing where your files actually live. Pick the method that matches what the photograph is worth to you, and the mount will do its job without drama.
Frequently Asked Questions
Is dry mounting ever the right choice?
Yes, for prints that are replaceable, inexpensive, or made specifically for display. Posters, reproductions, and exhibition copies are reasonable candidates. The technique is not wrong; it is just permanent, so it should match the value of what is being mounted.
How do I know if a mat board is safe for my photograph?
Look for a board that passes the photographic activity test, covered by ISO 18916. Reputable suppliers state this on the product. If a seller cannot tell you whether the board passes, that is your answer.
Can I undo a dry-mounted photo?
Usually not without risk. Heat-activated adhesives are difficult or impossible to reverse, and attempts to separate a print from its board often damage the paper surface. Conservators can sometimes help, but success is not guaranteed.
Why does my framed photo buckle even though it is taped down?
Because taping all four edges removes the paper’s ability to expand and contract with humidity. The print has nowhere to move, so it ripples in the middle. Hinging along the top edge only usually solves it.
What does “photos mount” mean on a computer?
It usually refers to a Photos folder on a storage volume that has been attached, or mounted, to the operating system’s directory tree. If the folder is missing, check whether the drive is mounted and at which path.
Do I need special materials for storing prints long-term?
Yes. Storage enclosures are specified under ISO 18902, which covers board quality and avoiding materials that release harmful compounds. Cool, dry, stable conditions and vertical storage in tested folders give prints the best chance of lasting.



