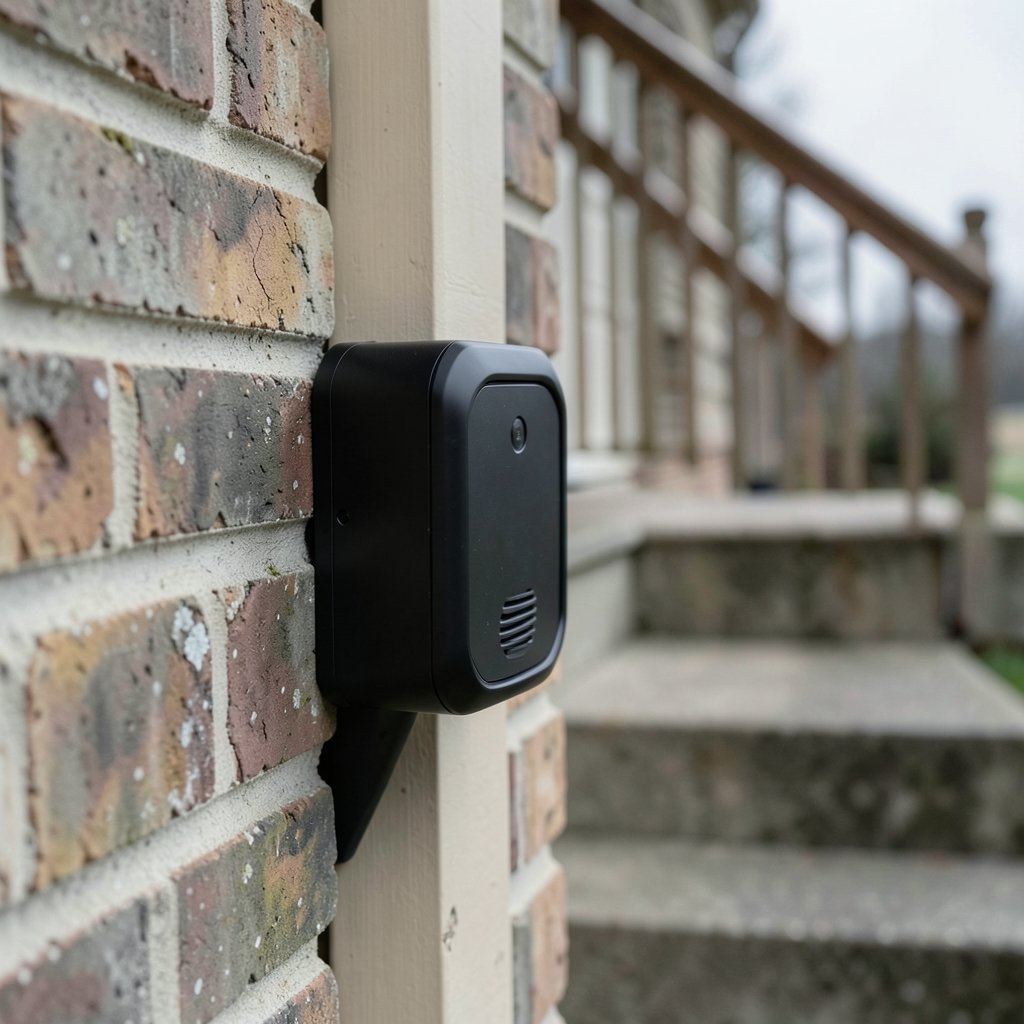
Does your video doorbell keep recording the side of your doorframe instead of the person walking up the steps? It is one of the most common complaints after installation, and the fix is usually a small, cheap piece of plastic called a wedge mount. The trick is knowing which angle to buy, because the wrong one just moves the problem somewhere else.
This guide breaks down how wedge mounts work, what the common angles actually do, how to measure the angle you need before you order anything, and the mistakes that trip up even handy homeowners. No jargon, no guesswork.
What a Wedge Mount Actually Does
A wedge mount (sometimes called an angle mount or tilt bracket) is a bracket that sits between your wall and the doorbell. It changes the camera’s orientation so the lens points where the action happens: the walkway, the porch steps, or the driveway.
Most doorbells get mounted beside the door, on a wall that runs parallel to the approach path. That means the camera stares straight ahead at a brick wall or a hedge while people walk past at the edge of the frame. A wedge rotates the camera inward, toward the door, so the field of view captures faces instead of siding.
Two things make wedge mounts confusing. First, they tilt in different directions. Some angle the camera left or right (yaw). Some tilt it up or down (pitch). Some do both. Second, manufacturers use the terms “wedge,” “angle,” and “corner” mount almost interchangeably, even though they are not the same product.
A corner mount typically swings the camera about 45 degrees diagonally, which suits a doorbell installed on a wall perpendicular to the door. A wedge usually tilts in a single plane. If you buy the wrong type, you can end up with a camera pointed at the ceiling or at your neighbor’s window.
The Common Wedge Angles and What They Do
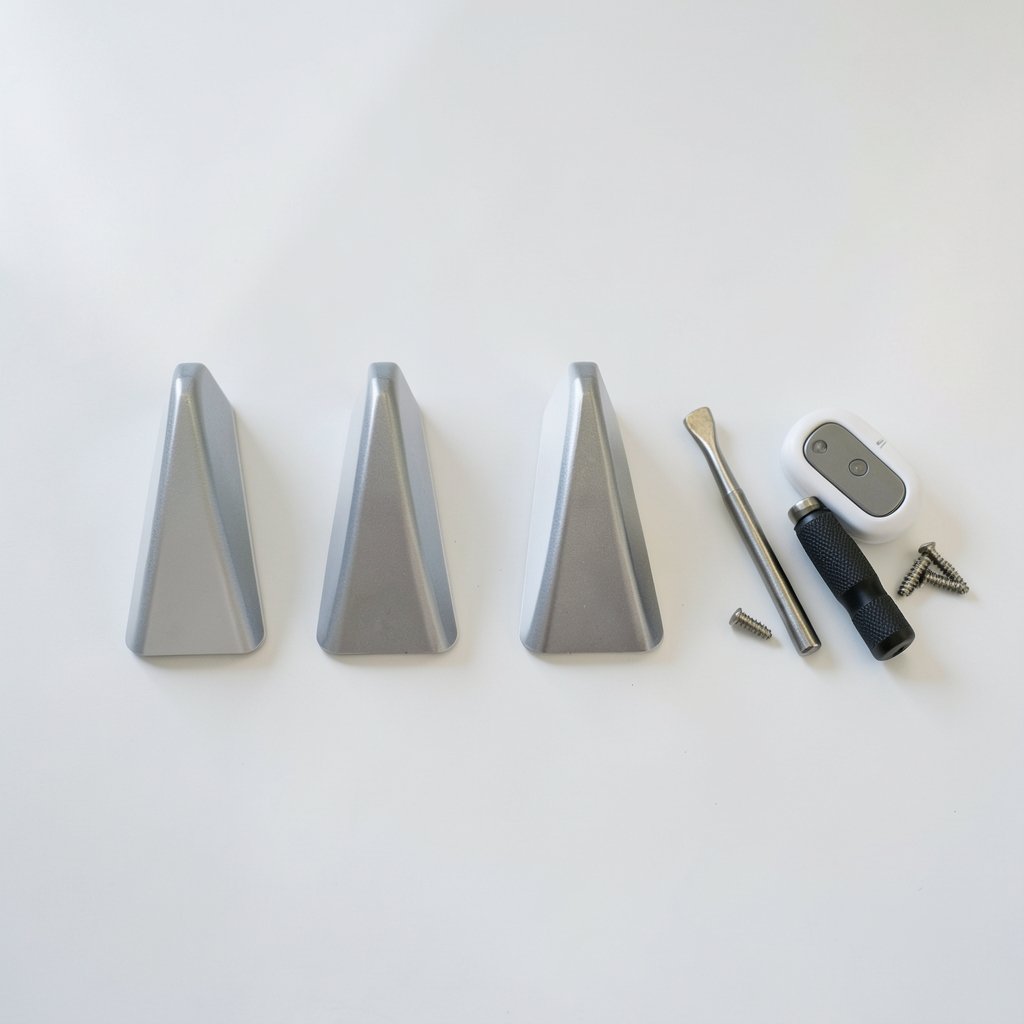
Consumer wedge kits generally come in fixed increments. The most widely sold are 15, 20, 30, and 45 degrees, and some brands offer stackable or adjustable kits that let you combine pieces. Exact angles and model compatibility vary by brand and by doorbell generation, so always check the manufacturer’s own accessory list before ordering.
Here is a rough guide to how each angle behaves in practice:
| Wedge angle | Typical use case | What to expect |
|---|---|---|
| 5 to 10 degrees | Fine-tuning a nearly correct view | Small nudge; fixes minor framing issues |
| 15 degrees | Doorbell mounted close to the door, walkway slightly off-center | Gentle correction; keeps most of the original view |
| 20 to 30 degrees | Doorbell on a side wall with the path running past it | Strong correction; the workhorse range for most homes |
| 45 degrees | Doorbell on a wall perpendicular to the door, or a tight corridor | Dramatic swing; best paired with a corner-style mount |
| Adjustable or stacked | Odd layouts, angled porches, thick trim | Flexible but bulkier; needs careful test fitting |
The honest truth: there is no universal “best” angle. A 30-degree wedge that transforms one porch does nothing for a doorbell already facing the stairs. The angle you need depends entirely on the geometry of your entryway.
How to Measure the Angle You Need Before You Buy
This is the step almost everyone skips, and it is the reason so many wedge mounts get returned. You can figure out your angle in about ten minutes with a pencil, a piece of string, and a helper.
- Stand where a visitor would stand when they ring the bell. Have a helper hold a phone at chest height, facing the doorbell.
- Look at the doorbell’s live view on your phone app. Note where the visitor appears in the frame, or whether they appear at all.
- Estimate the offset. If the person shows up at the far edge of the frame, you need a bigger correction than if they are just slightly off-center.
- Translate the offset into degrees. A rough rule of thumb: a person standing at the edge of a typical doorbell’s field of view is roughly 30 to 45 degrees off-axis. Someone just outside the frame may need more.
- Check the mounting surface. If the wall runs parallel to the walkway, you need a side-angle wedge. If the doorbell sits above or below eye level, you may need a downward tilt instead.
A simpler shortcut: buy an adjustable wedge kit if one exists for your model. Fit it, aim the camera at the walkway using the live view, then lock it down. You will spend a little more, but you avoid guessing.
Brand Differences Matter More Than You Think
Wedge accessories are proprietary. They are shaped to fit a specific doorbell body, and the mounting holes line up only with that model. That means a 30-degree wedge for one brand will not fit another brand’s doorbell, and often will not even fit a different generation of the same brand. (Doorbell)
Ring, Google Nest, Arlo, and Eufy have all sold wedge or angle accessories for their doorbells at various points, but the available angles, the included hardware, and the model compatibility change over time. The safest move is to look up your exact model on the manufacturer’s support site and confirm which accessory is listed for it.
There is also a physical constraint people forget. Adding a wedge pushes the doorbell out from the wall by an inch or more. On a narrow doorframe, that extra depth can block the door from opening fully or push the camera past the edge of the trim. Measure the clearance before you commit.
If you are still choosing a doorbell in the first place, it helps to think about subscription costs alongside mounting hardware. Some models lock key features behind a monthly fee, which changes the value calculation once you add accessories. A roundup of the best video doorbells without subscription is a useful starting point if you want to avoid that trap.
Mistakes That Ruin a Wedge Install
Even a correctly sized wedge can disappoint if the installation goes wrong. These are the errors that show up again and again.
Mounting too high. A doorbell at seven feet captures the top of heads and a lot of sky. Most manufacturers recommend roughly chest height, around four feet. A wedge fixes horizontal aim, not vertical aim, so height still matters.
Overcorrecting. Homeowners see a bad view, buy the steepest wedge available, and end up with the camera pointed at the hinge side of the door. Start with a moderate angle and adjust.
Ignoring the field-of-view trade-off. Angling the camera shifts coverage. You gain the walkway but may lose the area directly in front of the door. Some installers combine a wedge with a slightly higher or lower mount to balance both.
Skipping the seal. A wedge creates a gap between the doorbell and the wall. If water gets behind it, you get corrosion or a fogged lens. Use the gasket or foam included with the kit, and seal any exposed screw holes.
Forgetting the wiring. Wedge kits sometimes require longer screws or a spacer to accommodate the wiring. If the doorbell is hardwired, check that the added depth does not strain the wires.
Not checking the rules. Camera placement rules vary by location, and some jurisdictions restrict views into neighboring property or public space. Local rules differ, so check your own before aiming the camera across a property line.
Wedge Mount vs. Other Fixes
A wedge is not the only answer. Depending on your layout, one of these alternatives may work better or combine well with a wedge.
| Solution | Best for | Limitation |
|---|---|---|
| Wedge mount | Doorbell beside the door, walkway off to one side | Only corrects one plane; adds depth |
| Corner mount | Wall perpendicular to the door | Bulky; not all models support it |
| Adjustable bracket | Odd angles, uncertain geometry | Larger footprint; more installation effort |
| Repositioning the doorbell | Bad height or wrong wall entirely | Requires new wiring or patching |
| Adding a second camera | Wide porches, long driveways | Extra cost and another device to manage |
For most homes, a wedge or corner mount solves the problem for under the price of a takeout dinner. But if the doorbell is fundamentally in the wrong spot, no bracket will save it.
When the Doorbell Itself Is the Problem
Sometimes the angle is fine and the camera is the weak link. A low-resolution sensor, a narrow field of view, or poor night performance will disappoint no matter how well you aim it. Before you spend money on brackets, check whether the footage is actually usable.
If clips look soft or pixelated, upscaling can help recover detail from older recordings. Tools that use an AI video upscaler to improve video resolution can sharpen faces and license plates in footage you already have, which matters if you ever need to hand a clip to police or an insurer.
It is also worth reviewing what your doorbell captures over a normal week. If the wedge fixed the aim but the footage is still hard to read, the camera may need replacing rather than re-aiming. (National Institute of Standards and Technology)
A Practical Buying Checklist
Before you order a wedge mount, run through this list. It takes five minutes and saves a return shipping label.
- Confirm your exact doorbell model number rather than relying on the brand alone.
- Check the manufacturer’s accessory page for compatible wedges and listed angles.
- Measure the clearance between the doorbell and the door swing.
- Decide whether you need a side angle, a downward tilt, or both.
- Confirm whether your doorbell is battery or hardwired, since wiring affects installation depth.
- Buy from a seller with a return policy in case the angle is wrong.
If you are weighing a full upgrade instead of an accessory, it helps to see how the current generation compares. A look at video games 2026 is not relevant here, but a broader survey of best ai video generator tools is similarly off-topic for doorbells. Stick to doorbell-specific reviews and manufacturer documentation for this decision.
Conclusion
A wedge mount is one of the cheapest upgrades in home security, and the angle is the whole ballgame. Get it right and your doorbell finally sees faces instead of fence posts. Get it wrong and you have spent money to point a camera at a wall.
The formula is simple: measure your entryway geometry first, pick a moderate angle before a steep one, confirm model compatibility with the manufacturer, and watch for the depth and sealing issues that cause callbacks. Most homeowners land in the 15 to 30 degree range, but your porch gets the final vote. Take ten minutes with the live view before you order, and the install will go right the first time.
Frequently Asked Questions
What wedge angle do I need for my video doorbell?
It depends on where the walkway sits relative to the camera. If visitors appear at the edge of the frame, a 15 to 20 degree wedge usually corrects it. If they are barely visible or missing entirely, a 30 to 45 degree wedge is more likely. Test with the live view before ordering.
Can I use a wedge mount on any video doorbell?
No. Wedge mounts are model-specific. The shape and screw holes are designed for one doorbell body, and often one generation of it. Always confirm compatibility on the manufacturer’s support page for your exact model number.
Does a wedge mount reduce my camera’s field of view?
It shifts coverage rather than shrinking it. You gain the walkway or porch approach but may lose some coverage directly in front of the door. Some installers adjust mounting height to balance both areas.
Can I stack two wedges to get a steeper angle?
Some brands sell stackable or multi-piece kits designed for this. Stacking generic wedges from different brands usually does not work because the screw patterns will not align. Use only pieces sold as a set for your model.
Will a wedge mount work if my doorbell is mounted too high?
Not really. A wedge corrects horizontal aim, and some correct vertical tilt, but mounting height still dominates the view. A doorbell at seven feet will capture the tops of heads regardless of angle. Lowering the mount is usually the better fix.
How do I stop water getting behind the wedge?
Use the gasket or foam seal included with the kit, and seal any exposed screw holes with outdoor-rated silicone. Check the install after the first heavy rain, since a small gap can fog the lens or corrode the contacts over time.