Where should a projector actually hang? It is the question that decides whether a home theater looks crisp and professional or slightly soft, slightly crooked, and permanently annoying. Get the placement right and everything else, from focus to brightness, falls into line. Get it wrong and no amount of menu tinkering will fully rescue the image.
This guide walks through the real math and the practical decisions behind projector ceiling mount placement, from throw ratio to ceiling height, plus the mistakes that trip up even careful installers.
Why Placement Decides Image Quality
A projector is not a television. It does not adapt to wherever you put it. The lens throws a cone of light at a fixed angle, and the screen has to sit inside that cone. Move the projector a few inches and the image changes size. Tilt it and the edges go soft. (Projector)
The single most useful number in the whole process is the throw ratio. It equals the distance from the lens to the screen divided by the screen width. A projector with a 1.5:1 ratio needs 1.5 feet of distance for every foot of image width. Want a 100-inch-wide image? You need about 150 inches, or 12.5 feet, from lens to screen.
Manufacturers publish throw-distance tables in their installation manuals, and those tables are the authoritative source for any specific model. Ratios also shift between generations of the same product line, so never assume last year’s number still applies.
Measure From the Lens, Not the Mount
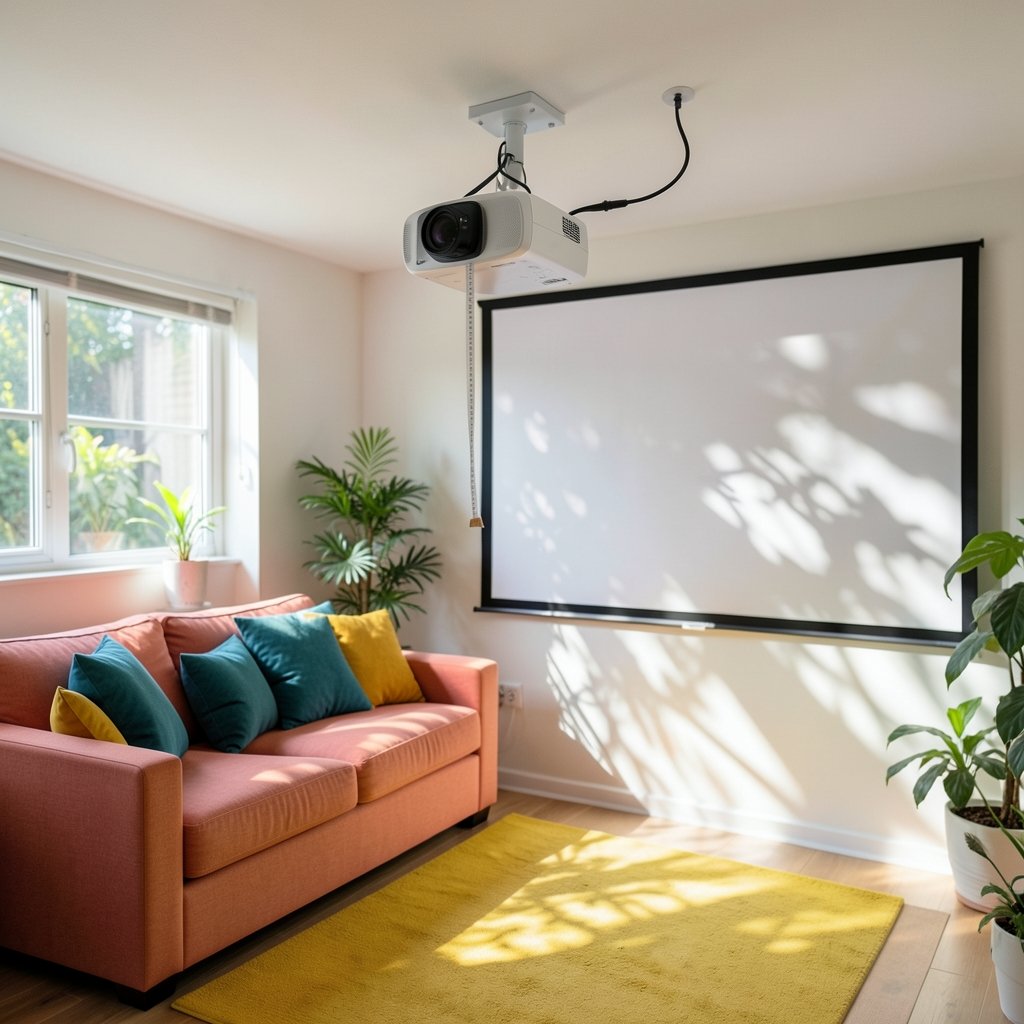
Here is a mistake that shows up constantly: people measure from the ceiling mount to the screen. That is wrong. The distance that matters runs from the front of the lens to the screen surface.
Ceiling mounts offset the projector body, and the lens sits forward of the mounting plate. Some projectors also have a recessed lens or a protruding barrel. Check the dimensional drawings in the manual to find the lens’s forward offset, then add it to your mount position.
The offset and lens shift factor
Most projectors throw the image with the lens sitting below or above the image center by a fixed percentage of image height. This is called vertical offset. Ceiling mounting typically means inverting the projector and using that offset upward, so the lens ends up above the top of the image.
Many models also offer lens shift, which moves the image optically without moving the projector. This is the tool you want. It lets you fine-tune height and horizontal position without tilting the chassis. Exact offset and shift ranges are model-specific, so treat the manual as gospel.
Work Out Ceiling Height and Screen Position First
Before drilling anything, sketch the room. Two measurements drive everything: ceiling height and seated eye level.
A common convention places the bottom of the screen roughly at seated eye level, often cited around 1.0 to 1.2 meters, or 40 to 48 inches. Treat this as an approximate starting point rather than a hard standard. It keeps viewing comfortable and reduces neck strain over a long movie.
Then the projector hangs above and behind the seating, high enough that heads do not block the beam. If the ceiling is low, a short-throw projector with a wide angle may be the only way to fill a large screen from a short distance. If the room is deep, a standard-throw unit gives more flexibility.
| Room situation | Practical approach |
|---|---|
| Low ceiling, large screen | Short-throw or ultra-short-throw model |
| Deep room, standard screen | Standard throw with generous mount drop |
| High ceiling | Long drop pipe, checked against mount load rating |
| Seating close to screen | Lower screen, more lens shift, less tilt |
If the room itself is still up in the air, it helps to think about the space before the equipment. A guide to the best place to live touches on how room layout shapes daily comfort, and the same logic applies here: the room sets the constraints, and the gear follows.
Choose and Rate the Mount Properly
Ceiling mounts are rated by maximum load and by drop length. The drop is the distance from the ceiling plate to the projector’s mounting arms. That drop has to place the lens at the height you calculated.
Two rules matter more than any spec sheet:
- Check the mount’s weight rating against the projector’s weight, with margin to spare.
- Confirm the drop length can reach your calculated lens height, rather than an approximate fit.
Cheap mounts sometimes skimp on the joint that lets you adjust pitch and roll. Since a level image depends on tiny adjustments, a mount with fine control saves hours of frustration.
Attach to structure, not drywall
A projector and mount together can weigh a surprising amount, and all of it hangs over people’s heads. Fix the mount to ceiling joists or structural members. Drywall anchors alone are not acceptable for overhead loads.
Local building and electrical codes govern how ceiling-mounted equipment must be fastened and wired, and those rules vary by jurisdiction. Check with the local building authority before installing, especially in a commercial or educational setting where workplace-safety rules for overhead loads may also apply.
Plan Cables and Airflow Before You Drill
Cable routing is the step everyone leaves until last, and it is the one that ruins a clean install. Power, HDMI, and any control cables should be planned before the mount goes up. Running conduit or a ceiling plate with a cable pass-through makes the finished job look intentional.
Projectors also run hot. Most manuals specify minimum clearance around vents for airflow. Bury a projector tight against the ceiling and you shorten its lamp or laser life while inviting thermal shutdowns mid-film. Leave the clearance the manual asks for.
If the theater is part of a larger build, budgeting for the wiring and ceiling work early avoids nasty surprises. A breakdown of home renovation costs is a sensible reference for planning that phase, since electrical and ceiling work often sit inside a bigger project.
Aim, Level, and Focus in the Right Order
Once the mount is up, resist the urge to start pressing buttons. Work in this sequence:
- Level the mount plate using a spirit level in both directions.
- Set the projector’s pitch so the image lands square on the screen.
- Use lens shift to center the image without tilting the chassis.
- Adjust zoom to fill the screen exactly.
- Focus, then recheck focus at the corners.
- Only then touch keystone correction, and only if a small residual error remains.
Why keystone is a last resort
Keystone correction digitally reshapes the image to fix a trapezoid caused by tilting the projector. It works, but it costs you. Digital correction resamples the picture, which reduces effective resolution and can soften fine detail. Physical placement and lens shift are always preferable, and manufacturer guidance generally treats keystone as a workaround rather than a substitute for correct mounting.
A useful sanity check: if you need heavy keystone, the projector is in the wrong place. Move it.
Common Mistakes and What Actually Works
Most failed installs share the same handful of errors. Here is what to watch for.
Measuring from the mount instead of the lens. This throws off the throw distance by several inches and changes image size more than people expect.
Buying the projector before checking the room. The throw table should be consulted before purchase. A projector that needs 14 feet of distance will not fill a screen in a 12-foot room, no matter how good the reviews are.
Ignoring the offset. Mounting at the height that “looks right” and then discovering the image sits 20 inches too high is a classic. Calculate the offset first.
Skipping the joist finder. Drywall alone will not hold an overhead load safely over time.
Cramming the vents. Clearance exists for a reason, and heat is the enemy of every projector.
Tilting instead of shifting. A tilted projector produces a trapezoid, and keystone then degrades the image. Lens shift avoids the whole problem.
For anyone building out the rest of the room, matching the projector to the space is part of a bigger picture. Guidance on the best projectors for home theater can help narrow the shortlist once the throw distance is known, and treating the install as a proper project with a schedule and checklist keeps it on track, much like the discipline described in resources on the best project management software for teams. (Ergonomics)
A Quick Reality Check on Numbers
Throw ratios and offsets are not universal constants. They change between models, between lens options, and between generations. The same brand can sell two projectors with wildly different geometry under similar names.
That is why the manual matters more than any calculator. A throw-distance calculator is a helpful planning tool, but the manufacturer’s published table for your exact model is the reference that counts. When the two disagree, trust the manual.
Screen-height conventions deserve the same caution. The “eye level” rule is a widely used convention, not a formal standard, and viewing-angle guidance from professional audiovisual bodies offers more detailed recommendations for critical viewing. For a living room, the convention is usually fine. For a dedicated theater, it is worth going deeper.
Conclusion
Good projector ceiling mount placement comes down to a short list of decisions made in the right order. Find the throw ratio, measure from the lens, calculate the offset, set the screen at a comfortable height, pick a mount rated for the weight with the right drop, fix it to structure, and use lens shift instead of keystone.
None of it is difficult. It just has to happen before the drill comes out. Do the math on paper, check the manual twice, and the reward is an image that stays sharp, square, and bright for years. Rush it, and every movie night becomes a reminder of the four inches you skipped.
FAQ
How do I calculate throw distance for a ceiling-mounted projector?
Divide the distance from the lens to the screen by the screen width to get the throw ratio, or work backward from the ratio your projector specifies. A 1.5:1 projector needs 1.5 feet of distance per foot of image width. Always confirm with the throw table in your model’s installation manual, since ratios vary between models and generations.
Should I measure from the ceiling mount or the lens?
Always from the lens. Ceiling mounts offset the projector body, and the lens sits forward of the mounting plate. Add that forward offset to your mount position so the true lens-to-screen distance matches the throw table.
Is keystone correction bad for image quality?
It is a compromise. Digital keystone resamples the image to fix a trapezoid, which reduces effective resolution and can soften detail. Physical placement and lens shift are the preferred solutions, and keystone should only clean up a small residual error.
How high should the projector hang above the screen?
It depends on the projector’s vertical offset, which is a fixed percentage of image height, plus any lens shift range. Calculate the offset from the manual, then set the mount drop so the lens lands at that height. There is no universal number that works for every model.
Can I mount a projector on drywall without a joist?
No. Overhead loads should be fixed to ceiling joists or structural members, not drywall alone. Local building codes govern fastening and wiring requirements for ceiling-mounted equipment, so check with your local building authority, particularly for commercial or educational installations.
What ceiling height do I need for a projector setup?
There is no single figure, but the room must fit the screen, the seating, and the projector’s offset. Low ceilings often call for a short-throw model, while high ceilings need a longer mount drop checked against the mount’s load rating. Sketch the room and calculate before buying anything.