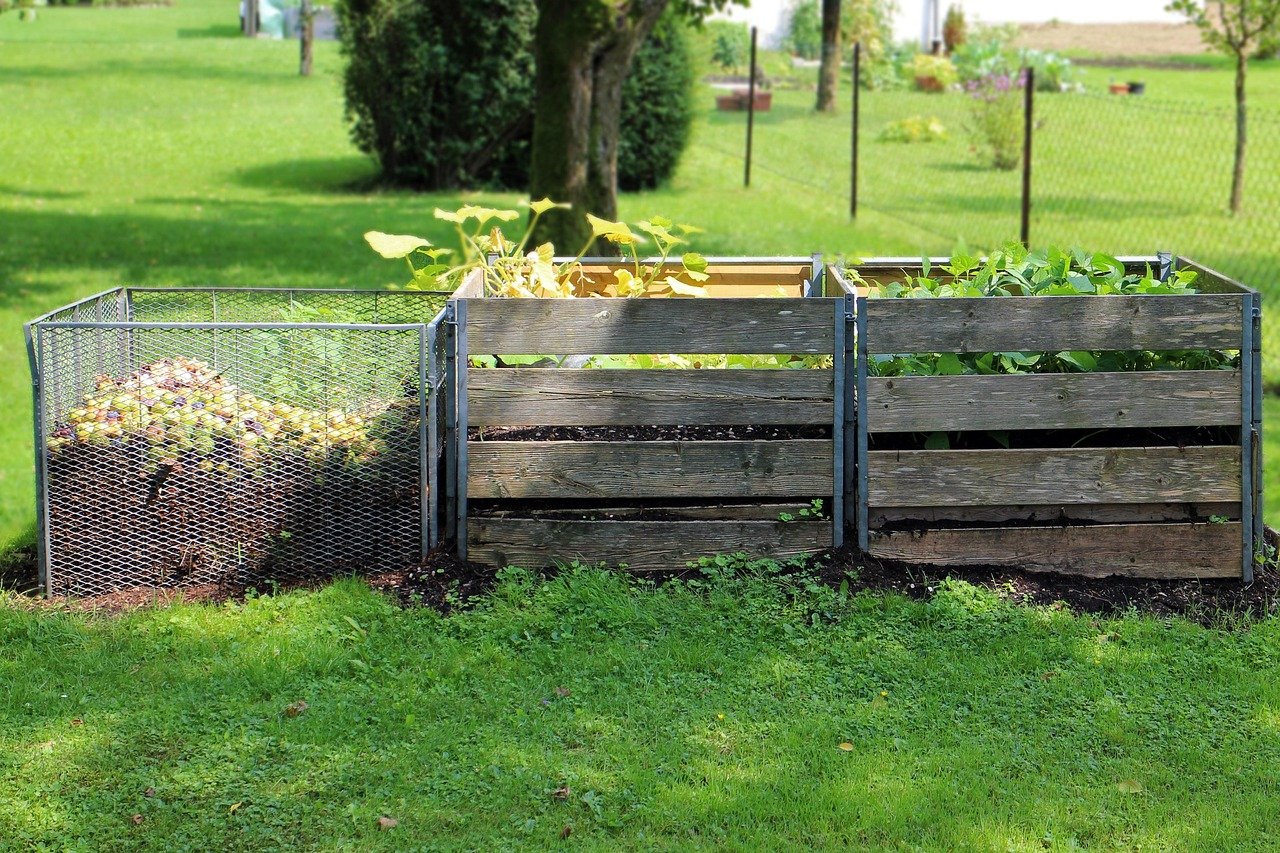
What if the answer to half your kitchen waste problem was already sitting in your backyard, quietly waiting for you to notice it? That’s the strange thing about composting: it sounds like homework, but it’s really just a controlled version of something nature has been doing for hundreds of millions of years. Leaves fall, fruit rots, and soil gets richer. Your job is to nudge that process along, not to master it. (Composting at Home)
The good news is that starting a compost pile is far less complicated than most people expect. The bad news is that small mistakes, like tossing in the wrong scraps or letting the pile dry out, can turn a tidy setup into a smelly, fly-filled mess. This guide walks through what actually works, what quietly fails, and how to build a routine you’ll stick with. (Compost)
Why Bother Composting?
Composting turns food scraps and yard trimmings into a dark, crumbly material that feeds plants and improves soil structure. It also keeps organic waste out of landfills, where it would otherwise break down without oxygen and release methane, a potent greenhouse gas. For anyone paying for trash pickup by volume, it can shrink the household bin noticeably within a few weeks.
There’s a practical angle too. Finished compost improves water retention in sandy soil and loosens heavy clay. Gardeners often describe it as a soil conditioner rather than a fertilizer, because its main value is physical and biological rather than raw nutrient content.
The Two Numbers That Decide Everything
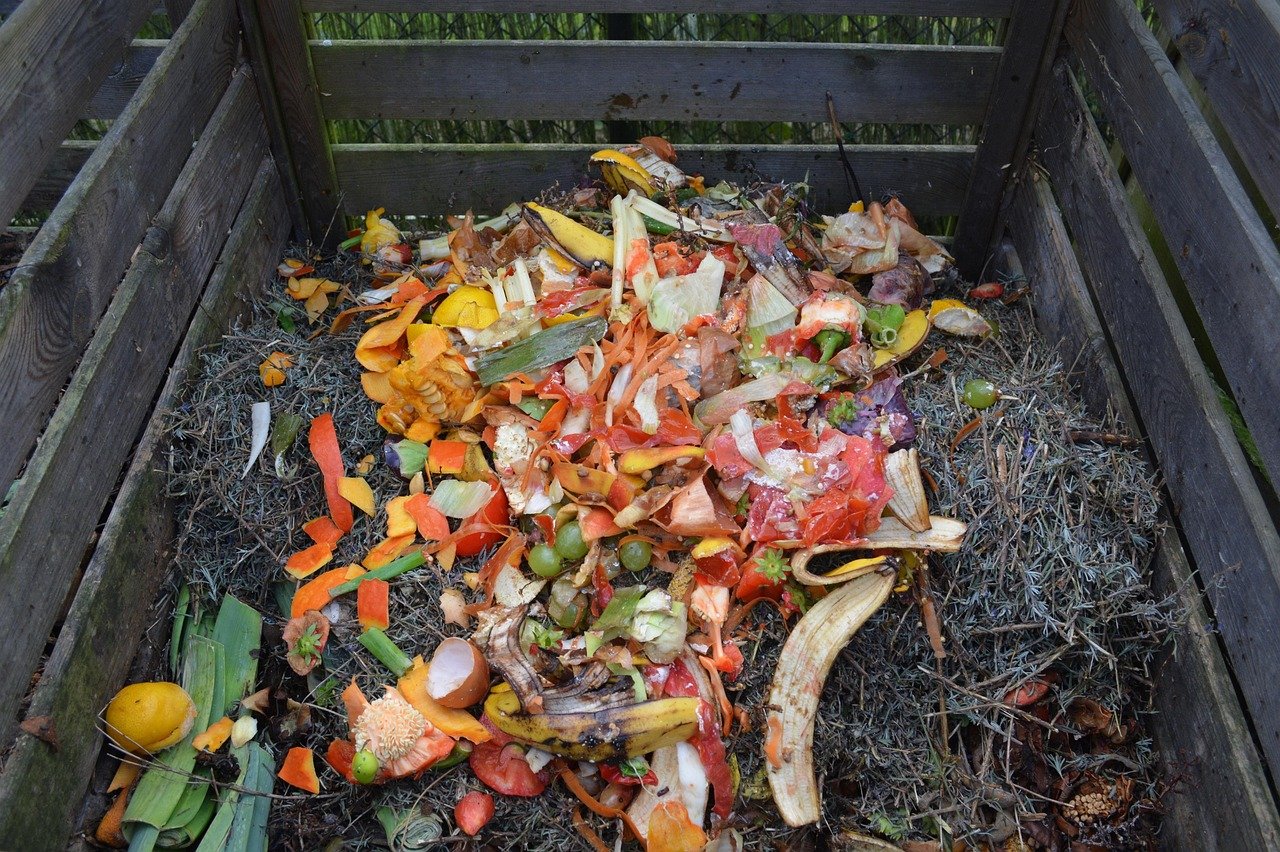
Every composting guide eventually arrives at the same core idea: carbon-to-nitrogen ratio, usually shortened to C:N ratio. “Browns” (dry leaves, cardboard, straw, sawdust) are carbon-rich. “Greens” (kitchen scraps, grass clippings, coffee grounds, fresh plant trimmings) are nitrogen-rich. The rough target is about 30 parts carbon to 1 part nitrogen by weight.
In practice, nobody weighs anything. The working rule most home composters use is simpler: add roughly two to three parts browns for every one part greens, by volume. If the pile smells sour or looks slimy, add more browns. If it’s sitting there doing nothing for weeks, add more greens and a splash of water.
The second number is moisture. A healthy pile feels like a wrung-out sponge. Too dry and the microbes stall. Too wet and the pile goes anaerobic, which is where the rotten-egg smell comes from. Squeeze a handful: a few drops should appear, not a stream.
Choosing Your System
There’s no single right setup. The best one is whatever you’ll actually maintain, given your space, climate, and how much waste you generate.
| System | Best for | Effort level | Typical timeline |
|---|---|---|---|
| Open pile or heap | Large yards, lots of leaves | Low | 6–12 months |
| Single bin (tumbler or static) | Small yards, beginners | Low to medium | 2–6 months |
| Three-bin system | Serious gardeners | Medium | 2–4 months |
| Worm bin (vermicomposting) | Apartments, balconies | Low but attentive | 2–4 months |
| Bokashi bucket | No outdoor space, all food waste | Low, plus burying | 2–4 weeks to ferment |
A tumbler is the friendliest starting point for most households. It’s enclosed, so pests stay out, and turning it takes seconds. The trade-off is capacity: tumblers fill fast, and once full you either stop adding or start a second batch. (How to start an ai automation agency)
Vermicomposting, using red wiggler worms in a bin, suits people without outdoor space. Worms process food scraps quickly and produce castings, a nutrient-rich material. The catch is that worms are picky: no citrus in bulk, no onions, no meat or dairy, and the bin must stay between roughly 15°C and 25°C (60–77°F).
Bokashi is a fermentation method rather than true composting. You layer food scraps with inoculated bran in an airtight bucket, let it ferment for a couple of weeks, then bury the result in soil or add it to a compost pile to finish. It handles things a normal pile won’t, like small amounts of meat and dairy, but it needs a second stage to be useful.
Setting Up in Seven Steps
Here’s a sequence that works for a basic outdoor bin, which is where most beginners should start. (Alefs 11 year flying car head start meets teslas roadster)
- Pick the spot. Level ground, partial shade, and reachable with a bucket in one hand. Avoid spots where runoff drains toward a well, stream, or vegetable bed you eat from raw.
- Get a container or build a heap. A 1 cubic meter (about 3 feet cubed) volume is the sweet spot: big enough to hold heat, small enough to turn. Many municipalities sell subsidized bins, so check before buying.
- Start with a brown layer. A 15–20 cm base of twigs, straw, or dry leaves gives airflow at the bottom.
- Add greens and browns in layers. Alternate roughly 2–3 parts browns to 1 part greens, mixing as you go rather than leaving distinct bands.
- Moisten as you build. Water lightly between layers. Don’t soak it.
- Turn every one to two weeks. Turning introduces oxygen, which is what separates hot composting from a slow, cold pile. If you’d rather not turn, expect slower results and more patience.
- Harvest from the bottom. Finished compost sits at the base after a few months. Pull it out, screen it if you like, and use it.
If you’re building this alongside other new projects, the same “start small, iterate” logic applies broadly. A practical playbook for launching a small business on a low budget, for example, follows a similar pattern of testing one variable at a time rather than overhauling everything at once. (Start career esports gaming realistic roadmap)
What to Compost and What to Keep Out
The “yes” list is generous: fruit and vegetable scraps, coffee grounds and filters, tea bags (check for plastic mesh), eggshells, grass clippings, leaves, straw, shredded plain cardboard, newspaper, and spent houseplants.
The “no” list matters more, because a few bad additions cause most beginner problems.
- Meat, fish, and dairy. They attract rodents and smell strongly. Some experienced composters handle them in sealed hot systems, but beginners should skip them.
- Pet waste and cat litter. These can carry pathogens that home piles don’t reliably kill.
- Diseased plants and weeds with seeds. A cool home pile won’t get hot enough to destroy them.
- Glossy paper, receipts, and coated cardboard. The coatings don’t break down cleanly.
- Cooking oil and grease. They slow the process and attract pests.
- “Compostable” plastics. This is the biggest trap. Many items labeled compostable only break down in industrial facilities that reach sustained high temperatures, not in a backyard bin. Certification schemes also differ by country, so a logo from one market may mean nothing in another. When in doubt, leave it out.
On the tech side of home life, small fixes often follow the same principle: isolate the actual problem before changing everything. The same mindset behind troubleshooting a start menu that won’t open in Windows 11 applies here, where you check one variable at a time instead of rebuilding the whole system.
Troubleshooting the Common Failures
Almost every composting problem traces back to one of four variables: moisture, oxygen, C:N ratio, or particle size.
Smell. A healthy pile smells earthy. A sour or rotting smell means too wet or too many greens. Fix: add browns, turn it, and stop adding water for a while.
Flies. Fruit flies mean exposed food scraps. Bury each addition under 5–10 cm of browns, and keep the lid closed.
Nothing happening. If the pile is cold and unchanged after a month, it’s likely too dry or short on nitrogen. Add greens, water it, and turn.
Rodents. Usually caused by food scraps on the surface or meat and dairy in the mix. Bury scraps deep, use a lidded bin with a base, and remove tempting items.
Too slow. Chop materials smaller. A shredded leaf breaks down in weeks; a whole one takes months.
Too hot or steaming. That’s actually good news: it means the pile is working. Internal temperatures of 55–65°C (130–150°F) speed decomposition and help kill weed seeds. Just make sure it doesn’t dry out.
Composting in Small Spaces and Cold Climates
No yard? A worm bin under the sink or a bokashi bucket on the balcony both work. Both need attention, but neither takes more than a few minutes a week.
Cold winters slow everything down. The pile doesn’t die; the microbes just go quiet. Practical responses include building a bigger pile in autumn for insulation, keeping a lidded container indoors to stockpile scraps until a thaw, and insulating the bin with straw bales. Worms need to come indoors or into a heated garage once temperatures drop below freezing.
Apartment dwellers sometimes assume composting is off the table entirely. It isn’t. Many cities run food-scrap collection programs, and community gardens often accept contributions. If you’re weighing options and learning new systems from scratch, the same approach that helps someone learn to use ChatGPT from beginning to end applies: start with one small, repeatable task and build from there.
The Routine That Makes It Stick
The composters who succeed aren’t the ones with the fanciest bins. They’re the ones with a routine.
A kitchen counter container with a lid, emptied every two or three days, prevents the “I’ll deal with it later” pileup. Keeping a bag of dry leaves or shredded cardboard next to the bin means browns are always within reach, which is the single biggest factor in avoiding smells. A five-minute turn every week or two keeps things moving.
Expect the first batch to be imperfect. Most beginners end up with something half-finished and lumpy, then screen out the chunks and toss them back in. That’s normal. Composting rewards consistency far more than precision, and the learning curve is measured in seasons, not days.
Conclusion
Starting a compost pile is one of those rare projects where the barrier is almost entirely mental. You need a spot, a container, a rough sense of the brown-to-green balance, and enough moisture to keep things alive. Everything else is adjustment.
The failures are predictable and fixable: too wet, too dry, too many greens, food left exposed. Once you’ve corrected each of those a couple of times, the pile mostly runs itself. And the payoff, a steady supply of dark, crumbly compost and a noticeably lighter trash bin, shows up faster than most people expect.
Frequently Asked Questions
How long does it take to make compost?
A well-managed hot pile can produce finished compost in two to three months. A cool, unturned pile typically takes six to twelve months. The variables that matter most are particle size, moisture, airflow, and how often you turn it.
Can I compost if I live in an apartment?
Yes. Vermicomposting with worms and bokashi fermentation both work indoors and take up about the space of a storage bin. Many cities also offer food-scrap drop-off points or curbside collection for residents without yards.
Why does my compost smell bad?
Almost always because the pile is too wet or has too many nitrogen-rich greens relative to carbon-rich browns. Turn the pile to add oxygen, mix in dry leaves or shredded cardboard, and hold off on adding water until it dries out a bit.
Do I need to buy a bin, or can I just make a pile?
Both work. An open heap is fine if you have space and don’t mind slower results. A bin or tumbler keeps pests out, holds moisture more evenly, and looks tidier. Many local councils sell discounted bins, so it’s worth checking before buying new.
Can I compost meat, dairy, and cooked food?
Standard home piles should avoid meat, fish, and dairy because they attract rodents and smell strongly. Bokashi fermentation can handle small amounts of these, but the result still needs a second stage, buried in soil or added to a regular pile, before it becomes usable compost.
What does “compostable” plastic actually mean?
Often less than people assume. Many compostable plastics are certified only for industrial composting facilities that sustain high temperatures for extended periods, and certification standards vary between countries. In a backyard bin, most of these items will sit largely intact. When in doubt, keep them out.