

Is your podcast, stream, or voice call ruined by a machine-gun rattle every time you type? You are not alone. A USB microphone picking up keyboard noise is one of the most common complaints from home studio users, remote workers, and gamers alike. The clicks feel impossibly loud on the recording, even when they seem quiet in the room. The good news: this problem has real, physical causes, and most of them have practical fixes that cost little or nothing. (Microphone)
This guide breaks down why the noise travels from your keys into your mic, how to tell which path it takes, and which solutions actually work in practice. It also covers the mistakes people make when they try to fix it, so you can skip straight to what works.
Why your USB mic hears the keyboard so clearly
Keyboard noise reaches a microphone through two separate paths, and mixing them up is the single biggest reason people waste money on fixes that do not help.
Airborne noise is the click and clack traveling through the air from the keys to the mic capsule. Structure-borne noise is vibration traveling through the desk, through the mic stand or boom arm, and into the microphone body. Structure-borne noise is often the louder culprit, especially for mics mounted on rigid metal stands sitting on the same desk as the keyboard.
Most USB microphones use condenser capsules, which are sensitive by design. That sensitivity is great for capturing a warm voice, but it also means the mic faithfully records every thump and tick it receives. A condenser on a hard desk is basically a vibration detector as much as a voice recorder.
There is also a third factor: distance and gain. If the mic sits far from your mouth, you turn up the input gain to compensate. That higher gain amplifies the keyboard along with your voice. Move the mic closer and lower the gain, and the ratio of voice to keyboard noise improves immediately.
First, diagnose which noise path is the problem
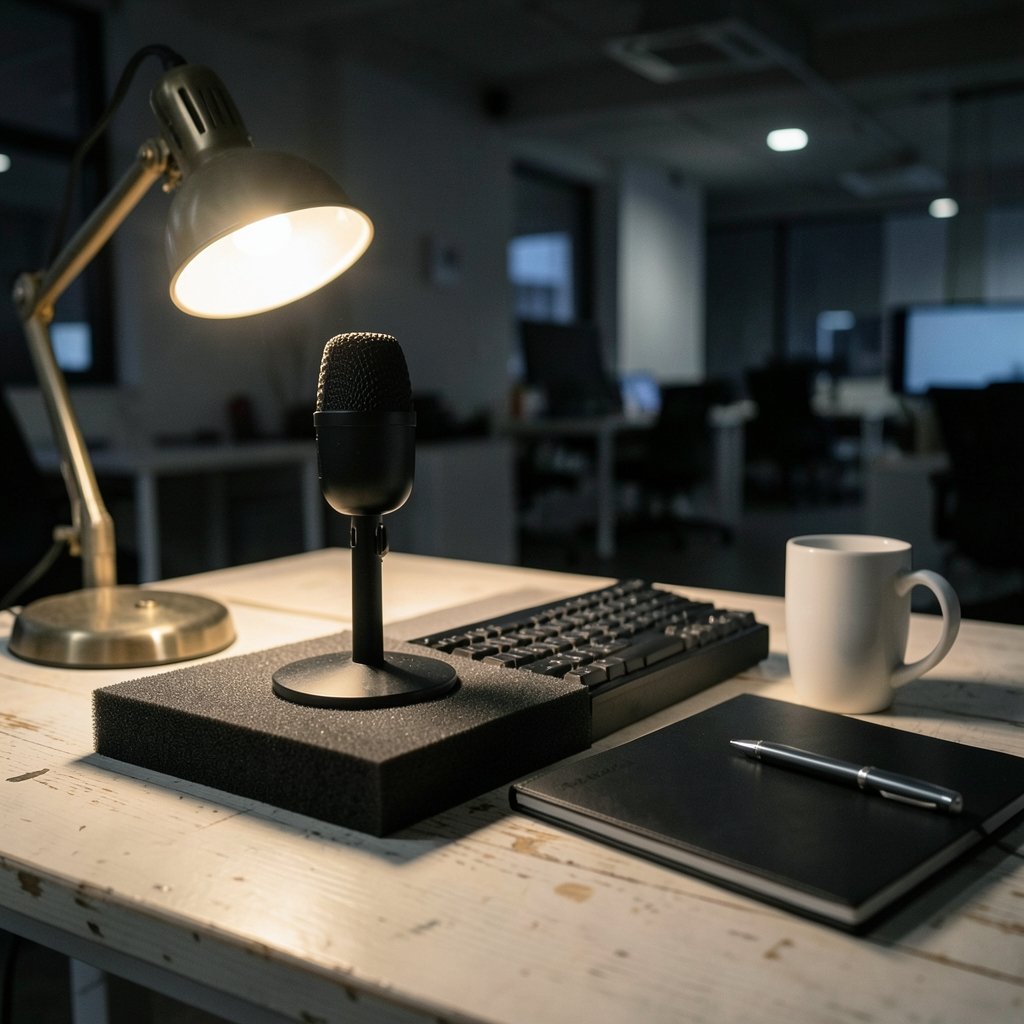
Before buying anything, run a quick test. It takes two minutes and saves real money.
- Record ten seconds of silence while typing normally.
- Record another ten seconds of typing while tapping the keys very gently, barely pressing them.
- Listen back. If soft taps still produce loud thumps, structure-borne vibration is dominant. If only hard, clicky presses come through, airborne noise is the main issue.
A second test: lift the mic stand off the desk entirely (hold it in your hand) and type. If the thumping disappears, the desk is transmitting vibration into your setup. That points straight to isolation as your fix.
Fix structure-borne noise with isolation
Isolation is the highest-impact fix for most people, and it is usually cheap.
Use a shock mount
A shock mount suspends the microphone in elastic bands so stand vibration is damped before it reaches the capsule. Many USB mics ship with a basic mount that screws directly to the stand with no damping at all. Swapping to a proper shock mount is often the single biggest improvement you can make. Just know its limits: a shock mount helps with vibration traveling through the stand, but it does nothing for clicks arriving through the air.
Decouple the stand from the desk
Even with a shock mount, a rigid stand on a hard desk transmits energy. Options that work in practice:
- A boom arm clamped to the desk edge rather than a stand sitting on the desktop
- A thick isolation pad or neoprene mat under the stand base
- A small towel or foam block under the base as a free test before you buy anything
If you perform or record standing up, the same principles apply to floor stands; a look at what makes the best keyboard stand for stage performance stable and vibration-resistant shows how much stand design affects what gets transmitted.
Separate the keyboard from the mic surface
If your keyboard and mic share one desk, consider a keyboard tray or a separate small table for the mic. Physically separating the two surfaces breaks the vibration path entirely. It sounds crude, but it works better than most software tricks.
Reduce airborne noise with placement and gain
Once vibration is under control, tackle the clicks traveling through the air.
Use the polar pattern. Most USB mics are cardioid, meaning they are most sensitive at the front and reject sound from the rear. Point the rear of the mic toward your keyboard. If the mic has a figure-8 or omnidirectional mode, avoid it; those patterns pick up more of the room.
Get closer. Aim for roughly a hand-span between your mouth and the capsule, and speak across the mic rather than straight into it. Then lower the gain. A mic with a physical gain knob makes this much easier to dial in than one controlled only by software.
Angle the mic away from the keys. Tilting the capsule slightly upward and away from the keyboard reduces direct line-of-sight pickup without hurting voice quality.
Soften the desk surface. A desk mat under the keyboard reduces both click volume and reflected high-frequency sound. It is a small change with a noticeable effect.
Software fixes: helpful, but not a cure
Software can clean up residual noise, but it cannot undo a bad physical setup. Treat these as the last ten percent, not the first ninety.
| Tool | What it does | Best for | Watch out for |
|---|---|---|---|
| High-pass filter | Cuts low-frequency rumble and thumps | Structure-borne thumps | Cutoff choice varies; roughly 80–120 Hz is commonly cited, but there is no single standard |
| Noise gate or expander | Mutes or reduces signal below a threshold | Steady background hiss | Can chop word tails and sound unnatural on sharp clicks |
| Noise suppression | Algorithmic removal of steady noise | Fans, hum, air conditioning | Often struggles with short transient clicks |
| De-click / spectral repair | Removes isolated clicks in editing | Fixing a finished recording | Time-consuming; not for live use |
A high-pass filter is the most reliable of these for keyboard thumps because it targets the low-frequency energy those impacts produce. Gates and suppression plugins vary widely between models and are not standardized, so claims about “keyboard noise removal” should be tested on your own setup before you rely on them.
Pick the right microphone for a noisy desk
If you are still shopping, hardware choice matters. Dynamic microphones are generally less sensitive to ambient and transient noise than condenser capsules, though this is a tendency rather than a rule; placement and gain still dominate.
When comparing USB mics, check the spec sheet for the polar pattern, capsule type, and any onboard DSP. Some models include hardware-level noise suppression or broadcast-style processing. Effectiveness is model-specific and marketing claims are not independently standardized, so look for real recordings rather than spec-sheet promises.
Also budget for the mount. A mic that ships with a flimsy clip mount will need a shock mount and probably a boom arm, which changes the true cost. If your desk setup already involves dongles and adapters, keep cable clutter from pulling on the mic; a tidy connection helps, and guidance on the best USB-C hub can keep your desk organized so nothing tugs on the stand.
Common mistakes that make it worse
People often solve the wrong problem. Here are the traps to avoid.
- Buying a shock mount for airborne clicks. If the noise is in the air, isolation will not touch it. Diagnose first.
- Cranking up gain and sitting far away. This amplifies the keyboard along with everything else.
- Pointing the mic’s front at the keyboard. The cardioid front lobe is the last place you want the keys.
- Relying on a gate for live calls. Gates cut in and out and can clip the start of words, which sounds worse than a little typing.
- Ignoring the desk itself. A hollow or resonant desk amplifies thumps. A pad or a separate surface often fixes what a new mic cannot.
- Typing harder to “get it over with.” Impact force directly scales with thump volume.
A practical step-by-step fix plan
Work through this in order. Most people find their answer in the first three steps.
- Run the hand-hold test to confirm whether vibration is the main path.
- Add a shock mount and decouple the stand from the desk with a pad or boom arm.
- Move the mic closer, angle it away from the keys, and lower the gain.
- Point the rear of the cardioid pattern at the keyboard.
- Add a desk mat and, if possible, put the keyboard on a separate surface.
- Apply a high-pass filter around 80–120 Hz in your recording software.
- Only then consider a gate or noise suppression, and test it on real speech.
- If you still fight the problem daily, audition a dynamic USB mic.
If you use keyboard shortcuts to control your recording software mid-session, learning a few Windows keyboard shortcuts everyone should know can reduce how much you type and click during takes, which quietly cuts down on captured noise.
What actually works in practice
In real setups, the combination that solves most cases is unglamorous: a shock mount, a boom arm clamped to the desk, the mic close to the mouth, and modest gain. That stack addresses both vibration and airborne pickup at once. Software comes last and only polishes what is already decent.
The one thing that reliably fails is buying a more expensive microphone without changing the physical setup. A better capsule on the same rigid stand on the same resonant desk will still hear your keyboard. Fix the mechanics first, then upgrade gear if you still need to.
Conclusion
A USB microphone picking up keyboard noise is a physics problem before it is an equipment problem. Vibration travels through the desk and stand, clicks travel through the air, and each path needs a different fix. Diagnose which one dominates, isolate the mic from the surface, move it closer with lower gain, and point the null of the pattern at your keys. Add a high-pass filter for the remaining thumps, and treat gates and noise suppression as finishing touches rather than solutions.
Do the physical work first and the payoff is immediate: cleaner recordings, fewer retakes, and calls where nobody asks what that clicking sound is.
Frequently asked questions
Why does my USB mic pick up my keyboard so loudly?
Most USB mics use sensitive condenser capsules, and many sit on rigid stands on the same desk as the keyboard. That combination turns the desk into a vibration path and puts the capsule close to the clicks. High input gain, needed when the mic is far from your mouth, makes both problems louder.
Will a shock mount stop keyboard noise completely?
No. A shock mount damps vibration traveling through the stand, which is often the biggest source of thumps. It does almost nothing for clicks arriving through the air. If your noise is airborne, you need placement, distance, and gain changes instead.
Is a dynamic mic better than a condenser for a noisy desk?
Generally, dynamic mics are less sensitive to ambient and transient noise, so they can help. But it is a tendency, not a guarantee. Placement, distance, gain, and desk isolation usually matter more than capsule type, so fix those before switching microphones.
What high-pass filter frequency should I use for keyboard thumps?
Many guides suggest somewhere around 80–120 Hz, but there is no single authoritative standard. Start near the low end, raise it gradually while listening to your voice, and stop before your voice starts sounding thin. The right setting depends on your voice and your mic.
Can software remove keyboard clicks from a live call?
Partially. Noise suppression handles steady sounds like fans well, but short transient clicks are harder. Gates can cut word beginnings and sound unnatural. For live use, physical fixes are more reliable; for recordings, a de-click tool in editing works well.
Should I move the keyboard or the microphone?
Whichever is easier. Putting the keyboard on a tray or separate surface breaks the vibration path, and moving the mic to a boom arm clamped to the desk edge does the same. Either approach beats buying new gear, and doing both is better still.



