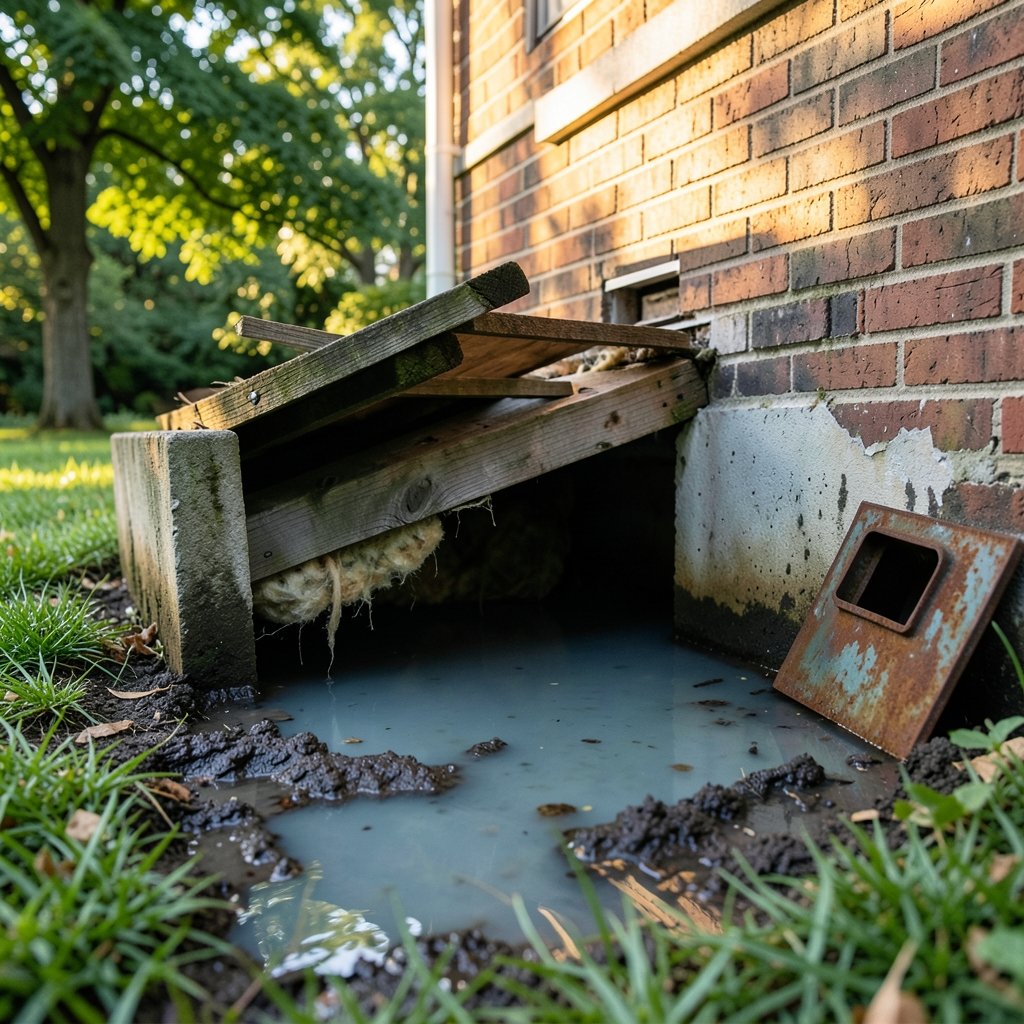
Puddles under the house are easy to ignore because nobody lives down there. But if you pulled back the access hatch and found standing water, damp insulation, or that unmistakable musty smell, you are looking at one of the most common and most costly home problems in the country. Crawl spaces are dark, humid, and largely forgotten, which makes them a perfect place for water to quietly wreck floor joists, insulation, and indoor air quality.
The good news: water in a crawl space is usually fixable, and most causes are surprisingly ordinary. The trick is knowing what you are looking at, treating the source instead of the symptom, and avoiding a few mistakes that turn a small leak into a five-figure repair.
Why Water Ends Up Under the House
A crawl space sits between the soil and your living room floor. That location makes it the lowest point in the building envelope, so water naturally finds its way there. There are a handful of usual suspects:
- Surface water and grading. Soil that slopes toward the foundation funnels rain straight into the crawl space. Downspouts that dump water within a few feet of the house make it worse.
- High water tables. In some areas the ground is simply wet. Water rises through the soil and seeps in through the foundation.
- Plumbing leaks. A slow drip under a bathroom or kitchen can run for months before anyone notices.
- Foundation cracks and failed seals. Hairline cracks in block or poured walls let in water during heavy rain.
- Condensation. Warm, humid air meeting cool surfaces creates moisture that looks like a leak but is not one.
- Poor drainage around the foundation. Clogged gutters, missing grading, and failed footing drains all push water toward the house instead of away.
The first job is figuring out which of these you are dealing with. A wet crawl space after a storm points to surface water. Constant dampness in dry weather points to groundwater or a plumbing problem. Beading on the joists with no actual puddles points to condensation.
Standing Water vs. Damp: Two Different Problems
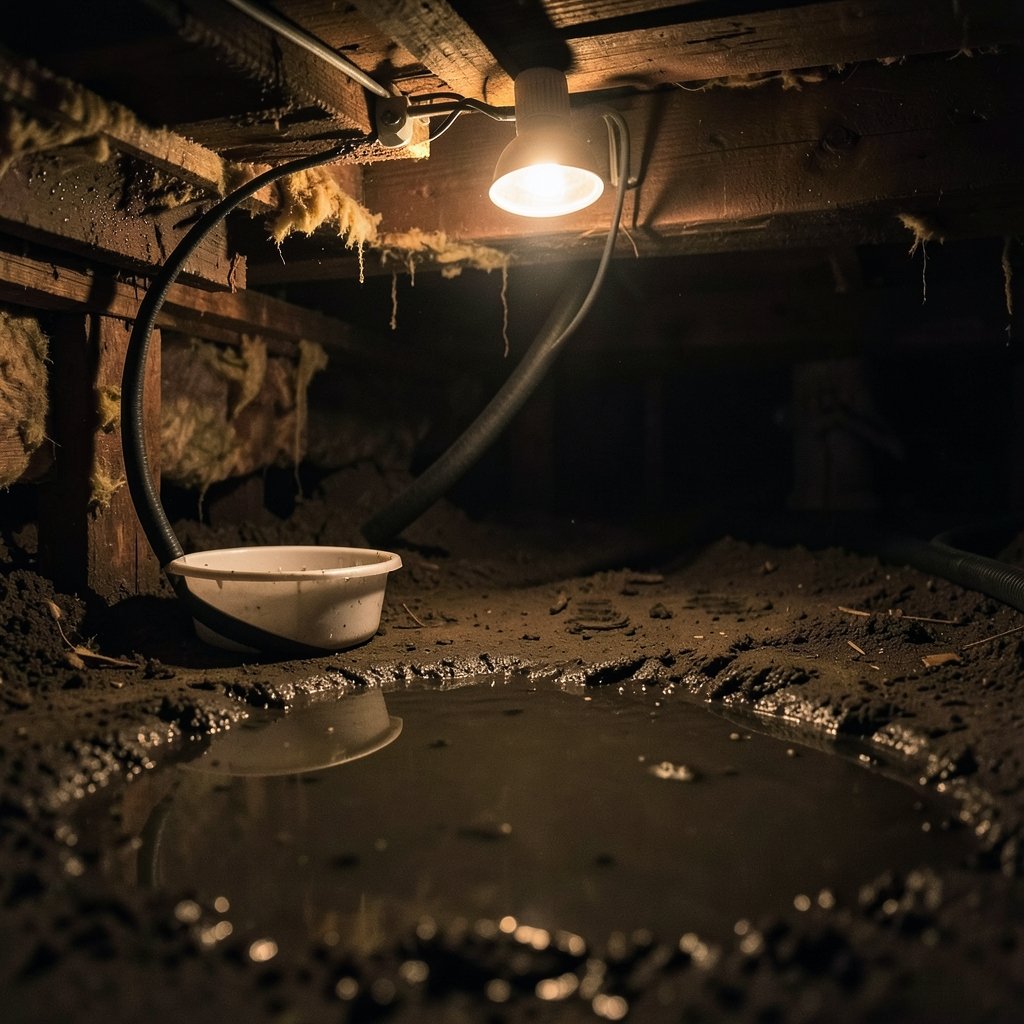
Not all moisture is the same, and treating them the same is a classic mistake.
Standing water is a liquid problem. Something is delivering water faster than it can drain or evaporate. That means grading, drainage, or plumbing. Pumping it out is step one, but if you stop there, it will be back with the next rain.
Dampness and high humidity is a vapor problem. The crawl space is taking in moisture from soil, outside air, or both, and it never dries out. This is the slower, sneakier version. It does not look dramatic, but it feeds mold, rots wood, and makes the whole house feel clammy.
Many homes have both at once. A wet crawl space after rain keeps the soil damp for weeks, which then drives up humidity. Fix the liquid problem first, then manage the vapor.
The Real Damage Water Causes
Water in a crawl space carries costs that show up in several places:
| Problem | What Happens | Why It Matters |
|---|---|---|
| Wood decay | Joists, sills, and subfloor stay wet | Structural weakening; expensive to repair |
| Mold growth | Damp surfaces grow mold within days | Musty odors; air quality concerns |
| Insulation failure | Wet batts lose most of their R-value | Higher energy bills; more condensation |
| Pest attraction | Termites and other insects love damp wood | Additional damage on top of moisture |
| Radon pathway | Exposed soil lets soil gas enter | Indoor air quality concern |
| Air quality | Moisture and mold spores rise into living space | Health and comfort issues |
The wood decay point deserves emphasis. Wood-decay fungi need moisture to grow, and once wood stays persistently wet, decay can set in. Wet insulation is a double whammy: it stops insulating and it holds moisture against the wood. This is why “just dry it out” is not enough if the source keeps returning.
Mold matters too. Indoor dampness and mold are linked to respiratory symptoms and asthma flare-ups, and the standard advice is to fix the water source and dry wet materials within a day or two to prevent mold from taking hold. In a crawl space, “drying out” is easier said than done, which is why controlling the source and the humidity together is the real fix.
How to Diagnose the Source
Before buying anything, do a careful walk-through. Bring a flashlight, a moisture meter if you have one, and a notepad.
- Look at the soil. Is there a visible puddle, or is the ground just dark and damp? Note where the wettest spots are.
- Check the walls. Water stains, efflorescence (white powder), and cracks tell you where water is entering.
- Inspect the plumbing. Look under every bathroom and kitchen fixture. A drip pan or a damp spot under a supply line is a strong clue.
- Check the vapor barrier. Is there a plastic ground cover? Is it torn, pulled back, or missing entirely?
- Look up. Water staining on the subfloor or joists can point to a leak above.
- Sniff the air. A strong musty smell means mold or long-term dampness, rather than a one-time leak.
- Test for condensation. If surfaces are beaded with water but there is no puddle and no rain recently, humidity is the culprit.
A moisture meter is worth the small cost. It turns “feels damp” into an actual number, and it lets you track whether your fix is working. Wood moisture content is the number that matters for decay risk; persistently wet wood is the warning sign.
Fixing the Water: Work From the Outside In
The order of operations matters more than any single product. Start outside, work inward.
Step 1: Get Water Away From the House
- Clean gutters and make sure downspouts discharge several feet away from the foundation.
- Regrade soil so it slopes away from the house.
- Fix any obvious surface drainage problems, like a low spot that pools against the wall.
- Check that window wells and areaway drains are clear.
This alone solves a surprising share of wet crawl spaces, and it costs far less than interior fixes.
Step 2: Manage Groundwater
If the water table is high or the soil stays wet, you may need a sump pit and pump, or a footing drain. This is a bigger job, and it is worth getting a professional assessment rather than guessing.
Step 3: Seal the Foundation
Cracks and failed seals let water in. Patch them properly, and address any block-wall issues where water seeps through the cores.
Step 4: Control Vapor
A continuous vapor retarder over the soil is the foundation of moisture control. Heavy-duty plastic sheeting, lapped and sealed at the seams and turned up the walls, blocks soil moisture from rising into the space. This is a code requirement in most editions of the residential building code, and it is one of the cheapest, highest-impact upgrades you can make.
Step 5: Manage Humidity
Even a sealed crawl space can get humid. A properly sized dehumidifier keeps the air dry and stops condensation. If you are shopping for one, it pays to know how to choose dehumidifier crawl spaces that actually works rather than grabbing the first unit on the shelf. Sizing, drainage, and placement all matter more than the brand name.
Vented or Sealed? The Debate That Won’t Die
Older guidance says vent the crawl space to let air move through. Modern building science in humid climates often says the opposite: seal it, insulate it, and condition it. The reason is that in a humid climate, venting brings in more moisture than it removes.
The right answer depends on your climate. In a dry climate, venting can work. In a humid one, a sealed and conditioned crawl space usually controls moisture better. Be skeptical of anyone who gives you one answer for every house. Ask why, and ask what happens in your specific climate.
Common Mistakes That Make It Worse
A few well-intentioned moves backfire:
- Pumping water out and stopping there. The source is still there.
- Running a fan without fixing the source. Moving humid air around does not dry anything.
- Laying plastic over wet soil and calling it done. Trapped moisture under a barrier can stay wet for a long time. Dry it first.
- Ignoring the vapor barrier seams. An unsealed overlap is a gap.
- Skipping the moisture meter. You cannot tell if a fix worked without measuring.
- Forgetting the plumbing. A slow leak under a bathroom will defeat every other fix.
If you are already thinking about moisture elsewhere in the house, the same logic applies. A humidifier running on hard water can throw white dust everywhere, and knowing how to humidifier hard water stop white dust good is the same kind of source-control thinking. Water problems are almost always about the source, not the symptom.
What About Encapsulation?
Crawl space encapsulation is the heavy-duty version of vapor control: seal the vents, line the floor and walls with a durable membrane, insulate, and often add a dehumidifier. It is a recognized retrofit for humid climates, and when it is done well, it works. When it is done poorly, it can trap moisture and make things worse. The details, like sealing the seams, covering the piers, and managing the perimeter, are what separate a good job from a bad one.
Encapsulation is not cheap, and it is not always necessary. A clean vapor barrier, good drainage, and humidity control solve many problems for far less money.
When to Call a Professional
Call in help if you see any of these:
- Standing water that keeps returning after you fix grading and drainage
- Sagging floors, soft wood, or visible rot
- A strong musty smell that does not go away
- Mold covering large areas
- Signs of a high water table or persistent groundwater
- Any concern about radon
A crawl space with exposed soil can also be a radon entry path, and radon is worth testing regardless of moisture. Sealing the soil and, where needed, sub-membrane depressurization are standard techniques. Testing is cheap and the information is valuable.
A Practical Maintenance Routine
Once the water is under control, keep it that way with a simple seasonal check:
- Walk the crawl space in spring and fall.
- Check the vapor barrier for tears and pulled-back edges.
- Look at the downspouts and grading after heavy rain.
- Run the dehumidifier and check its drain.
- Sniff the air. Your nose is a decent early warning system.
- Re-check the plumbing under bathrooms once a year.
This routine takes an hour and catches most problems before they get expensive. If you want to take the guesswork out of monitoring, a small leak sensor placed near the washing machine or water heater is a cheap way to catch a slow leak early, and knowing water leak sensor under washing machine where place it it helps you put it in the right spot.
Conclusion
Water in a crawl space is rarely a mystery once you look closely. It is almost always one of a few causes: surface water, groundwater, a plumbing leak, or condensation. The fix follows the same order every time. Get water away from the house, seal what needs sealing, put down a proper vapor barrier, and control the humidity. Measure before and after so you know it worked. Skip the shortcuts, because a crawl space rewards patience and punishes guesswork. Fix the source, dry the space, and keep it dry, and the musty smell, the soft joists, and the high bills all tend to follow.
Frequently Asked Questions
How much water in a crawl space is normal?
None. A crawl space should be dry. A little condensation on cool surfaces in humid weather can happen, but standing water, damp soil, or persistently wet wood always points to a source that needs fixing.
Can I just pump the water out and leave it?
No. Pumping removes the symptom, not the cause. If grading, drainage, or a plumbing leak is still delivering water, it will return with the next rain. Pump it out, then find and fix the source.
Does a vapor barrier alone stop a wet crawl space?
A vapor barrier blocks moisture rising from the soil, which is a big part of the problem. But it will not stop surface water, groundwater, or a plumbing leak. It is one layer of the fix, not the whole fix.
Is it better to vent or seal a crawl space?
It depends on climate. In humid climates, sealing and conditioning usually controls moisture better because venting brings in moist outside air. In dry climates, venting can work. Ask a local professional rather than applying a one-size-fits-all rule.
How fast does mold grow in a wet crawl space?
Mold can begin growing on damp surfaces within a day or two, which is why the standard advice is to fix the water source and dry wet materials quickly. In a crawl space, that means addressing the source and lowering humidity rather than only running a fan.
Can water in a crawl space affect the air inside my house?
Yes. Moisture and mold spores in a crawl space can move into the living space, and dampness is linked to respiratory symptoms. Sealing the soil, controlling humidity, and fixing leaks protects indoor air quality as well as the structure.