Quick Answer: Which budget streaming lights are worth paying for?
The budget streaming lights worth paying for are the ones that get color, flicker, and mounting right before they chase raw brightness. In practice, that means looking at small LED panels and tube lights with honest CRI ratings, flicker-free dimming, and a standard mount, then buying from a seller with a real return policy. Bi-color panels and app-controlled lights are the two main paths, and they differ mostly in convenience rather than output. Before buying, compare CRI and TLCI ratings, color temperature range, brightness measured in lux at a stated distance, dimming and flicker behavior, fan noise, mount type, and warranty support.
A streamer’s lighting budget usually falls somewhere between a new game and a month of coffee. That is exactly the awkward zone where the marketing gets loudest and the specs get vaguest. Walk into any listing and you will see “professional studio light” slapped on a plastic panel that flickers like a strobe the moment you dim it below 20 percent. So how do you tell the real bargains from the shiny traps?
The honest answer is that cheap LED lighting has genuinely improved since around 2019. Higher color accuracy, bi-color tuning, and remote control are now normal at prices that used to buy a single fixed-white panel. But the improvements are uneven. Some budget lights are quietly excellent. Others look fine in a product photo and fall apart on camera. This guide walks through what actually matters, where low prices tend to cut corners, and how to spend a modest budget without regret.
What actually matters in a budget streaming light
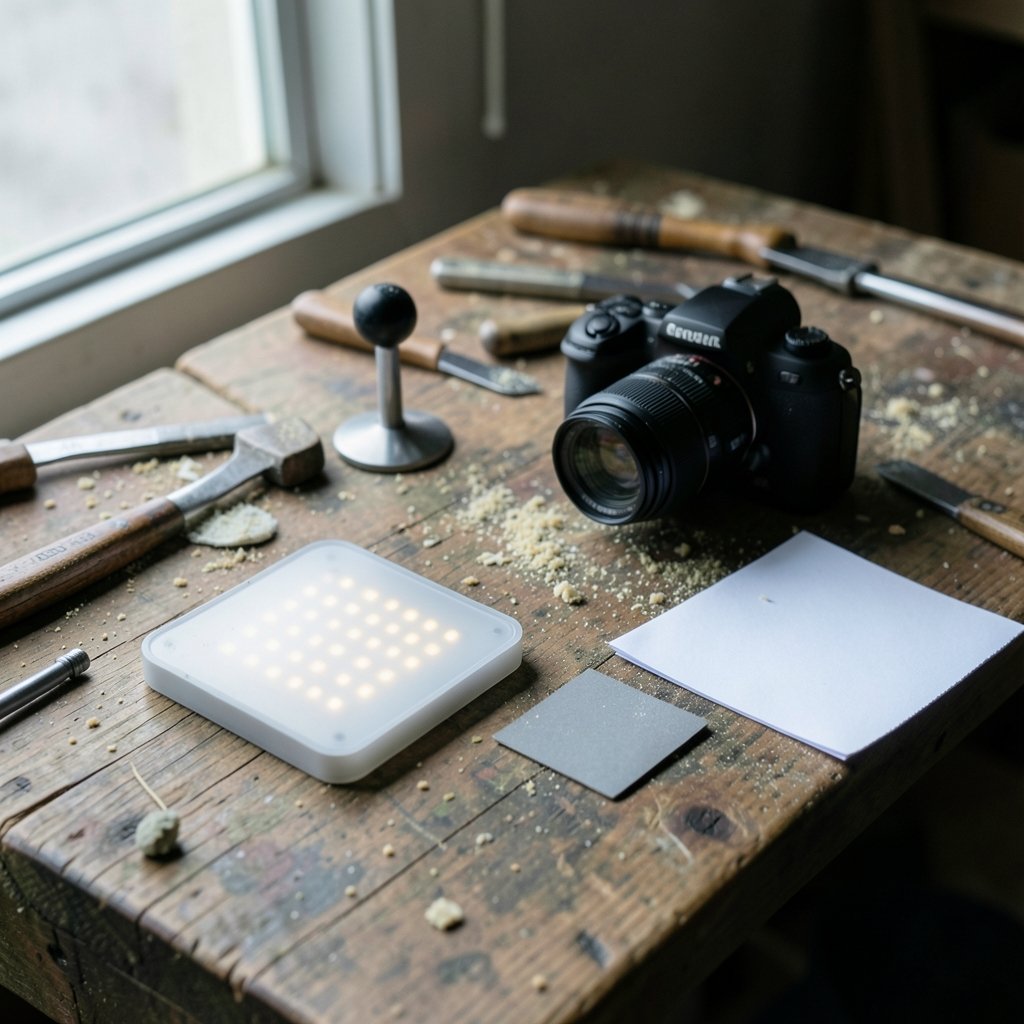
Most buyers fixate on brightness. That is understandable, because watts and lumens are the numbers printed in the biggest font. But for streaming, brightness is rarely the limiting factor. A small panel two feet from your face is already bright enough. The things that ruin a shot are usually color and flicker.
Color accuracy is measured by CRI (color rendering index), which rates how faithfully a light renders colors compared with a reference source. A related broadcast-oriented metric, TLCI, is tuned for cameras rather than human eyes. A light rated around 95 or above on CRI is generally a safe bet for skin tones. Anything advertised vaguely as “high CRI” without a number deserves suspicion.
Flicker is the silent killer. Many cheap LEDs pulse rapidly to dim, and while your eye may not notice, a camera shutter can catch the pulses and produce rolling bands across your face. Flicker-free dimming is worth paying for because you cannot fix it in editing.
Mount type matters more than people expect. A standard 1/4″-20 thread or a Bowens-style mount lets you attach the light to arms, clamps, and stands you already own. Proprietary mounts turn a cheap light into an expensive system.
Where budget lights cut corners
Low prices have to come from somewhere, and knowing the usual suspects helps you shop smart.
The first is fan noise. Powerful small lights need cooling, and cheap fans whine. On a stream with a decent microphone, a noisy fan becomes a constant hiss in the background. Silent passive cooling or a genuinely quiet fan is a feature worth a premium.
The second is color drift at the extremes. Many bi-color lights look accurate in the middle of their range and go green or magenta at the warm and cool ends. If you plan to shoot at 2700K for a cozy look, check reviews that specifically test the extremes.
The third is flimsy hardware. Thin plastic yokes, stripped threads, and stands that wobble are common. A light that tips over mid-stream is worse than no light at all.
The fourth is app-only control. An app is convenient until the manufacturer stops updating it. Physical buttons and dials age far better than software.
The budget light categories and who each one suits
Budget streaming lights broadly fall into a few families, and each solves a different problem. The table below compares them on the factors that matter most.
| Light type | Typical strength | Main weakness | Best for |
|---|---|---|---|
| Small bi-color LED panel | Adjustable warmth, compact | Fan noise, weak at extremes | Face lighting on a desk |
| LED tube light | Soft, even fill, creative placement | Lower output, needs mounting | Background and side fill |
| Ring light | Flattering, simple setup | Flat look, visible ring catchlight | Beginners, quick setups |
| Softbox with LED bulb | Genuinely soft light | Bulky, needs space | Talking-head streams |
| RGB accent panel | Color effects, mood | Poor white accuracy on cheap units | Backdrops and ambiance |
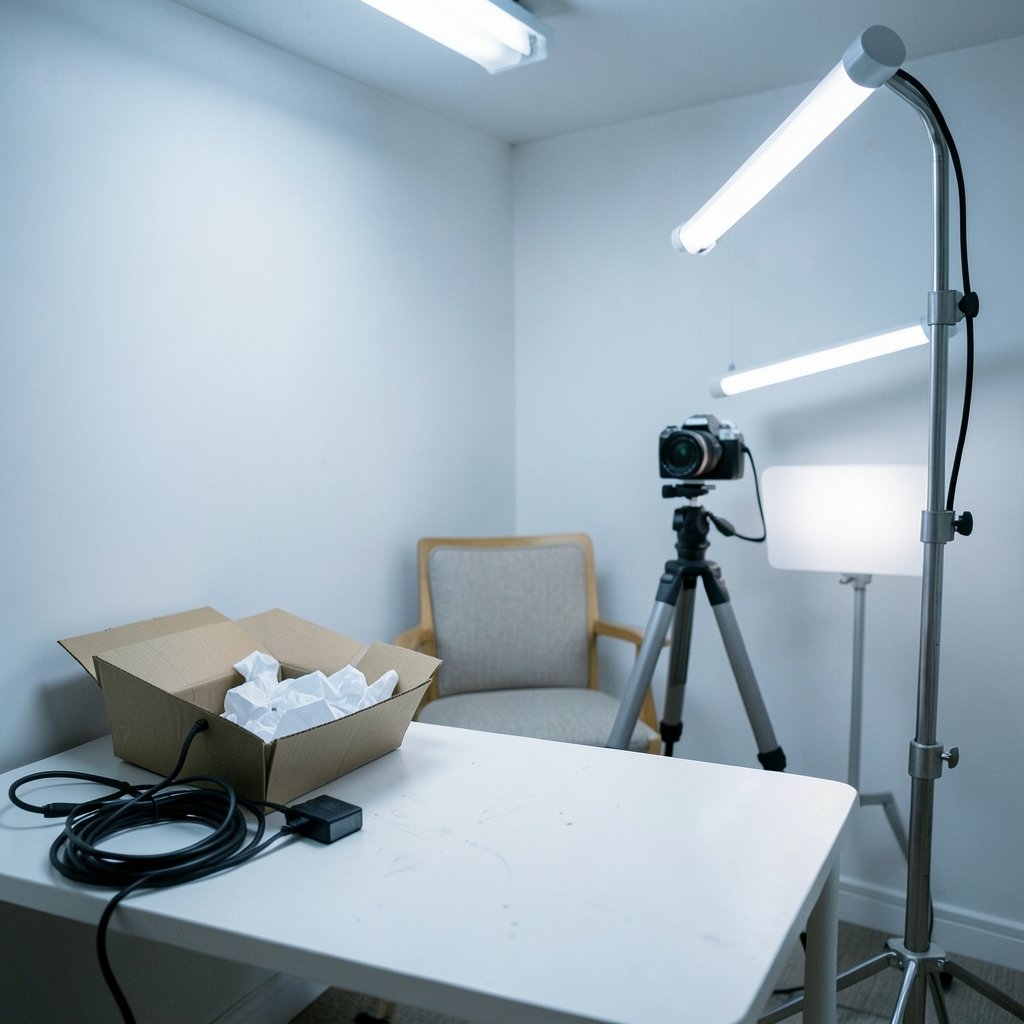
The pattern here is that no single budget light does everything. A small bi-color panel plus a tube light covers most streaming needs for a modest outlay, and that combination usually beats spending the same money on one flashy unit.
If you are also weighing other budget purchases for your setup, the same logic of “check the specs that actually affect daily use” applies to gear like keyboards. A comparison of the Aula F75 Pro vs RK R75 vs Redragon K768 Pro shows how mid-range options often beat both the cheapest and the priciest picks.
How to test a light before you trust it
You do not need a lab to catch a bad light. A few practical checks in the first week will tell you almost everything.
- Film your hand at every dim level. Record a short clip while slowly dimming the light from full to minimum. Watch for rolling bands or pulsing. If you see them, return the light.
- Check skin tone at both color extremes. Set the light to its warmest and coolest settings and look at your face on camera. Green or magenta casts are a red flag.
- Listen in silence. Turn off your mic and sit with the light on for a minute. If you can hear the fan from your seated position, your microphone will hear it too.
- Wiggle the mount. Attach the light to a stand and give it a gentle nudge. Any creak or wobble will only get worse with use.
- Read the spec sheet for a lux figure at a stated distance. Watts alone tell you almost nothing about usable brightness.
This routine takes twenty minutes and saves months of quiet frustration. It is also the single best defense against the most common mistake buyers make: trusting the listing photo instead of the light itself.
The trap of chasing specs and the value of restraint
There is a strange dynamic in budget lighting where buyers overcorrect. Having been burned by a flimsy panel, they swing to the opposite extreme and buy a light with more output than a small room can handle. A light that is too bright forces you to dim it, and dimming is exactly where cheap electronics misbehave. Modest, well-made output beats overwhelming, poorly controlled output almost every time.
The same restraint pays off elsewhere in a budget setup. People often overspend on one item and underspend on the thing that actually matters. The pattern shows up in software budgets too, where the question of whether WordPress is worth paying for comes down to which features you genuinely use rather than which tier looks impressive on a pricing page.
For lighting, the practical rule is simple: buy for the distance you actually shoot at. A desk streamer sitting two feet from a panel needs far less light than someone filming a wide shot across a room. Match the tool to the job, and the budget stretches much further.
What is genuinely worth paying more for
Not every upgrade is marketing fluff. A few features justify spending above the absolute floor.
Accurate color with a published number is the clearest one. A light that renders skin naturally saves you from endless color correction and makes cheap webcams look better than they have any right to.
Flicker-free dimming is the second. It is invisible in a spec sheet and priceless on camera.
Silent operation is the third. Streams are audio-first experiences, and a whining fan undermines every other upgrade you have made.
A standard mount and solid hardware is the fourth. It future-proofs the purchase and lets the light grow with your setup.
Everything else, from RGB effects to app control to exotic color modes, is a nice-to-have. Those features are fun, and a cheap RGB panel can do wonders for a background, but they should never come at the cost of the four fundamentals above.
Common mistakes that waste a lighting budget
The most frequent error is buying a single light when two would serve better. One light straight on the face creates flat, shadowless lighting that looks like a passport photo. A key light plus a softer fill, even two cheap ones, looks dramatically more professional.
The second mistake is ignoring the room. A light cannot fix a room with a window behind you blowing out the background. Sometimes the best budget purchase is a blackout curtain.
The third is buying without checking the return window. Budget lighting varies enormously between units, even within the same model line, so a seller with a generous return policy is worth a few extra dollars.
The fourth is forgetting that light quality is cumulative. Three mediocre lights arranged well will usually beat one expensive light aimed badly. Placement and diffusion do more for a stream’s look than raw spending.
How to build a sensible budget lighting kit
A practical approach is to spend in stages rather than all at once.
Start with one decent bi-color panel for your face. Add diffusion, even a simple white sheet or a purpose-made softbox, to soften the light. Then add a second, cheaper light for fill or background. Only after that should you consider RGB accents or specialized tube lights.
This staged approach has a hidden benefit: it teaches you what your setup actually needs. Many streamers discover after their first light that they need less output and more control, which changes what the second purchase should be. Buying everything at once locks you into guesses.
The same staged thinking applies to software and services, where the cheapest tier is often the right starting point. Readers weighing subscriptions against free options can find a useful parallel in the debate over whether Firefox is worth paying for when it costs nothing to download — the lesson being that value depends on what you actually use, not on the price tag alone.
Conclusion
Budget streaming lights are worth paying for when they get the fundamentals right: honest color accuracy, flicker-free dimming, quiet operation, and a standard mount. Everything above that is a bonus. The cheapest lights on the shelf often fail on exactly these points, while a modest step up in price frequently buys a light that lasts years and makes every stream look better.
The smartest approach is to buy fewer lights, test them thoroughly in the first week, and spend the savings on diffusion and a second light for fill. Spend where the camera and microphone will notice, save where only the marketing will. Do that, and a small budget goes a surprisingly long way.
Frequently Asked Questions
How much should a beginner spend on a streaming light?
A single decent bi-color panel with good color accuracy and flicker-free dimming sits comfortably in the modest budget range, and that is enough to start. Spending more only makes sense once you know your setup’s real needs.
Is CRI or brightness more important for streaming?
Color accuracy matters more for most streamers. A light that renders skin tones naturally at moderate brightness looks better on camera than a brighter light with poor color, which forces constant correction.
Can a cheap ring light work for streaming?
It can, especially for beginners who want a simple, flattering setup. The trade-offs are a flat look and a visible ring reflection in the eyes, so it works best as a starting point rather than a permanent solution.
Why does my LED light flicker on camera but not to my eye?
Many budget LEDs dim by pulsing rapidly, which your eye blends into a steady glow but a camera shutter catches as bands. This is why flicker-free dimming is one of the few features genuinely worth paying extra for.
Do I need two lights or is one enough?
One light directly on the face creates flat, shadowless lighting. A second, softer light for fill makes a much bigger difference to how professional a stream looks than upgrading the first light.
Should I buy an RGB light for streaming?
RGB panels are great for backgrounds and mood, but cheap ones often render white poorly. Use them as accents alongside a color-accurate key light rather than as your main source.