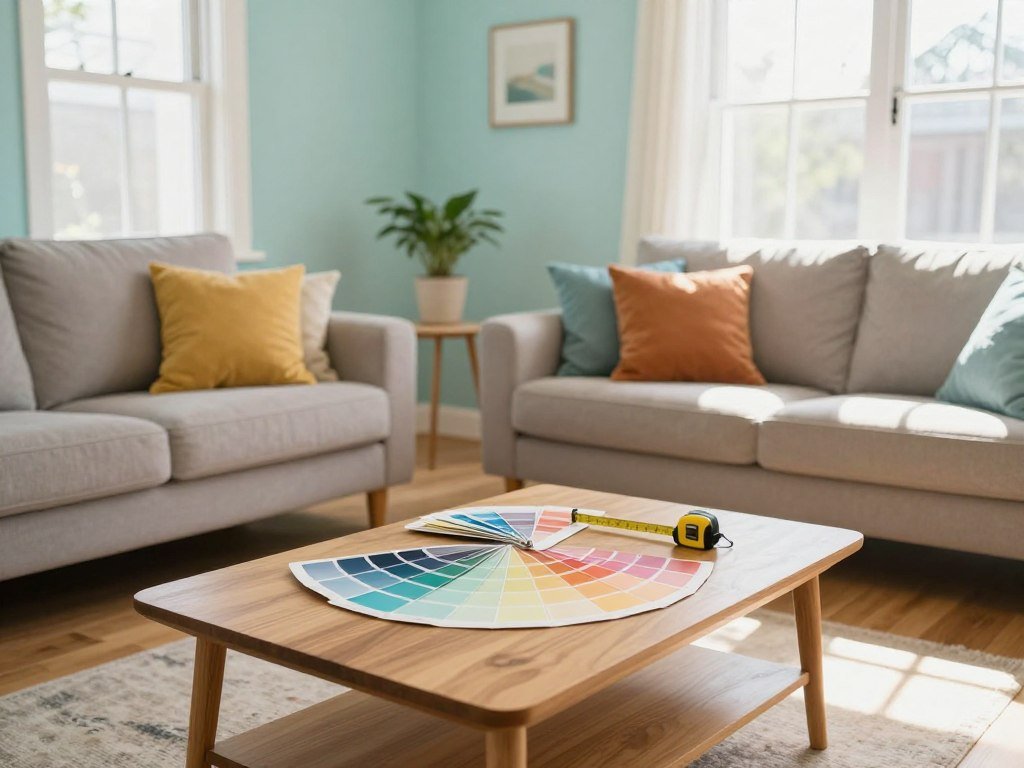
A room can feel noticeably better after one thoughtful change, even if you only have an hour and a short supply list. A busy entry, dim living room, or worn bathroom can make daily routines harder than they need to be. You do not have to plan a major renovation to make home improvement ideas work for your space.
This list offers 15 practical projects, from quick swaps to work that calls for more skill. The right budget depends on your project’s scope and materials, so start with what you can do safely and comfortably. If you rent, favor changes you can remove without damage. A small DIY project can still make a real difference when it solves a daily annoyance.
Some updates take a day; others need more planning or help from a professional. Choose the time and effort that fit your life, and do not rush work involving wiring, plumbing, or structural parts. A room does not need to look perfect to feel like a better place to spend time.
Key Takeaways
- Start with one space or daily problem.
- Match the project to your skills, time, and budget.
- Renters can choose reversible updates.
- Check safety needs before starting hands-on work.
- Plan for unexpected costs before buying supplies.
Choose the room or daily annoyance you most want to improve before picking a project.
Home Improvement Ideas for a Budget-Friendly First Win
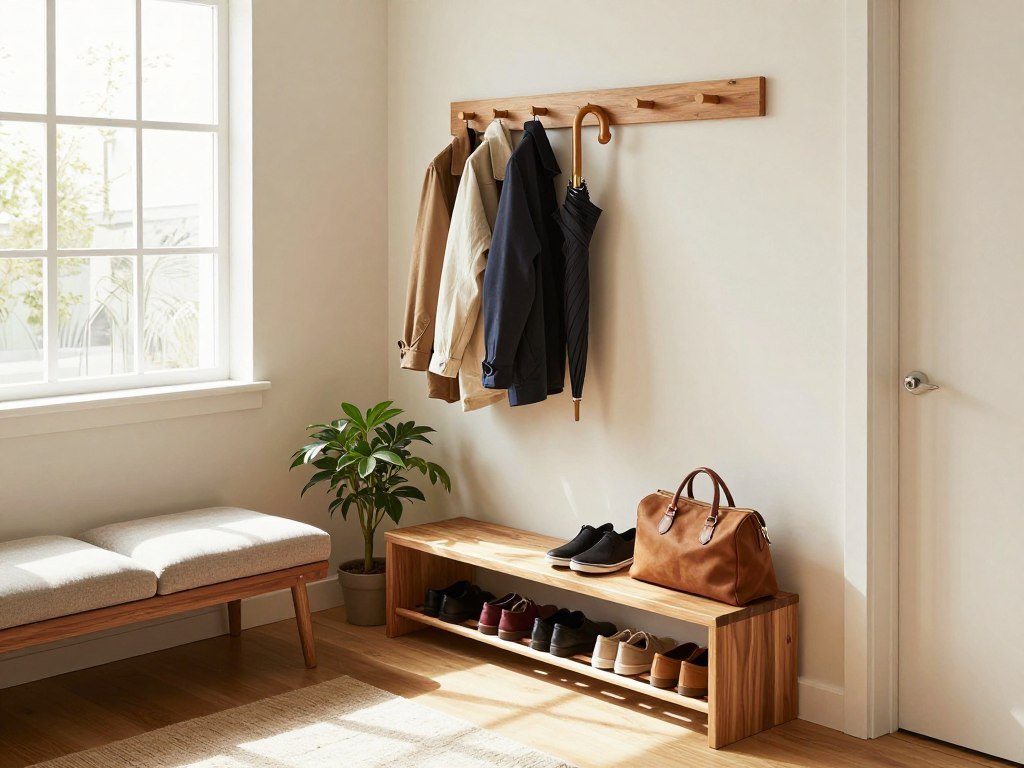
A useful first project is to clear one problem area and make it easier to use, not to start renovating the whole house. One spot could be an entry drop zone, a crowded kitchen drawer, or the space under a sink.
Sort what belongs there, remove what does not, then add a simple tray, divider, or labeled bin. This small home improvement can make your home feel calmer without buying a full room of new storage. For a high-impact shortlist, start with lighting, cabinet hardware, a shower curtain, a front-door refresh, and one clear surface.
Make one problem spot work better
Write down what slows you down in that area before changing it. If keys vanish, create a place for keys; if cleaning supplies spill, group them in a bin. A first project works best when it fixes one clear problem. Ten small home improvement projects do not need ten shopping trips: a useful first set can begin with those five visible changes.
A quick refresh changes a surface or routine, while a full-house renovation may involve new systems, walls, or finishes. In 2026, U.S. renovations generally cost $15-$60 per square foot, while some average as much as $150. Homes built before 1940 had renovation spending 50% higher than homes overall, so age and scope matter.
Set a realistic project ceiling
National 2025-2026 estimates show how sharply costs rise with size and scope:
| Home size | Scope or rate | Estimated cost |
|---|---|---|
| 1,500 square feet | Standard renovation | $22,500-$90,000 |
| 1,500 square feet | Full gut remodel | $90,000-$225,000 |
| 2,000 square feet | Standard renovation | $30,000-$120,000 |
| 2,000 square feet | Full gut remodel | $120,000-$300,000 |
| 2,000 square feet | $75 per square foot | About $150,000 |
The 30% guideline suggests keeping renovation spending at or below 30% of your home’s current value. For a $400,000 home, that equals $120,000, but it is a rule of thumb, not a hard limit. Homeowners planning work expected to spend a median $15,000 in 2026, down from $20,000 in 2025.
Set aside a contingency reserve, or money in the project budget for unexpected costs, before you price the work. A 10%-20% reserve helps cover overruns.
January and February can suit indoor work, with estimated labor and material savings of 10%-15%. May through July can be a costlier peak, raising costs 20%-30% compared with winter rates. Plan 4-6 months ahead of your desired start date. Put the contingency reserve in the budget before buying materials, rather than treating leftover money as the reserve.
Use Warm Light to Change a Room’s Feel
If a room feels harsh at night, try changing the color of its light before repainting the walls. Warm white bulbs can soften a living room without changing its layout.
Kelvin measures a bulb’s color temperature, and 2700K is generally considered warm white. Check that a replacement bulb matches the existing fixture’s base, size, and dimmer needs before you buy it. A cool bulb may look crisp in daylight but feel stark when you settle in at night.
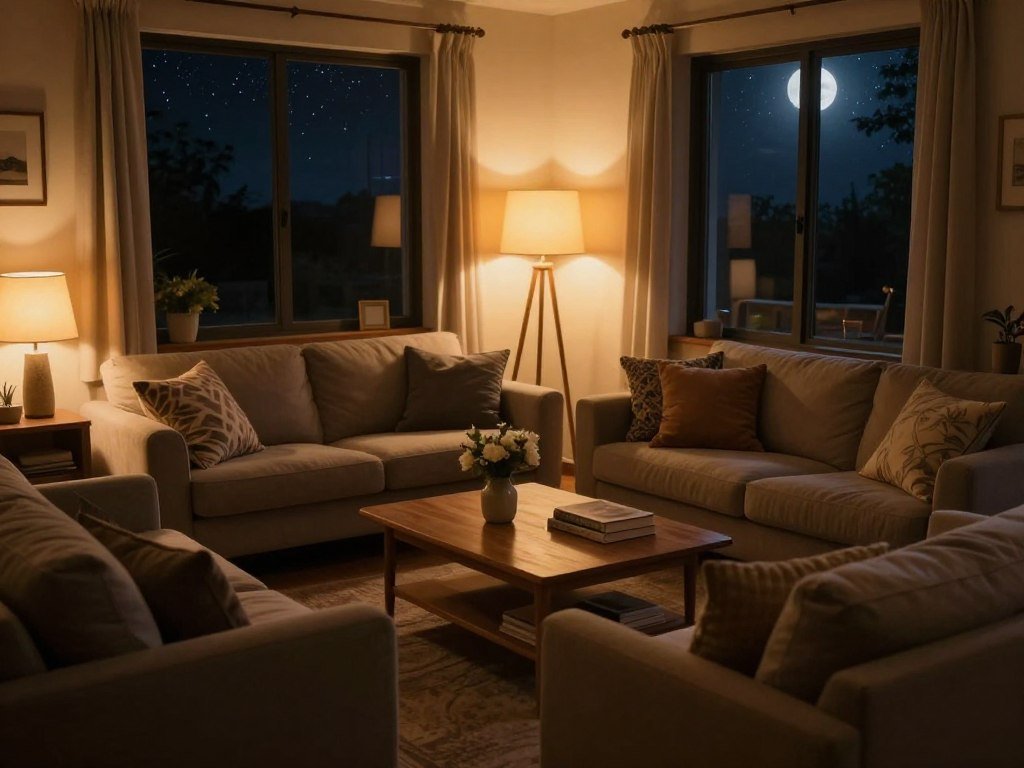
Try lamps beside a sofa or reading chair instead of relying only on overhead lights. If you want app control or dimming, beginner smart home devices can help you compare smart bulbs and plugs; check compatibility with your system.
Use plug-in LED strips for added under-cabinet light without hardwiring. That option suits a simple DIY update, while new fixtures or dimmers may call for electrical knowledge. Get a qualified electrician if wiring is unfamiliar or the work changes the circuit.
Choose lampshades that direct light where you need it, and avoid placing a bright bulb at eye level. Small changes in light can make a room feel more inviting without adding clutter or changing the furniture. Test one bulb in the room at the time you use it most, since the same light can feel different in daylight and after dark.
Refresh Cabinets With New Hardware
A set of dated pulls can make an otherwise useful kitchen feel older than it is. New hardware can refresh cabinet doors without replacing the cabinets.
Measure the distance between the centers of the existing screw holes before ordering pulls. Common replacement pulls often use about 3 inches center-to-center, but measure your own doors rather than relying on that common size. Ordering before measuring the hole spacing is an easy way to buy hardware that will not fit.
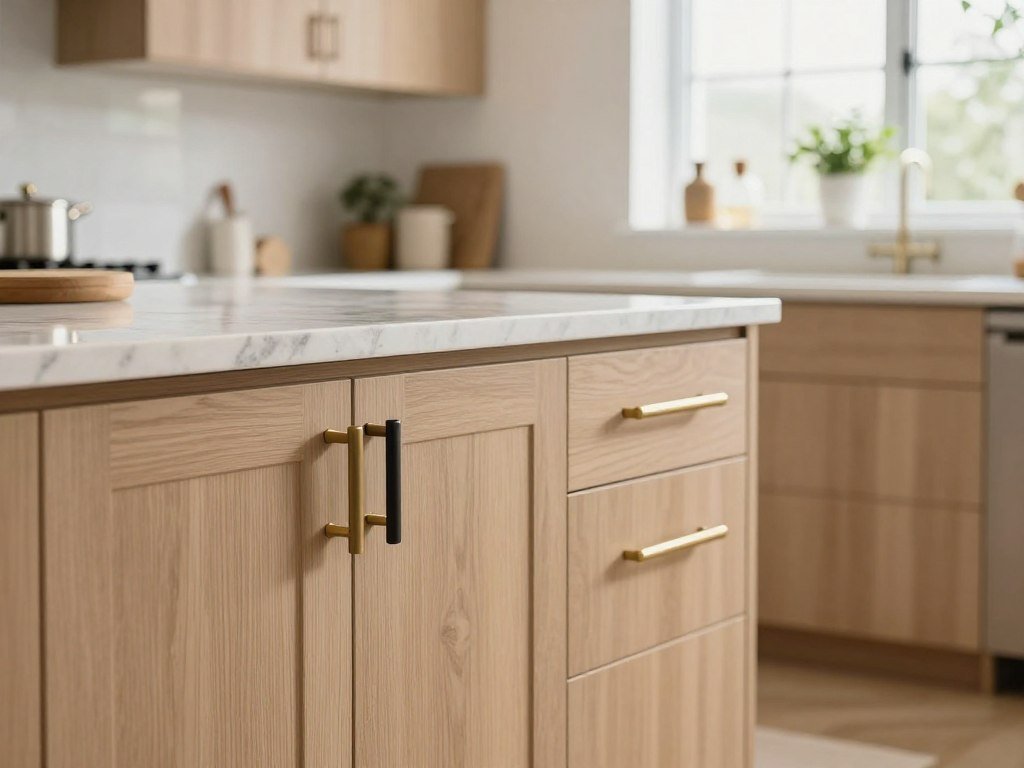
Match the shape and finish to the cabinet style and nearby fixtures. A simple bar pull can suit a modern kitchen, while a rounded knob may fit a more traditional look. Check how each option feels in your hand, since you will touch the hardware every day.
Keep a screwdriver and the original knobs or pulls close as you work. Remove one piece at a time, fit the replacement, and check that the door opens freely. If a new pull uses different hole spacing, the change may require filling and drilling, which takes more care than a direct swap.
One homeowner updated all the kitchen pulls and handles for just under $100. Your total depends on the number of cabinets and the hardware you choose, so count the pieces before setting a budget. Keep one original knob or pull until the new hardware is installed and checked for fit.
Swap the Shower Curtain and Rod
A clean, well-proportioned shower curtain can change the largest visible surface in a small bathroom. The right length helps the curtain look tidy rather than too short or bunched.
A standard shower curtain is typically about 72 x 72 inches. Extra-long curtains are often about 72 x 84 inches and can work with a higher rod, especially when the bathroom ceiling feels low or the tub surround is tall.
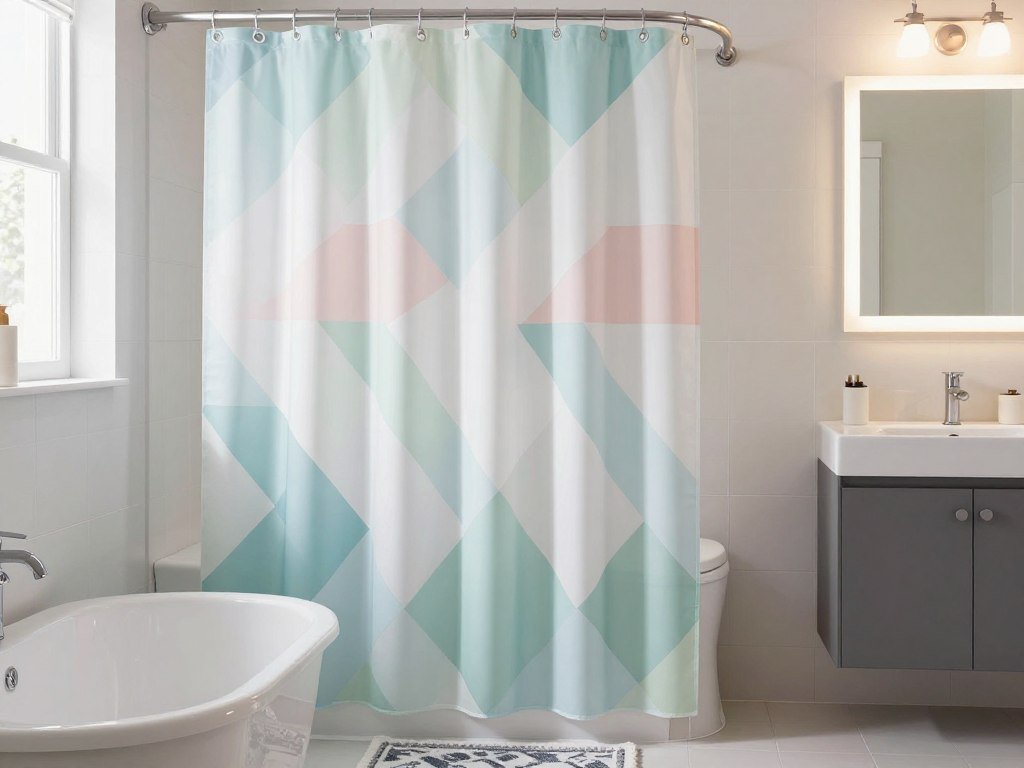
Measure the tub and the current rod before buying a curtain. A curved shower rod can give you more elbow room in a narrow shower by moving the curtain farther from your body. It also changes the amount of space the curtain needs when open, so check nearby walls and fixtures.
Keep the curtain long enough to cover the tub but short enough to stay clear of the floor. A curtain that drags can gather dirt, while a short one may let water escape. Choose a liner that fits the curtain and can hang inside the tub.
Color and pattern can shift the room’s look without adding a lot of cost or work. A light curtain may keep a small bathroom feeling open, while a bold pattern creates a clear focal point. Check that the curtain still sits inside the tub when closed so water does not escape onto the floor.
Give the Front Door a Fresh, Weather-Ready Finish
A freshly painted front door can lift the entry’s appearance in a few hours, while weatherstripping addresses a different problem: drafts. Paint improves looks; a seal helps limit unwanted air around the frame.
Clean the door, remove loose paint, and prepare the surface as the paint label directs. Choose paint made for exterior use and suited to the door material. A small can may be enough, but the number of coats and the door’s condition affect the work.
Paint the door for a quick visual change
Cover nearby surfaces and remove or mask hardware you do not want painted. Let each coat dry as directed, and keep the door open or secured while it dries. DIY home improvement ideas work well here when the door surface is sound and the work does not involve changing locks or structural parts.
Seal drafts around the frame
Inspect the weatherstrip for gaps, tears, or areas that stay compressed. A worn seal may let air pass even when the door closes fully. Replace it with a type that suits the frame, and check that the door still latches without extra force.
A cosmetic refresh is different from replacing a damaged or poorly fitting door. In 2025, a $2,435 steel entry door replacement had an estimated $5,270 in resale value, or 216% of its cost. That estimate is a comparison, not a promise of return for paint or weatherstripping.
Do not paint over a door that has rot, loose panels, or a failing frame. Repair the damage first, or call a professional if the door’s structure or locks need work. Let the paint cure as directed before closing the door against the weatherstrip.
Paint Kitchen Cabinets Instead of Replacing Them
If the cabinet boxes and doors are sound, paint can change the kitchen’s look without replacing the cabinetry. Good preparation matters more than rushing to the color coat.
A homeowner repainted kitchen cabinets for $100 after cleaning, scuff-sanding, priming, and applying two coats. Costs depend on the amount of paint and supplies you need, but skipping surface prep can waste the work.
Prepare the doors and boxes
Label each door and its matching cabinet spot, then remove the doors and hardware. Clean away grease and dirt, scuff-sand the surfaces, and remove the dust before priming. Skipping cleaning or primer can lead to poor paint adhesion and an uneven finish.
Use a primer that suits the cabinet surface and chosen paint. Apply thin coats with the recommended tool, and allow proper drying time between coats. Work in a space with good airflow, and keep doors flat while the finish dries if the product directions allow.
Choose paint and protect the finish
Choose a cabinet paint that can handle frequent touching and cleaning. Follow the label for cure time, since dry-to-touch paint may still mark easily. Reinstall doors only when the finish can take normal use.
Whole kitchen remodel estimates show a different scale of work and resale value:
| Kitchen project | Project cost | Resale value | Cost recovered |
|---|---|---|---|
| Midrange minor remodel | $28,458 | $32,141 | 113% |
| Midrange major remodel | $82,793 | $42,130 | 51% |
| Upscale major remodel | $164,104 | $58,561 | 36% |
The table covers whole remodel projects, not the expected return from painting cabinets. The 2025 figures are estimates, and your home’s market may differ. Test the full paint process on the back of one door before committing to every cabinet.
Frame a Bathroom Mirror and Plain Switch Plates
Plain mirrors and switch plates stand out most when the rest of a bathroom has been thoughtfully updated. A simple frame can make either detail feel more intentional.
Decorative molding can frame a builder-grade plate-glass bathroom mirror. A permanent frame stays attached to the mirror or wall, while a switch-plate treatment can be removed when you want a quick change.
Choose a finish that matches nearby cabinet hardware or trim, so the details feel connected. A plain mirror with clean molding can suit many styles, while a small framed plate can add a quiet accent to a painted wall.
A frame must not block a switch or interfere with the plate. Frames sized at 3.5 x 5 inches fit a standard 1-gang switch plate, but check the plate and frame dimensions before buying. Keep the switch easy to reach and safe to use.
Use the right method for the surface. A mirror frame may need a suitable adhesive, while a switch-plate frame can be a removable cover made for that purpose. Confirm that any adhesive is suitable for the mirror surface or wall finish before attaching a frame.
Replace the Showerhead for a Better Daily Routine
A showerhead is a small fixture that can change the feel of a shower without a full bathroom remodel. A basic swap is a common DIY task with an adjustable wrench and plumber’s tape.
Look for the EPA WaterSense label if water efficiency is part of your choice. WaterSense identifies showerheads that meet the U.S. Environmental Protection Agency’s efficiency criteria, but the label does not promise a specific bill reduction.
Before starting, make these three checks:
- Confirm the replacement head fits the shower arm connection.
- Protect the old fixture’s finish while loosening it.
- Follow the new fixture’s directions for sealing the threads.
Use a cloth between the wrench and finished metal to help avoid scratches. Apply plumber’s tape only as directed, since too much can make it harder to fit the new head securely. Stop if the connection is stuck or the pipe looks damaged. Forcing it may cause a leak or damage behind the wall, so call a qualified plumber when needed.
Run the shower at a normal setting and inspect the connection closely. Tighten only as the product directions allow, and watch for water that seeps around the threads. Run the shower and check carefully for leaks at the connection before putting away the wrench.
Add a Low-Commitment Accent Wall
One carefully chosen wall can bring color or texture to a room without changing every surface. A focused treatment can suit a living room, bedroom, or small work area.
Paint is a direct option if you own the home or can repaint before moving. Removable wallpaper offers patterns with less commitment, while plywood shiplap adds wood texture. A plywood shiplap accent wall can cost $50 or less in materials.
Your choice should fit the wall condition, room humidity, and whether you rent. Peel-and-stick wallpaper is best for low-humidity spaces, since damp conditions can affect how well it holds. A rental agreement may also limit paint or wall coverings.
Test a small patch before treating the full wall. It can show whether the color looks right and whether a removable finish sticks to the surface. Check the wall for peeling paint or rough spots, since an uneven base can show through or affect adhesion.
If you want to compare colors and patterns first, an AI room design preview can help you picture options. Treat generated images as concepts, not measured plans; check dimensions and fixed features before buying materials.
One accent wall can make a small room feel more finished, but an overly busy pattern may compete with furniture. Use a test patch in a hidden area if the finish is new to you. Test the wall treatment in a small, inconspicuous area before covering the focal wall.
Hang Curtains Higher to Make Windows Feel Taller
A curtain rod placed too close to the window frame can make the whole window feel smaller. More height above the frame can help the room feel taller.
Curtains can hang 6-12 inches above the window frame or up to the ceiling. Extend the rod 3-6 inches beyond each side so the panels can sit beside the glass when open.
Panel fullness affects how the curtains look when closed. Narrow panels may seem stretched, while fuller panels create more folds. Panels should just kiss the floor or puddle slightly, depending on the look you want.
Measure the proposed rod height before drilling. Check for nearby trim, furniture, and window hardware that could block the rod or panels. A pencil mark and tape measure can help you test the placement before making holes.
A rod that extends beyond the window can make the opening feel wider, but the added width must fit the wall. Check where the curtain stack will fall so it does not cover a light switch or crowd a nearby cabinet. Measure from the proposed rod height to the floor before choosing panel length.
Give an Old Ceiling Fan a Careful Makeover
A dated ceiling fan can draw the eye even after the rest of the room has been refreshed. A careful makeover can change its look when the fan still works well.
One makeover used under $20 in materials, including oil-rubbed bronze spray paint for metal parts and gel stain for the blades. That is one project example, not a price guarantee; the fan’s size and needed supplies affect the total.
Turn off power at the breaker before working. Remove only the parts the manufacturer allows you to take apart, then clean and lightly prepare each surface. Keep spray paint away from motor openings and electrical parts.
Never paint wiring, motor openings, or parts that move inside the fan. Work in a well-ventilated area, protect nearby surfaces, and follow the paint label. If you cannot safely remove a part, leave it in place or ask a qualified professional.
Check the fan’s mounting and wiring before you begin, and do not work on a loose fixture. Reassemble it as directed and test it only after all parts are dry and secure. Replace the fan rather than repainting it if its motor, wiring, or mounting is damaged.
Try Peel-and-Stick Tile for a Small Backsplash
A small backsplash can be a good place to test a removable tile treatment, provided the surface and heat conditions suit it. Location matters as much as the tile’s look.
Peel-and-stick tile is commonly sold in 12 x 12-inch sheets or 9-foot rolls. The smooth surface and simple format can suit a small update, but these tiles may not hold up in high-traffic areas or near heat.
Choose a suitable surface
Use a clean, smooth, dry wall so the adhesive can grip. Uneven or dusty surfaces can lead to lifting edges, and damp spots can affect how well the tile holds. Check that the product is rated for the wall and location you have.
Do not place the tile closer to a heat source than its directions allow. Heat can damage the material or weaken its adhesive, especially near a stove. Follow the product’s stated clearance rules rather than guessing from the tile’s appearance.
Plan the layout before peeling
Measure the backsplash area and dry-fit the sheets before removing backing. A planned starting line helps keep the edges straight across the wall. Mark any outlets and cuts so you can see how the layout will finish.
Check these three things before you start:
- Clean and dry the wall fully.
- Measure and dry-fit the tile layout.
- Follow clearance directions near heat sources.
Cut slowly around outlets and corners, and keep the product directions close while you work. A small sample can show how the finish looks beside counters and cabinets. Keep the product’s installation directions available while working, especially for areas near a stove.
Refresh Tired Bathroom Floor Tile With Paint
Painting worn ceramic tile can refresh its appearance for under $50 in supplies, but it is a surface treatment rather than a replacement for damaged tile. Sound tile is the right starting point.
Clean the floor thoroughly and use a primer or coating made for tile. Follow the product directions for drying and curing, then use the floor gently as directed while the finish hardens.
Tile paint needs full cleaning and careful curing to hold up. Rushing the prep or walking on the surface too soon can spoil the finish. Read the coating directions for each coat and the time needed before regular use.
Broader bathroom projects have different costs and estimated resale values:
| Project | Project cost | Resale value | Cost recovered |
|---|---|---|---|
| Midrange bathroom remodel | $26,138 | $20,915 | 80% |
| Midrange bathroom addition | $60,645 | $32,347 | 53% |
| Upscale primary-suite addition | $351,613 | $63,136 | 18% |
These estimates compare larger projects, not tile paint’s resale value. A painted floor may be a practical cosmetic choice when the tile is sound and you want a new color without replacing it. Do not paint loose, cracked, or moisture-damaged tile until the underlying problem is repaired.
Add Plug-In Lighting Under Kitchen Cabinets
A dim counter can be frustrating even when the rest of the kitchen is bright. Task lighting can make a work surface easier to use without opening a wall.
Plug-in LED strips spread light across a longer counter, while puck lights create smaller pools of light. A three-pack of LED puck lights costs around $30, and plug-in lights avoid hardwiring.
Place a sample light first and check where the beam lands. Move it until the counter looks clear and the light does not shine into your eyes. Then secure the fixture and guide its cord along the cabinet underside.
Keep cords secure and away from heat, water, and moving parts. Use clips made for the surface or the light’s included mounting parts, and leave enough slack for the plug. Do not pinch a cord behind a cabinet or let it hang across the counter.
Hardwired fixtures or new outlets call for appropriate electrical expertise. A plug-in setup can suit a simple DIY project when the outlet and cord path are safe. Check that the lights illuminate the work surface without shining directly into your eyes.
Improve Curb Appeal and Fix the Problems Buyers Notice
A safe, working exterior usually deserves attention before a decorative upgrade. Repair first when a roof, siding, or deck has a condition that threatens the home or its basic use.
Visible neglect, a failing roof, outdated kitchens or bathrooms, poor curb appeal, and unprofessional work can reduce perceived value. Poorly done, over-personalized, or unpermitted renovations may also make a home less appealing to some buyers.
Choose a targeted exterior project
In 2025, these exterior projects had the following estimated costs and resale values:
| Exterior project | Project cost | Resale value | Cost recovered |
|---|---|---|---|
| Garage door replacement | $4,672 | $12,507 | 268% |
| Manufactured stone veneer | $11,702 | $24,328 | 208% |
| Fiber-cement siding replacement | $21,485 | $24,420 | 114% |
| Vinyl siding replacement | $17,950 | $17,313 | 97% |
| Wood deck addition | $18,263 | $17,323 | 95% |
The 2025 Cost vs. Value estimates compare average project costs with resale value, not guaranteed results for each home. Other estimates include composite deck addition at $25,096 cost and $22,199 resale value, or 89% recovered.
Vinyl window replacement was estimated at $22,073 cost and $16,657 resale value, or 76% recovered. HVAC electrification conversion was $19,484 and $14,053, or 72%; asphalt-shingle roof replacement was $31,871 and $21,501, or 68%.
An accessory dwelling unit was estimated at $166,406 and $68,656 in resale value, or 41% recovered. Outdoor lighting can be refreshed in about 20 minutes for $40. April through August suits many outdoor projects, but repair needs and local weather should determine timing.
Protect value by correcting visible problems
No project guarantees a $50,000 increase in your home’s value. Cost recouped at resale compares estimated resale value with project cost; it is not the same as the home’s market value increase.
Check four areas before planning a decorative change:
- Roof condition
- Siding condition
- Deck safety
- Outdoor lighting
Personal usefulness and resale return are different reasons to renovate. A repair can matter even when its estimated cost recouped at resale is modest, especially if it protects the home or makes daily life safer.
Fix a condition that threatens the home before spending on appearance. No resale estimate can promise a specific increase in your home’s value.
Fix the condition that threatens the home or its basic function before choosing an improvement for appearance alone.
Conclusion
The best first improvement is the one that solves a real annoyance and fits the time and skills you have. One useful change can make daily life easier, even when resale is not your goal.
Keep the first step small enough to finish. Choose a project, measure the area, and write down the materials you need. Add a contingency reserve before you start, and call a professional if the work involves safety risks or skills you do not have.
You can build confidence by completing one task well, then decide whether another change makes sense. There is no need to turn a simple fix into a full renovation. Choose one project, set aside its supplies, and schedule a realistic start time.
FAQ
How much does it cost to remodel a 2000 sq ft house DIY?
A standard renovation for a 2,000-square-foot house is estimated at $30,000-$120,000, while a full gut remodel is estimated at $120,000-$300,000. Those 2025-2026 national ranges depend on the scope and materials. DIY labor can lower some costs, but it does not remove material, permit, disposal, or inspection costs. Work involving wiring, plumbing, or structure may still need a licensed professional.
How to increase home value by $50,000?
No home project guarantees a $50,000 increase in market value. Cost recouped at resale measures estimated resale value against project cost, which differs from the home’s overall value change. A 2025 garage door replacement estimate recovered 268% of project cost, while a midrange bathroom remodel estimate recovered 80%. These are broad estimates, not promises for your home or neighborhood.
What is the 30% rule in remodeling?
The 30% rule is a guideline to keep renovation spending at or below 30% of your home’s current value. For a $400,000 home, that means $120,000, but the rule is not a hard limit. Your budget should also include a 10%-20% contingency reserve for unexpected costs. Needed repairs, project scope, and your plans for the home can all affect a sensible budget.
What is the best month to renovate a house?
January and February can be good months for indoor work, with estimated labor and material savings of 10%-15%. April through August suits many outdoor projects, depending on local weather and repair needs. May through July can bring peak demand, with costs estimated 20%-30% above winter rates. Start planning 4-6 months before your preferred work date so you have time to set a budget and schedule help.
At what point is it not worth remodeling a house?
A remodel may not make sense when its cost outweighs the needed repair, personal use, and likely value to you. Compare the project cost with your home’s value, how long you plan to stay, and whether urgent repairs should come first. The 30% guideline can help frame a budget, but it is not a strict cutoff. A project may still be worthwhile for comfort or safety, even with modest resale value.
How much does it cost to fully renovate a 1500 sq ft house?
A standard renovation for a 1,500-square-foot home is estimated at $22,500-$90,000, while a full gut remodel is estimated at $90,000-$225,000. These are national 2025-2026 estimates, and the scope changes the total. Updating finishes usually differs greatly from replacing major systems or changing the layout. Older homes can also need more work, so set aside a contingency reserve before starting.
What are some home improvements?
Useful home improvements range from quick swaps to larger repairs. You can change warm bulbs, replace cabinet pulls, swap a shower curtain, or add weatherstripping around a front door. Painting sound cabinets takes more time, while exterior repairs may need a professional. Choose based on the problem you want to solve, your budget, and the skills the work requires.