

Apple’s own support documentation makes a point that surprises a lot of people: an iCloud backup is convenient, but it is not a full clone of your phone. A local backup to a Mac or PC can capture things iCloud skips — saved passwords, Wi-Fi settings, and Health data — but only if you tick one small checkbox first. That single detail is the difference between a backup that restores your digital life and one that restores most of it. (Apple Support: How to back up your iPhone)
This guide walks through the actual process on current and older Macs and on Windows, flags the mistakes that quietly ruin backups, and explains what does and does not get saved. If you are also weighing a phone upgrade, the storage math here matters, so it pairs well with a look at iPhone Philippines price trends before you decide how much space you need.
Why a Local Backup Still Matters in the Cloud Era
Cloud backups are automatic and invisible, which is exactly why people trust them too much. A local backup gives you something different: a file you control, stored on a drive you own, that does not depend on an active iCloud subscription or a stable connection at the worst possible moment.
There is also the encryption question. Apple has long documented that an encrypted local backup preserves account passwords, Wi-Fi settings, website history, and Health data, while an unencrypted one does not. That is not a minor footnote. Restoring an unencrypted backup means re-entering every password and re-pairing every network by hand.
The trade-off is discipline. A local backup only exists as of the last time you ran it. Nobody does it for you, and no notification will nag you about it. Treat it like a document you save manually — because that is precisely what it is.
What You Need Before You Start
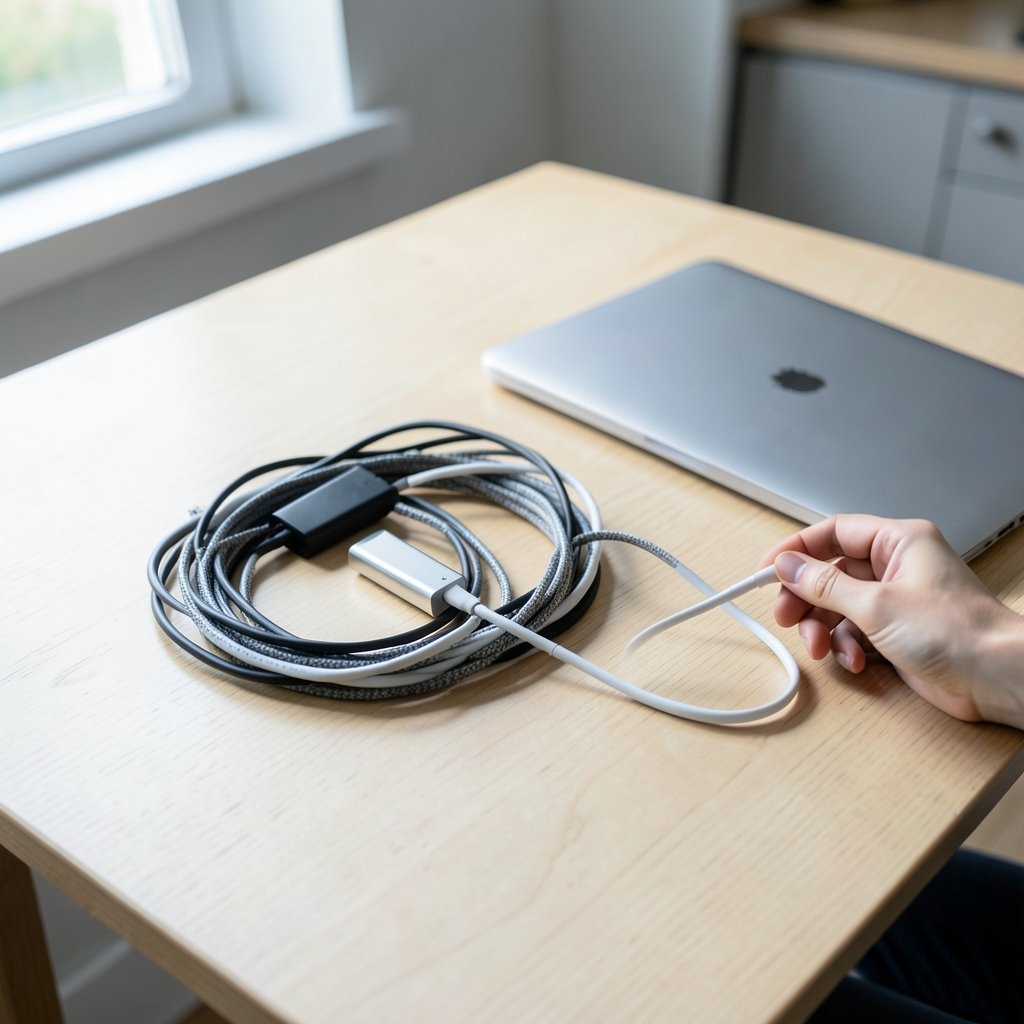
The requirements are modest, but skipping one of them wastes time.
- A USB cable that carries data in addition to power. Many cheap charging cables transfer nothing.
- A Mac running macOS Catalina (10.15, released October 2019) or later, or an older Mac on Mojave or earlier, or a Windows PC.
- Enough free disk space. Backups routinely run tens of gigabytes.
- Your device passcode, and your Apple Account credentials if prompted.
One practical note on speed: older iPhones and USB 2.0 connections crawl. A first backup of a nearly full phone can take well over an hour. Plug in, start it, and walk away rather than watching the progress bar.
How to Back Up an iPhone to a Mac Running macOS Catalina or Later
Since Catalina, iTunes no longer exists on the Mac. Backups moved into Finder, which confuses plenty of people who go looking for an app that is not there anymore.
- Connect the iPhone to the Mac with a cable.
- Open a Finder window and select the iPhone in the sidebar, under Locations.
- If prompted, tap Trust on the phone and enter the passcode.
- Click the General tab.
- Under “Backups,” select Back Up All of the Data on Your iPhone to This Mac.
- Tick Encrypt local backup, then set and record a password.
- Click Back Up Now.
The first sync also offers a Sync over Wi-Fi option. Enable it, and future backups can run without the cable — though the initial pairing must happen over USB.
The Password Trap Nobody Warns You About
Apple is blunt about this: without the backup password, an encrypted backup cannot be restored. There is no recovery flow, no support escalation, no workaround. If you forget it, the file is effectively a brick.
The fix is unglamorous. Store the password in a password manager the moment you create it, and note which device it belongs to. Households with several phones and one shared Mac are exactly where this goes wrong.
How to Back Up an iPhone to an Older Mac Using iTunes
On macOS Mojave (10.14) and earlier, the process runs through iTunes, which still works on those systems.
- Connect the iPhone and open iTunes.
- Click the device icon in the upper-left area of the window.
- On the Summary screen, choose This Computer under Backups.
- Check Encrypt local backup and set a password.
- Click Back Up Now.
The interface looks dated, but the underlying logic is identical to Finder. Same encryption benefit, same password risk.
How to Back Up an iPhone to a Windows PC
Windows is where the guidance has shifted most. Apple introduced the Apple Devices app for Windows 10 and 11, which handles device management and backups in place of iTunes. iTunes for Windows still exists and remains relevant on older Windows versions, but the direction of travel is clear.
With the Apple Devices app:
- Install the app and connect the iPhone via USB.
- Tap Trust on the phone if asked.
- Select the device in the app’s sidebar.
- Choose General, then Back Up All of the Data on Your iPhone to This Computer.
- Enable Encrypt local backup, set a password, and click Back Up Now.
If you are still on iTunes for Windows, the path mirrors the old Mac steps: device icon, Summary, This Computer, Encrypt, Back Up Now.
Where Windows Backups Actually Live
Windows stores backups in a user-profile folder that is easy to overlook and easy to delete during a “cleanup.” Before you wipe a drive or run a space-making tool, confirm where that folder sits and whether your backup is inside it. Moving the backup to an external drive afterward is a sensible habit.
iCloud Backup vs. Computer Backup: A Straight Comparison
Neither method is strictly better. They fail in different ways, which is why many careful users run both.
| Feature | iCloud backup | Computer backup |
|---|---|---|
| Runs automatically | Yes, when charging and on Wi-Fi | No, manual |
| Requires a cable | No | Yes, at least the first time |
| Storage cost | Counts against paid iCloud tiers | Free, uses your own disk |
| Can include passwords and Health data | Yes | Only if encrypted |
| Restores without internet | No | Yes |
| Risk of silent failure | Subscription lapse, full storage | Forgotten password, deleted folder |
The pattern is clear: iCloud protects against losing your phone, while a local backup protects against losing your account access or your internet connection. Together they cover each other’s blind spots.
What a Backup Does Not Include
This is the section people skip and later regret. Apple’s documentation has long stated that backups do not capture content already stored in iCloud — iCloud Photos, iCloud Messages when enabled, and similar — nor media synced from a computer. (Wikipedia: iCloud)
In plain terms: if your photos live in iCloud Photos, they are already synced, so the backup does not duplicate them. That is efficient, not negligent. But it means a backup is not a substitute for exporting your photo library if those images matter to you.
The same logic applies to anything you streamed or synced rather than stored. A backup copies what is on the device, not what the device can reach.
Mistakes That Quietly Break Backups
Most backup failures are not technical. They are habits.
Using a charge-only cable. The device appears in Finder or the Apple Devices app, then disconnects mid-transfer. Use the cable that came in the box, or a known data cable.
Skipping encryption to save hassle. You save thirty seconds and lose every saved password on restore. Encrypt.
Reusing a weak, memorable password. Then forgetting it. Then discovering there is no reset. Use a manager.
Backing up once, then never again. A six-month-old backup restores a six-month-old phone. Set a monthly reminder tied to something you already do.
Assuming the backup finished. Watch for the confirmation, and check the timestamp on the most recent backup before you wipe or trade in a device.
Ignoring the drive. A backup on a failing external disk is not a backup. If the drive matters, treat it like any other storage you depend on — which is the same reasoning behind how to prevent computer viruses on machines holding your data.
Restoring From a Computer Backup
Restoring is the mirror image of backing up, and it requires a freshly reset or new iPhone.
- Turn on the iPhone and proceed to the Apps & Data screen.
- Choose Restore from Mac or PC.
- Connect the device to the computer holding the backup.
- In Finder, iTunes, or the Apple Devices app, select the device and choose Restore Backup.
- Pick the correct backup by date, enter the encryption password if prompted, and wait.
Restores are slow. A large backup over USB can take a long time, and interrupting it creates a mess. Budget an evening, not a coffee break. If the restore stalls, the usual culprit is a cable or a USB hub — plug directly into the machine.
Practical Habits That Actually Work
A few small routines separate people who recover cleanly from people who lose data.
- Run a local backup before every major iOS update. Updates occasionally go wrong, and a pre-update backup is cheap insurance.
- Keep two backups in rotation if your data is important — one on the computer, one on an external drive stored elsewhere.
- Label backup folders by device and date on Windows, where multiple phones may share one PC.
- Verify, don’t assume. After a backup completes, check the date and size shown in the app. A suspiciously small file usually means the transfer stopped early.
- Record the encryption password somewhere durable, not in a note on the phone you are about to erase.
If you handle a lot of devices, the same discipline that keeps backups healthy also applies to general machine hygiene — the thinking in how to choose the best antivirus for your computer is about layered protection rather than a single fix, and backups reward exactly that mindset.
Conclusion
Backing up an iPhone to a computer is a five-minute task wrapped in a few non-obvious rules. Use Finder on macOS Catalina or later, iTunes on older Macs, and the Apple Devices app on modern Windows. Always encrypt the backup. Always store that password somewhere you will still have it in two years. And remember that a local backup complements iCloud rather than replacing it — one protects your data when the phone is lost, the other protects it when the account or the connection is.
The real test of a backup is not whether it ran. It is whether it restores. Run one this week, confirm the timestamp, and you will be ahead of most iPhone owners — including plenty who believe they are already covered.
Frequently Asked Questions
Does backing up an iPhone to a computer delete anything on the phone?
No. A backup is a read operation. It copies data from the device to the computer and changes nothing on the iPhone itself. The only actions that erase a phone are an explicit erase command or a factory reset.
What happens if I forget the encrypted backup password?
The backup becomes unusable. Apple documents no recovery method for a forgotten local backup password, and support cannot bypass it. The practical options are to start a fresh backup with a new password or restore from iCloud instead.
How often should I back up my iPhone to a computer?
Monthly is a reasonable baseline for most people, plus one backup immediately before any iOS update, device trade-in, or repair. If you generate a lot of photos and videos between backups, shorten the interval.
Can I back up an iPhone to a computer over Wi-Fi?
Yes, but only after the first wired pairing. Enable Sync over Wi-Fi in Finder or the device app, and future backups can run wirelessly while both devices are on the same network and the phone is charging.
Why is my computer backup so much larger than my iCloud backup?
Because they capture different things. Content already stored in iCloud, such as iCloud Photos, is not duplicated into the local backup, but a local backup can include data iCloud skips when encryption is on — passwords, Wi-Fi settings, and Health data. Sizes are not directly comparable.
Do I still need iTunes to back up an iPhone on Windows?
Not necessarily. Apple’s Apple Devices app handles backups on Windows 10 and 11, while iTunes for Windows remains an option, particularly on older systems. Either path produces a local backup; the menus just look different.



