When Google shipped Android 7.0 Nougat in August 2016, it quietly handed users one of the most useful tools on any smartphone: a public API that lets apps drop their own buttons into the Quick Settings panel. Nearly a decade later, that swipe-down shade is still the fastest control center on Android, and most people never touch a single tile. They accept the default layout, scroll past toggles they never use, and dig through menus for settings that could sit one tap away. A few minutes of rearranging fixes all of that.
This guide walks through the whole process: opening the editor, adding and removing tiles, reordering them, and dealing with the frustrating differences between phone brands. It also covers the mistakes that trip people up most often.
What Quick Settings Actually Controls
Quick Settings is the grid of round or pill-shaped buttons that appears when you swipe down from the top of the screen. On most phones, the first swipe reveals a partial panel and a second swipe opens the full grid. Those buttons are called tiles, and each one toggles something: Wi-Fi, Bluetooth, flashlight, screen rotation lock, airplane mode, do not disturb, and so on.
The panel is more than a shortcut menu. It is the layer where Android surfaces the controls you reach for dozens of times a day, and it is fully editable on virtually every modern device. According to Wikipedia’s Android version history, the tile system has evolved through every major release since Nougat, which is why instructions from a 2019 blog post often fail on a current phone. (Android (operating system)))
Two things changed the panel dramatically. Android 12, released in October 2021, merged Wi-Fi and mobile data into a single Internet panel and introduced a combined media player card. Android 13 followed in August 2022 with more granular tile controls and per-app language support. If your phone runs Android 12 or later, the shade you see is meaningfully different from the one in older tutorials.
Opening the Quick Settings Editor
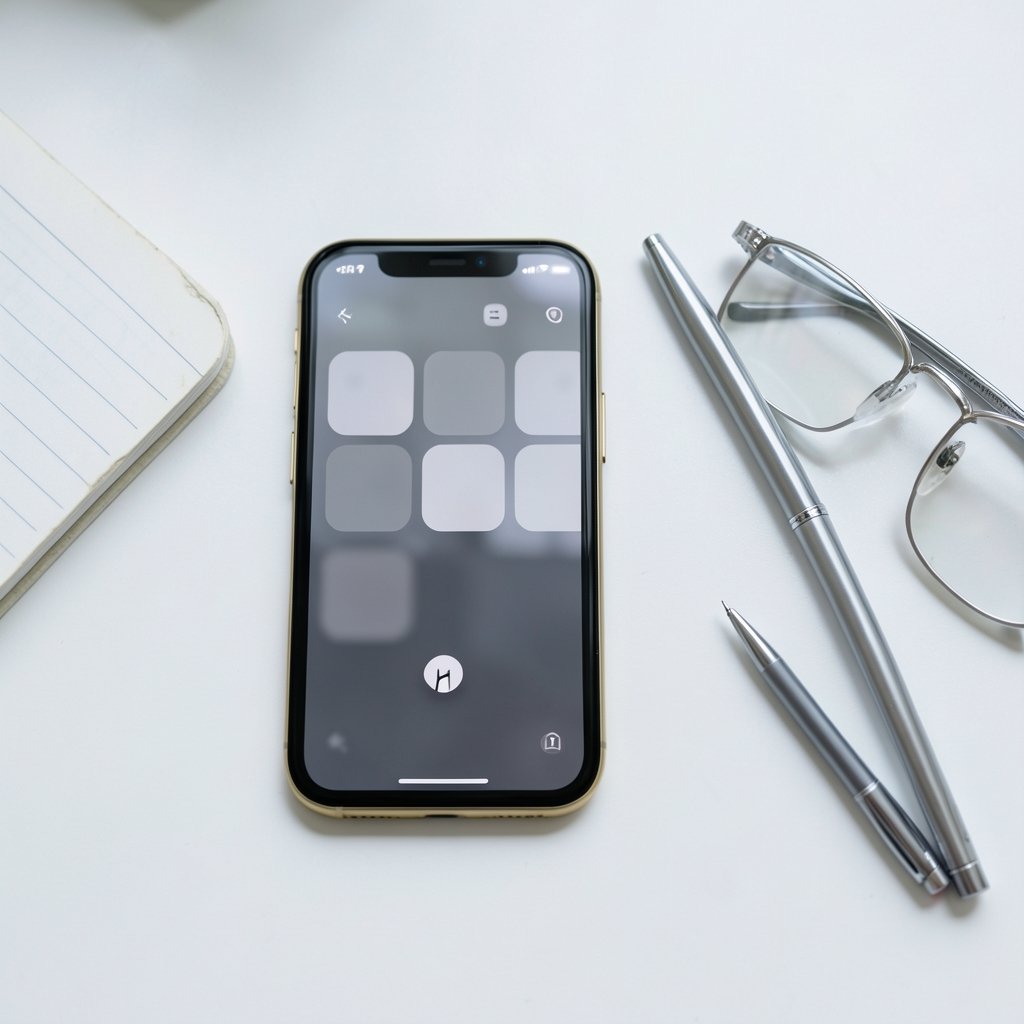
The edit control is built into Android, but its location moves around depending on your version and manufacturer. Here is the general procedure that works on most devices:
- Swipe down from the top of the screen once to open the partial panel.
- Swipe down a second time to expand the full grid.
- Look for a pencil icon, an edit button, or a small plus sign, usually near the bottom of the panel or in a corner.
- Tap it to enter edit mode, where tiles become draggable.
On some phones the edit affordance is a three-dot menu instead of a pencil. On others you need to long-press an empty area of the panel. If you cannot find it, long-press any tile and see whether an edit option appears.
This is the single biggest source of confusion. There is no universal procedure, and any guide that claims otherwise is oversimplifying. The edit-icon location has shifted repeatedly across Android versions and skins, so always confirm against your own device before assuming a tutorial is wrong.
Finding the Editor on Samsung, Xiaomi, and Pixel
Manufacturer skins rearrange the panel substantially. Samsung’s One UI, Xiaomi’s HyperOS, OnePlus’s OxygenOS, and Google’s Pixel launcher each place the edit control differently and use different grid sizes.
| Device family | Where to look | Notable quirk |
|---|---|---|
| Google Pixel | Pencil icon at bottom left of expanded panel | Cleanest, closest to stock Android |
| Samsung Galaxy | Pencil icon near the top of the panel | Separate “Quick panel layout” menu in Settings |
| Xiaomi / Redmi | Edit button at the bottom, plus a Settings entry | HyperOS adds a control center style toggle |
| OnePlus | Pencil icon in the expanded grid | OxygenOS groups tiles into categories |
The practical takeaway: if a step does not match what you see, stop following the tutorial and explore the panel itself. Long-press everything. The editor is almost always one tap away.
Adding, Removing, and Reordering Tiles
Once you are in edit mode, the panel usually splits into two zones: tiles currently in the panel and a larger pool of available tiles you can add. The mechanics are consistent even when the visuals differ.
To add a tile: find it in the available pool and drag it into the active grid, or tap it and confirm. Many phones show a plus icon on each available tile.
To remove a tile: drag it out of the active grid back into the pool, or tap a minus icon on the tile itself.
To reorder: press and hold a tile, then drag it to a new position. The other tiles shift to make room.
A few practical tips that save time:
- Put your three or four most-used toggles in the top row. That row is visible on the first swipe on most phones, so it is the only row you see without expanding.
- Group related controls together. Flashlight next to camera, Bluetooth next to Wi-Fi, do not disturb next to volume.
- Remove tiles you have not tapped in a month. A crowded panel slows you down more than a sparse one.
- Leave at least one slot free if your phone lets you, so new app tiles have somewhere to land.
If you are setting up a new device and want the rest of the phone tuned the same way, a broader checklist helps. Guides like this roundup of the best android phone 2026 often cover setup defaults worth changing alongside the panel.
Third-Party Tiles: The Hidden Layer
Since Android 7.0, apps can register their own Quick Settings tiles through a documented mechanism called TileService. That is why you sometimes see a tile for a VPN, a smart home app, a screen recorder, or a password manager appear in the pool without you adding it manually.
The behavior varies. Some apps add a tile automatically the moment you install them. Others require you to enable it inside the app’s own settings first, and only then does it show up in the Quick Settings editor. A few apps offer multiple tiles, letting you pin a specific action rather than the app itself.
This is where a lot of people get stuck. They install an app, expect a tile, and find nothing. The fix is almost always to open the app, hunt through its settings for a “Quick Settings tile” or “Add to Quick Settings” toggle, enable it, then return to the panel editor.
Worth knowing: tiles from third-party apps can behave inconsistently across Android versions, because the tile API has been refined repeatedly. A tile that worked perfectly on Android 12 may render oddly on Android 15. If a tile misbehaves, check for an app update before assuming the phone is at fault.
Common Mistakes and What Actually Works
Most Quick Settings problems come down to a handful of recurring errors. These are the ones worth avoiding.
Mistake one: following instructions for the wrong Android version. The panel changed significantly in Android 12 and again in later releases. A tutorial written for Android 11 will describe an interface that no longer exists. Check your version first, under Settings, then About phone.
Mistake two: assuming all phones behave the same. Samsung users frequently report that Pixel instructions do not work, and vice versa. The tile grid, the edit icon, and even the number of visible tiles differ by manufacturer. Treat every guide as a starting point, not a script.
Mistake three: overloading the panel. It is tempting to add twenty tiles because you can. In practice, a panel with more than about twelve tiles becomes a scrolling exercise, which defeats the purpose. The panel should shorten your path to common actions, not replicate the entire Settings app.
Mistake four: ignoring the layout settings buried in the Settings app. Samsung, Xiaomi, and several other manufacturers expose additional Quick Settings options inside the main Settings menu, separate from the panel editor. These control things like how many tiles appear per row, whether brightness control shows, and whether the panel uses a split or combined style. If the panel editor feels limited, the Settings app usually has more.
Mistake five: forgetting that tiles can carry sensitive permissions. A tile that toggles a VPN or opens a smart lock is convenient, but it also means anyone holding your phone while it is open can trigger it. For tiles tied to security or payments, consider whether the convenience is worth the exposure.
Beyond the panel itself, keeping the phone lean helps everything feel faster. If your device has accumulated clutter, pairing a Quick Settings cleanup with basics like a solid antivirus for android australia setup and a pass through unused apps makes a noticeable difference to daily responsiveness.
Making the Panel Work for Your Habits
The best Quick Settings layout is not the one with the most tiles. It is the one that matches how you actually use your phone. Someone who commutes daily will want mobile data, Bluetooth, and transit-related tiles up top. Someone who works from home might prioritize Wi-Fi, do not disturb, and screen recording. A photographer will want flashlight and camera adjacent.
A useful exercise: for one week, note every time you open Settings to change something. At the end of the week, add a tile for whichever setting you changed most. That single habit turns the panel from a default grid into a personalized control surface.
It also helps to revisit the layout occasionally. Apps get uninstalled, habits shift, and a tile you needed six months ago may now be dead weight. A two-minute cleanup every few months keeps the panel honest.
For readers who spend a lot of time tweaking their phone’s look and feel, the same instinct applies elsewhere. Customizing app interfaces, for instance, follows similar logic: small changes to defaults produce outsized gains in daily usability. If you enjoy that kind of tuning, guides on the best leonardo ai settings for photorealistic images scratch the same itch in a different app.
Quick Settings and Accessibility
One underappreciated use of the panel is accessibility. People with limited dexterity often find Quick Settings tiles easier to hit than nested menus, because the tiles are large targets near the top of the screen. Tiles for screen readers, magnification, and color correction can be pinned directly into the panel, turning a multi-step navigation into a single tap.
Android also supports a dedicated accessibility shortcut that can trigger from the panel or a hardware button combination. If you or someone you set phones up for relies on these features, pinning them to the first row is a meaningful improvement, not a cosmetic one.
Conclusion
Customizing Android Quick Settings is one of the highest-return, lowest-effort changes you can make to a phone. The editor is built in, the tiles are draggable, and the whole job takes about five minutes. The catch is that the interface varies by Android version and manufacturer, so the exact steps you read online may not match your screen. Trust what you see, long-press when in doubt, and check the Settings app if the panel editor feels thin.
Start with the top row. Put the four controls you use most within reach of a single swipe, prune everything else, and revisit the layout when your habits change. That is the whole method, and it beats any default arrangement Google or Samsung ships out of the box.
Frequently Asked Questions
How do I open the Quick Settings editor on Android?
Swipe down twice from the top of the screen to expand the full panel, then tap the pencil or edit icon, usually near the bottom or in a corner. On some phones you long-press a tile or use a three-dot menu instead. The location varies by Android version and manufacturer, so if you do not see a pencil, long-press the panel itself.
Why can’t I find the edit button on my Samsung phone?
Samsung’s One UI places the edit control near the top of the expanded panel rather than the bottom, and it also exposes extra layout options inside the main Settings app. If the pencil is not visible, swipe down fully first, then look along the top edge of the panel. Samsung devices also let you change how many tiles appear per row from Settings.
Can I add tiles from apps I installed?
Yes. Since Android 7.0, apps can register their own tiles through a system API. Some tiles appear automatically after installation, while others require you to enable them inside the app’s settings first. If an app you expect to see is missing, open the app and look for a “Quick Settings” or “Add tile” toggle.
How many tiles should I keep in the panel?
Aim for eight to twelve. Beyond that, the panel starts scrolling and you lose the speed advantage that makes it useful. Keep your four most-used controls in the top row, group related toggles together, and remove anything you have not tapped in the past month.
Why did my Quick Settings layout change after an update?
Major Android releases have repeatedly redesigned the panel. Android 12 merged Wi-Fi and mobile data into a combined Internet control and added a media card, and later versions continued refining tile sizes and layout. System updates can also reset custom arrangements, so it is worth checking your layout after a major upgrade.
Do third-party Quick Settings tiles work on all Android phones?
Not always. The tile API has been refined across Android versions, and some tiles render or behave differently depending on the phone’s Android version and manufacturer skin. If a tile stops working, update the app first. If that fails, remove and re-add the tile, then check whether the app lists known compatibility issues.