A surprising number of mechanical keyboard owners have never touched their firmware. Most buyers in enthusiast communities use a board exactly as it shipped, even when the manufacturer has released stability fixes and new features. That is a shame, because a firmware update can fix chatter, improve latency, and enable layers you did not know the board supported. The catch is that a botched flash can leave you with a dead board and erased layouts, so the process deserves a little care.
Quick Answer: How do i update mechanical keyboard safely without losing data?
The safe way to update a mechanical keyboard is to back up your saved profiles and macros first, then flash only official firmware for your exact model and revision using a wired connection and a stable power source. Most “data loss” in this context means lost lighting layouts, layers, and macros rather than personal files, because keyboards do not store documents.
There are three different tasks people lump under “updating”: flashing firmware to the microcontroller, updating the vendor’s configuration software, and physically swapping switches or keycaps. Only the first carries real risk of bricking the board, and only the first and second can wipe your saved configuration.
Before you begin, check your exact model and PCB revision, the firmware version and its release notes, whether your tool supports profile export, your connection type, and your recovery method if the flash fails. Those five items decide whether the update is routine or risky.
The single biggest mistake people make is treating a firmware flash like a software install. It isn’t. A flash writes directly to the keyboard’s microcontroller, and if that write is interrupted, the board can end up in an unbootable state that requires a hardware bootloader reset to recover. According to Wikipedia’s overview of firmware, firmware sits closer to the hardware than ordinary software and is typically stored in non-volatile memory, which is exactly why the write process matters so much.
The good news is that the procedure is short, boring, and repeatable once you know the order of operations. Back up, verify, flash wired, test. Skip a step and you join the small but vocal group of people posting “my keyboard won’t turn on” threads at midnight.
What “Losing Data” Actually Means on a Keyboard
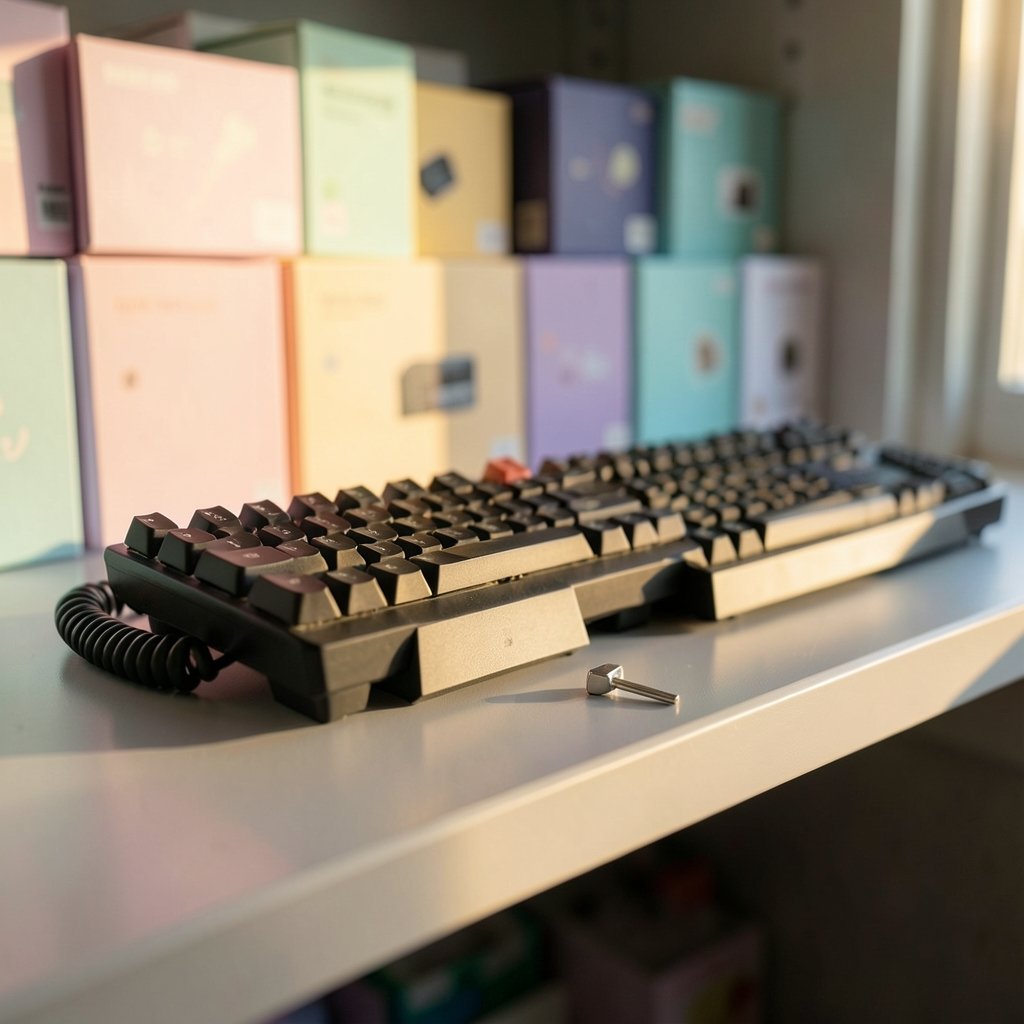
Let’s clear up the terminology, because it changes how you prepare. A mechanical keyboard does not store your documents, passwords, or browsing history. What it stores is configuration: keymaps, layers, macros, lighting effects, and sometimes per-key color assignments.
That configuration lives in one of two places. On vendor boards, it usually sits inside the manufacturer’s desktop utility, saved locally or synced to a cloud account. On custom and enthusiast boards running open-source firmware, it lives in the controller’s EEPROM or in a layout file you load through a configurator. VIA is the most common example, saving layouts directly to the keyboard’s memory so they travel with the hardware.
That distinction matters because a firmware reflash can, depending on the build and the options used, reset EEPROM and wipe the layout stored there. Whether your specific board preserves or erases saved layouts after a flash depends entirely on the firmware build and the flashing tool, and sources genuinely disagree on this point. Assume it will be wiped and prepare accordingly.
Back Up Before You Flash Anything
This is the step almost everyone skips, and it is the only one that makes the rest of the process reversible.
Vendor software profiles
Most gaming keyboard utilities let you export a profile to a file. Look for an export, save, or backup option in the profile menu, and store the file somewhere outside the utility’s own folder. If your tool only syncs to a cloud account, confirm the profile is actually synced and note the account credentials before you start.
VIA and QMK layouts
If you use VIA, open the configurator with your board connected and save a copy of your layout. Loading a saved layout back after a flash takes seconds and restores every layer and macro. For QMK users, keep your keymap source in version control so you can rebuild and reflash the exact configuration you had before.
A paper note is not silly
Write down your custom macros and any unusual layer assignments. It sounds primitive, but when a flash wipes everything and you cannot remember whether Fn+J was a macro or a media key, that note saves an hour of guessing.
Match the Firmware to Your Exact Board
Flashing firmware built for a different PCB revision is one of the fastest ways to brick a keyboard. Manufacturers often ship several revisions of the same model with different controllers, and the model name on the box does not always tell you which one you have.
Check the label on the back of the case, the packaging, or the vendor’s support page for revision identifiers. Then download firmware only from the official source for that model. Third-party firmware such as QMK is excellent, but it must be built for your specific PCB, and vendor “safe update” claims generally do not cover third-party firmware running on the same hardware.
If you are unsure which revision you own, stop and ask the manufacturer’s support team. A day of waiting beats a dead board.
The Safe Update Sequence, Step by Step
Here is the order that works in practice, whether you are on a mainstream gaming board or a custom build.
- Save your profiles. Export from the vendor tool or save your layout in VIA. Confirm the file exists before continuing.
- Read the release notes. Check the firmware version’s notes for known issues, required drivers, and any OS restrictions the vendor lists.
- Connect wired. Use a direct USB port on the computer, not a hub, dock, or Bluetooth link. Stable power matters more than speed here.
- Close everything else. Shut down other keyboard utilities, macro tools, and anything that grabs USB devices. Conflicts during a flash are avoidable.
- Run the official flashing tool. Follow the vendor’s instructions exactly, including any key combinations needed to enter bootloader mode.
- Do not touch anything. No unplugging, no sleeping laptops, no closing the lid. Interrupting the write is what bricks boards.
- Wait for the confirmation. Let the tool report success and let the keyboard reboot on its own.
- Test, then restore. Check every key with a key tester, confirm lighting and layers, then reload your saved profile.
If you also maintain a desktop setup with custom peripherals, it helps to have your workspace organized before you start unplugging things. A stable, tidy desk reduces the odds of an accidental cable knock mid-flash, and if you are reworking your setup anyway, this guide to the best keyboard stand for stage performance is worth a look for players who gig with their boards.
What to Do If the Flash Fails
A failed flash is not always fatal. Most controllers have a hardware bootloader entry that lets you reflash even when the keyboard appears dead. The method varies by board: some require holding a specific key while plugging in, others need a reset button press, and some need a pair of pads shorted on the PCB.
Because recovery is model-specific, generic advice can genuinely make things worse. Find the recovery procedure for your exact board from the manufacturer or the firmware project’s documentation before you attempt anything. If the board is under warranty, contact support first; many vendors will replace a bricked unit, but self-repair attempts can void that coverage.
One practical tip from people who have recovered boards: keep the old firmware file on hand. If a new version misbehaves, rolling back to a known-good build is often faster than troubleshooting.
Firmware Update vs. Hardware Swap: Different Risks
Not every “update” touches firmware, and it helps to keep the risks separate.
| Task | What Changes | Data Risk | Main Danger |
|---|---|---|---|
| Firmware flash | Controller software | Profiles and layouts can be wiped | Bricking if interrupted |
| Software update | Vendor utility | Profiles may reset or migrate | Lost macros if not exported |
| Switch swap | Physical switches | None | Bent pins, damaged hot-swap sockets |
| Keycap change | Physical keycaps | None | Stuck stems, cracked mounts |
Physical modifications carry no data risk at all, but hot-swap sockets have insertion limits and bent pins can damage them permanently. Pull straight up, align pins carefully, and never force a switch into a socket.
Common Mistakes That Cause Real Damage
The most frequent error is flashing over a wireless connection. Bluetooth links drop, and a dropped link during a write is exactly the scenario that leaves a board unbootable. Some vendors explicitly support wireless flashing, but unless the documentation says so, go wired.
The second is flashing firmware for the wrong revision. The third is skipping the backup because the update “should” preserve settings. The fourth is running the flash on a laptop with a nearly empty battery. The fifth is using a random firmware file from a forum thread instead of the official release.
There is a sixth mistake that surprises people: updating keyboard software in the middle of a work deadline. Profile resets and reboots eat time you may not have. Do it on a quiet afternoon.
If your workflow depends on automation, it is also worth understanding how much of your toolchain relies on stable input devices. The same discipline that keeps a flash safe applies to any setup where a single failure cascades, whether that is a keyboard or the infrastructure behind your analytics, which is why guides on how to use AI for data analysis emphasize checkpoints before big changes. (Cybersecurity Framework)
When Updating Is Actually Worth It
Not every firmware release justifies the risk. Update when the notes mention a fix for a problem you have experienced, such as key chatter, double-typing, sleep or wake issues, or latency improvements. Update when a new feature matters to you, like added layers or better lighting control.
Skip it when the board works perfectly and the release notes are vague. “Stability improvements” with no detail is not a strong reason to risk a working board. There is no prize for running the newest firmware on a keyboard that already does everything you need.
For custom boards, the calculus is different. If you built the firmware yourself, you already have the toolchain, the source, and the recovery method, so updating is low-risk and often worthwhile.
Keeping the Process Repeatable
The people who never brick a keyboard are not luckier than everyone else. They just follow the same short checklist every time: back up, verify the model, connect wired, flash, test, restore. Once that sequence becomes habit, firmware updates stop feeling risky and start feeling like routine maintenance.
It also helps to keep a small folder of your keyboard files: the current firmware, the previous version, your exported profiles, and a note with your recovery procedure. Five minutes of setup now saves an evening of panic later. For anyone who types for a living, that folder is as important as a backup of any other work file. If you are the kind of person who likes small efficiency wins, the same philosophy shows up in lists of Windows keyboard shortcuts everyone should know — tiny habits that compound. (Computer keyboard)
Conclusion
Updating a mechanical keyboard safely comes down to preparation, not luck. Back up your profiles, confirm the firmware matches your exact board revision, flash over a wired connection with stable power, and leave the keyboard alone until the tool confirms success. Treat the process as maintenance rather than experimentation and the worst outcome you will face is a layout you have to reload from a file.
The boards that die are almost always the ones flashed in a hurry, over Bluetooth, with a firmware file of uncertain origin. Give the process fifteen focused minutes and your keyboard will come out the other side with better behavior and every macro intact.
Frequently Asked Questions
Will a firmware update erase my saved macros and layers?
It can. Whether a flash preserves or wipes stored layouts depends on the firmware build and the flashing options used, and behavior varies between vendors and open-source projects. Export or save your configuration before flashing so you can restore it in seconds if the memory is cleared.
Can I update my keyboard over Bluetooth?
Only if the manufacturer’s documentation explicitly supports it. Wireless links can drop mid-write, and an interrupted flash is the most common cause of an unresponsive board. Use a direct wired USB connection unless the vendor states otherwise.
What happens if I unplug the keyboard during a flash?
The controller may be left in an unbootable state. Most boards can be recovered through a hardware bootloader entry, such as holding a key while plugging in or pressing a reset button, but the exact method is model-specific. Check your board’s recovery procedure before attempting a reflash.
Is third-party firmware like QMK safe to install?
It is safe when built correctly for your specific PCB. The risk comes from flashing a build made for a different revision or controller. Vendor safety claims generally cover only their own firmware, so treat third-party firmware as your own responsibility and keep a recovery path ready.
Do I need to update keyboard software as well as firmware?
They are separate. The desktop utility manages profiles and lighting; the firmware runs on the board itself. Updating the utility can reset or migrate profiles, so export them first. Updating firmware changes how the hardware behaves and carries the bricking risk.
How often should a mechanical keyboard be updated?
Only when a release fixes a problem you have noticed or adds a feature you want. A board that works perfectly does not need the newest firmware. Check release notes, and skip updates that offer only vague stability claims with no detail.