
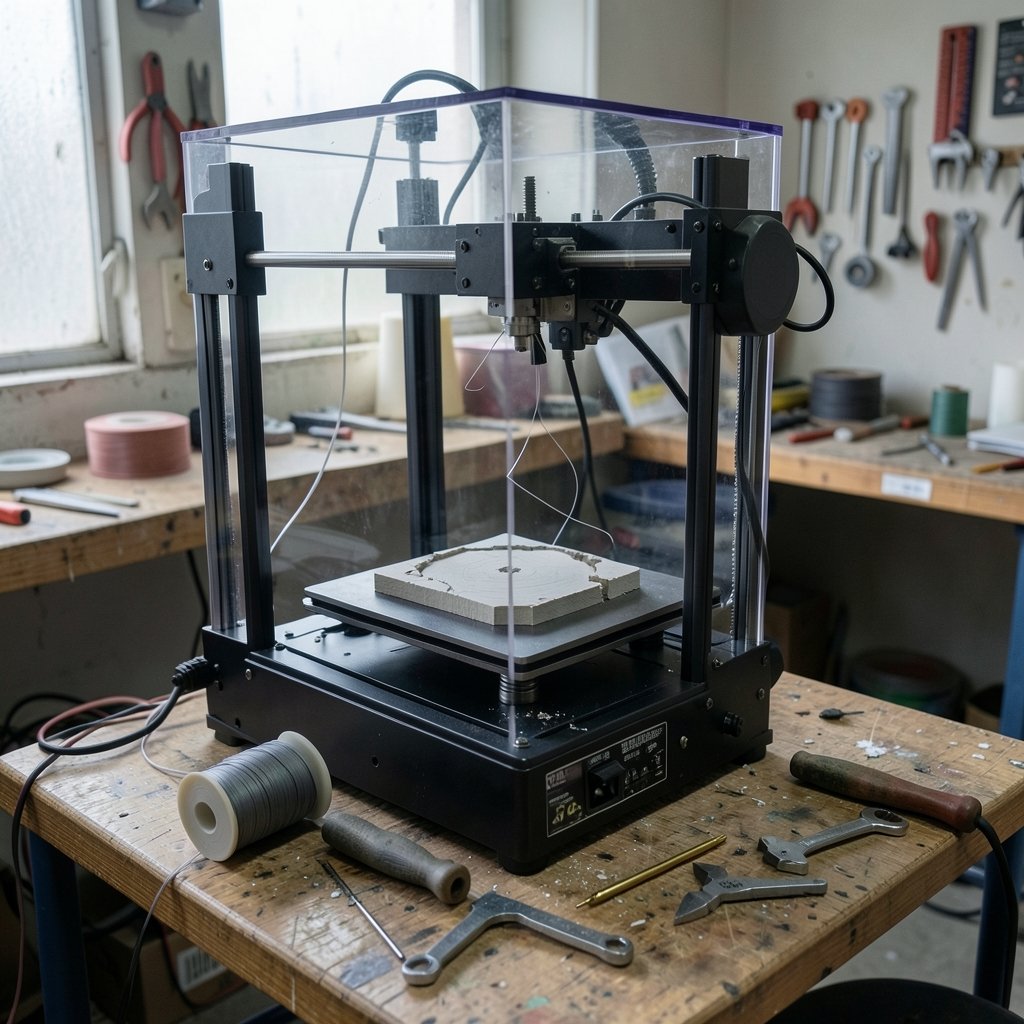
Is your 3D printer leaving gaps in the top layers, spitting out walls that crumble between your fingers, or printing layers so thin they look like they were drawn with a dying pen? That’s under-extrusion, and it’s one of the most common failures in FDM printing. The good news: it’s also one of the most fixable, once you stop guessing and start diagnosing in the right order. (3D printing)
This guide walks through a practical diagnostic sequence, from the easiest checks to the ones that require a wrench. It focuses on what actually works in practice, the mistakes people repeat, and how to tell apart the failures that look almost identical.
What Under-Extrusion Actually Looks Like
Under-extrusion happens when the extruder delivers less filament than the slicer expects. The printer thinks it’s laying down a full bead; the nozzle is actually laying down a fraction of one. The visible symptoms are fairly consistent:
- Gaps between perimeter lines and infill
- Thin, weak walls that snap easily
- Missing or translucent top layers
- Random gaps mid-print that appear and disappear
- A “spongy” or porous surface texture
- Clicking or skipping sounds from the extruder gear
The tricky part is that these symptoms overlap with several other problems, including a partially clogged nozzle, heat creep, and filament diameter inconsistency. That overlap is exactly why random tinkering fails. Changing five settings at once tells you nothing about which one mattered.
Why Diagnosis Order Matters More Than Any Single Fix
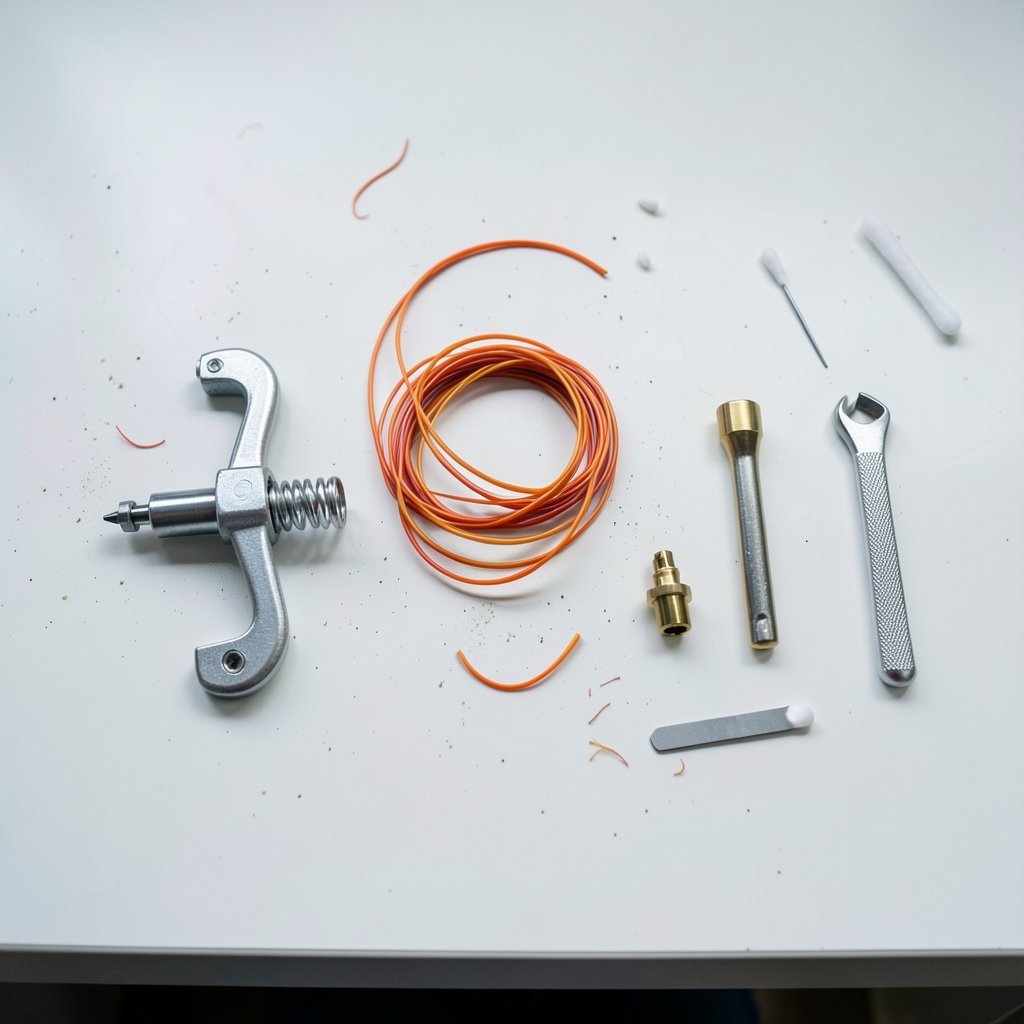
Experienced troubleshooters follow a rough consensus sequence: check the filament path first, then idler tension, then the nozzle, then temperature, then E-steps, then flow, then speed. This ordering isn’t an official standard, but it follows a simple logic: check the cheap, reversible things before the ones that require disassembly or firmware changes.
The most common mistake is jumping straight to E-steps calibration. It feels productive because it involves numbers and commands. But if your spool is tangled or your idler is loose, calibrating E-steps “fixes” the symptom by over-correcting a mechanical problem, and the issue returns the moment friction changes. In practice, mechanical causes outnumber firmware causes by a wide margin.
Step 1: Inspect the Filament Path and Spool
Before touching a single setting, watch the spool while the printer runs. A tangled spool creates drag that varies as the print progresses, which produces intermittent under-extrusion that looks maddeningly random. Crossed windings on a spool are the classic culprit.
Also check the spool holder. A holder with a tight fit or a rough bearing adds resistance the extruder has to fight. Long, restrictive PTFE paths amplify this, which is why Bowden tube setups are more sensitive to friction than direct-drive systems. Direct drive shortens the path but adds mass to the toolhead, a trade-off worth knowing when you’re comparing machine designs.
Run a simple test: pull filament off the spool by hand with the printer idle. It should unspool smoothly with light tension. If it snags, you’ve found your first problem.
Step 2: Check Idler Tension and the Drive Gear
The extruder’s drive gear grips the filament; the idler presses it against the gear. Too little tension and the gear slips. Too much and it grinds a flat spot into the filament, which then can’t be pushed at all.
Look for filament grinding: fine plastic shavings near the extruder, or a visible flat notch on the filament after you pull it out. If you see either, the extruder is struggling, and the cause is almost always downstream resistance rather than the extruder itself.
A practical tip: after any failed print, always pull the filament and inspect the last 20 centimeters. The marks on that segment tell you more than an hour of watching the printer.
Step 3: Rule Out a Partial Nozzle Clog
A partial clog is the single most common cause of sudden under-extrusion on a printer that was printing fine yesterday. The tell is inconsistency: good layers, then gaps, then good layers again.
The standard test is a cold pull (also called an atomic pull). Heat the nozzle to printing temperature, push filament through manually until it extrudes cleanly, cool to around 90 to 110°C for PLA depending on your machine, then pull firmly. The tip of the pulled filament should come out shaped like the nozzle’s internal channel. If it’s ragged or carries dark specks, you’ve found debris.
Repeat the cold pull until the tip comes out clean. For stubborn clogs, a nozzle cleaning needle helps, but it only clears the center, not carbonized residue on the walls.
Step 4: Verify Temperature Against the Filament’s Data Sheet
Printing below the filament manufacturer’s recommended range raises melt viscosity, and thick filament resists being pushed through a small orifice. The result is under-extrusion that appears at high flow rates but vanishes at low ones.
There is no universal “correct” temperature. PLA, PETG, and ABS all sit in different ranges, and those ranges vary by brand and even by color within a brand. Always check the spool label or the manufacturer’s technical data sheet rather than copying settings from a forum post. A 10°C increase is a reasonable first experiment if you suspect temperature, but change only that one variable.
Step 5: Recognize Heat Creep
Heat creep is the sneaky one. In a hotend, the filament should stay solid until it reaches the melt zone. If cooling above that zone is inadequate, filament softens early, swells, and grips the walls of the heat break. Friction rises, the extruder starts skipping, and extrusion drops.
The signature of heat creep is timing: prints start perfectly and degrade after 30 to 90 minutes. Short prints are fine; long prints fail. That pattern is very different from a clog, which usually appears immediately.
Fixes include checking the hotend fan (it must run at full speed whenever the hotend is hot), cleaning dust from the fan and heatsink fins, and lowering print temperature slightly. On some all-metal hotends, a poorly seated heat break is the root cause.
Step 6: Calibrate E-Steps Properly
E-steps (steps per millimeter) tell the firmware how many motor steps equal one millimeter of filament. If this value is wrong, every print under- or over-extrudes by the same percentage.
The procedure is straightforward:
- Heat the nozzle to printing temperature.
- Mark the filament 120 mm above the extruder inlet.
- Command a 100 mm extrusion at a slow feed rate.
- Measure the actual distance traveled.
- Calculate: new value = current value × (100 ÷ actual distance).
- Update the firmware and repeat to confirm.
Do this with the nozzle removed or free-flowing, so back-pressure doesn’t distort the measurement. And do it after fixing mechanical issues, not before.
Step 7: Tune Flow (Extrusion Multiplier)
E-steps handle the hardware; flow handles the slicer’s assumptions. Even with perfect E-steps, a flow value of 100% may not produce walls of exactly the intended thickness.
The standard test is a single-wall cube printed with zero top layers, zero infill, and one perimeter. Measure the wall thickness with calipers at several points, average the readings, and compare to your slicer’s extrusion width. Adjust the flow percentage proportionally. Most printers land between 92% and 102%, and small deviations are normal.
Step 8: Check Filament Diameter and Speed Limits
Nominal 1.75 mm filament is rarely exactly 1.75 mm. Measure with calipers at three or four points along a meter of filament. Out-of-spec or oval filament causes inconsistent extrusion that no slicer setting can fully compensate for. Tolerances vary by manufacturer, so check the spool’s spec rather than assuming.
Speed matters too. Every hotend has a maximum volumetric flow rate. Push beyond it and the extruder physically cannot melt filament fast enough, producing under-extrusion that appears only on fast moves, infill, or large layer heights. If your prints fail only on the fast sections, slow down before you change anything else.
A Quick Comparison Table
| Symptom Pattern | Most Likely Cause | First Check |
|---|---|---|
| Gaps appear randomly throughout | Partial clog or tangled spool | Cold pull; watch the spool |
| Print starts fine, degrades after an hour | Heat creep | Hotend fan and heatsink |
| Consistent thin walls everywhere | E-steps or flow setting | Calibrate E-steps, then flow |
| Grinding noise, chewed filament | Idler tension or path friction | Inspect filament and extruder |
| Fails only on fast moves or infill | Speed exceeds hotend flow limit | Lower speed or layer height |
| Inconsistent between spools | Filament diameter variance | Measure with calipers |
Mistakes That Waste the Most Time
Changing multiple settings at once is the biggest one. It makes cause and effect impossible to trace. Print a small test cube after each single change, and keep notes. (RepRap Wiki)
The second mistake is trusting the printer’s display over physical measurement. If the screen says 100 mm was extruded, that’s the commanded value, not the delivered one. Calipers don’t lie.
The third is ignoring the filament itself. Cheap or poorly stored filament absorbs moisture, which causes popping, bubbling, and inconsistent extrusion that mimics mechanical faults. If a spool has sat open for months, dry it before blaming the printer.
When the Problem Is the Machine Itself
Sometimes the diagnosis points to hardware limits. A worn extruder gear with rounded teeth, a cracked idler arm, or a nozzle with a deformed orifice won’t be fixed by calibration. If you’ve worked through the sequence and the problem persists, replacement parts are usually inexpensive and worth the swap.
It’s also worth being honest about machine capability. If you’re pushing a budget printer hard with large layer heights and fast speeds, you may simply be asking more than the hotend can deliver. Knowing where your machine’s ceiling sits saves hours of futile tuning. The same principle applies when comparing hardware generally, whether you’re weighing a budget laptop under 1000 for slicing work or a gaming PC under 1000 to run heavier modeling software. (Best wireless earbuds under 200 2026)
Conclusion
Under-extrusion rarely has a mysterious cause. It has a predictable one, hiding behind symptoms that look alike. Work the sequence: filament path, idler tension, nozzle, temperature, heat creep, E-steps, flow, then speed. Change one thing at a time, measure with calipers instead of trusting the display, and inspect the filament after every failure. That discipline turns a frustrating guessing game into a fifteen-minute checklist, and it’s the difference between a printer that fights you and one that just works.
Frequently Asked Questions
What is the fastest way to tell under-extrusion from a clog?
They’re closely related, since a partial clog is a leading cause of under-extrusion. The distinguishing feature is consistency. A pure settings problem produces uniform thin walls across the whole print. A clog produces intermittent gaps that come and go. Start with a cold pull; if the pulled filament tip is clean and the gaps persist uniformly, move on to calibration.
Should I calibrate E-steps or flow first?
E-steps first, always. E-steps correct the physical relationship between motor steps and filament movement. Flow corrects the slicer’s assumptions on top of that. Calibrating flow while E-steps are wrong means you’re compensating for a hardware error with a software multiplier, and the result drifts whenever conditions change.
Why does my printer under-extrude only on long prints?
That timing pattern strongly suggests heat creep. Filament softens above the melt zone, swells, and creates friction that builds over time until the extruder can’t push through. Check that the hotend fan runs at full speed whenever the hotend is heated, clean the heatsink fins, and confirm the heat break is properly seated.
Can wet filament cause under-extrusion?
Yes, indirectly. Moisture absorbed by filament turns to steam in the hotend, causing popping, inconsistent flow, and surface defects that mimic under-extrusion. It also weakens the extruded plastic. If a spool has been stored open in a humid room, dry it and retest before adjusting any settings.
How do I know if my extruder is skipping or slipping?
Listen and look. Skipping produces a rhythmic clicking from the motor as it loses steps, usually under back-pressure. Slipping is quieter and leaves grinding marks or a flat notch on the filament. Both point to resistance somewhere downstream, so inspect the filament path and do a cold pull before replacing the extruder.
Is under-extrusion ever caused by the slicer profile itself?
Yes. An incorrectly set filament diameter in the slicer, an overly ambitious maximum volumetric speed, or a layer height that exceeds what the nozzle can handle will all cause under-extrusion on a mechanically perfect printer. If hardware checks all pass, review the profile’s flow, speed, and diameter values before assuming a fault.



