
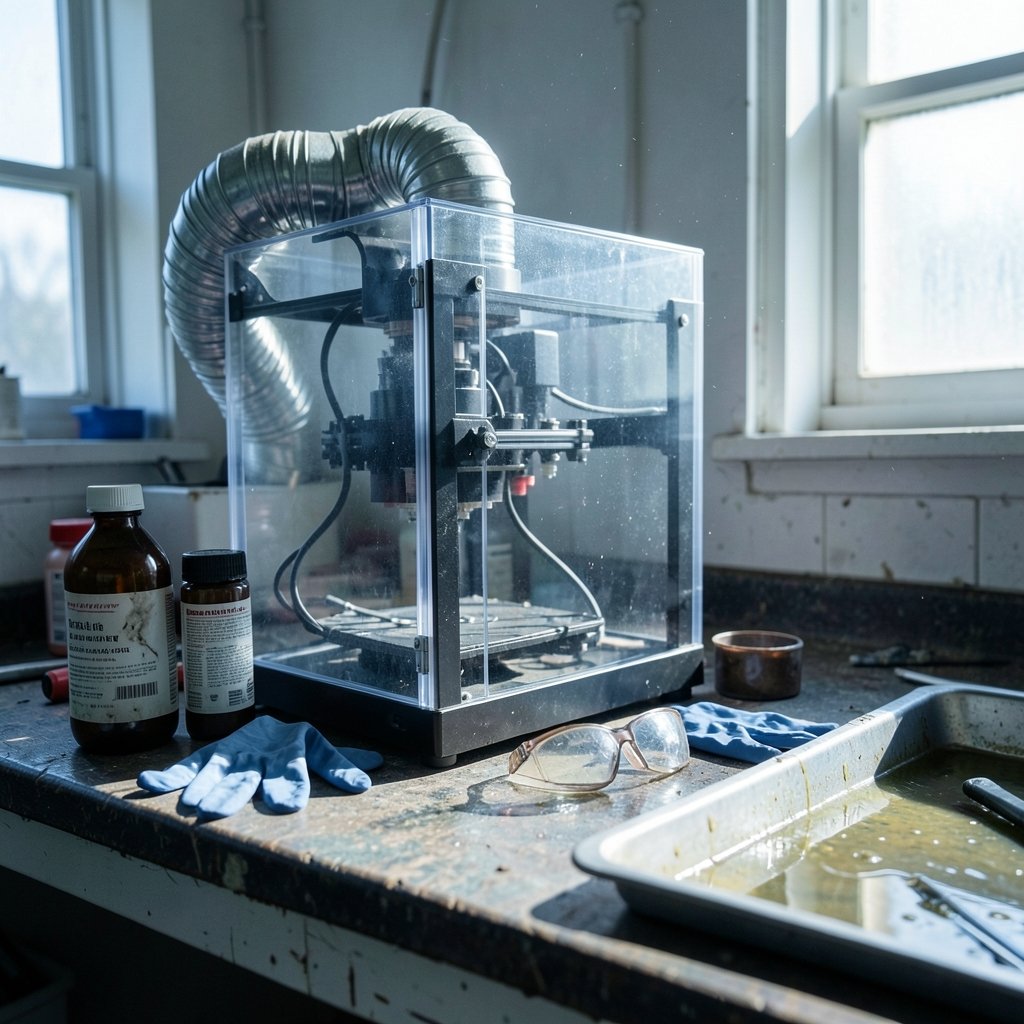
Does your resin printer live in a spare bedroom, a garage, or a corner of the living room? If so, the air around it matters more than most buyers’ guides admit. Resin printing produces vapors and fine particles that you should not be breathing in a closed room, and a proper resin printer ventilation setup is the difference between a hobby you enjoy and a headache you can’t explain.
This guide walks through what actually comes out of a resin printer, how to build an enclosure and exhaust path that works, how to handle the wash station, and the mistakes that quietly defeat otherwise good setups. It sticks to practical, verifiable principles rather than miracle gadgets.
What Resin Printing Actually Releases Into Your Room
Photopolymer resin is a chemical product, not a craft supply. When the printer runs, liquid resin gives off volatile organic compounds (VOCs), and the curing and post-processing steps add more. Studies of resin printers have measured both VOCs and ultrafine particles during printing and during washing and curing, which is why “it barely smells” is a weak safety argument. Some of the most irritating compounds are not the ones your nose notices first.
The single most important document you own is the Safety Data Sheet (SDS) for your specific resin. Every reputable manufacturer publishes one, and it lists hazard statements, recommended ventilation, and required personal protective equipment. Hazard classifications vary widely between brands and formulations, so a setup that is fine for one resin may be marginal for another. Read the SDS before you decide how much ventilation you need. (Ventilation)
The wash solvent matters just as much. Isopropyl alcohol (IPA) is the standard cleaning liquid, and it is both flammable and volatile. Concentrated IPA has a flash point near 12 °C (about 53 °F), meaning the vapor above an open wash container can ignite at ordinary room temperatures. A wash-and-cure station is therefore a fire concern and an air-quality concern at the same time.
The Core Principle: Dilution Is Not Ventilation
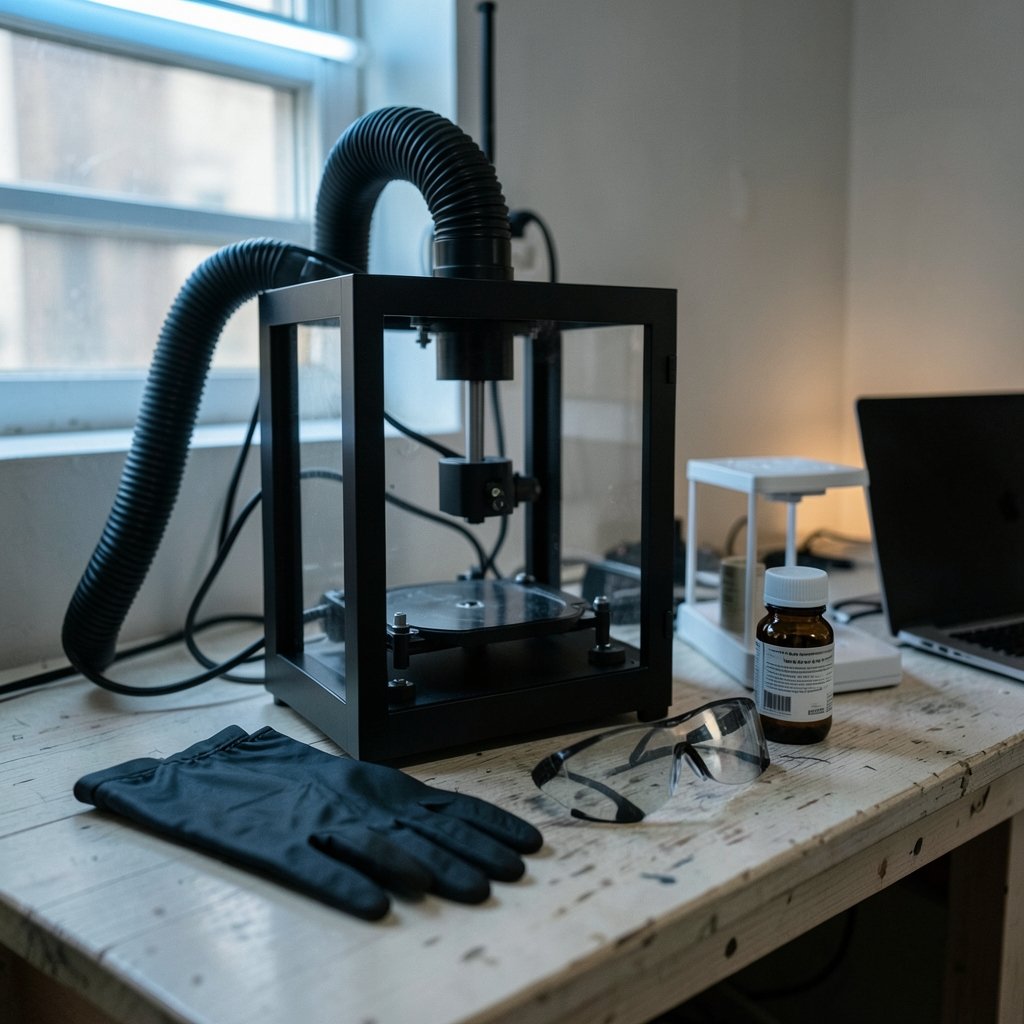
Opening a window and hoping for the best is the most common mistake in this hobby. It feels like ventilation, but it does not reliably remove contaminants at the source. Real control follows a hierarchy that occupational hygienists use everywhere:
- Eliminate and substitute. Choose lower-odor resins where possible, and keep only the resin you need on hand.
- Engineering controls. Enclose the printer and exhaust the air outdoors. This is the workhorse of any serious setup.
- Administrative controls. Print when you can leave the room, keep sessions short, and keep the door closed.
- Personal protective equipment. Gloves and eye protection are the baseline; respiratory protection is a supplement, never a substitute for exhaust.
The goal is source capture: grab the vapors where they are produced and move them outside before they mix with room air. A fan blowing air around the room does not do this. A duct pulling air out of a sealed enclosure does.
Building the Enclosure and Exhaust Path
Most people start with a commercially available tent enclosure sized for their printer, or build a simple box from acrylic or MDF with a clear front panel. Either works if it seals reasonably well and has one inlet and one outlet.
Step-by-step setup
- Seal the enclosure. Tape seams, close gaps around cables, and make sure the front panel closes fully. A leaky enclosure short-circuits the whole design.
- Add an inlet. A passive vent or adjustable gap low on one side lets replacement air in. Without an inlet, the fan starves and the enclosure stops capturing.
- Mount the exhaust fan. An inline duct fan rated for continuous duty is the usual choice. Size it to the enclosure volume and the duct length; long runs and sharp bends cut airflow.
- Route the duct outdoors. Keep the run as short and straight as possible, insulate it if it passes through cold space, and terminate it away from windows and doors that can draw air back in.
- Test the airflow. A cheap handheld anemometer or even a strip of tissue at the inlet tells you whether air is actually moving. If the tissue is not pulled inward, the fan is undersized or the duct is blocked.
- Run the fan during printing and after. Keep exhausting for a while after the print finishes and during post-processing. Vapors linger.
A recirculating carbon filter inside the enclosure can reduce odors, but it is generally not considered sufficient on its own for solvent vapors. Treat filtration as a supplement to outdoor exhaust, not a replacement.
Matching fan and duct to the job
| Setup | Enclosure | Fan type | Exhaust route | Notes |
|---|---|---|---|---|
| Minimal | Sealed tent | Small inline fan | Short duct to window insert | Works for occasional printing in a spare room |
| Standard | Rigid enclosure | Inline duct fan, continuous duty | Duct to exterior wall vent | Best balance of cost and control |
| Workshop | Enclosure plus wash station hood | Larger inline fan, two branches | Dedicated exterior vent | Handles printing and cleaning in one system |
| High-use | Separate room or closet | Exhaust to outside with makeup air | Dedicated duct, no shared runs | Treat like a small chemical workspace |
If you are still choosing hardware, the guides on the best beginner 3D printer and the best 3d printer for beginners cover entry-level machines, while the best budget 3d printer roundup helps you budget for the enclosure and fan you will also need. Families setting up a shared workspace should read the best 3d printer for kids guidance, because ventilation and supervision matter even more with younger users around. (Stereolithography)
Ventilating the Wash and Cure Station
The wash station is where many setups fall short. An open IPA bath in a room with a closed door concentrates solvent vapor fast. Options, from simplest to most thorough:
- Covered wash containers. A lid that seals between uses cuts evaporation dramatically.
- Wash station inside the enclosure. If the tent is large enough, clean parts inside it while the fan runs.
- A small dedicated hood. A benchtop hood over the wash and cure area, ducted outdoors, keeps solvent vapor out of the room.
- Cure station placement. Curing releases VOCs too. Put the cure station under the same exhaust or in the same enclosure.
Never decant IPA near an open flame, a water heater, or any ignition source. Store solvent in approved containers, away from heat, and keep a suitable fire extinguisher nearby.
Exposure Limits, PPE, and What to Wear
Occupational exposure limits for solvents like IPA are published by NIOSH, OSHA, and ACGIH, and they differ between agencies. Those limits are written for trained workers over an eight-hour shift, not for a hobbyist in a bedroom, so treat them as a ceiling of concern rather than a target. The practical takeaway: keep concentrations as low as reasonably achievable with exhaust, and do not rely on smell as a monitor.
For PPE, the baseline is nitrile gloves (not latex), safety glasses, and long sleeves. Respirators with organic vapor cartridges are useful for short tasks like opening a resin bottle or cleaning a vat, but a cartridge mask is not a ventilation system. If you find yourself needing a respirator for a full print session, the enclosure is not working.
For broader context on how airborne contaminants are controlled in workplaces, the general principles of local exhaust ventilation are well documented by public health and safety agencies. The same logic applies at home: capture at the source, move it outside, and verify the flow.
Waste, Disposal, and the Details People Skip
Ventilation gets the air right, but the mess has to go somewhere. Uncured resin and resin-contaminated IPA are typically regulated as hazardous waste in many jurisdictions, and rules vary by state and locality. Check your local environmental agency before pouring anything down a drain. Many communities run household hazardous waste collection days that accept resin and solvent.
Cured resin waste is a different category from liquid resin, but it still should not go in regular trash in most places without checking local rules. Keep a labeled, sealed waste container for contaminated paper towels, gloves, and failed prints. A little planning here prevents a bigger problem later.
Common Mistakes That Undermine a Good Setup
Even people who buy the right equipment trip over the same issues. Watch for these:
- No inlet air. A fan in a sealed box moves almost nothing. Add a passive inlet.
- Duct runs that are too long or too bendy. Every bend costs airflow. Keep the path short and smooth.
- Exhausting into the attic or crawlspace. That just relocates the problem. Route outdoors.
- Venting next to a window that draws air back in. Check where the exhaust lands relative to openings.
- Skipping the post-print period. Vapors and particles continue after the print ends. Keep the fan running.
- Ignoring the wash station. The printer gets all the attention; the solvent bath gets none.
- Trusting odor as a safety signal. Some hazardous compounds have little smell, and you adapt to odors quickly.
If you also tinker with software and emulation projects alongside your printing, the same discipline of careful setup applies to things like the Pokemon pinball ruby sapphire mgba rumble setup 2026 walkthrough and the VS Code Extensions Cursor Setup 2026: How to Configure guide. The habit of reading the documentation first transfers nicely.
Room Choice and Household Logistics
Where the printer lives matters as much as the duct. A garage with an exterior wall is easier to vent than an interior bedroom. A basement with a window is workable if the duct run is short. A closet can be converted into a small print room with a dedicated exhaust and a door that closes.
Keep the printer away from kitchens, bedrooms, and any space where children or pets spend time. Run prints when you can leave the room, and air the space out afterward. If you share your home, explain the setup to the people who live there so nobody props the enclosure open or unplugs the fan.
For anyone building a broader maker workspace, the Playfab multiplayer servers setup 2026 article and the Mistral large 4 api setup 2026 guide show the same pattern in software: read the requirements, build the environment, and test before you depend on it.
How to Know Your Setup Is Working
You do not need lab equipment to sanity-check a home setup. A few simple habits go a long way:
- Tissue test at the inlet. Confirm air is being drawn in whenever the fan runs.
- Smell check from outside the room. If you can smell resin or alcohol in the hallway, air is escaping the wrong way.
- Consistent fan runtime. Use a timer or smart plug so the fan runs during and after every session.
- Regular filter and duct checks. Clean or replace filters, and look for kinks or disconnected joints.
- A log. Note resin types, session lengths, and any symptoms. Patterns show up fast.
If anyone in the household develops headaches, dizziness, or eye or throat irritation around printing sessions, stop, ventilate, and reassess the setup. Symptoms are a signal that the engineering controls are not doing their job.
Conclusion
A resin printer ventilation setup is not a single purchase. It is a small system: a sealed enclosure, a properly sized fan, a short duct to the outdoors, a covered wash station, and the discipline to run the fan every time. The principles are simple and well established. Capture vapors at the source, move them outside, verify the airflow, and handle solvent and resin waste responsibly.
Start with the SDS for your resin, build the simplest enclosure that seals, and test it before you trust it. Most people who are unhappy with their setup skipped one of those steps. Most people who are happy with theirs did all of them, and then kept the fan running a little longer than they thought they needed to.
Frequently Asked Questions
Can I just put my resin printer next to an open window?
An open window helps a little, but it is not reliable ventilation. Air movement is unpredictable, and vapors can drift back into the room. A sealed enclosure with a fan ducted outdoors captures contaminants at the source and is far more dependable than an open window alone.
Do I need a respirator if I have an enclosure and exhaust fan?
For normal printing with a working enclosure and exhaust, a respirator is usually unnecessary. Keep one with organic vapor cartridges for short tasks like opening resin bottles or cleaning a vat. If you feel you need it for a full print session, the enclosure or fan is undersized.
How big should the exhaust fan be for a resin printer enclosure?
Size the fan to the enclosure volume and the duct length, and check the manufacturer’s airflow rating at the static pressure your duct creates. Long runs and sharp bends reduce airflow significantly. A tissue test at the inlet is a quick way to confirm the fan is actually pulling air through.
Is a carbon filter enough without ducting to the outdoors?
Generally no. Carbon filters can reduce odors, but they are not considered sufficient on their own for solvent vapors from resin and IPA. Treat filtration as a supplement to outdoor exhaust, not a replacement, especially in small or enclosed rooms.
How do I dispose of used IPA and uncured resin?
Uncured resin and resin-contaminated IPA are typically regulated as hazardous waste in many jurisdictions, and rules vary by state and locality. Check with your local environmental agency, and use household hazardous waste collection where available. Never pour them down a drain without confirming local rules.
Can I resin print in an apartment?
It is possible with a well-sealed enclosure, a properly sized fan, and a duct routed to a window or exterior vent, but apartments make exhaust routing harder. Avoid bedrooms and small closed rooms, keep sessions short, and be honest about whether you can vent outdoors reliably before committing to the hobby.



