
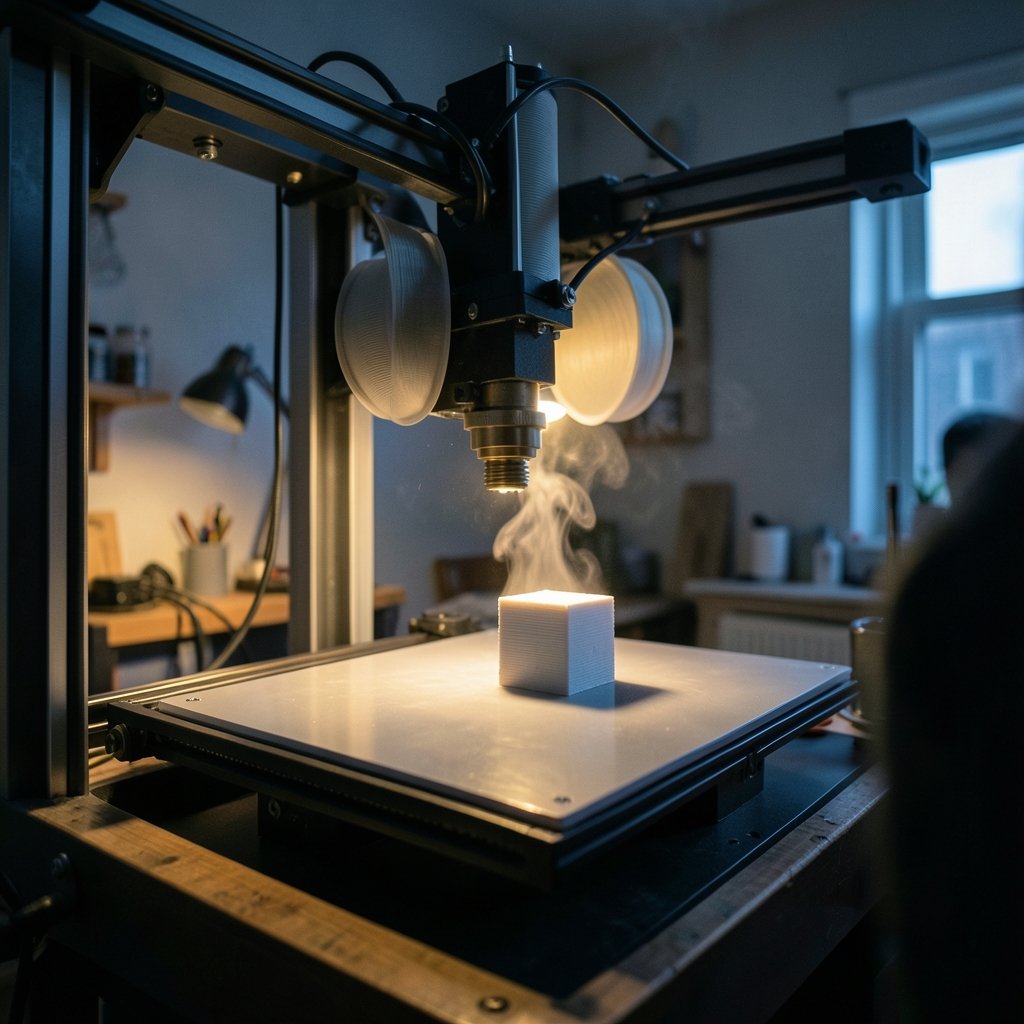
Ever heard a soft pop or crackle coming from your nozzle mid-print and wondered if your printer was about to fail? That sound is one of the most telling 3D printer filament moisture symptoms, and it usually means water vapor is escaping from melted plastic. Wet filament is one of the most common and most misdiagnosed problems in desktop 3D printing. It wastes hours of print time, ruins spools, and sends people chasing temperature and speed settings that were never the real issue. This guide breaks down the actual symptoms, which materials are worst, how to dry filament properly, and how to tell moisture apart from other faults. (Fused filament fabrication)
What Actually Happens When Filament Absorbs Water
Most common 3D printing plastics are slightly hygroscopic, meaning they pull moisture out of the air. Nylon is the worst offender by a wide margin, PETG sits in the middle, PLA absorbs less but is still affected, and ABS is comparatively tolerant. When damp filament enters a hot nozzle, that trapped water boils almost instantly. The rapid expansion creates pressure spikes inside the melt zone, which produces the popping sounds, spitting, and uneven extrusion that define the problem.
The damage is not only acoustic. Steam bubbles disrupt the flow of plastic, so layers bond weakly and surfaces come out rough. On finished parts, moisture-related defects often show up as cloudy patches, tiny voids, or a matte, foamy texture that no amount of sanding fully fixes.
The Audible Symptoms: Popping, Crackling, and Spitting
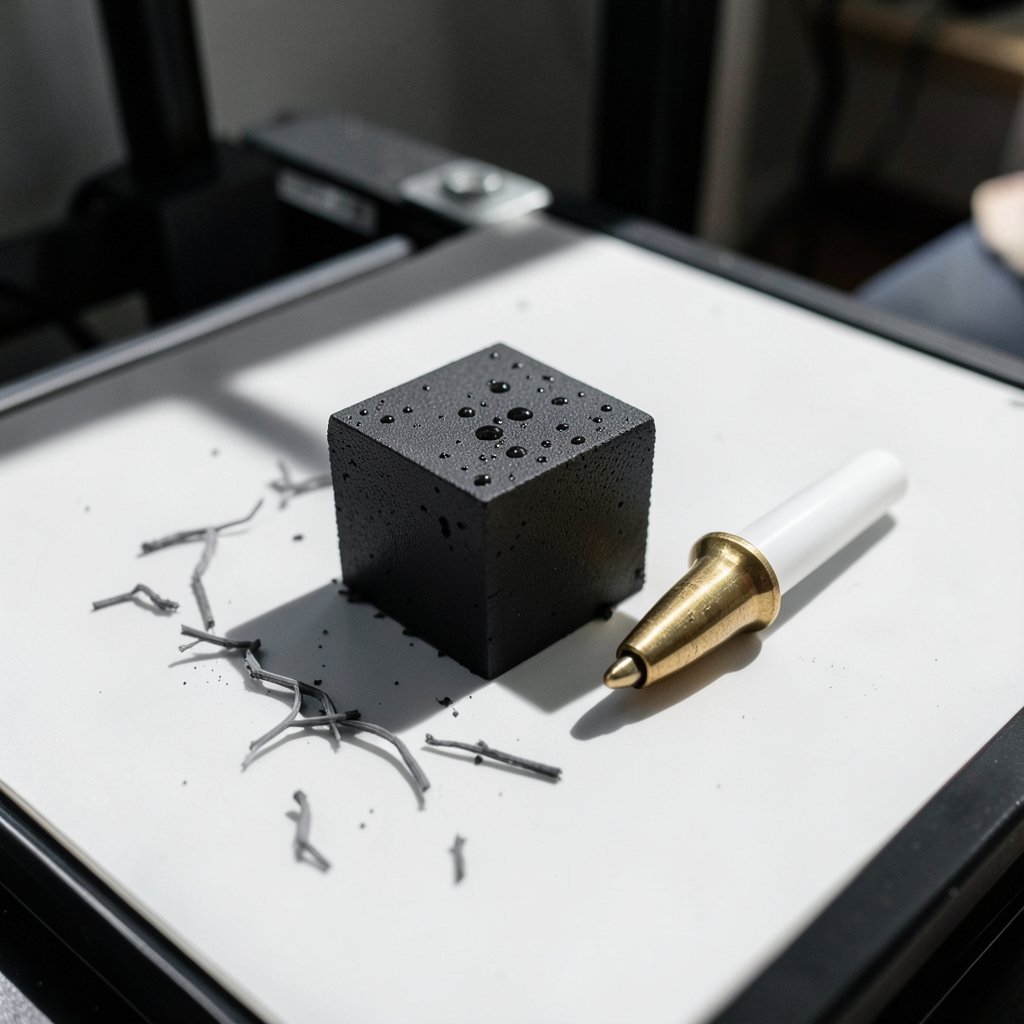
Sound is usually the first clue, and it is easy to catch if you know what to listen for.
- Popping or crackling at the nozzle during extrusion is the classic sign. Each pop is a small pocket of steam bursting through the melt.
- Hissing that continues between extrusion moves suggests moisture is boiling continuously.
- Spitting at the nozzle tip, sometimes leaving tiny droplets or dark specks on the print, is a heavier case.
- Steam wisps visible near the nozzle on the first layer point to a very wet spool.
A practical tip: print a small test cube and simply listen for the first minute. If the extruder sounds like a bowl of rice cereal, dry the spool before starting anything long. Many people skip this step and then spend an evening re-tuning retraction settings for a problem that lives in the plastic, not the slicer.
Visual Symptoms on the Printed Part
Once moisture reaches the nozzle, the defects show up on the print itself. The tricky part is that several of these overlap with ordinary tuning problems, so look for clusters rather than single symptoms.
| Symptom | What it looks like | Typical moisture link |
|---|---|---|
| Rough, foamy surface | Matte, pitted, or sandy texture on walls | Strong |
| Bubbles or voids | Tiny craters, especially on top layers | Strong |
| Weak layer adhesion | Parts snap easily along layer lines | Moderate |
| Excess stringing | Fine webs between travel moves | Moderate |
| Inconsistent extrusion | Banding, gaps, or thin patches | Moderate |
| Cloudy or milky appearance | Haze on what should be clear or glossy plastic | Strong for PETG |
Weak layer adhesion deserves special attention. When steam forms between layers, the plastic cannot fuse properly, so parts fail under load even though the print looked fine coming off the bed. This is a common cause of mysterious structural failures in functional prints.
Why Some Materials Are Far More Sensitive
Not all spools are created equal. Nylon absorbs water readily and typically needs drying before nearly every use, especially in humid climates. PETG is moderately hygroscopic and often prints acceptably when fresh but degrades noticeably after a few weeks in open air. PLA is the most forgiving of the common materials, though it still absorbs enough moisture over months to cause popping on cheap or older spools. ABS and ASA are comparatively tolerant.
PVA support material is a special case: it is designed to dissolve in water, so it absorbs moisture aggressively and can become unusable within days if left exposed. Anyone running multi-material setups should treat PVA as a dry-storage-only material.
A sensible rule for anyone choosing a first machine is to factor storage into the purchase. If someone is picking the best 3D printer for beginners, a sealed box and a bag of desiccant matter as much as the hotend. The same applies when hunting for the best budget 3D printer: cheap spools plus humid air equals constant troubleshooting.
How to Confirm It Is Really Moisture
Moisture is often a hypothesis, not a confirmed cause. Poor adhesion, stringing, and inconsistent extrusion can also come from wrong temperatures, excessive speed, or a partially clogged nozzle. Before blaming water, run a simple elimination test.
- Print the same small model twice: once with the suspect spool, once with a spool you trust.
- Listen for popping on both prints and compare surface texture side by side.
- Check whether the suspect spool has been stored open for weeks or months.
- Inspect the spool for visible condensation, brittle filament, or a spool that snaps when bent.
- Dry the suspect spool and reprint. If the symptoms vanish, moisture was the cause.
That last step is the only real proof. Everything before it is inference.
Drying Filament: Temperatures and Times That Work
Drying is straightforward, but the numbers matter. Typical vendor guidance clusters around these ranges, and manufacturers differ, so always check the spool label or the material datasheet first.
| Material | Typical drying temperature | Typical drying time |
|---|---|---|
| PLA | 40–50 °C | 4–6 hours |
| PETG | 60–65 °C | 4–6 hours |
| ABS / ASA | 60–70 °C | 4–6 hours |
| Nylon (PA) | 70–80 °C | 6–12 hours |
| PVA | 45–55 °C | 6–12 hours |
A dedicated filament dryer is the safest option because it holds a steady, low temperature. Kitchen ovens are risky: most domestic ovens swing far above their setpoint, and a spike past the glass transition temperature can fuse a whole spool into a useless brick. If an oven is the only option, use a separate thermometer and watch the first cycle closely.
Common mistakes in practice: drying at too high a temperature and softening the spool, drying for ten minutes and calling it done, and putting the spool straight back into open air afterward. Drying without sealing is like toweling off in the rain.
Storage Habits That Prevent the Problem
Prevention beats drying every time. Sealed containers with fresh desiccant are the standard recommendation, and the approach is simple and cheap.
- Store spools in airtight boxes or vacuum bags with reusable silica gel.
- Recharge desiccant regularly; saturated beads stop working silently.
- Keep a hygrometer in the storage box and aim for low relative humidity.
- Reseal spools immediately after a print, especially nylon and PVA.
- Label spools with the date they were opened so old stock gets checked first.
Anyone setting up a machine for a child or a shared household should include storage in the workflow from day one. That is one detail to weigh when choosing the best 3D printer for kids, since simple habits prevent most moisture headaches before they start. Likewise, anyone comparing entry-level machines should pair the best beginner 3D printer shortlist with a dry box, rather than only a spare nozzle.
Symptoms People Commonly Misread
A few failure modes get blamed on moisture when something else is going on.
Stringing is the biggest false positive. Wet filament can cause it, but so can insufficient retraction, high nozzle temperature, and slow travel moves. If a spool has printed cleanly for weeks and suddenly strings, check settings before drying.
Poor first-layer adhesion is often a bed issue: worn surface, wrong offset, or dirty glass. Moisture contributes mainly on later layers.
Random clogs can come from moisture-induced foaming, but also from heat creep, debris, or cheap filament with inconsistent diameter. Measure the filament with calipers before assuming water is the culprit.
Brittle filament that snaps when bent is a genuine moisture sign, particularly with PLA and PETG that has been stored open for a long time. It is one of the few symptoms you can confirm without printing anything.
A Quick Diagnostic Routine Worth Repeating
Experienced users tend to build a short checklist and run it every time a print misbehaves. It saves hours.
First, listen. Popping means dry the spool. Second, look at the surface: foamy texture plus weak layers points the same way. Third, check storage history: how long has this spool been open? Fourth, swap in a known-good spool to isolate the variable. Fifth, dry and retest.
That sequence separates moisture from tuning problems in about fifteen minutes of printing, and it prevents the classic trap of changing five slicer settings at once and learning nothing. For anyone who wants a deeper grounding in the underlying material science, the Wikipedia entry on hygroscopy explains why certain plastics attract water so readily, and the ASTM D570 standard defines how water absorption in plastics is formally measured. (National Institute of Standards and Technology)
Conclusion
Wet filament announces itself clearly if you know the signals: popping and crackling at the nozzle, spitting, steam, rough foamy surfaces, bubbles, weak layer bonds, and brittle spools that snap when bent. Nylon and PVA are the most sensitive, PETG sits in the middle, and PLA is forgiving but not immune. The fix is unglamorous but reliable: dry spools at the right temperature for the right time, store them sealed with desiccant, and confirm the diagnosis by reprinting after drying. Build those habits and most “mystery” print failures disappear, leaving more time for the part that actually matters: designing and printing things that work.
Frequently Asked Questions
How do I know if my filament has absorbed moisture?
The clearest signs are popping or crackling sounds at the nozzle, visible steam or spitting, a rough or foamy surface on the print, tiny bubbles or voids, and weak layer adhesion. Brittle filament that snaps when bent is another strong indicator. The only definitive test is to dry the spool and reprint the same model.
Can wet filament still print successfully?
Sometimes, yes. Mildly damp PLA may print with only minor surface roughness, which is why the problem goes unnoticed for so long. Nylon and PVA usually fail visibly. Even when a damp spool produces an acceptable-looking part, layer strength is often reduced, so functional prints should always use dry material.
How long does it take to dry filament?
It depends on the material and the dryer. PLA and PETG typically need four to six hours at their recommended temperatures, while nylon and PVA may need six to twelve hours. Thicker spools and very humid conditions extend the time. Always follow the material datasheet rather than a generic chart.
What temperature should I use to dry PLA?
Most guidance puts PLA between 40 and 50 °C. Going higher risks softening the spool and fusing the filament strands together, which ruins the whole roll. A dedicated dryer with a stable thermostat is much safer than a kitchen oven, which often overshoots its set temperature.
Can I prevent moisture without buying a dryer?
Yes. Airtight containers with fresh desiccant keep spools dry for long periods, and recharging silica gel is cheap. The dryer becomes essential mainly for nylon and PVA, or for reviving spools that have already absorbed water. Storage alone will not dry a wet spool, but it stops the problem from returning.
Does wet filament cause clogs?
It can contribute. Steam expansion inside the melt zone creates inconsistent flow and foaming, which occasionally leads to jams. However, most clogs come from heat creep, debris, or inconsistent filament diameter. If clogs repeat with a spool that shows no other moisture symptoms, check the hotend and measure the filament before drying.



