
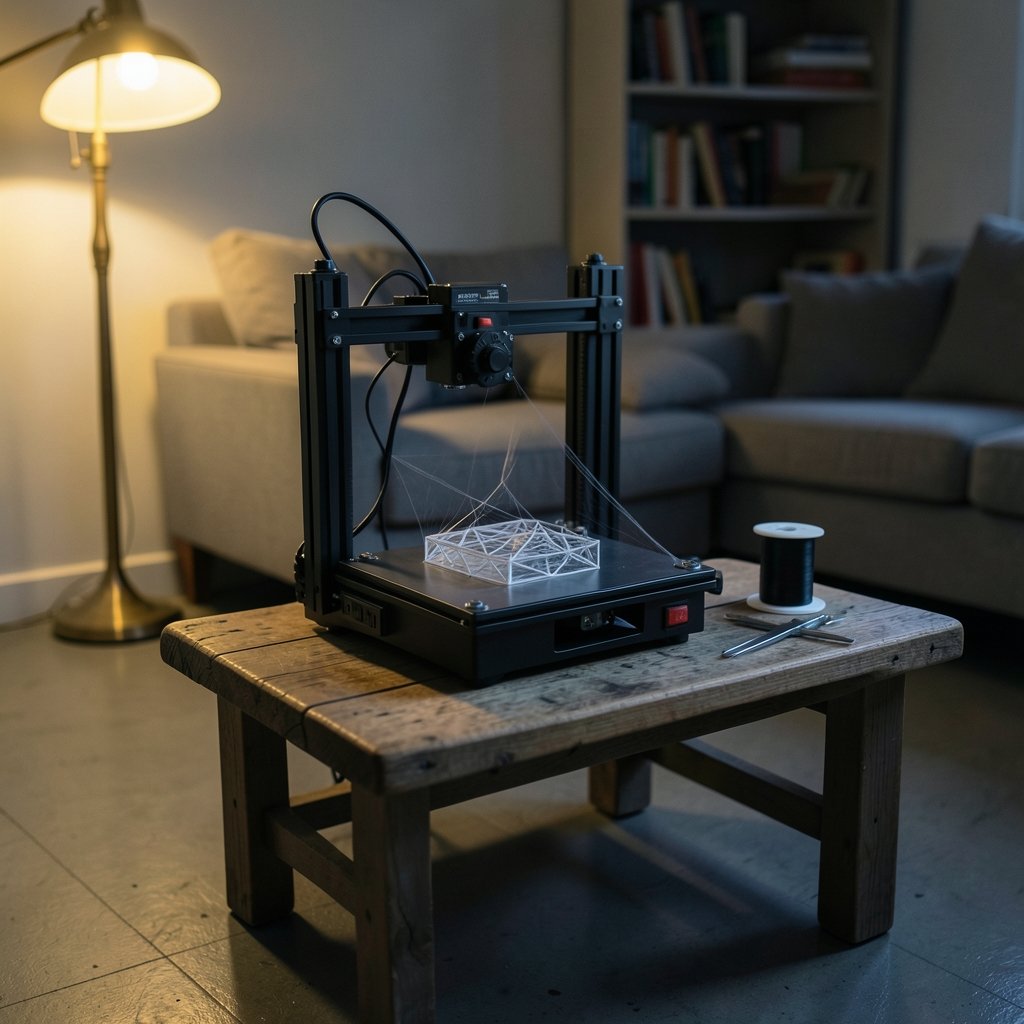
Ever pulled a finished print off the bed and found it wrapped in a spider web of thin plastic hairs? That mess has a name: stringing. And in almost every case, the fix lives in one place in your slicer’s settings menu.
Retraction is one of the most misunderstood settings in 3D printing. Beginners copy numbers from a forum, wonder why their prints still ooze, and then crank the value higher until the extruder starts grinding filament. The truth is simpler and more frustrating: there is no universal correct value. Retraction is a physical response to your specific machine, your filament, and even your firmware.
This guide walks through what retraction actually does, how to tune it methodically, and which mistakes waste the most time.
What Retraction Actually Does
Inside the hot end, melted plastic is under pressure. When the nozzle stops extruding and travels to a new position, that residual pressure keeps pushing filament out, leaving a thin trail behind. Retraction solves this by pulling filament backward, away from the melt zone, to relieve pressure during travel moves.
Two numbers control this:
- Retraction distance: how far the filament is pulled back, in millimeters
- Retraction speed: how fast it is pulled, in millimeters per second
Get both right and travel moves become invisible. Get them wrong and you trade stringing for clogs, under-extrusion, or chewed-up filament.
A useful mental model: retraction is a pressure relief valve. Too little relief and plastic leaks out. Too much and you starve the nozzle, so the first few millimeters after a travel move print thin or not at all.
The Single Biggest Factor: Bowden vs. Direct Drive
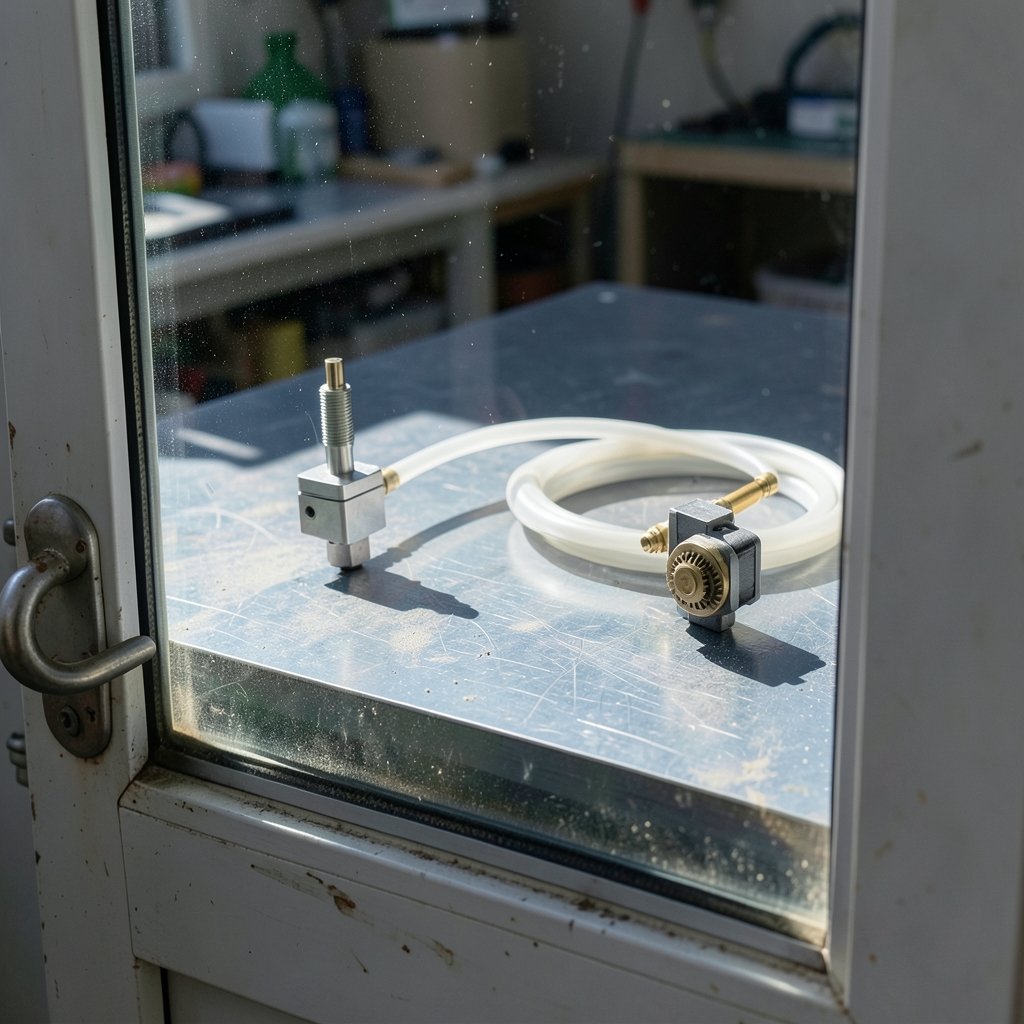
Before touching any number, identify your extruder type. This one distinction explains most of the wild variation in “recommended” settings online.
| Feature | Bowden Setup | Direct Drive Setup |
|---|---|---|
| Extruder location | Mounted on the frame, filament fed through a tube | Mounted directly above the hot end |
| Typical retraction distance | Roughly 4–7 mm | Roughly 0.5–2 mm |
| Typical retraction speed | 40–60 mm/s | 20–45 mm/s |
| Why the difference | Long, flexible tube absorbs and delays pressure changes | Short path responds almost instantly |
| Common failure if over-retracted | Tube friction, delayed re-prime | Filament grinding at the gear |
A Bowden tube acts like a spring. Push filament in and the tube flexes slightly before pressure reaches the nozzle. That means you need a longer pull to relieve pressure, and a longer push to rebuild it. Direct drive removes that lag, so small retractions work. Many modern printers ship with direct drive, which is why advice from a 2016 forum thread can actively hurt a 2026 machine.
If you are still choosing hardware, the extruder design matters as much as the frame. Guides on the best 3d printer for beginners usually flag direct drive as a beginner-friendly feature for exactly this reason.
Material Changes Everything
PLA, PETG, TPU, and ABS behave differently in the melt zone, and retraction must follow.
PLA is the most forgiving. It holds pressure predictably and strings mildly. Most PLA profiles need only modest tuning.
PETG is the notorious stringer. It is sticky, tends to cling to the nozzle, and oozes readily. Many users find PETG needs slightly less retraction distance than PLA but a faster retraction speed, plus a small amount of travel-related tuning. Increasing distance on PETG often makes things worse, not better.
TPU and other flexible filaments are a special case. Because the filament compresses, aggressive retraction can cause it to buckle inside the extruder and jam. Flexible materials often print best with very little retraction, or none at all, combined with slower travel and careful part cooling.
ABS sits between PLA and PETG. It oozes more than PLA when hot but responds well to standard retraction once temperatures are dialed in.
One practical tip that saves hours: change one variable at a time. Tune retraction for one material, on one printer, and save it as a named profile. Do not reuse a PETG profile for PLA.
A Step-by-Step Tuning Method That Works
Retraction tuning is empirical. Nozzle diameter, hot end design, tube length, and firmware all shift the sweet spot, so testing beats guessing every time.
- Start from your slicer’s default profile for the material. Do not start from a forum number.
- Print a retraction test tower or a stringing test model. Most slicers include one, and dedicated test models are widely available.
- Change only retraction distance first. Print a range, typically 0.4 mm to 2 mm for direct drive or 3 mm to 7 mm for Bowden, in small steps.
- Inspect the results in order of priority: stringing first, then gaps or under-extrusion after travel moves, then surface artifacts.
- Lock in the best distance, then tune speed in increments, usually 10 mm/s at a time.
- Re-test with a real part in addition to the test model. Small models with many short travels expose problems that towers hide.
- Save the profile with a clear name that includes material and nozzle size.
A common beginner mistake is testing with a model that has almost no travel moves. The test looks perfect, then a real print with lots of hopping between islands strings badly. Always validate on a part with disconnected features.
Another mistake: tuning retraction while another problem exists. Wet filament, a partially clogged nozzle, or a worn PTFE tube will cause stringing that no retraction value can fix. Dry your filament and check the hot end first. If you are new to the hardware side, a best beginner 3d printer with a well-sealed hot end removes a lot of this guesswork.
The Settings That Interact With Retraction
Retraction does not work alone. Several adjacent settings change how much retraction you actually need, and ignoring them leads to endless tweaking.
Travel speed. Faster travel gives ooze less time to escape. Bumping travel speed from 100 to 150 mm/s often reduces stringing more than any retraction change.
Wipe and coast. Wiping drags the nozzle along the print edge to wipe off residual plastic. Coasting stops extrusion slightly before the end of a path, letting pressure fade naturally. Both reduce the load on retraction.
Z-hop. Lifting the nozzle during travel prevents collisions and can reduce stringing on parts with tall features, but it also adds travel time and can cause blobs. Use it selectively.
Temperature. Lower nozzle temperature means lower pressure and less ooze. Dropping 5–10 °C often helps PETG noticeably, at some cost to layer adhesion. Test in small steps.
Linear advance or pressure advance. These firmware features model and compensate for pressure buildup in the melt zone. When tuned, they can substantially reduce the retraction distance needed. Older guides written before these features became common may recommend distances that are simply too large for modern firmware.
Part cooling. Strong cooling solidifies the filament quickly, so any ooze that does escape is thinner and weaker. Weak cooling on PETG is a frequent hidden cause of stringing.
The table below summarizes how these interact.
| Setting | Effect on stringing | Risk if pushed too far |
|---|---|---|
| Faster travel | Reduces ooze time | Layer shifts, ringing |
| Lower temperature | Less pressure, less ooze | Weak layer bonding |
| Wipe enabled | Cleans nozzle before travel | Slight surface marks |
| Z-hop enabled | Avoids dragging | Blobs, longer prints |
| Linear advance tuned | Less retraction needed | Requires per-filament calibration |
| Stronger cooling | Firms up ooze | Poor layer adhesion on some materials |
Common Mistakes and What Actually Works
After enough failed test prints, patterns emerge. These are the errors that cost the most time.
Cranking distance to fix stringing. More distance is not better. Past a certain point, retraction pulls molten plastic up into the cold zone, causing partial clogs that appear as random under-extrusion hours into a print. If stringing persists at high distance, the problem is temperature, moisture, or travel speed, not distance.
Ignoring filament moisture. Wet PLA and PETG pop and steam at the nozzle, and steam pushes plastic out regardless of retraction. A cheap filament dryer fixes stringing that no slicer setting can touch.
Copying values across printers. Two printers with the same model name can have different hot ends, nozzles, and tube lengths. Treat every number as a starting point.
Skipping the speed tune. Distance gets all the attention, but speed often decides whether the pull actually relieves pressure in time. Too slow and the plastic has already oozed before the pull completes.
Never re-testing after hardware changes. A new nozzle, a different PTFE tube, or a firmware update can shift the sweet spot. Re-run the test after any change to the extrusion path.
Testing with a single small model. Use at least two test models with different travel patterns. Consistency across both is the real signal.
For anyone building a first setup on a tight budget, the guidance in this roundup of the best budget 3d printer is worth reading before you spend hours tuning a machine that has a known weak hot end. Similarly, if the printer is for a younger maker, the picks in this guide to the best 3d printer for kids tend to favor enclosed, low-tinkering designs where default profiles already work well.
When Retraction Is Not the Problem
Sometimes stringing has nothing to do with retraction. Rule these out before you touch the settings: (3D Printing Knowledge Base)
- A worn or dirty nozzle. A partial clog creates uneven pressure and erratic ooze.
- A gap between the PTFE tube and nozzle. Molten plastic pools in the gap and drips unpredictably.
- Filament that has absorbed moisture. Dry it and re-test.
- A loose extruder gear or tension arm. Inconsistent grip means inconsistent retraction.
- Slicer profile corruption. A setting changed somewhere else, like a very low travel speed or disabled retraction on outer walls, can mimic a retraction problem.
The diagnostic habit that pays off: print the same test model before and after every change, and keep the failed ones. Comparing physical results beats relying on memory.
Conclusion
Retraction settings are not a magic number to copy. They are a small system of distance, speed, temperature, travel, and firmware compensation, all shaped by whether your extruder sits on the frame or above the nozzle. The printers that string the least are rarely the ones with the most aggressive retraction values. They are the ones whose owners tested methodically, dried their filament, and stopped changing five settings at once.
Start with your slicer’s defaults. Tune distance, then speed. Validate on a real part. Save the profile. Repeat when you change material or hardware. That loop, not any single number, is what actually eliminates stringing.
Frequently Asked Questions
What is a good retraction distance for a direct drive printer?
Most direct drive setups land somewhere between 0.5 mm and 2 mm. Because the filament path is short, pressure responds almost immediately, so large values are unnecessary and can cause grinding or clogs. Start near 0.8 mm and test upward in small steps.
Why does my PETG still string after tuning retraction?
PETG oozes readily and often needs less retraction distance than expected, plus a faster retraction speed, slightly lower nozzle temperature, and dry filament. If stringing persists, check moisture and travel speed before increasing distance, since more distance frequently makes PETG worse.
Does higher retraction speed always reduce stringing?
No. Speed helps only up to the point where the extruder can grip the filament reliably. Push too fast and the gear slips or chews the filament, producing inconsistent extrusion. Increase speed in 10 mm/s steps and watch for grinding marks on the filament.
Should I use Z-hop with retraction?
It depends on the part. Z-hop prevents the nozzle from dragging across already-printed features and can reduce stringing on tall, complex models. On simple parts it mostly adds print time and can leave small blobs. Test both ways on the same model.
How often should I re-tune retraction settings?
Re-test after any change to the extrusion path: a new nozzle, a new PTFE tube, a different filament brand, or a firmware update. Otherwise, a profile tuned once and saved per material will usually hold for months.
Can linear advance replace retraction tuning?
Not entirely, but it reduces how much retraction you need. Linear advance compensates for pressure buildup in the melt zone, so travel moves ooze less even with modest retraction. It requires per-filament calibration, but the payoff is fewer stringing problems and less reliance on large retraction distances.



