
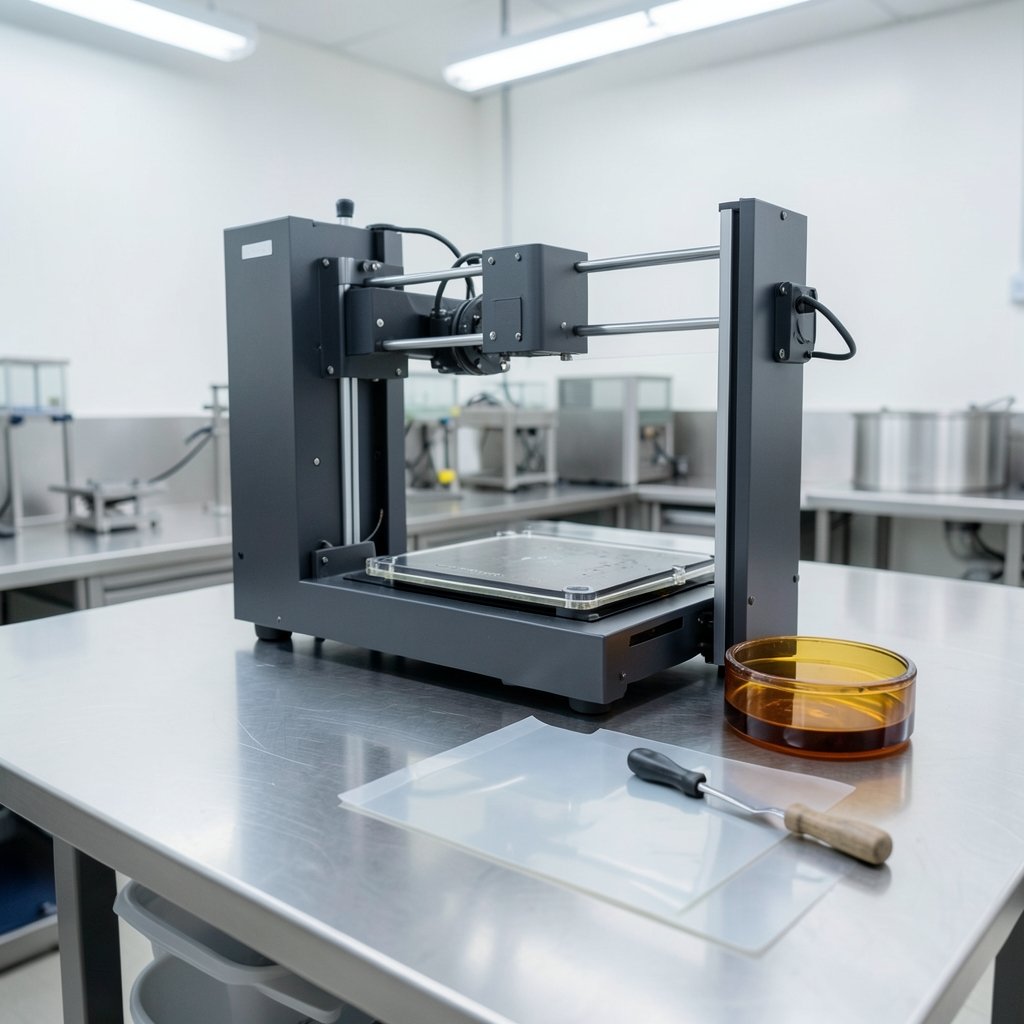
Is your resin printer suddenly failing prints that used to work fine? If the bottom of the vat looks cloudy, scratched, or has a faint dent in the middle, the FEP film is probably the culprit. It is the clear, flexible sheet at the bottom of the resin tank, and it quietly takes a beating on every single layer. When it wears out, prints stick to it, fail to release, or come out with flat, smeared bottoms. Replacing it is one of the cheapest repairs in resin printing, and most people can do it in under an hour with basic tools. This guide walks through the whole job: spotting a worn film, choosing a replacement, installing it with the right tension, and avoiding the mistakes that cause leaks and failed prints.
What the FEP Film Actually Does
FEP stands for fluorinated ethylene propylene, a transparent plastic related to Teflon. It sits at the bottom of the resin vat, above the LCD screen. During printing, the build plate lowers into the resin until it nearly touches the film, the screen flashes an image, and a thin layer of resin cures. Then the plate lifts, and the cured layer must peel cleanly off the film.
That peeling is the whole trick. FEP is used because cured resin does not bond to it well, and because it is flexible enough to let the print release with a gentle tug. A fresh film releases layers smoothly. A worn one grips them, which is why prints start failing in ways that look mysterious. If you are new to the hobby and still learning how these machines behave, the basics of picking a machine and keeping it running are covered in this guide to the best 3d printer for beginners, which pairs well with knowing your vat inside and out.
Signs Your FEP Needs Replacing
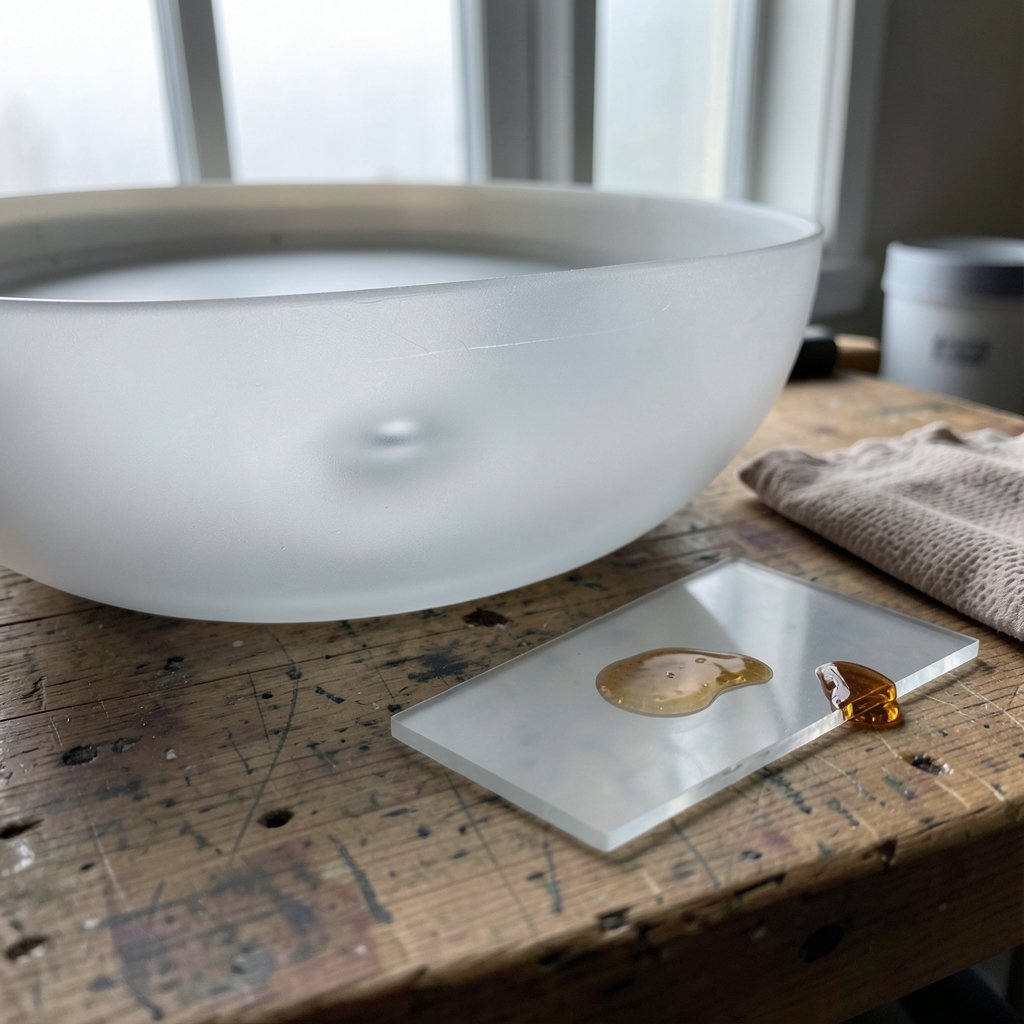
Not every failed print means a new film. But these symptoms point straight at the vat:
- Cloudy or frosted appearance. A healthy film is crystal clear. If you cannot read text through it, release performance has dropped.
- Dents or dimples. Look for a shallow crater in the center where the build plate presses. A dented film will not sit flat, and flatness matters.
- Scratches and gouges. Cured resin chunks, scrapers, and careless cleaning leave marks that catch layers.
- Prints sticking to the film. If the model stays on the bottom of the vat instead of the build plate, poor release is the usual cause.
- Leaks or resin seeping past the frame. Any leak means the film is compromised. Stop printing immediately and replace it before resin reaches the screen.
- A film that has been in service for months. Even a well-treated film degrades. Many users replace on a schedule of a few months of regular printing, though usage varies widely.
A quick test: drain the vat, clean the film, and gently press it with a gloved finger. It should feel taut and spring back. If it feels loose, soft, or sticky, replace it.
Choosing the Right Replacement Film
Most vats use standard FEP sheets, often sold in packs with a pre-cut size or as a roll you trim yourself. Thickness varies by manufacturer and model, so check your printer’s documentation rather than assuming. Many brands also sell newer release films marketed as nFEP or PFA. These can release layers more easily, but tensioning and installation differ, and compatibility depends on the vat design. The safest approach is to buy film specified for your exact printer, or a generic sheet of the same thickness and dimensions.
| Film Type | Release Feel | Durability | Best For |
|---|---|---|---|
| Standard FEP | Good | Moderate | Most vats, budget-friendly swaps |
| nFEP / PFA-type | Slightly easier | Often longer | Users chasing fewer failed releases |
| Pre-cut branded sheets | Good | Varies | Plug-and-play swaps with no trimming |
Avoid no-name film with no thickness listed. A sheet that is too thin will sag and fail to release; one that is too thick may not fit the frame. If you are building a low-cost setup, the same logic from this best budget 3d printer roundup applies: cheap consumables are fine, but know exactly what you are buying.
Tools and Safety Before You Start
Gather everything first so you are not hunting for tools with resin on your gloves:
- Nitrile gloves (not latex), safety glasses, and good ventilation.
- Paper towels and a spray bottle of isopropyl alcohol.
- A plastic scraper for the vat and a soft cloth.
- The replacement film, pre-cut to size if possible.
- A small screwdriver matching your vat’s frame screws.
- A clean, flat work surface covered with paper or a silicone mat.
Resin and IPA both require gloves and airflow. Uncured resin can irritate skin, and IPA fumes should not build up in a closed room. Check the resin manufacturer’s safety data sheet for the specific product you use, and never pour resin or IPA down a household drain.
Step-by-Step FEP Replacement
Step 1: Drain and Clean the Vat
Remove the vat from the printer. Pour the resin back into its bottle through a filter, or into a sealed container if it is spent. Wipe out the remaining resin with paper towels, then clean the film and frame with IPA and a soft cloth. Do not scrape the film with metal tools; a plastic scraper is enough. Work over your covered surface, and keep the vat level so nothing drips onto the screen below. (Stereolithography)
Step 2: Remove the Old Film
Flip the vat over. Most designs clamp the film between a bottom frame and the vat body with a ring of screws. Loosen them evenly, working around the perimeter rather than removing one side fully at once. Lift out the old film and set it aside for disposal. Inspect the frame for resin residue and clean the screw holes; cured crumbs here cause leaks later.
Step 3: Seat the New Film
Lay the new sheet centered over the vat opening. Handle it by the edges only, since fingerprints and creases hurt release. If your film has protective layers on both sides, peel them off now; forgetting this is one of the most common mistakes, and the printer will simply fail until you notice. Place the retaining frame on top, aligning the screw holes.
Step 4: Tension the Film Evenly
This is the step that decides whether the swap works. Start all screws by hand, then tighten in a cross pattern, a little at a time, like tightening wheel bolts. The film should end up taut and flat, with no wrinkles or waves. Press the center gently: it should give slightly and spring back, not sag. Over-tightening can wrinkle or tear the film and stress the frame; under-tightening leaves it loose, which causes failed releases and sloppy first layers. There is no universal torque figure, so judge by feel and check flatness against a light.
Step 5: Reassemble and Test
Reinstall the vat, making sure it sits flush. Run the printer’s tank-clean or exposure test if it has one, or print a small calibration piece. Watch the first layers closely. If the print releases with a soft peeling sound and sticks to the plate, the tension is right. If layers stay on the film, stop and check for looseness or wrinkles.
Common Mistakes That Cause Leaks and Failures
Most FEP problems after a swap trace back to a handful of errors. A cross-pattern tightening habit prevents most of them. Leaving the protective film on is embarrassingly common, so check both sides before installing. Skipping the frame cleanup lets cured resin bits create gaps that leak. Reusing a torn film “just for one more print” risks resin on the LCD, which is a far more expensive repair than a new sheet.
Another frequent issue is cleaning the film with the wrong tool. Metal scrapers and hard plastic spatulas gouge FEP easily. Use soft cloths and IPA, and never press hard on the film while it is in the vat. Finally, do not overtighten out of fear of leaks. A flat, evenly tensioned film with clean mating surfaces seals fine.
How Often Should You Replace FEP?
There is no single answer, because resin type, print size, and lift settings all affect wear. A hobbyist printing small models a few times a month may get many months from one film. Someone running large, heavy prints daily will wear through films far faster. Instead of counting days, watch for the symptoms above and inspect the film every time you drain the vat. Keeping a spare sheet on hand means a worn film costs you an evening, not a week of waiting for a delivery.
When to Replace the Whole Vat Instead
Sometimes the film is not the only worn part. If the frame is cracked, the screws no longer grip, or resin has seeped between the film and the vat body repeatedly, a complete replacement vat is the cleaner fix. It costs more but removes the guesswork. For printers with integrated tanks and no user-serviceable film, a new tank assembly is the only option. Check your model’s documentation before buying film that will not fit. (U.S. Environmental Protection Agency)
Conclusion
A worn FEP film is the quiet cause behind a lot of “bad resin” and “bad settings” complaints. The fix is simple: spot the cloudiness or dents, drain and clean the vat, swap the sheet, and tighten it evenly in a cross pattern until it is taut and flat. Do that, keep spares on hand, and your printer will keep releasing layers cleanly for a long time. If you are still choosing equipment, remember that the machine matters less than knowing its consumables, whether you are reading about the best beginner 3d printer or maintaining the one already on your bench. Treat the film as a wear item, inspect it often, and failed prints become a rare annoyance instead of a recurring mystery.
FAQ
How do I know if my FEP film is worn out?
Look for cloudiness, scratches, dents in the center, or prints that stick to the film instead of the build plate. A quick finger-press test after cleaning shows whether the film is still taut. Any leak means replace it immediately.
Can I use nFEP or PFA film instead of standard FEP?
Often yes, but check your vat design and printer documentation first. These films can release layers more easily, but they may need different tensioning and are not officially supported on every model.
How tight should the FEP film be?
Taut and flat, with a slight give when pressed in the center that springs back. Tighten the frame screws in a cross pattern, a little at a time. Over-tightening can wrinkle or tear the film; under-tightening causes failed releases.
Do I need to remove protective layers from a new FEP sheet?
Many sheets ship with protective film on one or both sides. Peel it off before installing. Leaving it on is a common mistake that causes every print to fail until it is removed.
How often should I replace the FEP film?
It depends on how much you print and what resin you use. Inspect the film every time you drain the vat and replace it at the first sign of cloudiness, dents, or sticking prints. Keeping a spare sheet makes swaps quick.
What should I do if resin leaks past the FEP?
Stop printing right away. Remove the vat, clean any resin off the LCD screen carefully, and replace the film. Check the frame and screw holes for cured resin bits, since those gaps usually cause the leak.



