
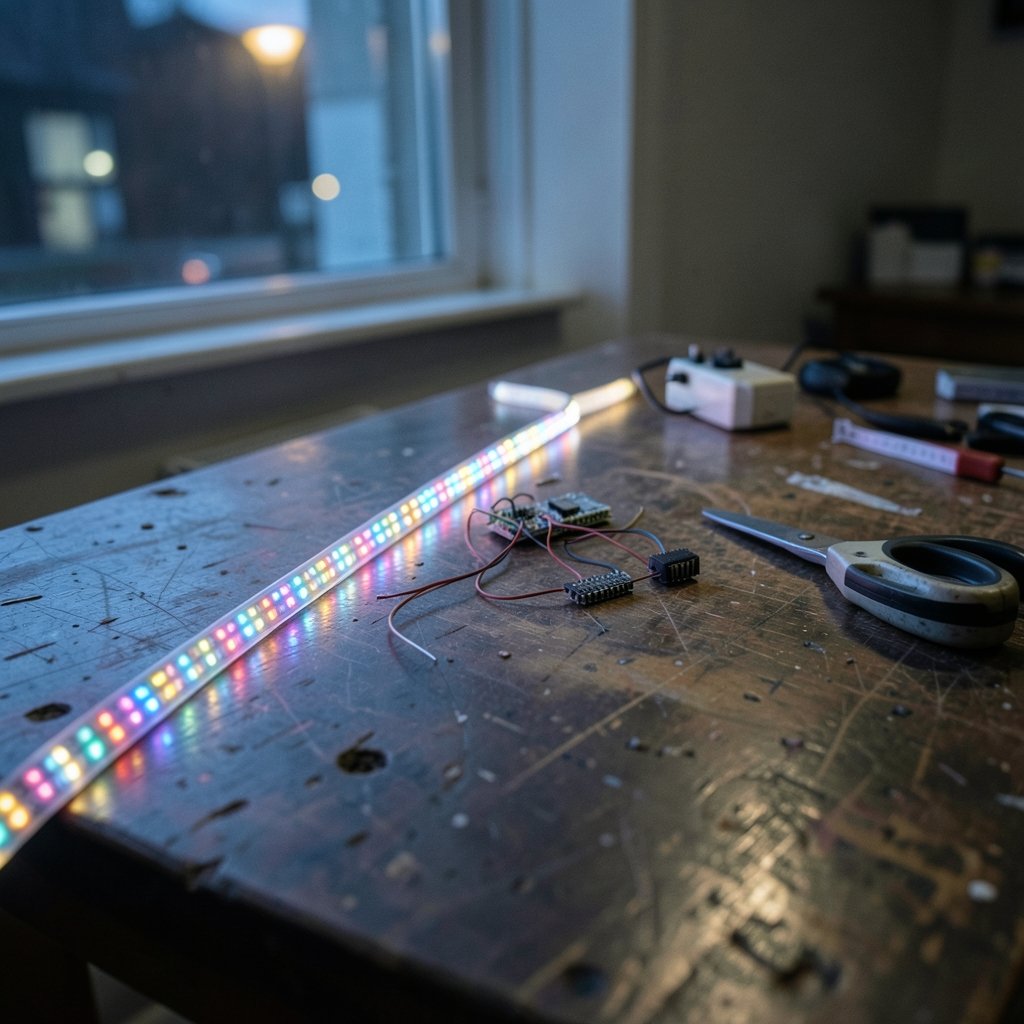
What if the difference between a good LED project and a frustrating one comes down to a single wire? That’s often the case. Pick the wrong strip type and you’ll spend a weekend fighting flicker, dead pixels, or a controller that simply can’t do what you imagined. Pick the right one and the whole build clicks together in an afternoon.
The choice between addressable and non-addressable LED strips is the first real decision in almost every lighting project, from under-cabinet kitchen lighting to a giant pixel-mapped art installation. The two types look nearly identical on the reel, yet they behave in completely different ways. This guide breaks down how each one works, where each shines, and the practical mistakes that trip people up.
What Makes an LED Strip Addressable?
A non-addressable strip (often called analog) wires every LED on a color channel in parallel to the same driver output. Send power to the red channel and the entire strip glows red. There’s no way to light just the first ten LEDs in blue while the rest stay green. The whole strip is one zone, one color, one brightness level per channel at any moment. (LED strip light)
An addressable strip (often called digital) puts a small control chip at each LED, or at each group of LEDs. Each chip has its own tiny brain and passes data down the line to its neighbor. That means every pixel can display a different color, chase, fade, or animation independently. The strip becomes a display, and no longer only a light source.
The Wiring Tells the Story
You can usually identify the type by counting wires. A standard analog RGB strip has four connection points: a common positive rail and one channel each for red, green, and blue. Addressable strips typically use three: power, ground, and a data line. Some addressable strips add a clock line (four wires total) for two-wire protocols.
That data line is the heart of the system. It carries a stream of bits telling each pixel what to do. Because the data is regenerated at every chip along the chain, the signal stays clean over long runs, which is one reason addressable strips handle big installations so well.
How Addressable Strips Actually Work
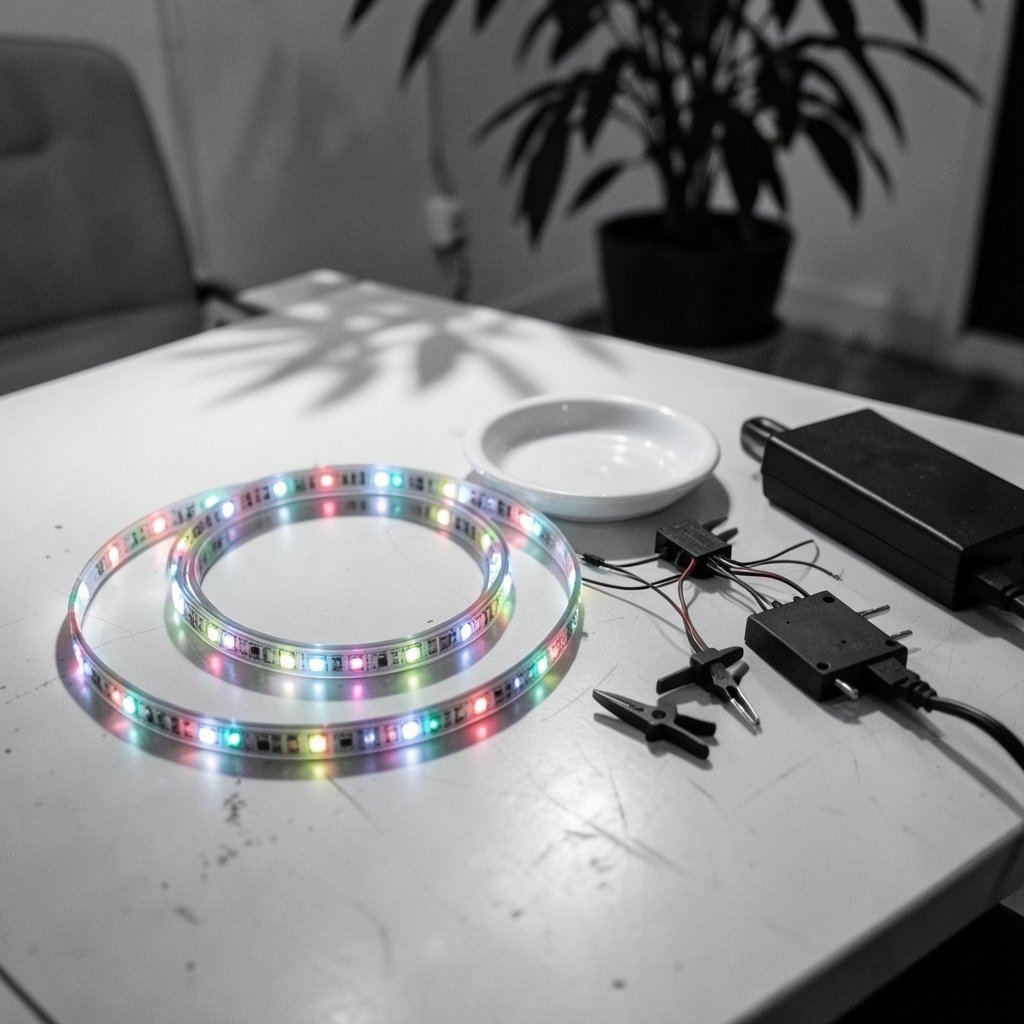
The most common addressable chip family, the WS2812B, integrates the controller into the LED package itself. Each pixel receives a serial data stream, strips off its own 24 bits of color information (8 bits each for red, green, and blue), and forwards the rest down the line. The protocol is timing-sensitive, with bit periods measured in fractions of a microsecond, which is why libraries rely on precise hardware timing rather than casual software delays.
That timing sensitivity is a real practical hurdle. A microcontroller running other tasks can glitch the data stream, producing random color flashes or stuck pixels. The fix is straightforward: use a library built for your board, keep data wires short, and avoid long, unsupported cable runs between the controller and the first pixel.
Refresh Rate and Strip Length
Here’s a trade-off that surprises many first-time builders. Addressable strips update sequentially, so the more pixels you chain, the longer a full refresh takes. A short 30-pixel strip feels instant. A 1,000-pixel run takes noticeably longer to push a full frame, and animations can start to look sluggish at the far end.
The practical workaround is to split long runs into multiple data channels driven in parallel, or to use strips with higher data rates. Planning this before you buy saves you from discovering the limit after the strip is glued to a ceiling.
Where Non-Addressable Strips Win
Analog strips are cheaper per meter, simpler to wire, and dead reliable. A basic PWM dimmer or a wall switch can drive them. There’s no protocol to debug, no library to install, and no risk of a data glitch turning your kitchen into a strobe light.
For ambient lighting, architectural accents, under-cabinet task lighting, and any application where a single uniform color is the goal, non-addressable is the sensible pick. You get smooth dimming, consistent color, and a bill that’s easier to swallow. If you’re wiring up a large area and want everything to match, analog strips keep the color consistent across the whole run by design.
The catch is flexibility. Want a gradient? A moving rainbow? A color that shifts along the length of a shelf? Analog can’t do it without splitting the strip into separately controlled zones, which means more drivers and more wiring.
Addressable vs Non-Addressable: Side-by-Side
| Feature | Non-Addressable (Analog) | Addressable (Digital) |
|---|---|---|
| Per-LED control | No, whole strip per channel | Yes, per pixel or per group |
| Typical wire count | 4 for RGB | 3 (data) or 4 (data + clock) |
| Controller needed | Simple PWM dimmer | Microcontroller + library |
| Cost per meter | Lower | Higher |
| Effects and animation | None beyond whole-strip fades | Chases, gradients, pixel mapping |
| Wiring complexity | Low | Moderate to high |
| Best for | Ambient and task lighting | Displays, effects, art installations |
| Failure behavior | One dead LED rarely kills the strip | One dead chip can break the data chain |
That last row matters more than people expect. On an analog strip, a failed LED usually just leaves a dark spot. On an addressable strip, a failed controller chip can stop data from reaching everything downstream, so a single bad pixel can blank the rest of the run. Buying a spare meter or two of the same strip is cheap insurance.
Power, Voltage Drop, and the Mistake Everyone Makes
Both strip types suffer from voltage drop over distance. Copper traces on the strip have resistance, so the far end receives less voltage than the near end. On long runs, that shows up as dimming or color shift toward the tail.
The fix is power injection: feeding power into the strip at multiple points along its length rather than only at one end. Addressable strips often need injection every few meters because each pixel draws current and the data keeps flowing even as voltage sags. Skipping injection is the single most common reason a new build looks uneven, and it’s far easier to plan for than to retrofit.
A few practical habits that actually work:
- Calculate total current draw before buying a power supply, then add at least 20 percent headroom.
- Inject power at both ends of any run longer than a few meters.
- Use thicker gauge wire for the power feed than the strip’s own traces.
- Fuse the power feed, especially on high-current installations.
- Test the full strip on the bench before mounting it permanently.
If you’re troubleshooting connectivity issues during a build, knowing what an IP address is and how it works helps when your controller is networked, and how to find your IP address on any device is a handy skill when a Wi-Fi-enabled controller won’t respond.
Choosing a Controller and Library
For analog strips, almost anything works: a rotary dimmer, a wall switch, a basic PWM module, or a smart-home relay. The bar is low.
For addressable strips, the controller choice matters a lot. Popular options include ESP-based boards with Wi-Fi built in, Arduino-compatible boards, and dedicated pixel controllers for large installations. The library you use determines how smooth your animations look and how many pixels you can drive reliably.
Two rules of thumb from people who’ve built a lot of these:
- Match the library to your hardware. Timing-critical protocols behave best when the library uses dedicated hardware peripherals rather than software delays.
- Keep the data line short between controller and first pixel. Long, unshielded data runs invite glitches.
A Note on “Addressable” Definitions
Vendors use the word loosely. Some strips are addressable per single LED; others are addressable in groups of three or more LEDs sharing one chip. If per-pixel precision matters for your project, check the specification carefully. A strip sold as addressable that only controls every third LED will ruin a pixel-mapped design.
Common Mistakes and What Actually Works
Buying on price alone. Cheap addressable strips often use lower-grade chips with narrower timing tolerances, which means more glitches. The savings rarely survive the first debugging session.
Forgetting the power budget. Addressable strips at full white draw the most current. A supply sized for a rainbow animation will brown out on full white.
Skipping the test. Always power up and run a test pattern before mounting. Peeling adhesive off a ceiling to replace a faulty strip is nobody’s idea of a good time.
Ignoring heat. High-density strips in enclosed channels run hot. Give them airflow or derate the brightness.
Mixing batches. Color temperature and brightness vary between production runs. Buy all the strip you need in one order.
For anyone building a networked or multi-device control setup, the security conversation around connected hardware is worth a look. A comparison of Astrix vs Oasis vs Entro non-human identity security in 2026 covers how machine identities are managed in modern connected systems, which is relevant if your lighting lives on a shared network. (Adafruit NeoPixel Überguide)
Real-World Use Cases
Analog wins for: kitchen under-cabinet lighting, cove and ceiling accents, retail shelf lighting, backlighting a TV or sign, and any large area where uniform color is the goal.
Addressable wins for: pixel art displays, music-reactive installations, stair lighting that follows you, holiday effects, stage and event lighting, and any project where the strip itself is the show.
A middle path exists too: split a long analog run into several independently controlled zones with separate drivers. You get some of the flexibility of addressable strips at a lower cost, though you lose true per-pixel control.
Cost, Complexity, and the Honest Trade-Off
Addressable strips cost more per meter, need a smarter controller, and demand more careful wiring. In exchange, they produce effects that analog strips cannot produce. Analog strips are cheaper, simpler, and more forgiving, but they limit you to whole-strip color changes.
The decision usually comes down to one question: does the project need the strip to be a display, or just a light? If it’s a light, save the money and the wiring headache. If it’s a display, pay for the pixels and plan your power injection carefully.
Conclusion
Addressable and non-addressable LED strips solve different problems. Analog strips deliver uniform, reliable, affordable light with minimal fuss. Addressable strips turn a strip of LEDs into a programmable canvas, at the cost of more wiring, a real controller, and careful attention to power and data integrity.
Start with the effect you want, work backward to the strip type, and budget for power injection and a spare meter. Do that, and the single-wire decision that trips up so many builders becomes the easiest part of the project.
Frequently Asked Questions
Can I use an addressable strip like a non-addressable one?
Sort of. You can send the same color command to every pixel, which looks identical to an analog strip. But you still need a microcontroller and a library to do it, so you don’t save any complexity. If uniform color is all you need, buy analog.
Do addressable LED strips need a special power supply?
No special supply is required, but the current draw is higher because every pixel draws power independently. Size the supply for the worst case, which is usually full white at maximum brightness, and add headroom. Power injection along long runs keeps voltage consistent.
Why do my addressable LEDs flicker or show random colors?
Flicker almost always traces back to the data line. Causes include long or unshielded data cables, a controller that can’t keep precise timing, insufficient grounding between the controller and the strip, or voltage sag at the far end. Shorten the data run, add a level shifter if needed, and inject power.
How many LEDs can I chain on one data line?
It depends on the chip and the refresh rate you need. Longer chains take longer to update, so animations slow down at the tail. For big installations, split the strip across multiple data channels driven in parallel. Check your controller’s documentation for realistic limits.
Are non-addressable strips dimmable?
Yes. Analog strips dim smoothly with a PWM dimmer, which pulses the power faster than the eye can see. Quality dimmers avoid visible flicker and preserve color consistency as brightness drops.
Which type lasts longer?
Both types last a long time when run within their ratings. Heat is the main enemy. Addressable strips have more electronics per meter, so a single chip failure can break the data chain, while analog strips degrade more gracefully. Keeping either type cool and within its voltage rating is the best way to extend life.



