
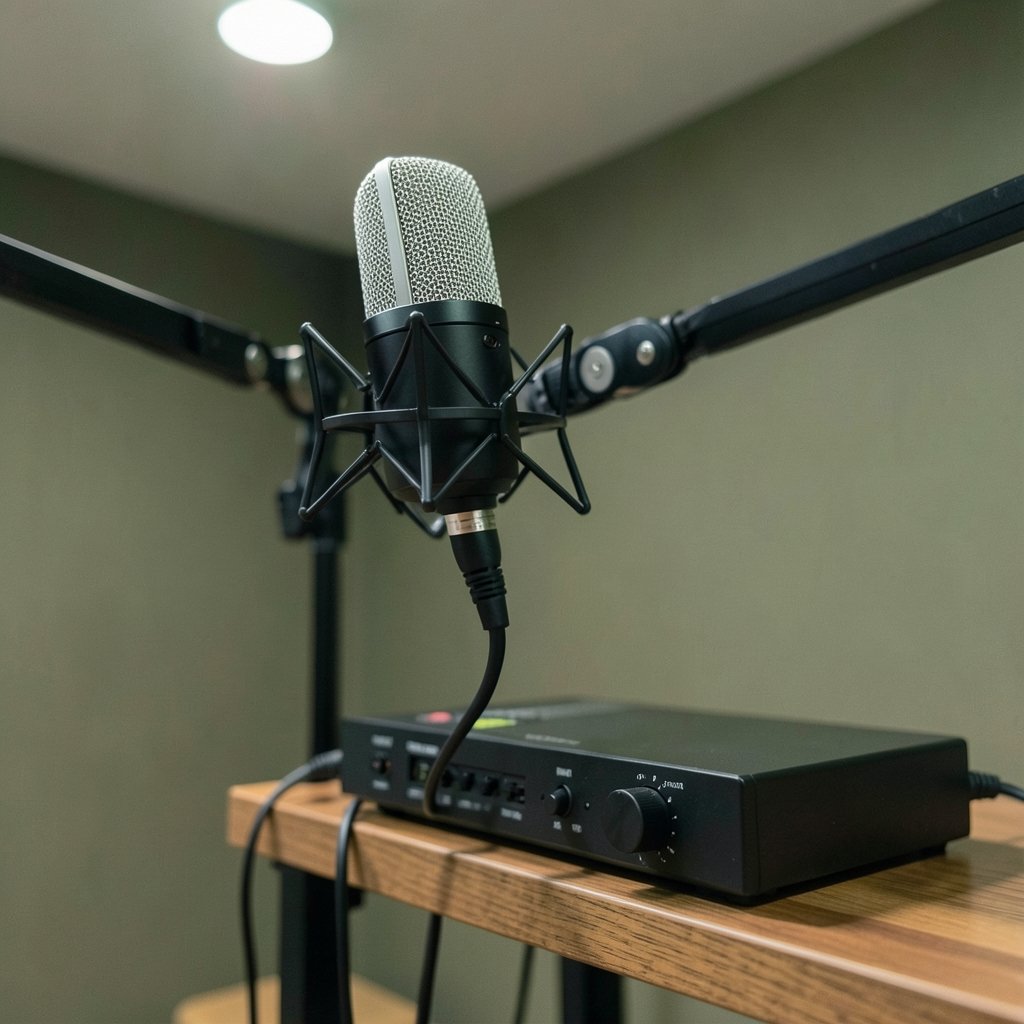
What if the hiss, crackle, or thin sound ruining your recording has nothing to do with your microphone and everything to do with how you set levels? That is the situation many home recordists and podcasters face. They plug an XLR cable into an interface, turn the gain knob until the meter looks “busy,” and hit record. The result is often a track that clips on loud words, sounds noisy in quiet passages, or both. Gain staging is the fix, and it is simpler than most people expect.
What Gain Staging Actually Means
Gain staging is the practice of setting levels at every stage of the signal chain so the signal stays strong enough to rise above noise but never so hot that it distorts. In an XLR microphone setup, that chain usually runs from the microphone, through the preamp built into an audio interface or mixer, into an analog-to-digital converter, and finally into your recording software.
Each stage has an ideal operating range. Push too little signal through, and you amplify the noise floor later. Push too much, and you hit a ceiling that digital gear cannot forgive. The goal is a signal that sits comfortably in the middle, with room to spare for sudden peaks.
Why XLR Connections Change the Math
An XLR cable carries a balanced signal on three pins: pin 1 for shield and ground, pin 2 for the positive signal, and pin 3 for the negative signal. The preamp reads the difference between pins 2 and 3, which cancels noise picked up along the cable. That is why long microphone runs use XLR rather than unbalanced cable, and it is one reason XLR remains the standard for serious recording.
The balancing itself does not set your levels, but it does mean the noise you hear is usually coming from the preamp and converter rather than the cable. That distinction matters when you are chasing down a problem. If a track sounds noisy, the culprit is more often a gain knob set too low than a bad XLR cable.
Mic Level Versus Line Level
Moving-coil and condenser microphones output a very low-level signal, often in the millivolt range. A preamp must boost that signal before it reaches anything else. Line level, by contrast, is a much higher nominal level. Professional gear typically operates around +4 dBu, while consumer equipment often runs nearer to −10 dBV. Exact figures vary by standard; check your own equipment’s documentation.
The practical takeaway: a microphone plugged into a line input without a preamp will sound faint and noisy. Always confirm you are using a mic input, or engage the mic preamp on a combo jack.
The Step-by-Step Gain Staging Workflow
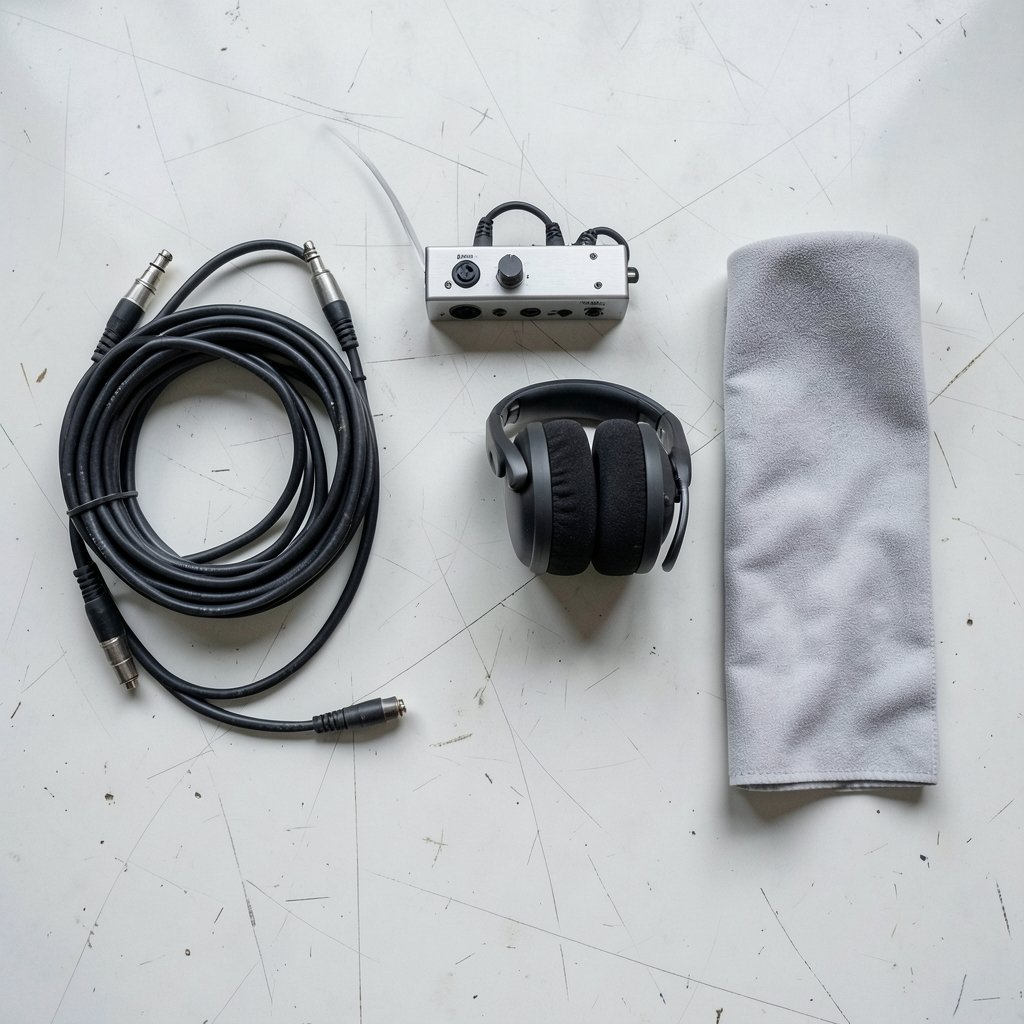
Here is a sequence that works in almost any room and with almost any interface. Follow it in order and you will avoid most level problems before they happen.
- Start with the gain knob all the way down. This protects your ears and your monitors if something is miswired.
- Set the source to its realistic loudest. Ask the singer to belt the loudest line, or have the speaker do their loudest passage. Do not set levels against a quiet test phrase.
- Raise the preamp gain slowly while watching the meter. Aim for peaks well below 0 dBFS. A common target is peaks around −12 to −18 dBFS, which leaves headroom for the unexpected.
- Speak or play normally. The average level should now sit comfortably above the noise floor without approaching the ceiling.
- Engage the pad if the preamp overloads. Many interfaces include a pad switch that attenuates the signal, often by 10 to 20 dB, before it hits the preamp. Exact values vary by device.
- Record a short test and listen back on headphones. Meters tell you about level; ears tell you about noise, room tone, and distortion.
- Leave the gain alone once it is set. Adjust the fader or clip gain downstream instead of riding the preamp knob mid-session.
That last step trips up a lot of people. Preamp gain sets the level entering the converter. Faders and clip gain adjust the mix afterward. If you keep nudging the preamp during a take, you change the character of the recording and make consistent editing nearly impossible.
Common Mistakes That Wreck a Good Take
Chasing a Hot Signal
Many beginners assume a fuller-looking meter means a better recording. In digital systems, it does not. Digital clipping is unrecoverable, unlike the gentle saturation some analog gear produces. Once a waveform is flattened at the top, no plugin restores what was lost. Recording a little quieter and raising the level later is always the safer trade.
Setting Gain Against a Quiet Voice
If you set levels while someone is speaking softly, the preamp gain ends up high. When they laugh or lean in, the signal clips. Always calibrate against the loudest realistic moment, not the average one.
Forgetting Phantom Power
Condenser microphones need phantom power, typically +48 V DC delivered on pins 2 and 3 relative to pin 1. If a condenser sounds dead or abnormally quiet, check that phantom power is switched on. Turn it off for ribbon microphones unless the manufacturer explicitly says the mic is safe with it.
Ignoring the Noise Floor
A preamp has its own noise floor. Crank the gain and you amplify that noise along with the voice. If you find yourself needing extreme gain for a quiet source, consider a microphone with higher output or a cleaner preamp rather than simply turning the knob further.
Trusting One Meter
Peak meters catch clipping. Average or RMS meters better reflect perceived loudness. True-peak metering matters when your audio will pass through a codec later. Using only one type of meter can leave you blind to a problem the other would have caught. For anyone recording calls or meetings rather than music, the same discipline applies, and a good headset or a set of best earbuds for phone calls meetings helps you hear problems the meters miss.
Gain Staging Across Different Gear
The principles hold everywhere, but the knobs differ. Here is a rough comparison of what to expect.
| Gear type | Where gain lives | Typical watch-out |
|---|---|---|
| USB audio interface | Combo jack gain knob | Shared gain for mic and line; check the switch |
| Mixer | Trim or gain knob per channel | Easy to overdrive the channel before the fader |
| Field recorder | Input level dial | Auto-level features can pump and breathe |
| Camera with XLR adapter | Adapter gain plus camera level | Two gain stages that both need setting |
| Smartphone with XLR interface | Interface gain only | Limited headroom; record conservatively |
The smartphone row deserves a note. Mobile recording rigs often have less headroom than dedicated interfaces, so err on the quiet side. If you are choosing a phone for recording or streaming work, it helps to compare camera and audio handling before you buy. A guide like what phone has the best camera often covers microphone input behavior too, and the broader best camera phone roundups usually mention audio capture quality.
How Gain Staging Fits Into a Bigger Setup
Gain staging is not an isolated skill. It interacts with everything else in your signal chain. A noisy preamp setting makes a good microphone sound cheap. A clean setting makes modest gear sound surprisingly professional. That is why experienced engineers spend time on levels before they touch a single plugin.
If your recording setup includes multiple devices, set gain stage by stage from the source outward. Microphone first, then preamp, then converter, then software. Fixing a level problem at the earliest possible stage is always cheaper than fixing it later.
For podcasters and streamers who record remotely, the same logic applies to the whole chain, including the playback device. A phone that handles audio cleanly makes remote interviews easier, which is why people researching best android phone 2026 models often look at microphone and headphone behavior alongside camera specs. Similarly, a phone with a strong camera and decent audio input, like the ones in best budget phone canada coverage, can serve as a backup recorder when the main interface fails.
Setting Gain for Different Sources
Not every source needs the same treatment. A few practical benchmarks:
- Close-miked vocals: moderate gain, peaks around −12 dBFS, watch for plosives.
- Acoustic guitar at 30 cm: slightly higher gain, listen for pick noise.
- Loud drum kit: engage the pad, set gain conservatively, expect big transients.
- Quiet interview subject: raise gain carefully and check the noise floor on playback.
- Group conversation: set gain for the loudest speaker and accept that quieter voices will sit lower.
The group conversation case is where many people get stuck. There is no single perfect setting when multiple voices share one microphone. Set for the loudest realistic speaker, then fix balance in editing. If you record a lot of group calls, a phone built for clear audio helps, and comparisons like iphone 18 vs galaxy s26 which phone should you buy today often touch on call quality and microphone performance.
Metering: Reading the Numbers Correctly
Meters are your primary feedback tool, but they need interpretation. A few habits separate careful engineers from frustrated ones.
First, know what your meter is showing. A peak meter responds instantly to transients and is your clipping alarm. An average meter moves more slowly and reflects perceived loudness. Second, watch the meter during the loudest part of the performance, not the rehearsal. Third, trust your ears for tone and noise, and trust the meter for level. Neither replaces the other.
One more habit worth building: record a few seconds of silence at the start of every session. That room tone tells you what your noise floor actually sounds like after gain is applied. If the silence sounds like a waterfall, your gain is too high or your preamp is struggling.
When to Adjust Gain Versus When to Adjust the Source
Sometimes the right fix is not the knob. If a source is too quiet, moving the microphone closer often beats raising gain, because a closer mic captures more direct sound and less room noise. If a source is too loud, ask the performer to step back rather than slamming the pad. Physical placement solves problems that gain staging alone cannot.
This is a point experienced engineers make constantly: fix it at the source first. Gain staging is the art of not fighting your own signal chain. The less you have to correct later, the better the recording.
Practical Tips That Actually Work in the Room
- Mark your gain settings. A small piece of tape with a pencil mark saves time when you return to a session.
- Use the same headphones for every session. You learn their sound and spot noise faster.
- Record at 24-bit. The extra bit depth gives you more room to record conservatively without losing detail.
- Check levels again after a break. Rooms change, voices change, and knobs get bumped.
- Keep a session log. Note gain settings, mic position, and any pad or phantom power choices.
These small habits compound. A session log, in particular, turns guesswork into repeatable process, and repeatable process is what separates hobbyists from people who finish projects.
Conclusion
Gain staging with an XLR microphone is not complicated, but it is unforgiving of shortcuts. Set the preamp against the loudest realistic moment, aim for peaks well below the digital ceiling, use the pad when a source is hot, and leave the gain alone once the take begins. Understand that mic level needs a preamp, that balanced XLR connections keep noise low, and that digital clipping cannot be undone. Get those fundamentals right and the rest of your recording chain, from microphone to software, has a clean signal to work with. The best recordings rarely come from the most expensive gear. They come from careful levels, sensible placement, and the discipline to record a little quieter than feels natural.
FAQ
What is gain staging on an XLR microphone?
Gain staging means setting the level at each point in the signal chain so the signal stays above the noise floor without clipping. With an XLR microphone, that usually means setting the preamp gain on your interface or mixer so peaks land well below 0 dBFS.
Should I set gain while someone is talking normally or loudly?
Set it against the loudest realistic moment. If you calibrate to a quiet speaking voice, laughter or a loud phrase will clip. Record a short test at full volume and check the peaks before committing to a session.
What level should my peaks hit when recording?
A common target is peaks around −12 to −18 dBFS. That leaves headroom for unexpected transients and keeps the signal comfortably above the preamp noise floor. These figures are convention rather than a formal standard, so check your gear’s guidance.
Why does my XLR microphone sound quiet and noisy?
Two likely causes: the preamp gain is set too low, or the microphone is plugged into a line input instead of a mic input. Condenser microphones also need phantom power, typically +48 V DC, or they will sound faint or dead.
Does phantom power damage ribbon microphones?
It can, depending on the microphone’s design. Many modern ribbon mics are protected, but some vintage models are not. Check the manufacturer’s documentation before switching phantom power on with a ribbon microphone connected.
Can I fix clipping after recording?
Not really. Digital clipping is unrecoverable because the waveform information above the ceiling is gone. You can mask it, but you cannot restore it. The reliable fix is to record with headroom and raise the level afterward.



