
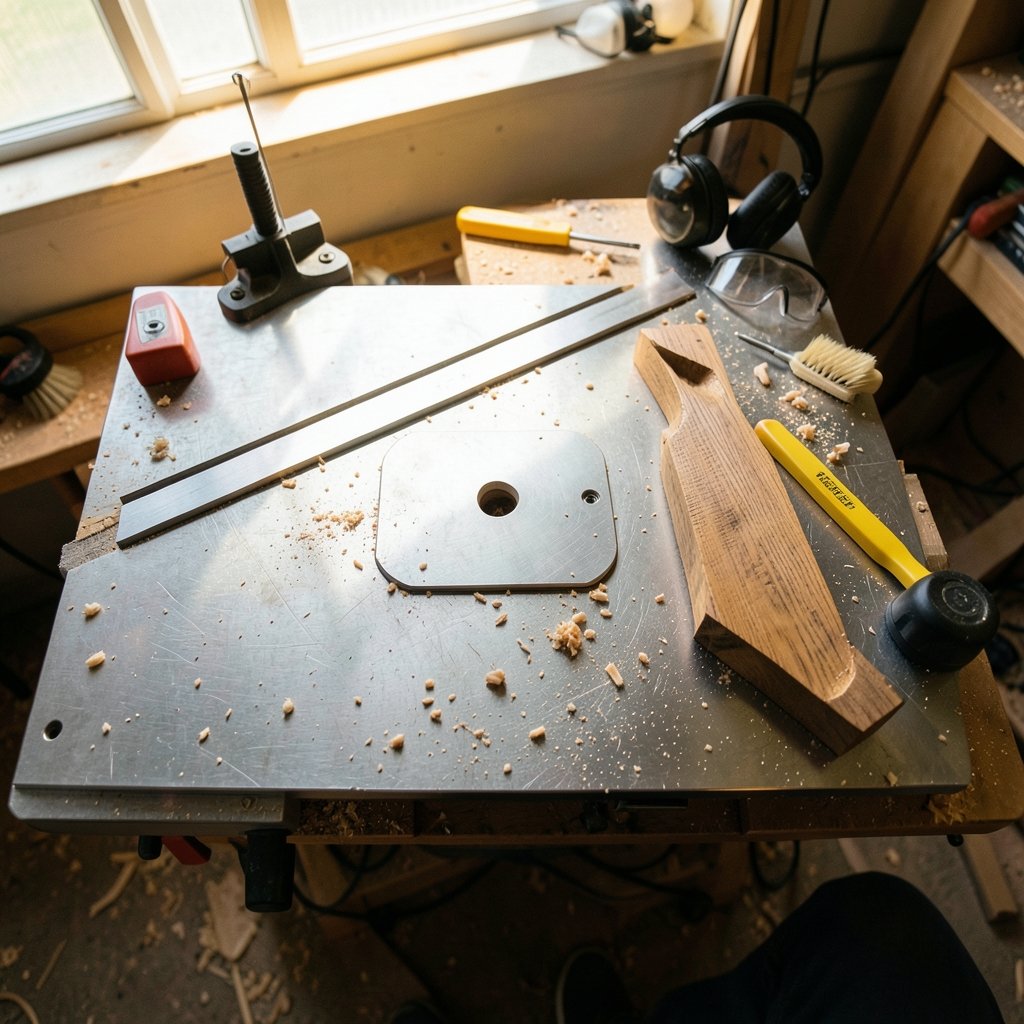
What if the most dangerous tool in a woodshop is also the one that produces the cleanest edges? That’s the strange truth about the router table. It turns a handheld router into a small, precise shaper, letting you cut profiles, rabbets, and joints with repeatable accuracy. But it also spins a sharp cutter at 20,000 RPM or more, often with the bit poking up through a small hole in a metal plate. Learning to use one well is mostly about understanding setup and safety before you ever push a board into the cutter.
This guide walks through the whole process: choosing and setting up the table, installing bits correctly, feeding stock in the right direction, and building habits that keep your fingers far from the spinning steel. It covers the mistakes beginners make most often and the small adjustments that separate a rough, burn-marked cut from a glassy one.
What a Router Table Actually Does
A router table flips the normal relationship between tool and wood. Instead of moving the router across a stationary board, you mount the router upside down under a flat table and move the board across a stationary bit. The bit protrudes through a hole in the table (usually a removable insert plate), and a fence gives you a straight edge to reference against. (Router Hardware Offloading Explained: Fast Path Guide) (Router (woodworking)))
That inversion solves several problems at once. The workpiece is fully supported by the table, so narrow or short pieces don’t tip into the cutter the way they can with a handheld router. The fence lets you set a precise depth of cut and repeat it for every piece. And because both hands are free to control the stock, you can use push blocks and featherboards for extra control.
The trade-off is that the cutter is now facing up at you, partially hidden by the stock. Guards and good technique matter more here than almost anywhere else in the shop.
Setting Up the Table Before the First Cut
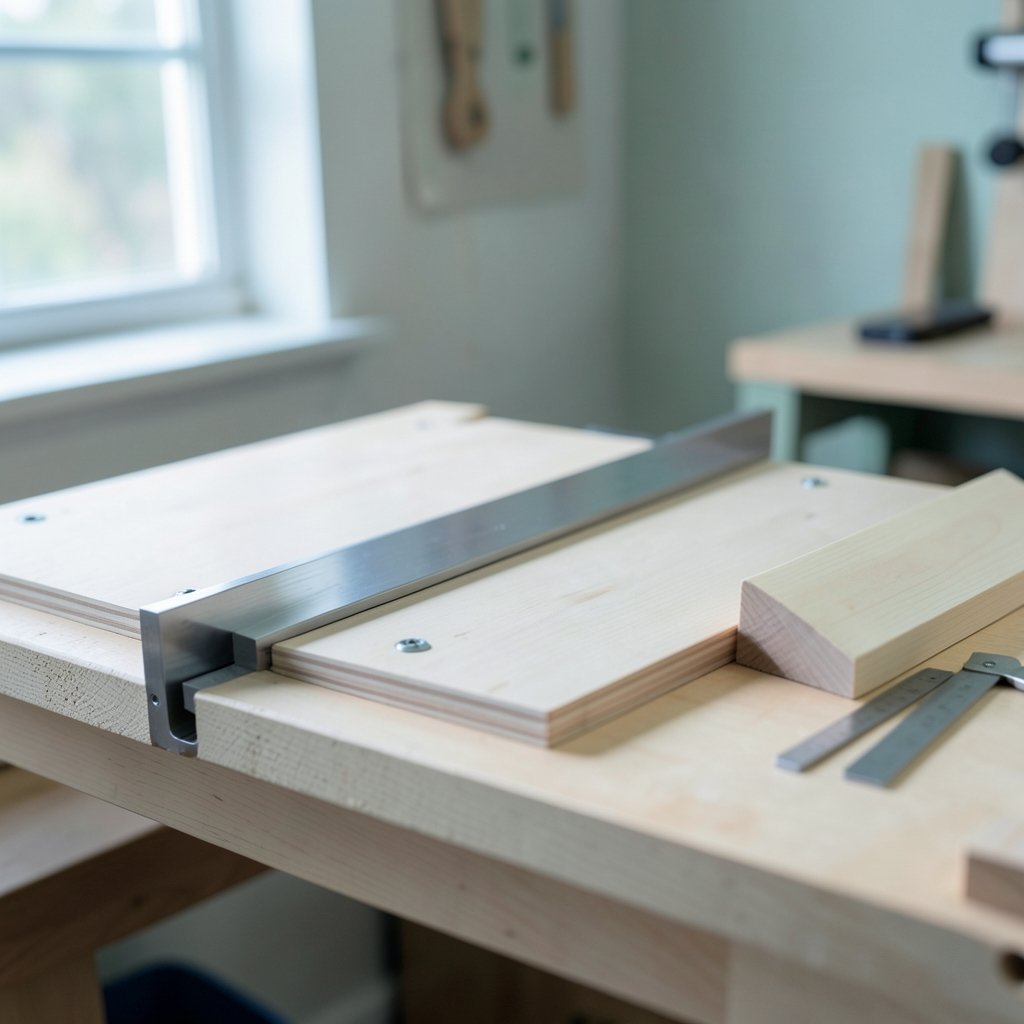
Most bad router table experiences trace back to setup, not technique. Get these five things right and the cutting becomes almost boring, which is exactly what you want.
Mount the router and check the plate
The insert plate should sit flush with the table surface, ideally within a few thousandths of an inch. A plate that sits proud catches the edge of the stock; one that sits low creates a dip right where the bit exits the cut. Use the leveling screws under the plate and check with a straightedge across the seam.
Align the fence to the miter slot
The fence needs to be parallel to the miter slot (and therefore to the direction of feed). If it’s skewed, stock will drift away from or into the bit, producing tapered cuts and increasing kickback risk. Measure from the fence face to the miter slot at both ends and adjust until the numbers match.
Set the bit opening tight
Many fences have two adjustable faces that slide toward each other. Close them until the gap is just wide enough for the bit. A wide gap leaves unsupported wood right at the cut, which causes tearout and lets thin offcuts drop into the opening. The same logic applies to the insert ring in the table plate: use the smallest ring the bit will fit through.
Set depth of cut with a test piece
Never set depth by eye. Run a scrap of the same thickness, measure the result with calipers, and adjust. For a full profile (like a roundover or ogee), raise the bit until the profile is complete but the bearing or pilot is fully engaged.
Dial in router speed
Bit diameter drives speed. Large-diameter bits need lower RPM because the rim speed at the cutting edge gets very high very quickly, which generates heat and can lead to chatter or bit damage. Small bits can run faster. Most bit makers publish a speed chart; follow it rather than leaving the router at maximum.
Installing and Adjusting Bits Correctly
A bit that slips in the collet will ruin the cut and can wreck the workpiece. Clean the collet and the bit shank with a dry cloth before installation, insert the bit so the shank sits at least three-quarters of its depth in the collet (but never so deep that the collet bottoms out on the flutes), and tighten firmly with the correct wrench.
Then check two things before switching on:
- Spin the bit by hand to confirm it clears the insert ring and fence faces.
- Confirm the router is set to the right speed for that bit’s diameter.
For through-cuts and edge profiles, the bit bearing or pilot does the work of controlling depth of cut. If the bearing is seized or gritty, the bit will follow the template or fence poorly. A drop of light oil on the bearing, wiped clean before use, keeps it spinning freely.
Feed Direction: The Rule That Keeps You Safe
This is the single most important concept in router table work, and the one most often misunderstood.
On a router table, you feed stock from right to left across the front of the bit. Why? Because the bit rotates clockwise when viewed from above (in a standard setup), so the cutting edge at the front of the bit moves from left to right. Feeding the stock right to left means the cutter’s rotation opposes your feed direction. The bit pushes back against the wood, giving you control.
Feed the other way, left to right, and you’re climb cutting. The bit’s rotation now pulls the stock forward, grabbing it and yanking it through the cut. On a light pass in soft wood it might feel fine. On a deep pass, in hard wood, or with a large bit, it can snatch the board out of your hands in a fraction of a second. Climb cutting has legitimate uses in some production contexts, but on a router table it should be treated as a technique for experienced operators only, and never with a deep cut.
The same logic explains why you never rout a board between the bit and the fence with the fence on the wrong side, and why short pieces are so hazardous: there simply isn’t enough material for your hands and push blocks to control.
Guards, Featherboards, and Push Blocks
Safety accessories on a router table aren’t optional extras. They’re the difference between a controlled cut and an injury.
| Accessory | What it does | When to use it |
|---|---|---|
| Bit guard | Covers the exposed cutter above the table | Every cut where it doesn’t interfere with the workpiece |
| Featherboard (horizontal) | Holds stock tight against the fence | All edge profiling and most straight cuts |
| Featherboard (vertical) | Holds stock down against the table | Thin or short stock, and any cut where the piece wants to lift |
| Push block | Keeps hands back and applies even downward pressure | Stock narrower than about 3 inches |
| Push stick | Pushes narrow stock past the bit | Rip-style cuts and very narrow pieces |
A featherboard should be set so its fingers angle slightly toward the bit, pressing the stock against the fence without pushing it forward. Set it too tight and it fights the feed; too loose and it does nothing.
The habit that matters most: keep your hands at least 6 inches from the bit at all times. If your setup requires your fingers to get closer than that, you need a different push block, not more courage.
Making the Four Core Cuts
Most router table work falls into a handful of operations. Each has its own setup rhythm.
Edge profiling (roundovers, chamfers, ogees)
Install a bearing-guided bit, set the fence so the bearing rides the fence face or the bit’s bearing rides the stock edge, and feed right to left with a horizontal featherboard. Take a full profile in one pass if the bit is small; for large profiles in hardwood, sneak up on the final shape in two passes.
Rabbets and dadoes
Use a straight bit and set the fence to control the width of the rabbet. For a rabbet on the end of a board, a vertical featherboard holds the stock down. Make the cut in one pass for shallow rabbets, two for deeper ones.
Pattern routing with a template
Attach a template to the workpiece, install a flush-trim or pattern bit with the bearing on top, and let the bearing ride the template. The template must be smooth and firmly attached; any wobble transfers directly to the finished edge. (Woodworking)
Joints (cope and stick, tongue and groove)
These setups demand a precise fence position and a consistent stock thickness. Cut test pieces until the joint fits with light hand pressure, then lock the fence and don’t touch it until the run is finished.
Common Mistakes and How to Avoid Them
Feeding too fast. Burn marks and a rough surface usually mean the bit is dwelling in one spot or the feed rate is inconsistent. Keep the stock moving at a steady pace. If you hear the router motor bog down, slow down.
Taking too deep a pass. A 3/4-inch straight bit buried in hardwood in one pass will chatter, burn, and stress the router. Two or three lighter passes produce a better surface and are easier on the tool and your hands.
Ignoring stock length and grain. Short pieces and stock with wild grain or knots are kickback hazards. Cut the profile on a longer board and trim to length afterward whenever possible.
Skipping the test cut. Every new setup deserves a scrap piece. It takes thirty seconds and saves ruined workpieces.
Letting the fence drift. Vibration loosens fence locks. Check the setting after the first few pieces of any long run.
Dust, Sound, and Shop Practicalities
Routers throw chips hard and fast, and fine dust from MDF or walnut is a genuine health concern. A shop vacuum connected to the fence’s dust port catches a good share of it, and a respirator handles the rest. Hearing protection is not optional: router tables run loud, often above 90 decibels at the operator’s ear.
If you’re setting up a whole shop network around your tools and want to control what’s reachable from the bench, it helps to know how to log into your router settings and fix common login problems for the network gear, though that’s a different kind of router entirely. (Set up parental controls your router practical step by step)
Practice Progression That Actually Builds Skill
The fastest way to get comfortable is a deliberate sequence of scrap-wood exercises:
- Cut a series of roundovers on pine scraps, varying feed rate and noting the surface quality.
- Cut rabbets in scrap until the fence setting becomes second nature.
- Profile a long board with a featherboard, focusing on consistent pressure against the fence.
- Pattern-route a simple curved template.
- Only then move to joinery setups.
Each step builds the muscle memory that keeps your hands safe and your cuts clean. Skipping ahead to complex joinery before the basics feel automatic is how most router table accidents happen.
Conclusion
Using a router table well comes down to a short list of disciplines: a flush insert plate, a fence parallel to the miter slot, a tight bit opening, the right speed for the bit, and stock fed right to left against the cutter’s rotation. Add featherboards, a guard, and push blocks, and the table becomes one of the most precise and repeatable tools in the shop. The wood doesn’t care how experienced you are; it responds to setup and control. Get those right, take light passes, and test every new setup on scrap, and the router table will reward you with edges that need almost no sanding.
Frequently Asked Questions
Which direction should you feed wood on a router table?
Feed from right to left across the front of the bit. This makes the cutter’s rotation oppose the feed, so the bit pushes back against the stock and you keep control. Feeding left to right is climb cutting, which lets the bit grab and pull the workpiece.
Can you use a router table without a guard?
You can, but you shouldn’t. The guard covers the exposed cutter and deflects chips. Use it on every cut where it doesn’t interfere with the workpiece, and rely on featherboards and push blocks for the rest of your protection.
How deep a cut can you take in one pass?
It depends on the bit, the wood, and the router’s power. As a rule, small profile bits can cut full depth in one pass, while large-diameter bits and deep rabbets in hardwood should be taken in two or three lighter passes. If the motor bogs down or the cut burns, you’re taking too much.
Why does my router table cut burn the wood?
Burn comes from heat, and heat comes from the bit dwelling in one spot, a dull bit, or an inconsistent feed rate. Keep the stock moving steadily, take lighter passes, and replace dull bits. Burn marks on end grain often mean the bit is past its prime.
What size router does a router table need?
A table works with most routers, but a 2 to 3 horsepower variable-speed model handles large bits and hardwoods with less bogging. Variable speed matters more than raw power for table work, since large bits need lower RPM.
How do you rout short or narrow pieces safely?
Make the cut on a longer board and trim to final length afterward. If you must rout a short piece, use a push block and a vertical featherboard, keep your hands well back, and never rout a piece so short that your push block can’t control it past the bit.



