What if the fizzy, tangy drink in your fridge could be made on your kitchen counter for pennies a bottle? That is the promise of kombucha, a fermented tea that has moved from health-food shops into ordinary kitchens. The appeal is easy to understand: it is tart, lightly sweet, and endlessly adaptable. The catch is that kombucha is a living fermentation, which means it rewards good habits and punishes guesswork. This guide walks through the whole process, from choosing a jar to judging when a batch is actually safe to drink, with the practical details that separate a reliable brew from a moldy science experiment. (Kombucha)
What Kombucha Actually Is
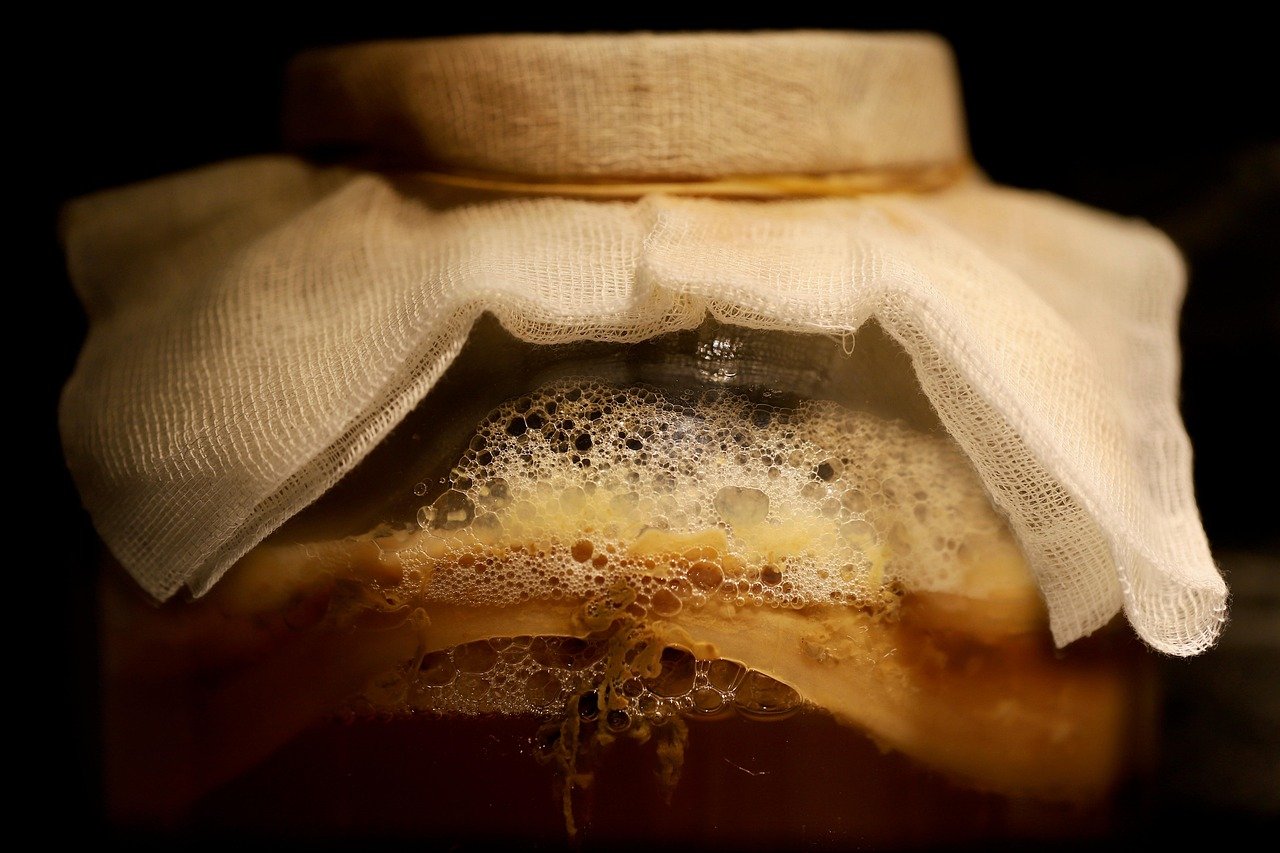
Kombucha starts as sweetened tea. A SCOBY (symbiotic culture of bacteria and yeast) is added, and over roughly one to two weeks the culture eats most of the sugar and produces acids, trace alcohol, and carbon dioxide. The result is a slightly sour, effervescent drink.
The SCOBY itself is a rubbery, jelly-like pellicle that forms at the surface. It is not the whole culture, just the visible part; the active microbes are suspended throughout the liquid. That distinction matters, because a thin or oddly shaped new pellicle is normal, while fuzz on top is not. Understanding what a SCOBY is and how the culture works helps you read the signs of a healthy brew instead of panicking at every change.
The Equipment You Need Before You Start
Kombucha is cheap to make, but a few pieces of gear make the difference between success and frustration.
| Item | What to look for | Why it matters |
|---|---|---|
| Brewing jar | 1-gallon glass jar, wide mouth | Glass does not react with acid; a wide mouth makes cleaning easy |
| Breathable cover | Tightly woven cloth or coffee filter plus rubber band | Keeps dust and insects out while letting the brew breathe |
| Bottles | Flip-top glass bottles rated for pressure | Holds carbonation without exploding |
| Thermometer | Stick-on or digital | Fermentation speed depends heavily on temperature |
| Long spoon | Food-grade plastic or stainless steel | Reaches the bottom without scratching the jar |
Avoid metal brewing vessels, especially aluminum and unlined copper, because the acidity can react with them. Skip cheesecloth as a cover, since its loose weave lets in fruit flies, which are drawn to fermenting sugar.
Step One: Brew the Sweet Tea Base
The base is simple: water, tea, and sugar. A common ratio for a gallon batch is about 12 to 14 grams of tea and 200 grams of sugar per 3.8 liters of water, though recipes vary. Black tea gives a robust, classic flavor; green tea is lighter; a blend of the two is a popular middle ground.
- Boil most of the water.
- Add the sugar and stir until it dissolves completely.
- Steep the tea for the time the package recommends, then remove the leaves or bags.
- Top up with cool water so the total volume is right and the tea is close to room temperature.
The sugar is not there just for sweetness. It is the food that keeps the culture alive, and most of it gets consumed during fermentation. Do not cut it drastically on the first attempt; a starved culture ferments slowly and is more vulnerable to contamination. Once the brew is cool, it is ready for the culture.
Step Two: Add the Culture and Let It Ferment
Pour the cooled sweet tea into the clean jar, then slide in the SCOBY along with roughly 10 to 20 percent of the volume in finished kombucha from a previous batch. That starter liquid is the real workhorse: it lowers the pH immediately and gives the microbes a head start.
Cover the jar and place it somewhere out of direct sunlight, ideally between 22 and 26 degrees Celsius. Cooler rooms slow fermentation; warmer rooms speed it up, but above roughly 29 degrees Celsius the culture gets stressed and off-flavors creep in.
The first fermentation typically runs 7 to 14 days. Taste it with a clean spoon starting around day seven. You are looking for a pleasant tartness, not a vinegar punch. When it tastes right, it is done. This is also the point where temperature control pays off, and the same logic applies to coffee brewing, where brew temperature changes extraction in ways you can taste. Fermentation is the same story: small environmental shifts produce noticeably different results.
Step Three: Bottle for Carbonation
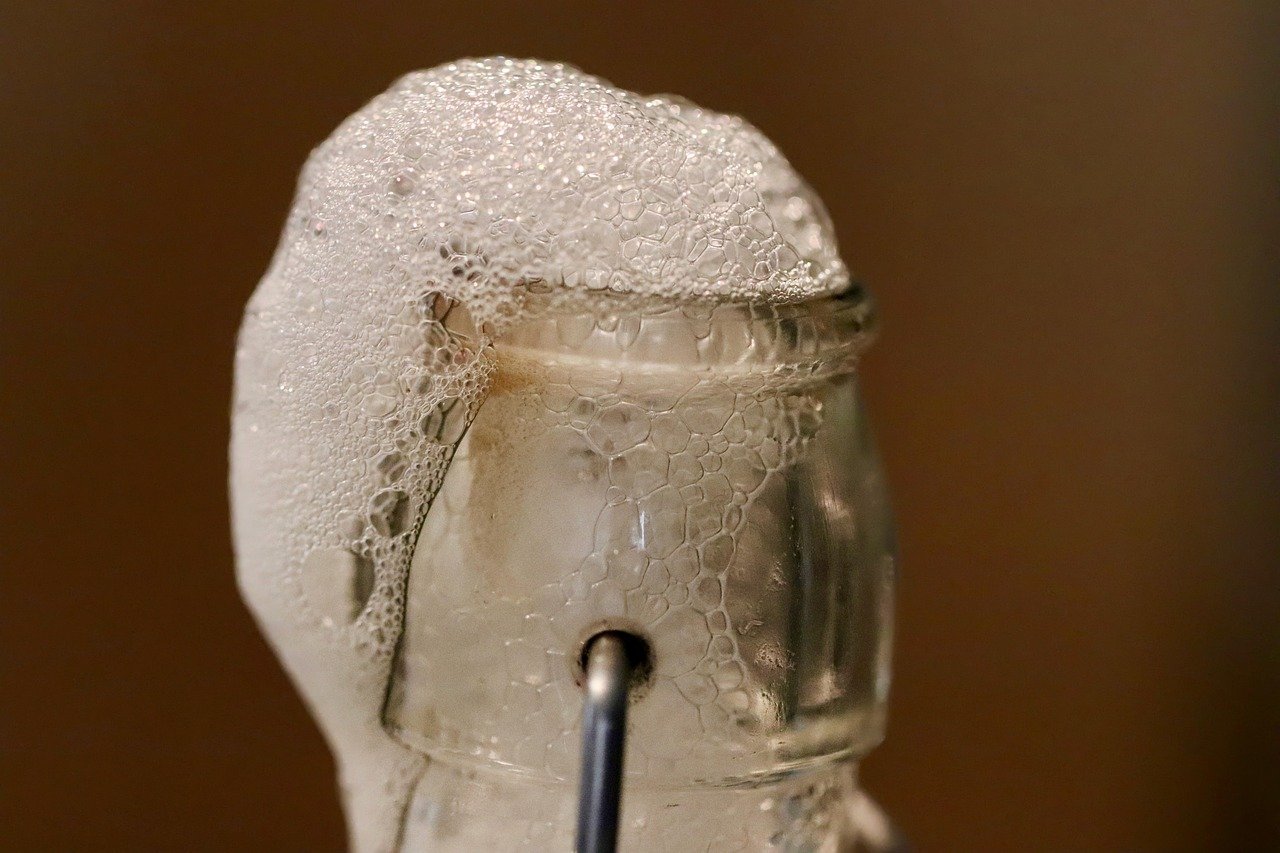
Bottling is where kombucha gets its fizz. Transfer the finished brew into pressure-rated bottles, leaving an inch or two of headspace, and seal them. A small amount of residual sugar feeds a secondary fermentation that produces carbon dioxide.
Practical tips that actually work:
- Add a little fruit juice or a teaspoon of sugar to each bottle to give the yeast something to work with.
- Keep bottles at room temperature for 1 to 4 days, then refrigerate.
- Burp the bottles daily by opening the seal briefly to release pressure, especially in warm weather.
- Chill bottles thoroughly before opening. Cold liquid holds carbon dioxide better, so a warm bottle foams over.
The most common mistake here is overfilling or adding too much sugar. Bottles can and do explode. Use flip-tops designed for carbonated drinks, store them in a closed box or cooler while they carbonate, and never leave them in a warm car or a sunny windowsill.
Step Four: Judge the Batch Before You Drink It
This is the part beginners rush, and it is the part that matters most. Kombucha is acidic, and that acidity is the main safety control. Finished kombucha commonly lands in the range of pH 2.5 to 3.5, and food-safety practice treats a pH at or below 4.6 as the threshold below which pathogens such as Clostridium botulinum cannot grow. That is why a properly fermented batch is considered low-risk while a stalled or diluted one deserves suspicion.
Signs a batch is healthy:
- A new, translucent pellicle forming on top.
- A clean, sour, cider-like smell.
- No fuzzy patches.
Signs to discard the batch, culture included:
- Dry, fuzzy mold in white, green, black, or orange.
- A smell like rot or nail polish remover.
- Slimy, stringy texture that is not part of the pellicle.
If you are unsure, throw it out and start fresh. Losing a batch costs a few dollars; the alternative is not worth it. For anyone brewing with tap water, water chemistry is worth a look too, because mineral content affects both tea flavor and fermentation; the same issues show up in coffee makers dealing with hard water, and the fix is similar: filter the water first.
Step Five: Keep the Culture Healthy Between Batches
Each batch leaves you with a growing culture. You can keep the original pellicle, use the newest one, or keep both. The liquid is the more important part.
- Always save 10 to 20 percent of each batch as starter for the next one.
- Store a backup SCOBY in a small jar of finished kombucha in the fridge, refreshed every month or two.
- Keep the jar covered even in storage.
- Start a SCOBY hotel, a spare jar where extra cultures rest, so a contaminated batch never wipes out your supply.
Hygiene is the quiet hero of this whole process. Wash hands, rinse jars with hot water, and avoid antibacterial soap residue on anything that touches the culture.
Flavoring Without Ruining the Brew
Flavoring belongs in the bottle, not the primary ferment. Adding fruit to the main jar invites mold and makes the culture harder to manage. Instead, add flavor at bottling:
- Ginger and lemon peel for a sharp, bright finish.
- Berry puree for color and a rounder sweetness.
- Hibiscus or dried fruit for a deeper, tart profile.
- A splash of cold-brewed coffee for a dark, roasted note.
If coffee flavors appeal, the same quality considerations apply as when choosing beans, and a guide to selecting espresso beans for home brewing covers freshness and roast level in useful detail. Keep flavor additions modest at first; a little goes a long way after carbonation.
Alcohol, Sugar, and What the Label Does Not Tell You
Fermentation always produces some ethanol. Home-brewed kombucha usually contains only trace amounts, but levels rise with longer fermentation and with certain conditions, and some countries regulate kombucha as an alcoholic beverage above a set threshold. If you are pregnant, avoid alcohol, or are serving children, check local rules and keep fermentation times moderate.
Residual sugar also varies widely. A short ferment tastes sweeter; a long one tastes drier. If sugar intake matters to you, taste as you go and refrigerate promptly once the flavor is right, since cold stops the process almost entirely.
Conclusion
Brewing kombucha is less about fancy equipment and more about rhythm: sweet tea, a healthy culture, a warm quiet spot, and patience measured in tastes rather than clock time. Get the basics right, keep everything clean, bottle with restraint, and trust your senses when judging a batch. The first few rounds will teach you more than any recipe can, and within a month or two the process becomes second nature. Start with one gallon, one jar, and one good culture. The fizz follows.
Frequently Asked Questions
How long does it take to brew kombucha?
The first fermentation usually takes 7 to 14 days, depending on room temperature and how tart you like it. The second fermentation in bottles adds another 1 to 4 days for carbonation. Cooler kitchens push everything toward the longer end.
Do I need to use black tea?
No. Black tea is the traditional choice and gives a strong, reliable ferment, but green tea and blends work well too. Avoid teas with added oils or artificial flavorings, since those can affect the culture.
What does mold on kombucha look like?
Mold is dry and fuzzy, and it usually appears in patches of white, green, black, or orange. It sits on top rather than blending in. A new pellicle, by contrast, is smooth, translucent, and rubbery. If you see fuzz, discard the batch and the culture.
Can I use metal utensils?
Food-grade stainless steel is fine for stirring. Avoid aluminum, copper, and other reactive metals, because the acidity can cause them to leach into the brew. Glass, food-grade plastic, and wood are safe choices.
Why is my kombucha not carbonating?
The usual culprits are too little residual sugar, bottles that are not airtight, or a room that is too cold. Add a small amount of sugar or juice at bottling, use pressure-rated flip-top bottles, and give the bottles a few extra days at room temperature before chilling.
Is home-brewed kombucha safe to drink?
A properly fermented batch is acidic enough to be low-risk, which is why pH control is central to both home and commercial brewing. Follow clean practices, use enough starter liquid, watch for mold, and discard anything that smells or looks wrong.
A Final Word on Getting Started
The barrier to entry here is genuinely low: a gallon jar, a few tea bags, a cup of sugar, and a culture from a friend or a reputable supplier. Everything else you already own. Resist the urge to buy gadgets before you have brewed three batches, because experience will tell you what actually helps and what just collects dust. Keep a simple log of dates, temperatures, and tasting notes; patterns emerge quickly, and your notes become the most reliable recipe you will ever follow. Above all, treat the first batches as practice, not performance.