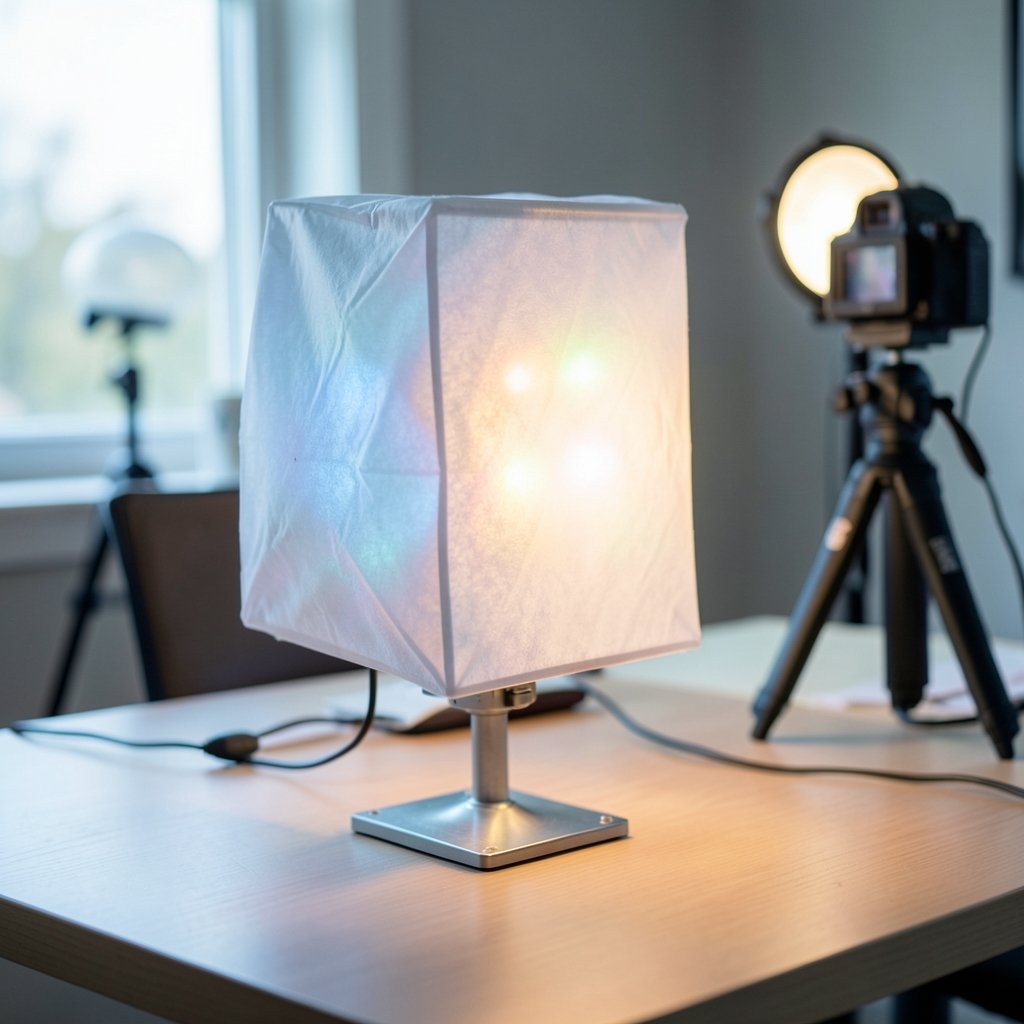
Quick Answer: How do I choose streaming lights?
Choosing streaming lights means matching three things: the look you want, the space you have, and the camera you actually use. Start with one good key light and a way to soften it, then add fill and back light only if your setup needs them. A bi-color panel offers flexibility, while a single-color fixture usually gives more output for the same power. Before buying, compare color rendering (CRI or TLCI), flicker behavior, color temperature range, brightness and dimming control, mounting footprint, and power source.
Why Lighting Decides Whether Your Stream Looks Pro or Cheap
Ever watched a stream where the host looks gray, flat, and slightly ill, then clicked to another channel where the same kind of person looks sharp and alive? The camera didn’t change. The lighting did.
Streaming lights are one of the few upgrades that show up instantly on screen. A better webcam helps, but a well-lit cheap webcam beats a badly lit expensive one almost every time. The trouble is that the market is crowded with panels, rings, softboxes, and RGB bars, and the specs read like a foreign language. Kelvin, CRI, TLCI, lux, flicker. It’s a lot.
The good news: the underlying principles are old, simple, and stable. Film and photography crews settled on them decades ago, and they still apply to a desk in a spare bedroom. This guide walks through those principles, the practical trade-offs, and the mistakes that trip up most first-time buyers.
Start With the Three-Point Setup, Even If You Only Buy One Light
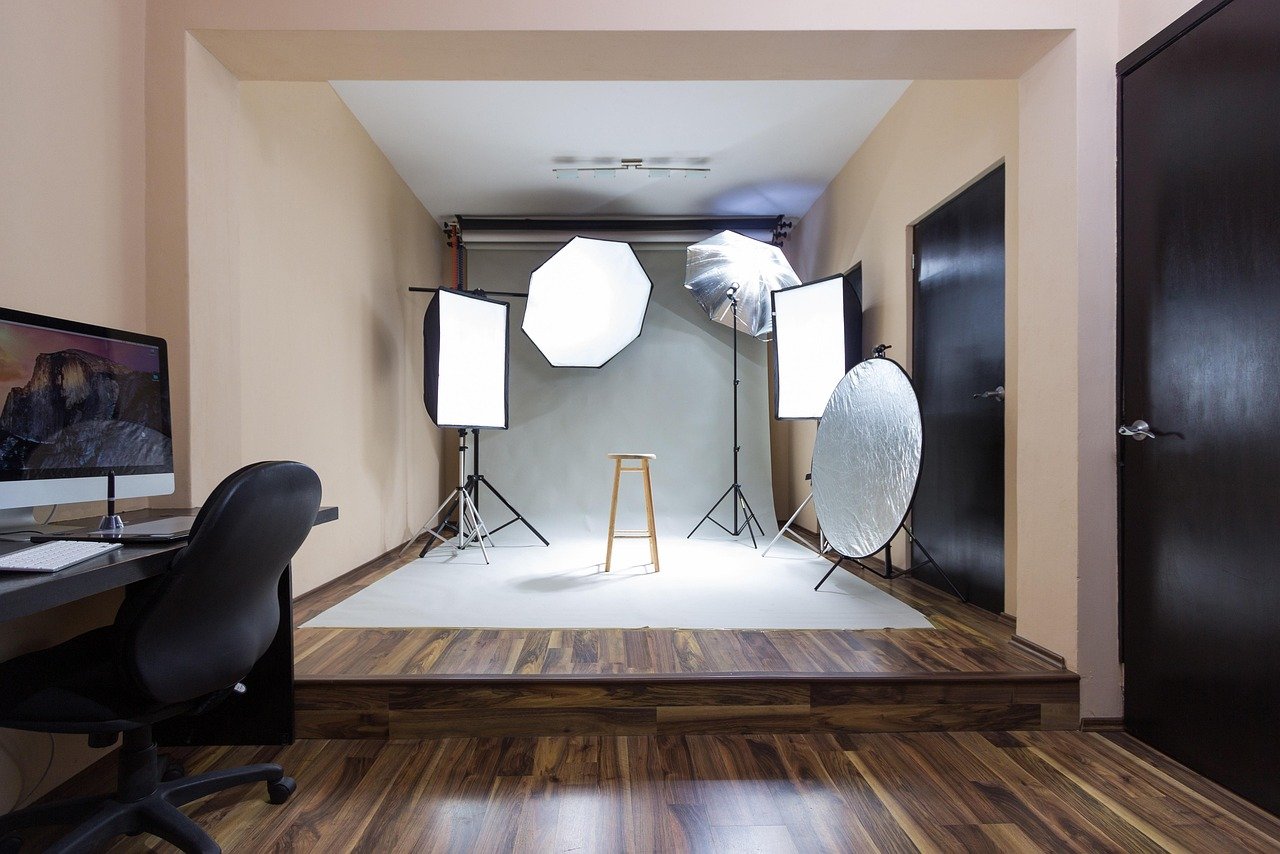
The classic studio arrangement is called three-point lighting, and it’s worth understanding before spending a dollar. It breaks down like this:
- Key light: the main source, placed in front of the subject and slightly off to one side.
- Fill light: a softer, dimmer source on the opposite side that lifts the shadows the key light creates.
- Back light (also called a hair or rim light): placed behind the subject to separate them from the background.
Here’s the practical part. Most streamers don’t need all three on day one. A single key light with good diffusion already transforms a webcam image. The fill can often be a white wall, a bounce card, or a window. The back light matters most when the subject and background are similar in tone and the image looks flat.
The mistake people make is buying a three-light kit immediately, then discovering the room is too small to place them properly. Two well-placed lights beat three crammed ones. If the reader is still mapping out their whole workspace, the same “fit first, features second” logic applies to other gear decisions, like how people choose network segmentation that actually fits your business rather than copying an enterprise diagram.
Color Temperature: Get This Right and Everything Else Gets Easier
Color temperature is measured in kelvin (K), and it describes how warm or cool a light looks. Two anchor points matter:
| Light type | Approximate color temperature | Look |
|---|---|---|
| Tungsten / warm white | About 3200 K | Orange, cozy, indoor evening |
| Daylight | About 5600 K | Neutral white, clean |
Mixing lights of different color temperatures without correction causes color casts. A warm desk lamp on one side and a cool window on the other will leave half the face orange and half blue. The camera’s white balance can only pick one, so it compromises, and the result looks off.
This is why bi-color fixtures are so popular for streaming. They adjust between tungsten and daylight, so the light can be matched to the room, the window, or the time of day. The trade-off is real, though: in general, single-color fixtures deliver more output per watt than tunable ones, because the LEDs don’t have to share the power budget across a range. That’s a general design trend, not an absolute rule, and specific models vary.
For most streamers, a bi-color key light is the sensible default. It removes a whole category of color headaches.
Color Rendering: Why CRI and TLCI Matter More Than Lumens
Brightness gets all the attention, but color rendering decides whether skin looks human. Two lights can have identical output and make a face look completely different.
CRI (Color Rendering Index) is a general lighting metric. TLCI (Television Lighting Consistency Index) was developed specifically for broadcast and camera use, because a light can score well on CRI and still render poorly through a camera sensor. Higher values on either scale mean more faithful color reproduction.
A few honest cautions:
- CRI and TLCI are not directly comparable. Some manufacturers quote whichever number flatters their product, so cross-brand comparisons deserve skepticism.
- Cheap panels often advertise high CRI without third-party testing. Treat bold claims on budget listings as marketing until proven.
- For streaming, a light that renders skin tones naturally matters more than one that hits a headline brightness number.
If a listing gives no color rendering information at all, that silence is itself information.
Flicker: The Spec Nobody Checks Until It Ruins a Stream
LED lights driven by cheap power supplies can flicker at rates invisible to the human eye but very visible to a camera. On screen it shows up as banding, strobing, or a rolling dark bar, especially at high frame rates or fast shutter speeds.
This is the single most common “why does my footage look broken” problem with budget lighting. The eye sees steady light. The camera sees a strobe.
How to avoid it in practice:
- Check reviews that discuss video use, rather than only desk photos.
- Test immediately after purchase at the frame rate actually used for streaming.
- If banding appears, try adjusting shutter speed or the light’s dimming level before returning it.
- Prefer fixtures with a reputation for camera-safe drivers, even if they cost a little more.
Flicker is one of those problems that’s cheap to avoid and expensive to discover late.
Softness Is About Size and Distance, Not Wattage
A hard light makes harsh shadows and highlights every pore. A soft light wraps around the face. The variable that controls this isn’t power; it’s the size of the source relative to the subject. Larger, closer sources produce softer shadows. That’s the whole principle behind softboxes, diffusion panels, and bounce surfaces.
Practical implications for a streaming desk:
- A small panel pressed close can be softer than a big panel far away.
- A cheap diffusion sheet or a white shower curtain in front of a bright light softens it dramatically.
- Bouncing light off a white wall or ceiling is often the cheapest soft source in the room.
Many streamers buy a bright light, aim it straight at their face, and wonder why they look shiny and tired. The fix usually isn’t a new light. It’s diffusion and repositioning.
Match the Light to the Camera and the Room
Before comparing fixtures, define the constraints. This is where most buying mistakes happen, and it’s the same discipline that helps when people choose a country for study abroad that fits them instead of chasing rankings. Fit beats prestige.
Ask these questions first:
- What camera? A phone, a webcam, and a mirrorless camera have different low-light behavior and different mounting options.
- How much space? Desk clamps, light stands, and overhead arms all need different footprints. In a small room, weight and depth matter as much as brightness.
- What’s behind the subject? A window, a bookshelf, and a blank wall each change how much back light is needed.
- How permanent is the setup? A light that clamps to the desk and stays there is different from one that gets packed away weekly.
Answer those four and the shortlist gets much shorter.
Power, Control, and Mounting: The Unglamorous Details
Streaming setups commonly use USB-powered panels, AC-powered studio lights, or battery-powered fixtures. Each has a personality:
| Power type | Strength | Weakness |
|---|---|---|
| USB | Cheap, simple, portable | Often dim, sometimes flickers |
| AC studio light | Bright, stable, expandable | Cables, needs outlets, heavier |
| Battery | Flexible placement | Runtime limits, charging hassle |
Dimming may happen on the fixture, by remote, via an app, or through DMX512, the long-standing lighting-control standard used in studios and stages. For a solo streamer, on-fixture or app control is usually plenty. DMX matters if the setup will grow into a multi-light studio.
Mounting deserves real attention. Desk clamps save floor space but can wobble. Light stands are stable but eat floor area and create trip hazards on camera. Overhead arms keep the desk clear but need a sturdy anchor. Check the weight rating before trusting a clamp with a heavy fixture.
Eye Comfort and Glare: Don’t Blind Yourself for the Camera
A bright light placed directly in the camera’s line of sight causes glare and eye strain for the presenter. Squinting on stream reads as tension, and after an hour it genuinely hurts.
Common fixes:
- Place lights off-axis, to the sides of the camera rather than behind it.
- Diffuse or bounce the light so the source itself isn’t visible.
- Keep the brightest source out of the presenter’s direct view.
- Raise lights slightly above eye level and angle them down.
Comfort affects performance as well as health. A streamer who isn’t squinting looks more relaxed, and that reads on camera.
A Practical Buying Sequence
For anyone who wants a clear order of operations, this sequence works for most rooms and budgets:
- Buy one bi-color key light with a diffuser and a clamp or stand that fits the desk.
- Test for flicker at the actual streaming frame rate within the return window.
- Add diffusion or bounce before adding a second light.
- Add a fill only if shadows are still too deep; a white wall often does the job.
- Add a back light if the subject blends into the background.
- Upgrade control (app, remote, DMX) only when the setup has grown enough to need it.
Each step solves a visible problem. Buying in this order avoids the classic trap of a three-light kit that’s too big for the room and too complicated to use daily.
The same “solve the real problem, not the imagined one” approach shows up in plenty of other gear decisions, from choosing a bike helmet that actually protects you to picking macrame cord with the right diameter and fiber twist. Specifications only matter when they map to a real need.
Mistakes That Cost Money
A few patterns come up again and again:
- Chasing lumens. A blindingly bright light with poor color rendering looks worse than a dimmer, accurate one.
- Ignoring flicker until after the return window. Test early.
- Skipping diffusion. Bare LEDs on skin look harsh and unforgiving.
- Buying RGB before buying white. Colored output is fun for accents, but good white light does the heavy lifting.
- Overbuilding the kit. More lights mean more placement problems, more cables, and more to go wrong mid-stream.
Conclusion
Choosing streaming lights comes down to a short list of decisions made in the right order. Understand the three-point setup so each purchase has a purpose. Get color temperature right, ideally with a bi-color fixture. Check color rendering through CRI or TLCI rather than trusting brightness claims. Test for flicker before the return window closes. Soften the light with diffusion and distance. Then match power, control, and mounting to the actual room and camera.
None of this requires a studio budget. It requires buying in sequence, solving visible problems one at a time, and resisting the urge to buy a kit before knowing what the room needs. Do that, and the difference on screen shows up on the very first stream.
Frequently Asked Questions
Do I need three lights to start streaming?
No. One well-diffused key light already improves a webcam image dramatically. A white wall or bounce card can serve as fill, and a back light only becomes necessary when the subject blends into the background. Two well-placed lights generally beat three crammed into a small room.
Is CRI or TLCI more important for streaming?
TLCI was designed specifically for camera and broadcast use, so it’s the more relevant number for video. CRI is a general lighting metric. The two aren’t directly comparable, and manufacturers sometimes quote whichever flatters their product, so treat cross-brand comparisons with caution.
What color temperature should a streaming light be?
Around 5600 K (daylight) is a common neutral choice, while roughly 3200 K gives a warm tungsten look. What matters most is consistency: mixing different color temperatures without correction causes color casts that white balance can’t fully fix. A bi-color fixture lets the light match the room.
Why does my LED light flicker on camera but not to my eye?
Cheap power supplies can drive LEDs at flicker rates invisible to the human eye but visible to a camera sensor, showing up as banding or strobing at high frame rates or fast shutter speeds. Test new lights at the actual streaming frame rate within the return window, and try adjusting shutter speed or dimming before giving up on a fixture.
Are USB-powered streaming lights good enough?
They’re convenient and cheap, but often dim and more prone to flicker. They suit small setups and tight budgets. AC-powered studio lights are brighter and more stable but need outlets and add weight. Battery fixtures trade runtime for placement flexibility.
Does a bigger, more expensive light always look softer?
No. Softness depends on the size of the light source relative to the subject, not on price or wattage. A small panel placed close can look softer than a large one far away. Diffusion panels, bounce surfaces, and white walls are often the cheapest way to soften a light.