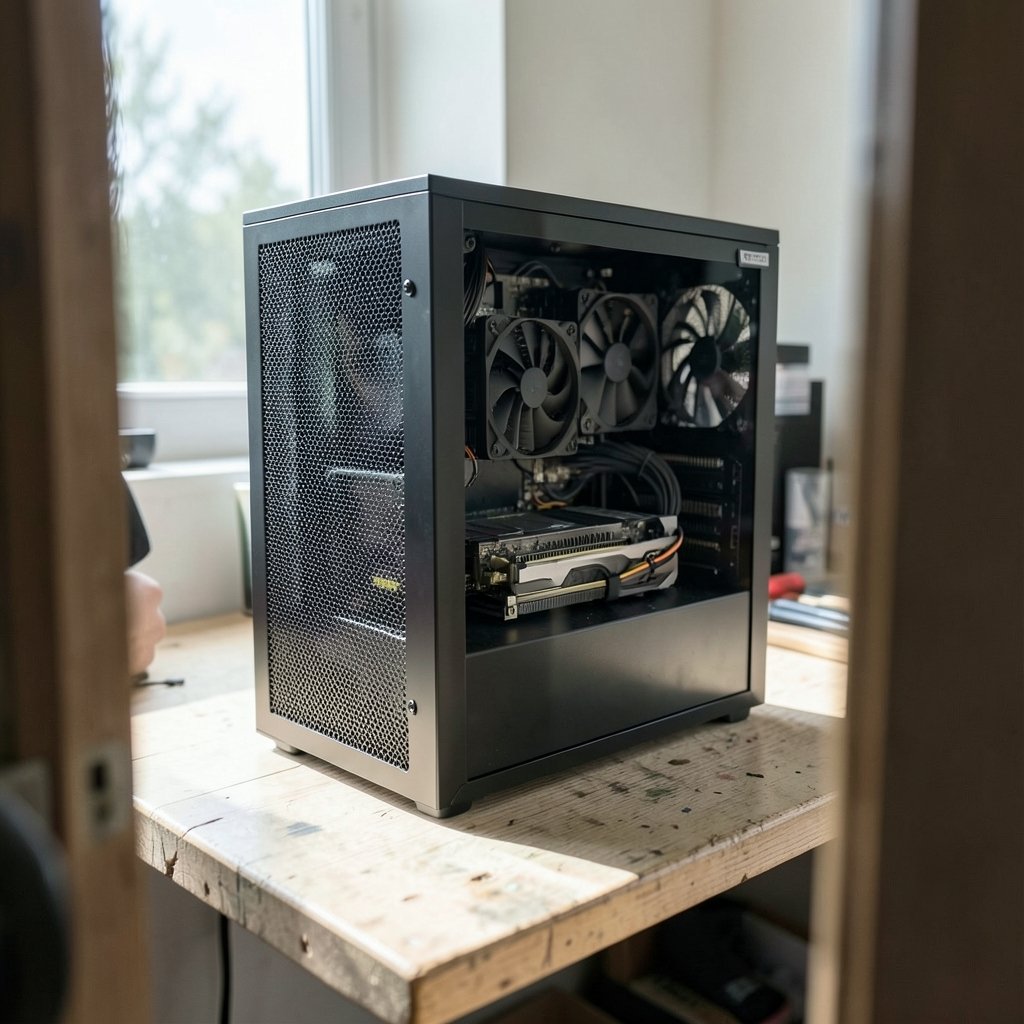
Quick Answer: Which budget gaming PC cases are worth buying?
The budget gaming PC cases worth buying are the ones that prioritize airflow, component clearance, and build quality over flashy extras. In practice, that means looking for a mesh front panel, support for at least two intake fans and one exhaust, and a published GPU clearance that comfortably exceeds the length of the graphics card going into the build.
Cheaper alternatives exist, such as solid-front cases with a single bundled fan or older acrylic-side models, but they usually cost more in the long run once extra fans and cooling upgrades are factored in. Micro-ATX cases are often the smartest budget pick because they cut size and cost without sacrificing compatibility with most mid-range parts.
Before buying, compare motherboard form factor support, maximum GPU length, radiator support, fan mounts included, front-panel USB-C, side-panel material, and cable-routing depth.
Why the Case Matters More Than You Think
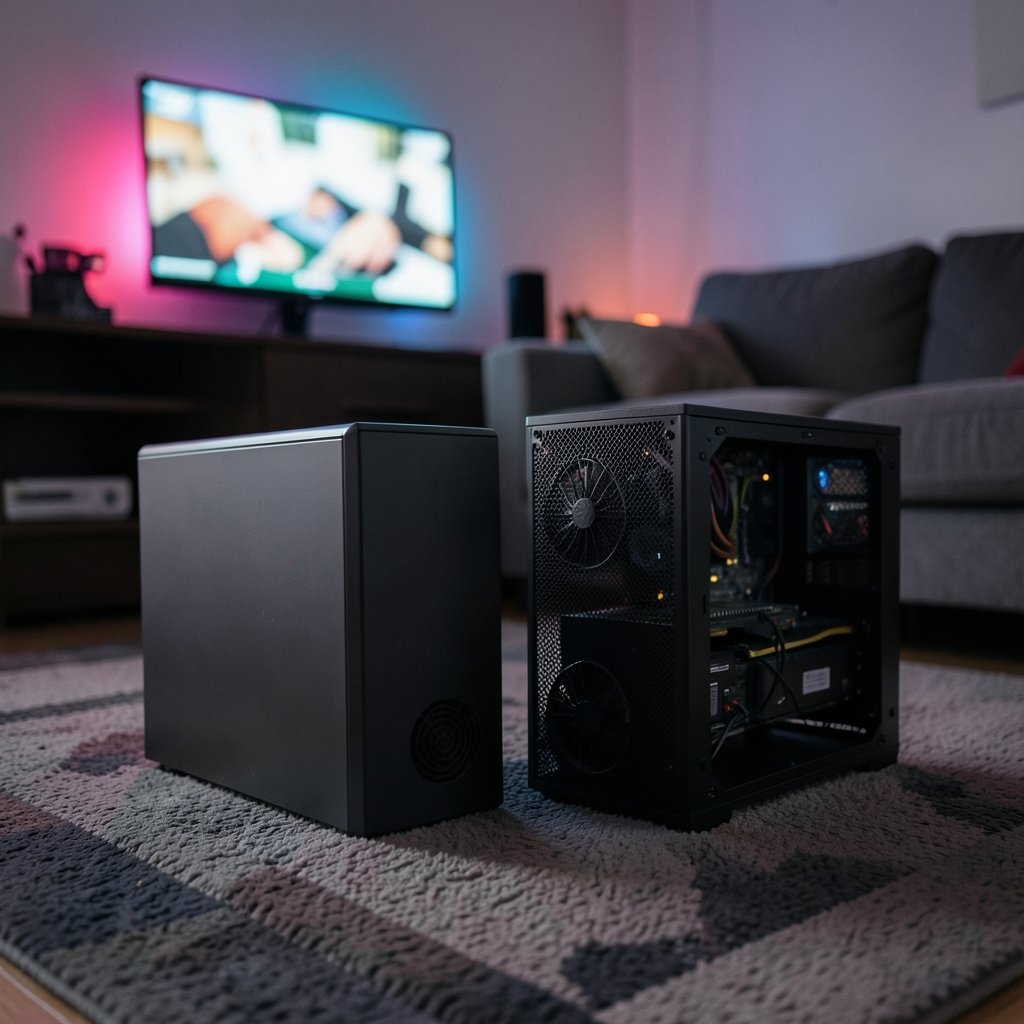
Ever watched a brand-new graphics card throttle itself because the case traps hot air like a sealed oven? It happens more often than people admit, and it is almost always the cheapest part of the build that causes it.
The case is the one component that touches everything else. It decides how much air reaches the CPU cooler, whether the graphics card can breathe, how loud the machine gets under load, and whether building the thing is a pleasant afternoon or a knuckle-scraping ordeal. Budget shoppers often treat the case as an afterthought, spending big on a GPU and then stuffing it into a box with a solid front panel and one sad exhaust fan.
Here is the good news: the gap between a bad budget case and a genuinely good one is often just twenty or thirty dollars. The trick is knowing which specifications actually matter and which marketing bullet points are noise. That is what this guide covers, from airflow design to the fit problems that trip up first-time builders.
The Specifications That Actually Decide Whether a Case Works
Before comparing any two cases, it helps to understand the standards that govern compatibility. Case sizing follows motherboard form factors, which have been standardized for decades: ATX, Micro-ATX (mATX), and Mini-ITX. Every case spec sheet lists which of these it supports, and that single line tells you most of what you need to know about internal space.
| Form Factor | Typical Case Size | Budget Friendliness | Best For |
|---|---|---|---|
| ATX | Largest | Moderate | Full-size builds, big GPUs, 360 mm radiators |
| Micro-ATX | Mid-size | High | Most budget gaming builds |
| Mini-ITX | Smallest | Low to moderate | Compact builds with careful part picking |
Micro-ATX is the sweet spot for budget gaming. Motherboards in that size cost less, cases in that size cost less, and the vast majority of mid-range graphics cards and power supplies fit without drama. Mini-ITX looks tempting for a small footprint, but the cases carry a premium and the clearance limits get tight fast.
The second thing to understand is that airflow design matters more than price for thermals. Mesh front panels paired with multiple intake fans consistently outperform solid front panels with few fans. This is not a subtle difference either. A well-ventilated budget case can run cooler and quieter than a fancier-looking case with a glass front and restricted vents.
Airflow: Mesh Beats Glass Every Single Time
If there is one rule to memorize, it is this: mesh front, always. A mesh panel lets air pass through; a solid glass or steel front forces it to sneak around the edges, which starves the fans and raises temperatures.
The practical fan setup that works in almost every budget build is simple:
- Two intake fans at the front, pulling cool air in.
- One exhaust fan at the rear, pushing hot air out.
- Optionally, a top exhaust if the case supports it and temperatures warrant it.
Here is the catch that surprises people: budget cases often ship with one fan or none at all. That is not a dealbreaker, but it does mean the purchase price is not the real price. Factor in the cost of two or three decent fans when comparing options, because a $55 case with zero fans can end up costing more than a $70 case with three included.
Also check the fan mount sizes. A case that only accepts 120 mm fans in front is fine, but one that accepts 140 mm mounts gives more airflow per fan at lower noise. Neither is mandatory at this price point, but it is a useful tiebreaker.
If you are still mapping out the whole build, the same clearance-first thinking applies to peripherals. A practical guide to picking a gaming monitor worth buying for beginners follows the same logic: match the specs to what you actually use, not to the biggest number on the box.
GPU Clearance: The Number One Fit Problem
Modern mid-range graphics cards are long. Many measure 300 to 340 mm, and budget cases sometimes list a maximum GPU length under 320 mm. That mismatch is the single most common fit problem in budget builds, and it usually gets discovered after the case has arrived.
The fix is boring but effective: look up the exact length of the graphics card, then look up the case’s published maximum GPU clearance, and leave yourself a buffer of at least 20 mm. Cards are measured differently by different manufacturers, and front-mounted fans can eat into the space the spec sheet quotes.
A few more clearance checks worth doing before checkout:
- CPU cooler height. Tall air coolers frequently exceed budget case limits. The spec sheet lists a maximum, so compare it directly.
- Radiator support. Many cases under roughly $70 support only a 240 mm radiator at the top or front, not a 360 mm unit. If an AIO is planned, confirm the size.
- Power supply length. Long modular PSUs can collide with drive cages or shrouds in compact cases.
Build Quality and the Features Worth Paying For
Budget cases cut corners somewhere. The question is which corners you can live with.
Tempered glass side panels are now common even at low prices, and they look great. They also add weight and carry a breakage risk during shipping and assembly. Acrylic panels still appear on the cheapest models; they scratch easily but survive drops. Neither affects performance, so treat this as a preference rather than a priority.
Cable management depth is where budget cases most often stumble. Shallow routing space behind the motherboard tray makes it hard to close the side panel cleanly, and cramped builds restrict airflow. Reviewers measure this space for a reason. If a case has a PSU shroud, that helps hide the mess, but it also eats into clearance, so check both.
Front-panel USB-C is increasingly expected, and modern motherboards often include a USB-C header. A case without that connector leaves the header unused. It is not essential on a budget build, but if the motherboard has the header, a case that can use it is a smarter long-term buy.
One more consideration: no formal safety standard specifically governs PC case airflow or noise. The relevant certifications in a build are electrical, such as power supply efficiency ratings, not case-level. That means case quality is judged by independent testing and spec sheets, not by a badge on the box.
How Budget Cases Compare at a Glance
| Priority | What to Look For | What to Avoid |
|---|---|---|
| Thermals | Mesh front, 2+ included fans, 140 mm mounts | Solid front panel, zero bundled fans |
| GPU fit | Published clearance 20 mm above card length | Clearance listed under 320 mm for a long card |
| Cooling upgrades | 240 mm radiator support minimum | No radiator mounts at all |
| Building comfort | Deep cable channel, PSU shroud | Shallow tray, sharp interior edges |
| Longevity | Front USB-C, dust filters | No filters, plastic fan hubs |
Dust filters deserve a special mention because they are cheap to include and annoying to live without. A case without intake filters pulls dust into every heatsink in the machine, and cleaning a graphics card is far more work than rinsing a filter.
Common Mistakes Budget Builders Make
The first mistake is buying the case last, after the budget is gone, and grabbing whatever is cheapest. The case outlives most other parts, so it deserves a real line item.
The second is trusting the product photos over the spec sheet. A case can look spacious in a marketing render and still max out at a 315 mm GPU. Specs do not lie; renders do.
The third is forgetting the fan budget. A case with no fans is not a bargain if three fans cost more than the savings.
The fourth is overbuying. A budget build does not need a 360 mm radiator mount or nine fan positions. Paying for expansion space that will never be used is just donating money to the case manufacturer.
Finally, builders often skip the return-window check. Case shipping damage is real, especially with tempered glass, so buying from a seller with a straightforward return policy is quietly one of the smartest moves available.
Matching the Case to the Rest of the Build
A case does not exist in isolation. The parts going inside shape what the case needs to do.
If the plan is a modest 1080p gaming machine, a micro-ATX case with a mesh front, two intake fans, and a 320 mm GPU limit will handle nearly everything. If a bigger card or a large air cooler is in the cards, step up to an ATX mid-tower with more room.
Portable setups change the math entirely. A desktop case is not going anywhere, which is why some buyers pair a budget desktop with a handheld for travel. The same fit-and-purpose logic applies when choosing a handheld gaming console that actually fits your needs, and it is worth reading up on whether a Nintendo Switch 2 is worth buying for everyday use if couch gaming is part of the plan.
Laptop shoppers face a similar trade-off between price and expandability. A guide to the best gaming laptops under 1000 that actually fit a budget covers that side of the equation, and the lesson carries over: the cheapest sticker price rarely tells the whole story once cooling and upgrade costs are counted.
Conclusion
The budget gaming PC cases worth buying share a short list of traits: a mesh front panel, room for at least two intake fans and one exhaust, a published GPU clearance that comfortably fits the card, sensible radiator support, and enough cable-routing depth to build without frustration. Everything else, from glass panels to RGB strips, is decoration.
Spend a little time with spec sheets before spending money. Measure the graphics card, check the cooler height, count the included fans, and add their cost to the case price. Do that, and the case becomes the easiest good decision in the entire build rather than the part that gets replaced a year later.
FAQ
How much should a budget gaming case cost?
Entry gaming cases have commonly ranged roughly $50 to $80, though prices shift with supply and tariffs, so verify current pricing before buying. Remember to add the cost of any extra fans to the total.
Is a glass front panel bad for airflow?
Generally, yes. Solid front panels restrict airflow compared with mesh, which can raise temperatures and fan noise. Mesh front panels are the safer choice for budget builds.
Do I need a full ATX case for a budget build?
Usually not. Micro-ATX cases cost less and fit most mid-range graphics cards and power supplies. Choose ATX only if a large GPU, big air cooler, or 360 mm radiator demands the extra room.
How many fans should a budget case include?
At least two intake and one exhaust is the practical target. Many budget cases ship with one fan or none, so budget for extras when comparing prices.
Can a budget case fit a 340 mm graphics card?
Some can, but many list maximum GPU clearance under 320 mm. Always compare the card’s exact length against the case’s published limit and leave a buffer of about 20 mm.
Does a cheap case hurt performance?
It can, indirectly. Poor airflow raises component temperatures, which can cause throttling and louder fans. A well-ventilated budget case performs close to far more expensive ones.