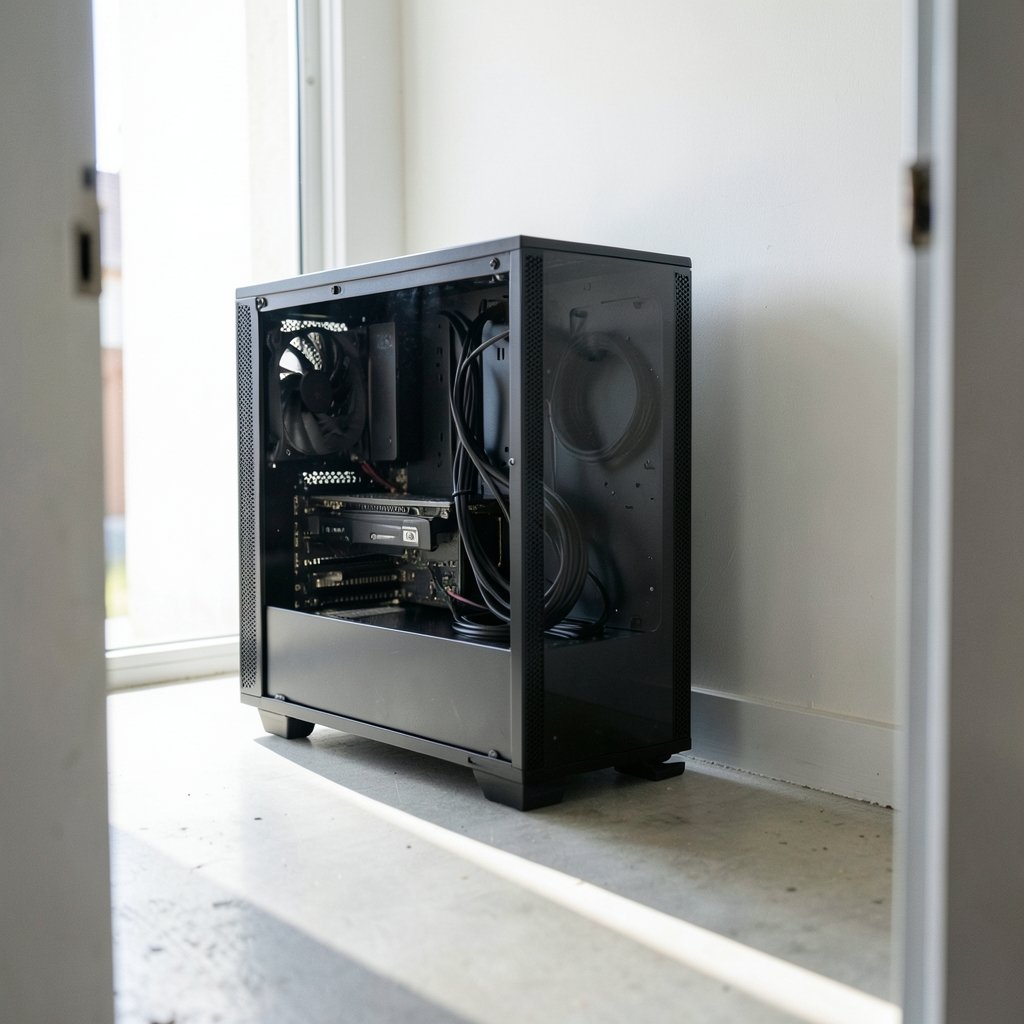
Quick Answer: What are the best gaming PC cases for beginners?
The best gaming PC cases for beginners are mid-tower ATX cases with a mesh front panel, room for a graphics card of at least 330mm, and enough fan mounts to keep parts cool without extra spending. Beginners can act on this by checking motherboard form factor support, GPU clearance, and cooler height before buying anything. (Gaming monitor worth buying beginners everyday use)
Smaller Micro-ATX and Mini-ITX cases can work well too, but they demand more planning and often cost more per liter of space. A budget mid-tower usually gives the easiest first build, while a compact case suits someone with limited desk space who is willing to measure twice.
Before buying, compare supported motherboard sizes, maximum GPU length, CPU cooler height, fan and radiator mounts, drive bays, front panel ports, and cable routing features.
Why the Case Deserves More Thought Than Beginners Give It
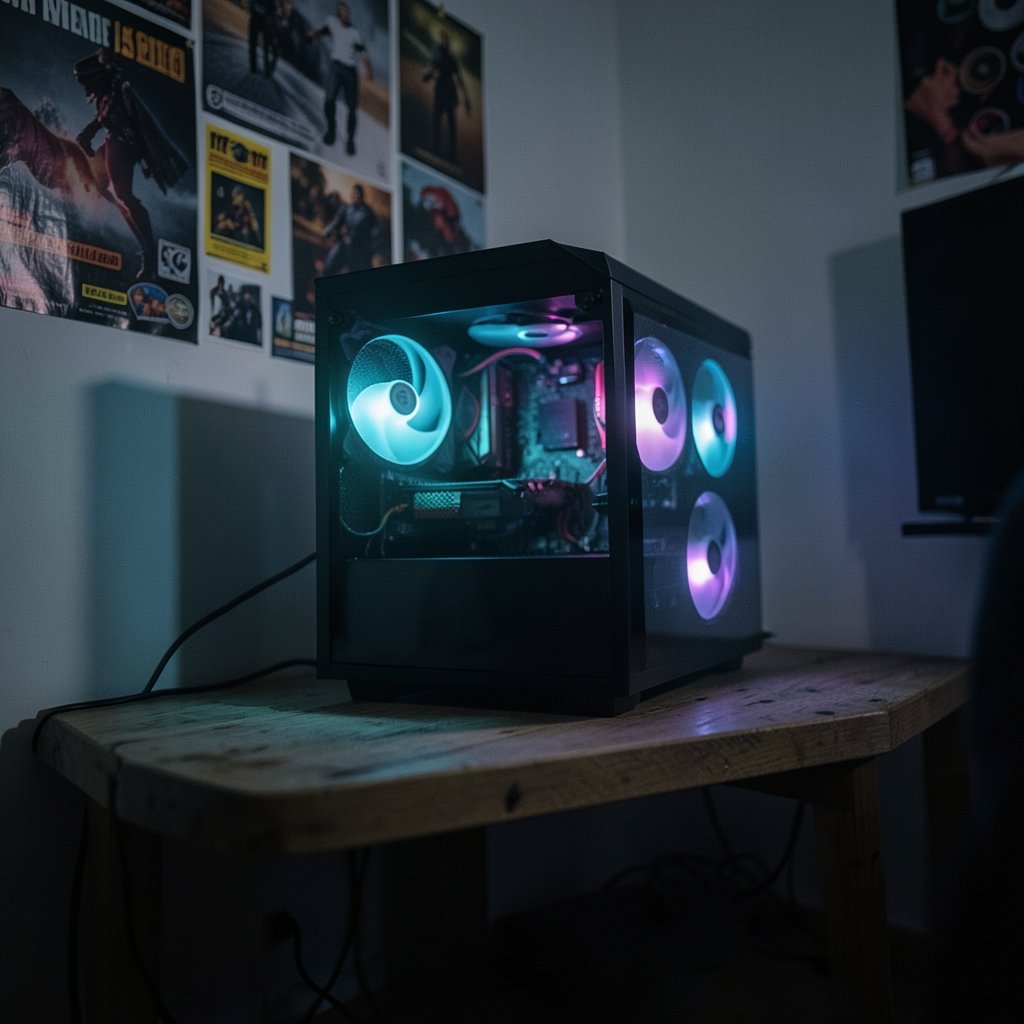
Ever finished a build, pressed the power button, and watched temperatures climb while the fans howled? That moment usually traces back to a case chosen for looks rather than airflow. The case is the one part that touches everything else: it holds the motherboard, cradles the graphics card, decides how much cool air reaches the CPU, and even shapes how loud the whole machine sounds. Pick badly and every other component suffers. Pick well and a modest parts list can run quiet and cool for years.
Here is the good news. Beginners do not need to spend a fortune or memorize spec sheets. A handful of measurements and a few honest questions about airflow will narrow the market fast. The sections below walk through what matters, what gets overlooked, and how to avoid the classic first-build mistakes.
If the case is one piece of a bigger puzzle, it helps to see the whole picture. A step-by-step approach to your first build keeps the case decision in context rather than treating it as an isolated purchase.
Start With Motherboard Size, Not Case Size
The single most common beginner mistake is buying a case that does not fit the motherboard. Cases list supported form factors, and those lists are not suggestions. ATX is the most common standard for beginner builds, with Micro-ATX (mATX) and Mini-ITX as smaller alternatives. An ATX case accepts all three in most designs, while a Mini-ITX case accepts only Mini-ITX boards.
| Form factor | Typical case size | Who it suits | Main trade-off |
|---|---|---|---|
| ATX | Mid or full tower | Most first builds | Takes up desk or floor space |
| Micro-ATX | Compact mid tower | Budget builds, smaller desks | Fewer expansion slots |
| Mini-ITX | Small form factor | Tight spaces, portable builds | Tight clearance, pricier parts |
A practical rule: if you have not bought the motherboard yet, choose the case first and let it guide the board. If the board is already on the desk, match the case to it exactly. Buying an ATX case for an mATX board works fine, but the reverse does not.
Clearance Numbers That Save You a Return Label
Manufacturers publish maximum GPU length and CPU cooler height, and beginners should check both against the parts list before checkout. These two numbers cause more returns than anything else. A triple-fan graphics card can run past 330mm, and a tall air cooler can exceed 160mm. Add the front fans and any radiator, and a card that “should fit” suddenly does not.
Measure in this order:
- Note the maximum GPU length the case lists, then subtract about 20mm for front fans and cables.
- Check CPU cooler height against the case’s listed limit.
- If using an AIO liquid cooler, confirm supported radiator sizes such as 240mm, 280mm, or 360mm and where they mount.
- Confirm the power supply length limit, since long modular units eat cable space.
- Check drive bays if you plan to use SATA SSDs or hard drives.
That last point matters more than it used to. Many modern cases have limited 3.5-inch bays and assume you will use M.2 slots on the motherboard instead. Anyone bringing over an old hard drive should count the bays before buying.
Airflow Beats Glass: What Actually Keeps Parts Cool
Mesh front panels and multiple fan mounts generally outperform solid glass fronts for cooling. That is the short version, and it holds up in practice. A glass-front case can look sharp, but if the only air intake is a narrow side slit, the fans work harder and the noise rises. Mesh lets air through with less resistance.
Three intake fans at the front and one exhaust at the rear is a solid baseline for a mid-tower. Positive pressure, meaning more intake than exhaust, also helps keep dust out of the case over time. Beginners often forget the exhaust entirely, which traps hot air around the CPU tower.
Budget for fans in the total price. Some cases ship with three fans included, which can make a slightly pricier case the better value. Others include one fan and leave you to buy the rest.
Cable Management Features Worth Paying For
Cable routing grommets, a power supply shroud, and tie-down points make first builds noticeably easier. These features are not cosmetic. A shroud hides the PSU and its cable nest, grommets let cables pass behind the motherboard tray, and tie points keep everything from springing loose when the side panel goes back on.
A case with poor cable management turns a two-hour build into a four-hour fight. Look for at least 20mm of space behind the motherboard tray, rubber-lined grommets, and a few velcro straps in the box. These small details separate a case designed for builders from one designed for a photo shoot.
Front Panel Ports and the USB-C Trap
Front I/O and USB standards differ between cases, and USB-C front-panel headers require motherboard support. Not every case includes a USB-C port, and not every motherboard has the header to connect one. Buying a case with USB-C and a board without the header leaves that port dead.
Check three things: how many USB-A ports the front panel offers, whether a USB-C port is present, and whether the chosen motherboard has the matching header. Audio jacks and a power button are standard, but placement matters if the case sits on the floor.
How to Match a Case to Your Build Type
Different builds pull a case in different directions. A budget gaming machine benefits from a roomy mid-tower with included fans. A compact desk setup may need mATX. Someone planning a liquid-cooled showpiece needs radiator support up front and on top.
Peripherals and display choices also shape the build. If you are still deciding where to put your money, this practical guide to whether a gaming monitor is worth buying for beginners helps you balance the budget before the case eats it. And if desk space is the real constraint, a compact case plus a smaller display often beats a full tower squeezed into a corner, which is exactly the tension covered in this look at how room lighting changes monitor versus TV viewing.
Laptop shoppers can skip the case entirely, and this breakdown of gaming laptops under 1000 that actually fit a budget shows what that trade-off looks like.
What Beginners Get Wrong Most Often
A few mistakes show up again and again, and each one is easy to avoid once you know it exists.
Buying for looks over airflow tops the list. A solid front panel with RGB fans looks great in photos and runs warm in reality. Second is ignoring GPU length, especially with today’s long triple-fan cards. Third is assuming all cases include enough fans; many include one and expect you to add more.
Fourth is forgetting the power supply length limit, which bites when a long modular unit meets a cramped shroud. Fifth is skipping the motherboard form factor check entirely. And sixth is buying a case with no room behind the tray, then discovering the side panel will not close.
None of these require expertise to fix. They require a checklist and five minutes with the spec sheet.
Budget Tiers and What You Actually Get
Case prices and availability change frequently, so any specific model recommendation should be re-checked at the time of purchase. What stays stable is the shape of the market.
Entry-level cases usually include one or two fans, basic cable routing, and a mesh or slotted front. Mid-range cases add a third fan, a PSU shroud, USB-C, and better build quality. Premium cases bring tempered glass, sound damping, and thoughtful layouts, though the cooling gains over a good mid-range mesh case are often small.
For most first builds, the mid-range is the sweet spot. Spending more on a case rarely improves performance the way a better GPU or cooler does.
Conclusion
The best gaming PC case for a beginner is not the flashiest one on the shelf. It is the one that fits the motherboard, clears the graphics card and cooler, breathes through a mesh front, and makes cable routing painless. Get those four things right and the rest is preference. Measure twice, check the spec sheet against your parts list, and let airflow guide the decision more than the product photos. A sensible mid-tower with three included fans will serve a first build better than a glass box that looks sharp and runs hot.
Frequently Asked Questions
Is a full tower too much for a first build?
Usually, yes. Full towers offer more room and radiator space, but they are heavy, take up a lot of floor space, and cost more. A mid-tower handles nearly every beginner build with less hassle.
Can I use an ATX case with a Micro-ATX motherboard?
In most cases, yes. ATX cases typically list mATX and Mini-ITX as supported form factors. The board simply mounts using fewer standoffs, and the extra space makes cable routing easier.
How many case fans do I actually need?
Three intake fans and one exhaust fan is a solid starting point for a mid-tower. Two intake and one exhaust works fine for modest builds. More fans help, but airflow direction matters more than raw count.
Does a glass front panel really hurt cooling?
It can. Solid glass fronts restrict intake compared with mesh, so fans must spin faster to move the same air, which raises noise. Mesh front panels generally cool better at the same fan speed.
What should I check before buying a case online?
Confirm motherboard form factor support, maximum GPU length, CPU cooler height, radiator support, PSU length limit, drive bays, front panel ports, and how many fans come included. Cross-check each against your parts list.
Do I need a case with USB-C on the front?
Only if your motherboard has the matching front-panel header. Without it, the port will not work. If USB-C matters to you, verify both the case and the board support it before buying.
One more tip rounds out the checklist: keep the case box and packaging until the build posts successfully. If a fan arrives dead or a panel is scratched, returning an item in its original box is far simpler than improvising packaging, and most retailers require it. Photograph the interior once cables are routed, too, so future upgrades or troubleshooting start from a known layout rather than a guess. None of this is glamorous, but it is exactly the sort of small habit that keeps a first build calm and on budget. With the checklist above in hand, a beginner can walk into any parts list, compare cases on facts rather than photos, and buy once with confidence.