
In 1995, Intel published the ATX specification, a set of dimensions and mounting rules for motherboards and cases. Three decades later, that same blueprint still governs most of the parts you will buy. That is good news for a first-time builder. A gaming PC is not a mystery box. It is a small set of standardized parts, each with a socket, a slot, or a connector that only fits one way. The hard part is not the screwdriver work. It is choosing parts that agree with each other.
This guide walks through that whole process, from setting a budget to the first boot. It assumes no prior experience, but it does not assume you want a hand-holding lecture. Expect practical rules, the mistakes beginners actually make, and the checks that save a weekend of frustration.
Start With the Budget, Not the Parts List
The single most common beginner mistake is buying parts in the order they get excited about them. A case here, a GPU there, a CPU on sale. That approach ends with a motherboard that does not fit the case or memory that does not fit the board.
Work backward instead. Decide on a total budget, then allocate it. For a gaming-focused machine, the graphics card usually deserves the largest share, roughly 30 to 40 percent of the total. That is a community rule of thumb rather than an official standard, but it holds up well in practice because the GPU drives frame rates more than any other single part.
A rough split for a mid-range gaming build looks like this:
| Component | Share of budget | Why it matters |
|---|---|---|
| Graphics card (GPU) | 30–40% | Biggest effect on frame rate |
| CPU | 15–20% | Feeds the GPU; avoid bottlenecks |
| Motherboard | 10–15% | Determines sockets and upgrade path |
| Memory (RAM) | 8–12% | 16GB is the practical floor |
| Storage (SSD) | 8–12% | Load times and responsiveness |
| Power supply | 6–10% | Never cheap out here |
| Case and cooling | 8–12% | Airflow and noise |
Two rules survive every budget. First, do not buy a no-name power supply. A cheap unit can fail and take other parts with it. Second, spend on the parts you cannot easily upgrade later, and save on the ones you can.
The Parts You Need, in Plain Terms
Every gaming PC needs seven core components. Understanding what each one does makes compatibility shopping far easier.
CPU (processor). The brain. It must match the motherboard’s socket exactly, and sockets are brand- and generation-specific. AMD and Intel use different sockets, and even within one brand, generations often do not share them.
Motherboard. The board everything plugs into. It sets your socket, your memory type, and your expansion options. Form factors follow the ATX standard: full ATX, Micro-ATX, and Mini-ITX. If you want a straightforward first build, a full ATX or Micro-ATX board gives you more room to work. For a compact build, our guide to the best motherboard for gaming covers what to prioritize.
Memory (RAM). DDR4 and DDR5 are physically different and not interchangeable. A board supports one or the other. For gaming, 16GB is the sensible minimum and 32GB is comfortable headroom.
Storage. An NVMe M.2 drive is the modern default. Note that M.2 slots can support either PCIe (NVMe) or SATA drives depending on the board and slot, so check the manual before buying.
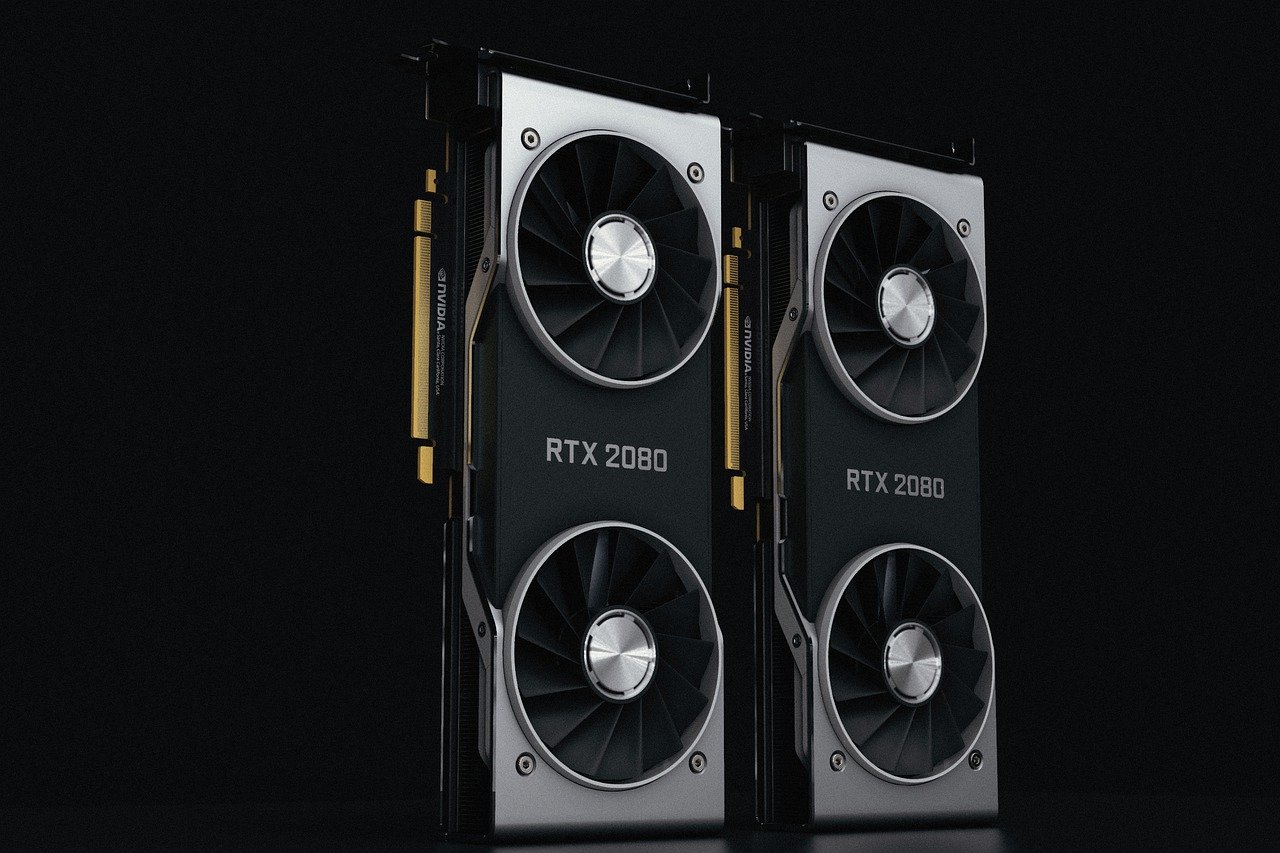
Graphics card. The part that renders your games. It slots into a PCIe x16 slot and needs auxiliary power from the power supply, often through 8-pin cables or newer 12V-2×6 connectors.
Power supply (PSU). Converts wall power into what the components need. Wattage matters, but so do connector types and quality.
Case and cooling. The case must fit your motherboard form factor and your GPU’s length. Cooling comes from the CPU cooler plus case fans.
Compatibility Checks That Save You a Rebuild
Before you click buy, run these five checks. They catch nearly every beginner error.
- CPU socket versus motherboard socket. Confirm the exact socket name matches. A board built for one generation may need a BIOS update to run a newer CPU on the same socket. Some boards support BIOS flashback, which lets you update without a CPU installed. Check this before buying.
- Memory generation. DDR4 board, DDR4 memory. DDR5 board, DDR5 memory. There is no adapter.
- GPU length versus case clearance. Manufacturers list GPU length in millimeters and cases list maximum clearance. Compare them, and remember that front-mounted radiators eat into that space.
- PSU wattage and connectors. Add up estimated power draw, then leave headroom. Confirm the PSU has the specific cables your GPU needs.
- Cooler height versus case width. Tall air coolers can collide with a side panel. Check the cooler’s height against the case’s CPU cooler clearance.
If you are building a machine for competitive online play, connection quality matters as much as frame rate. A wired connection beats Wi-Fi for stability, and our breakdown of the best internet for gaming explains what to look for in latency and upload speed.
Tools, Workspace, and Static Safety
You need very little. A Phillips-head screwdriver, ideally magnetic. The manual for your motherboard and case. A clean, well-lit table. That is essentially it. Most cases include standoffs and screws, and motherboards ship with SATA cables.
Static electricity is the one hazard worth respecting. The standard practice is to touch an unpainted metal surface on the case before handling components, and to avoid building on carpet in socks. You do not need an anti-static wrist strap, though they cost little and remove the worry entirely.
Keep the motherboard in its anti-static bag until you are ready, and handle cards by their edges, never by the gold contacts or the circuit board surface.
Step-by-Step: Assembling the Build
The order below is the one that causes the fewest headaches. Two steps happen outside the case, which surprises many first-timers.
- Prepare the case. Remove both side panels. Install the standoffs in the pattern your motherboard form factor requires. Most cases have them pre-installed for ATX, but Micro-ATX and Mini-ITX boards use fewer holes.
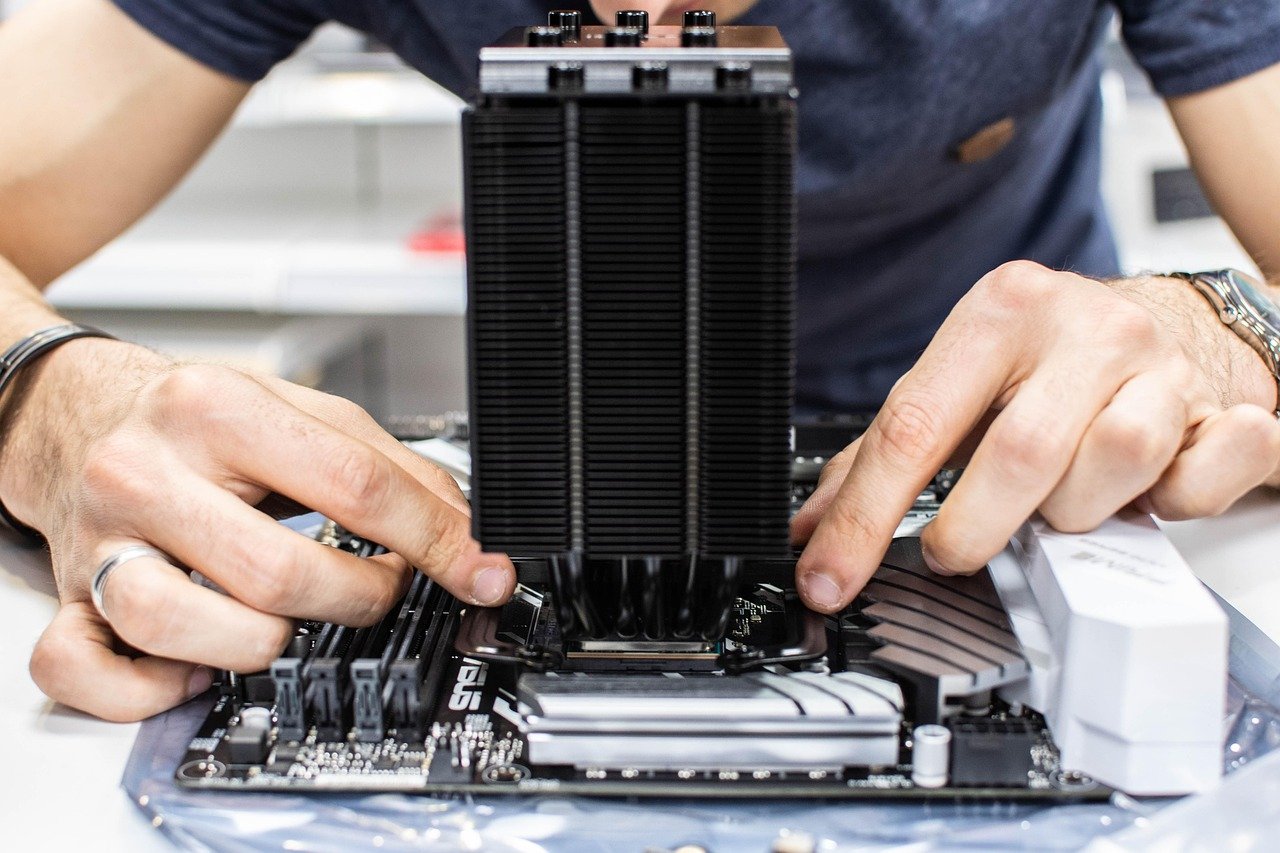
- Install the CPU on the motherboard, outside the case. Lift the socket lever, align the triangle marker on the CPU with the triangle on the socket, and lower it gently. Never force it. If it does not drop in with no pressure, something is misaligned.
- Install the CPU cooler. Apply thermal paste if your cooler does not have it pre-applied. Mounting hardware varies by socket, so follow the cooler’s instructions, not the motherboard’s.
- Install the memory. Push the modules into the correct slots, usually the second and fourth from the CPU. They click when seated. If the board will not POST later, reseating memory is the first fix to try.
- Install the M.2 SSD. Slide it into the slot at a slight angle, press it flat, and secure it with the screw or clip. Remove the slot’s heatsink first if one is fitted.
- Test the core parts before mounting. Place the motherboard on its box, connect the power supply, and boot to the BIOS. This “breadboard” test catches dead parts before you spend an hour cable-managing.
- Mount the motherboard in the case. Align it with the standoffs and start all screws loosely before tightening any of them.
- Install the power supply. Mount it with the fan facing the case’s vent, then route the main cables behind the motherboard tray.
- Install the graphics card. Remove the correct rear slot covers, press the card into the PCIe x16 slot until the latch clicks, and screw it down. Connect its power cables.
- Connect everything. The 24-pin motherboard cable, the 8-pin CPU cable, front panel headers, USB and audio headers, and fan cables. Front panel pins are fiddly; the motherboard manual has the exact layout.
- First boot and BIOS check. Confirm the CPU, memory amount, and storage are all detected. Enable the memory profile (XMP or EXPO) so your RAM runs at its rated speed. Check that the boot order points to your install drive.
- Install the operating system. A USB installer works fine. Note that Windows 11 requires TPM 2.0 and Secure Boot capability, which most modern boards support but may need enabling in the BIOS.
Mistakes Beginners Make Most Often
The failures are predictable, which means they are avoidable.
Forgetting the standoffs. A motherboard screwed directly to the case tray can short out. Count them.
Skipping the BIOS update. A board that supports a newer CPU on paper may ship with an older BIOS. If the system powers on but shows no display, this is a prime suspect.
Reusing cables from an old modular PSU. Modular cables are not universal. Mixing brands can damage components. Use only the cables that came with your unit.
Ignoring airflow direction. Front and bottom fans should pull air in; rear and top fans should push it out. Opposing fans fight each other and raise temperatures.
Over-tightening the cooler. Uneven or excessive mounting pressure produces worse temperatures than a modest, even tighten. Go corner to corner in small turns.
Buying a case that cannot breathe. A glass-front case with no side intake will cook a hot GPU. Mesh fronts exist for a reason.
If building feels intimidating, remember that the skill transfers. The same patience and check-the-manual habit that gets a PC running also helps with other technical projects, whether that is learning to use an AI video generator from images or picking up a new instrument like the best ukulele for beginners. (Personal computer)
What to Do After the First Boot
Once Windows is running, a short checklist makes the machine feel finished.
Update the motherboard chipset drivers and the GPU drivers from the manufacturer’s site. Confirm the memory profile is still enabled. Install a temperature monitoring tool and watch idle and load temperatures for the first week. Run a demanding game and check that the CPU and GPU are not hitting thermal limits.
Then leave it alone for a while. A common beginner trap is endless tinkering with overclocks before the system is even stable. Get a baseline first, then experiment.
Conclusion
Building a gaming PC for beginners comes down to three habits: choose parts that match, test before you mount, and read the manual instead of guessing. The standards that make this possible have been stable for decades, which means the information you need is genuinely available. A first build typically takes two to four hours, and most of that is cable routing and double-checking.
The reward is a working machine you can upgrade part by part for years, and the knowledge to fix it when something goes wrong. Start with a clear budget, run the compatibility checks, and take the build one step at a time. The first boot is worth the patience.
Frequently Asked Questions
How much should a beginner spend on a gaming PC?
There is no single answer, but a practical approach is to set a total budget and allocate roughly 30 to 40 percent of it to the graphics card. Spending less overall is possible, but cutting corners on the power supply is the one saving that regularly backfires.
Do I need an anti-static wrist strap to build a PC?
No, though it helps. Touching an unpainted metal part of the case before handling components and avoiding carpet in socks reduces static risk substantially. A wrist strap costs little and removes the concern entirely.
Why does my new PC turn on but show no display?
Check three things in order: that the monitor cable is plugged into the graphics card rather than the motherboard, that the memory modules are fully seated, and whether the motherboard needs a BIOS update to support your CPU. The last one is common with newer processors on older boards.
Can I use DDR4 memory in a DDR5 motherboard?
No. DDR4 and DDR5 are physically different and keyed differently. A motherboard supports one generation only, and there is no adapter that changes this.
Is it cheaper to build a gaming PC or buy a prebuilt?
Building usually gets more performance per dollar because you choose where the money goes, and prebuilts often cut costs on the power supply and motherboard. The gap narrows during sales, so compare specific configurations rather than assuming either option always wins.
How long does a first PC build take?
Most first builds take two to four hours, with cable management and front panel connectors eating the most time. Doing the CPU, cooler, and memory installation outside the case first shortens the process and reduces the chance of a mistake.



