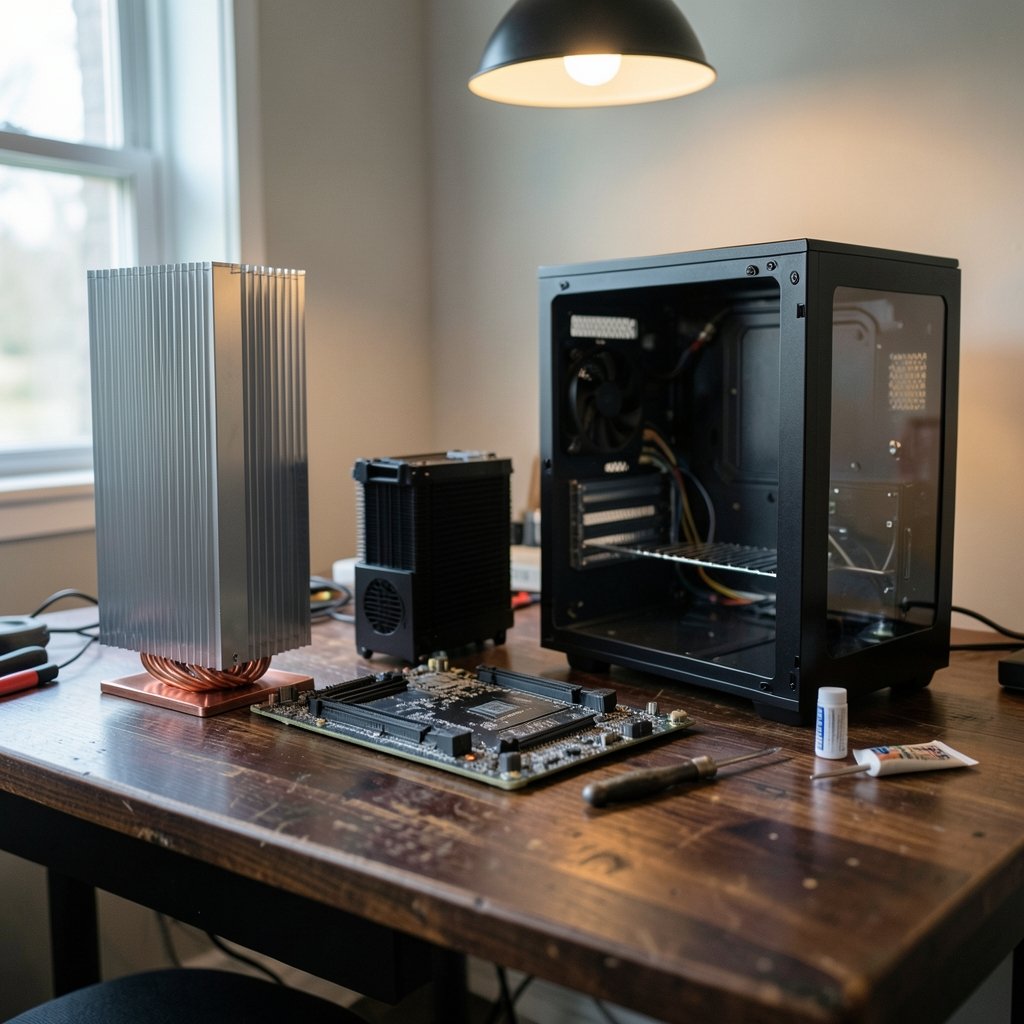
A fast gaming CPU does little good if it throttles every match because the cooler cannot keep up. That question drives every build decision, and the answer is less about the biggest radiator and more about matching the cooler to your chip, case, and noise tolerance.
Quick Answer: How do I choose gaming CPU coolers?
Choosing a gaming CPU cooler means matching cooling capacity to your processor’s real heat output, then confirming it physically fits your case and socket before you buy. Most builders can act on this by shortlisting a tower air cooler and a liquid all-in-one (AIO) in the same price band, then comparing them on measured noise and clearance.
Air coolers are cheaper, have fewer failure points, and often deliver excellent value, while AIOs move heat to a radiator mounted elsewhere in the case and can suit small or airflow-limited builds. Neither family is automatically better; the right pick depends on your case layout and how hard you push the chip.
Before buying, check socket compatibility, cooler height or radiator size, RAM clearance, measured noise data, and motherboard power limits.
Why the Cooler Matters More Than You Think
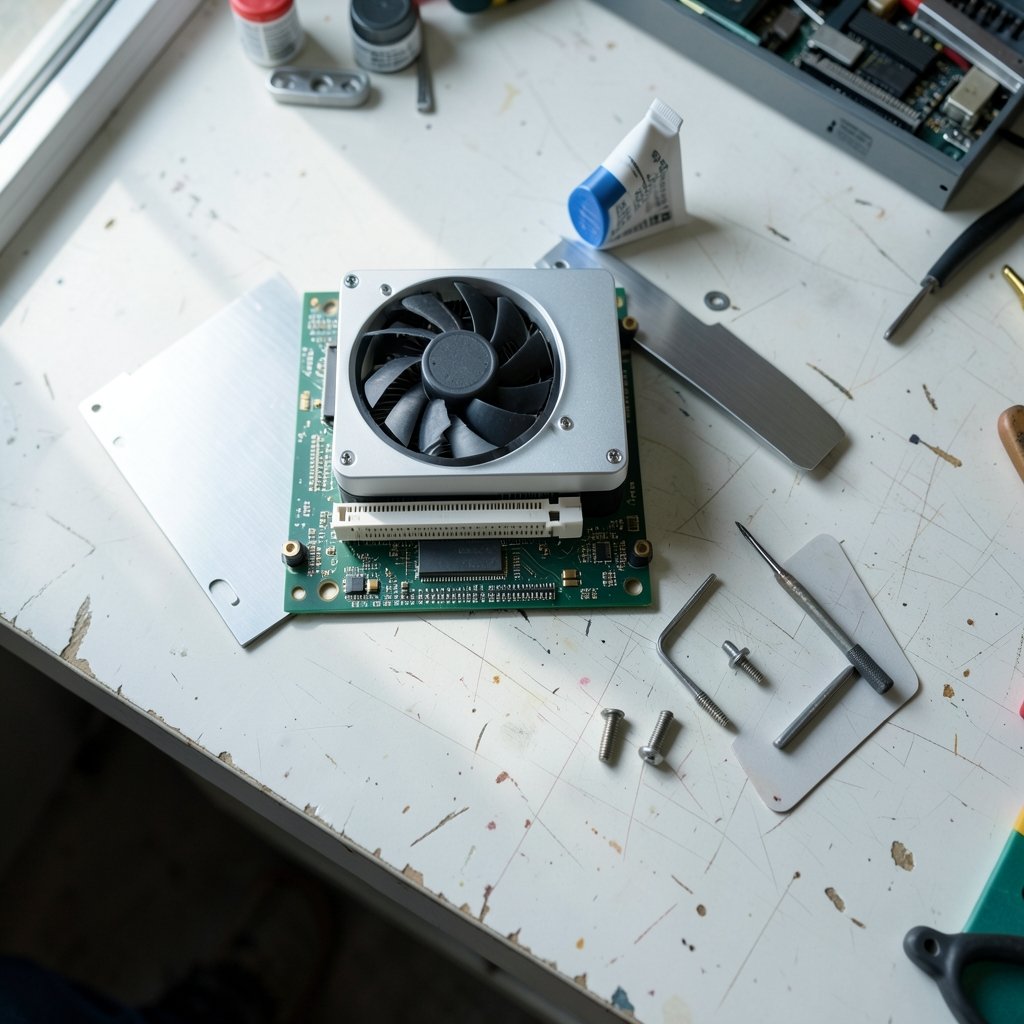
Modern gaming processors are aggressive. They boost hard, dump heat quickly, and will happily slow themselves down when temperatures climb too high. A cooler that looked fine on paper can leave performance on the table in a long session, especially in a case with weak airflow.
The flip side is equally true. Many builders overspend on cooling they never use because they never overclock and their chip runs cool under gaming loads. The goal is not maximum cooling. The goal is enough cooling, quietly, at a price that leaves room for the parts that actually render frames.
There’s also a practical angle. Coolers are one of the few components where a poor fit causes real headaches: blocked RAM slots, a side panel that won’t close, a pump whining at idle. Getting the choice right the first time saves a return and a rebuild.
Air Coolers vs Liquid AIOs: The Core Decision
Almost every gaming cooler falls into one of two families. Air coolers pair a metal heatsink with one or more fans. Liquid AIOs use a pump block on the CPU, tubes, a radiator, and fans that push heat out through the radiator.
| Factor | Air cooler | Liquid AIO |
|---|---|---|
| Typical cost | Lower | Higher |
| Failure points | Fan only | Pump, tubes, fans |
| Noise character | Fan hum | Fan plus pump whine |
| Space near CPU | Tall, can block RAM | Low block, radiator elsewhere |
| Case fit challenge | Height limit | Radiator mount size |
| Longevity concerns | Minimal | Pump wear, air in loop |
Air coolers generally win on simplicity and price. A well-designed tower cooler handles most gaming chips without drama, and if a fan dies you swap it in minutes. AIOs shine in tight cases where a tall heatsink won’t fit, and they move heat toward case vents rather than dumping it beside the GPU.
The honest answer for most gamers: a good air cooler is the safer default, and an AIO makes sense when space, aesthetics, or a very hot chip push you there. If you’re already wrestling with heat elsewhere in the system, it helps to understand how common CPU cooler problems and practical fixes show up before you commit to a design.
Match the Cooler to Your CPU, Not the Marketing
Cooler boxes shout about TDP support, but those numbers are not standardized. Intel and AMD define thermal design power differently, and cooler makers set their own support figures. Two coolers claiming the same TDP can perform very differently.
That means you should treat TDP ratings as rough guidance, not a spec sheet you can compare across brands. Instead, look for independent reviews that test your specific CPU or a chip with similar heat output. A cooler that tames a 125-watt part may struggle with a 250-watt one, even if both boxes say “high TDP.”
One more trap: modern high-end CPUs can be power-limited by the motherboard rather than the cooler. Sustained boost behavior depends on BIOS power settings, so a cooler comparison only means something when power limits are controlled. If your chip runs hot despite a decent cooler, the motherboard may be the real story.
Check Socket Compatibility Before Anything Else
This is the mistake that ends builds. Coolers ship with mounting kits for specific sockets, such as AMD AM4 and AM5 or Intel LGA1700 and LGA1851. A cooler built for an older socket may need a separate bracket, sometimes free from the manufacturer, sometimes not.
Before buying, confirm three things: the cooler lists your exact socket, the mounting hardware is included or available, and the cooler’s height or radiator size fits your case. If you’re swapping coolers on an existing machine, plan the job so you don’t lose work, following a guide on how to update a CPU cooler safely without losing data.
Also check RAM clearance. Tall heatsinks can overhang memory slots, forcing you to raise the fan or choose low-profile RAM. Manufacturers publish cooler height and RAM clearance figures, and cases publish maximum CPU cooler height. Compare all three numbers before you click buy.
Air Cooler Sizing: Height, Clearance, and Fan Count
Air coolers come in sizes from compact low-profile models to dual-tower monsters. Bigger usually means more cooling, but it also means more interference.
A practical checklist for air cooling:
- Measure your case’s maximum CPU cooler height and subtract a few millimeters for safety.
- Check the cooler’s RAM clearance against your memory’s heat spreader height.
- Confirm the cooler doesn’t block your top PCIe slot or motherboard heatsinks.
- Decide whether you need one fan or two; a second fan adds noise and height.
Single-tower coolers with a 120 mm fan suit most mid-range gaming builds. Dual-tower designs with 140 mm fans handle hotter chips but demand a wide case. If your case is cramped, a low-profile cooler may be the only option, and that’s fine for modest chips.
AIO Radiator Sizing and Mounting
Liquid AIOs come in radiator sizes of 120, 240, 280, 360, and 420 mm. The number refers to radiator length, and the fan size matters too: 280 mm and 420 mm radiators use 140 mm fans and don’t fit every mount.
Your case manual lists supported radiator positions and sizes. Check whether the mount accepts the fan configuration you want, and whether the radiator plus fans clears the motherboard, GPU, and top panel. A 360 mm radiator in a case that only supports 240 mm up top is a non-starter.
Orientation matters for longevity. Air trapped at the pump’s highest point can increase noise and wear, so mount the radiator so the pump is not the highest point in the loop. That usually means a top-mounted radiator or a front-mounted one with tubes at the bottom.
Noise: Read Measured Data, Not the Box
Vendor noise figures are measured with different methods and distances, so they aren’t comparable. A cooler rated at 28 dB by one brand and 30 dB by another tells you almost nothing about which is quieter in your room.
Independent reviews that measure sound pressure at a stated distance are far more useful. Look for tests that report noise at a fixed fan speed and at full load, because a cooler that’s silent at idle can howl under sustained gaming.
Practical noise tips that actually work:
- Larger fans move more air at lower RPM, so 140 mm fans often beat 120 mm on noise.
- Fan curves matter as much as the cooler; a gentle curve tames most setups.
- Pump noise is a real factor with AIOs, especially at idle in a quiet room.
- Case airflow affects cooler noise more than most buyers expect.
The room matters too. A cooler that seems loud in a silent office may vanish under a headset, and monitor or TV lighting choices change how much you notice ambient sound. If you’re weighing display options alongside your build, it’s worth reading about how a gaming monitor versus a TV changes viewing under different room lighting before you finalize the desk setup.
Thermal Paste and Mounting Pressure
Pre-applied paste is common and perfectly adequate. Aftermarket paste can change temperatures by a few degrees, which matters only if you’re chasing the last bit of headroom.
The bigger factor is mounting pressure. Uneven pressure is a common cause of poor results, and a cooler that seems mediocre may simply be sitting crooked. Tighten mounting screws in a cross pattern, a little at a time, and check that the block sits flat. If temperatures look wrong after installation, remounting is the first thing to try.
Power Limits, BIOS Settings, and Realistic Expectations
Here’s a point many buyers miss: the cooler is only one part of the thermal equation. Motherboard power limits and BIOS settings decide how much heat the CPU produces in the first place. A cooler tested against an unlimited-power chip will look worse than the same cooler on a board with sensible limits.
If you’re building for quiet gaming, consider setting a modest power limit and letting the cooler work with less heat. You’ll lose a little peak performance and gain a lot of acoustic comfort. That trade-off is often worth it.
Matching the Cooler to the Rest of Your Build
Cooling doesn’t exist in isolation. A cooler that fits your CPU but starves in a case with one exhaust fan will disappoint. Plan airflow: front intake, rear exhaust, and enough fan mounts to keep positive pressure.
Budget matters too. If you’re building a value gaming machine, the cooler shouldn’t eat the money that belongs to the GPU. A sensible split is a modest air cooler on a mid-range chip and a bigger cooler only when the CPU genuinely runs hot. If you’re weighing a laptop instead of a desktop, the cooling question changes entirely, and a guide to gaming laptops under 1000 that actually fit a budget covers that trade-off.
There’s also a network-level curiosity worth knowing: some routers offload packet processing to hardware so the CPU isn’t doing the work, which is a reminder that “CPU load” means different things in different contexts. A piece on router hardware offloading and what your CPU is actually doing explains the idea. It won’t cool your gaming chip, but it’s a useful mental model for how workloads shift.
Common Mistakes That Cost Money
Buyers repeat the same errors. Watch for these:
- Trusting TDP numbers across brands. They aren’t standardized, so compare measured reviews instead.
- Ignoring case clearance. A cooler that doesn’t fit is a return waiting to happen.
- Forgetting RAM height. Tall heatsinks and tall memory fight for the same space.
- Buying an AIO for a cool-running chip. You pay for pump noise and complexity you don’t need.
- Skipping the remount. Poor mounting pressure mimics a bad cooler.
- Chasing silence without measuring. Vendor dB figures are not comparable.
Each of these is easy to avoid with ten minutes of checking before purchase.
When to Spend More and When to Stop
Spending more on cooling makes sense when your CPU runs hot, your case is tight, or you want lower noise at load. It stops making sense when the extra money buys cooling your chip will never use.
A simple rule: match the cooler’s capacity to your CPU’s real heat output under gaming loads, then add a small margin for warm rooms and dust. Anything beyond that is aesthetics or future-proofing, and both are valid reasons as long as you know that’s what you’re paying for.
Conclusion
Choosing a gaming CPU cooler comes down to a short, practical checklist. Match cooling capacity to your processor’s actual heat output, confirm socket compatibility and physical clearance, and compare noise using measured data rather than marketing figures. Air coolers remain the sensible default for most builds, while AIOs earn their place in tight cases and hot systems.
Get those basics right and the cooler fades into the background, which is exactly what you want. It keeps the chip boosting, stays quiet enough to ignore, and leaves your budget for the parts that put frames on screen.
Frequently Asked Questions
Is a liquid cooler always better than an air cooler for gaming?
No. Air coolers are cheaper, have fewer failure points, and handle most gaming chips well. AIOs make more sense in tight cases or with very hot processors, where moving heat to a radiator helps. The right choice depends on your case, chip, and noise priorities.
How do I know if a cooler will fit my case?
Check three numbers: the case’s maximum CPU cooler height, the cooler’s height, and its RAM clearance. For AIOs, check the case’s supported radiator sizes and fan configurations. Manufacturer spec pages list all of these, and comparing them takes only a few minutes.
Do TDP ratings tell me how well a cooler will perform?
Only roughly. Intel and AMD define thermal design power differently, and cooler makers set their own support figures, so ratings aren’t directly comparable between brands. Independent reviews that test your CPU or a similar chip are far more reliable.
How much does thermal paste affect temperatures?
Pre-applied paste is usually fine, and aftermarket paste can change results by a few degrees. Mounting pressure matters more than paste choice. Uneven pressure is a common cause of poor temperatures, so remounting the cooler is worth trying before buying a replacement.
Where should I mount an AIO radiator?
Mount it so the pump is not the highest point in the loop. Air trapped at the pump’s high point can increase noise and wear. A top-mounted radiator or a front-mounted one with tubes at the bottom usually satisfies this rule.
How loud will a gaming CPU cooler be in practice?
That depends on fan size, fan curves, pump design, and case airflow. Vendor dB figures use different methods and aren’t comparable, so look for independent measurements at a stated distance. Larger fans at lower RPM and a gentle fan curve usually deliver the quietest result.