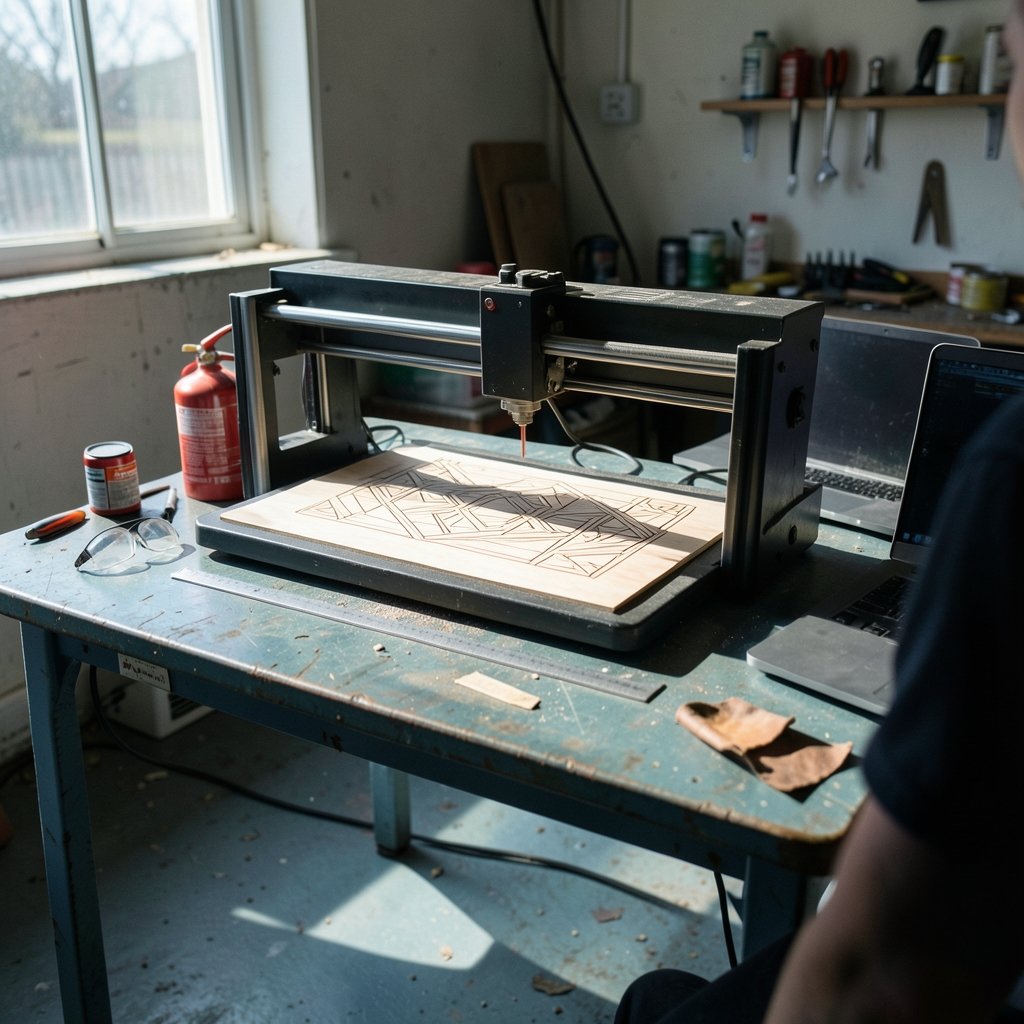
What if the biggest thing standing between you and a working laser engraver isn’t money, but the spec sheet itself? Budget laser engravers have become genuinely capable machines. You can now buy a desktop unit that cuts thin plywood, etches leather, and marks coated metal for less than the cost of a mid-range smartphone. But the low end of this market is also where marketing gets loudest and the fine print gets smallest. This guide cuts through the noise: which specs matter, which numbers are inflated, what safety features are non-negotiable, and where a cheap machine will quietly cost you more later.
Why Budget Laser Engravers Got So Good So Fast
A decade ago, a hobby laser was a niche purchase. Today, the low-cost segment is crowded with diode lasers, typically rated between 5 W and 20 W of optical output. These machines use semiconductor diodes rather than the gas-filled tubes of CO₂ lasers or the fiber sources used for metal marking. That architecture is cheaper to build, easier to ship, and far more forgiving for a first-time buyer.
The trade-off is physics. Diode wavelengths are absorbed well by wood, leather, paper, cardboard, and dark plastics. They struggle with clear acrylic and bare metal. If your dream project is cutting transparent sheets or engraving stainless steel without any coating, a budget diode machine will disappoint you no matter how much you spend within that tier.
The other shift is the software ecosystem. Many budget machines run on GRBL-based controllers, an open firmware family that has built a large community around it. That matters more than most buyers realize: a machine with a healthy software community gets fixes, profiles, and workarounds long after the seller stops answering emails. Before buying anything, check whether the model is known to work with mainstream engraving software or is locked to a proprietary app.
The Spec Sheet Trap: Watts, Watts, and More Watts
Here is the single most common mistake in this market: comparing headline wattage across listings.
Many budget listings advertise a big number, sometimes 40 W or more, that refers to electrical input power or a combined multi-diode figure rather than usable optical output. A machine marketed as “40 W” might deliver a fraction of that at the workpiece. Always look for the optical output figure, and treat any listing that hides it as a warning sign.
| What the listing says | What it often means | What to do |
|---|---|---|
| “40 W laser” | Combined or input power, not optical | Ask the seller for optical output |
| “Cutting power” | Marketing term with no standard | Compare test cuts, not labels |
| “Class 4 laser” | Open-frame, no enclosure | Budget for eye protection and a barrier |
| “Works with all software” | Vague compatibility claim | Confirm the controller and firmware |
| “Cuts metal” | Usually marking coated metal only | Check whether marking spray is required |
A second trap is spot size and focus. Two machines with identical wattage can behave very differently depending on lens quality and how precisely the focus adjusts. A machine with a fiddly manual focus ring will waste material and patience. Look for tool-assisted focus or a fixed-focus setup with a known, repeatable distance.
Finally, watch the work area. A larger bed sounds better until you realize it flexes, sags, or arrives with a frame that never sits flat. A rigid small machine beats a wobbly large one every time.
Safety Features You Should Not Compromise On
Budget does not excuse unsafe. Diode lasers emit visible and near-infrared light that can damage eyes, sometimes before you feel anything. The difference between a Class 1 enclosure and an open-frame Class 3B or Class 4 machine is the difference between a sealed box and a device that requires goggles, a barrier, and strict habits.
In practice, this is where first-time buyers get hurt. They buy the cheapest open-frame kit, set it up on a kitchen table, and run it without eye protection because the goggles felt uncomfortable. Do not be that person. If you buy open-frame, budget for proper wavelength-matched safety glasses for every person in the room, and treat the laser zone like a workshop, not a desk accessory.
Beyond eye safety, check for:
- Flame detection that pauses the job and alarms if a fire starts.
- Air assist, which blows a stream of air at the cut point to reduce charring and clear smoke.
- Limit switches or homing, so the head does not crash into the frame.
- An emergency stop you can hit without reaching across the beam path.
- A lid interlock, if the machine has an enclosure.
Ventilation is the other half of the safety story. Engraving wood, leather, and many plastics produces smoke and fumes. Some materials, notably PVC and certain plastics, release corrosive or toxic gases and are widely advised against. A window fan is not enough; plan for real extraction or run the machine in a garage or shed with airflow away from living spaces.
If you are already budgeting carefully for a workspace, the same discipline applies to peripherals. The logic in this guide to which budget gaming chairs are worth buying without regret applies here too: the cheap accessory that fails in six months costs more than the mid-priced one that lasts.
What a Realistic Budget Buys You
“Budget” has no fixed definition, but in practice the low tier splits into three rough bands. Prices move, so treat these as shapes rather than exact figures.
| Tier | Typical capability | Best for | Watch out for |
|---|---|---|---|
| Entry | 5–10 W optical, small bed, open frame | Paper, leather, thin wood engraving | No enclosure, minimal safety gear |
| Mid-budget | 10–20 W optical, larger bed, air assist | Cutting thin plywood, small production runs | Inconsistent QC, vague wattage claims |
| Upper-budget | 20 W optical, enclosure options, better motion | Small business use, repeatable output | Price creep toward CO₂ territory |
The honest advice: spend at the top of your comfortable range rather than the absolute floor. The difference between the cheapest machine and one step up is usually not features but frame rigidity, motion quality, and support. Those are exactly the things that determine whether you finish projects or spend weekends troubleshooting.
It is the same pattern you see in other budget tech categories. People shopping for a laptop under a tight cap learn to prioritize the parts that cannot be upgraded later, as covered in this look at gaming laptops under 1000 that actually fit the budget. With lasers, the non-upgradable parts are the frame, the controller, and the safety design.
Materials: Where Budget Machines Shine and Fail
A budget diode laser is a wonderful tool for the right materials and a frustrating one for the wrong ones. Set expectations before the machine arrives.
Works well: basswood and plywood up to a few millimeters depending on power, leather, paper, cardboard, cork, dark acrylic, anodized aluminum marking, and coated metal with marking spray.
Works poorly or not at all: clear or colored transparent acrylic, bare stainless steel, glass without a coating, and thick hardwoods.
Avoid entirely: PVC and vinyl, which release corrosive and toxic fumes, and any material whose composition you cannot confirm. When in doubt, test a small scrap outdoors and never leave the machine unattended during a first test.
A practical habit that saves money: buy a scrap pack of materials before you buy the machine. Run your first week on cheap offcuts. You will learn more about focus, power settings, and pass counts from ten small squares than from any tutorial.
Software, Workflow, and the Hidden Time Cost
The machine is half the purchase. The workflow is the other half.
Most budget machines fall into two software camps: those that work with established engraving software and those that only work with a vendor app. Vendor apps are fine for simple jobs but often lack proper layer control, power ramping, and preview accuracy. If you plan to do anything beyond novelty coasters, confirm compatibility before you pay.
Then there is the learning curve nobody budgets for. Expect the first week to be mostly failed cuts. That is normal. The people who succeed with budget machines tend to share three habits: they keep a settings log, they change one variable at a time, and they never trust a new material without a test grid.
This is the same principle behind sensible budgeting in any hobby or home project. The realistic planning approach in this guide to small kitchen remodeling ideas with budget-smart upgrades maps neatly onto laser buying: decide the outcome first, then buy the minimum tool that reliably gets you there.
Common Mistakes That Cost Real Money
These show up again and again in beginner threads and repair queues.
- Choosing a machine by wattage alone. Optical output and frame quality matter more than a big number.
- Skipping ventilation. A machine that smokes out your room gets used twice and then sits idle.
- Ignoring the enclosure question. Open-frame is cheaper until you price goggles, barriers, and a dedicated space.
- No air assist. Charring and failed cuts often come from airflow, not power.
- Running unattended. Never leave a laser cutting while you are in another room.
- Buying exotic materials first. Get comfortable with cheap plywood before you touch expensive hardwood.
- Assuming support exists. Check the community as well as the store page.
When to Skip Budget and Save Longer
There is a point where budget stops being smart. If you need to cut clear acrylic, mark bare metal, or run production-level volume, a diode machine will not get you there. CO₂ and fiber systems cost far more, but they do jobs that no amount of tuning will coax out of a low-cost diode.
The honest test: write down your three most important projects. If two of them require materials outside the diode range, save longer. If all three are wood, leather, and coated metal, a well-chosen budget machine will serve you for years.
Conclusion
The best budget laser engraver is not the one with the biggest number on the box. It is the one with honest optical wattage, a rigid frame, a controller with real software support, and safety features you will actually use. Buy one step above the floor, budget for ventilation and eye protection from day one, and spend your first week on scrap material rather than showpieces. Do that, and a modest machine will quietly outperform a flashy one that never quite works.
Frequently Asked Questions
What wattage do I actually need in a budget laser engraver?
For engraving wood, leather, and paper, 5 to 10 W of optical output is enough. For cutting thin plywood in a few passes, aim for 10 to 20 W optical. Ignore headline numbers that describe input or combined power rather than optical output, and ask the seller directly if the listing is unclear.
Can a budget diode laser cut metal?
Generally no. Budget diode lasers can mark coated or anodized metal, often with a marking spray, but they do not cut bare metal. Cutting metal requires a fiber laser, which sits far outside the budget tier. If metal cutting is your goal, do not buy a diode machine expecting it to work.
Is an open-frame laser safe for a beginner?
It can be, but only with discipline. Open-frame machines are typically Class 3B or Class 4, which means wavelength-matched safety glasses for everyone present, a controlled space, and real ventilation. Many beginners are better served by an enclosed machine or by building an enclosure, even though it costs more up front.
What materials should I never put in a laser engraver?
Avoid PVC and vinyl, which release corrosive and toxic fumes, and any material whose composition you cannot confirm. Also be cautious with certain plastics and coated materials. Test unknown scraps in a well-ventilated area, and never leave a job unattended during a first test.
Do budget laser engravers work with standard software?
Many do, especially those built on GRBL-based controllers, but not all. Some are locked to a vendor app with limited layer control and preview accuracy. Confirm software compatibility before purchase, and check whether an active community exists for your specific model.
How much should I set aside beyond the machine price?
Plan for safety glasses, ventilation or extraction, a fire-resistant base, and scrap material for testing. Those extras are not optional, and skipping them is the most common reason budget lasers end up unused. A modest machine with proper support gear beats a better machine run unsafely.