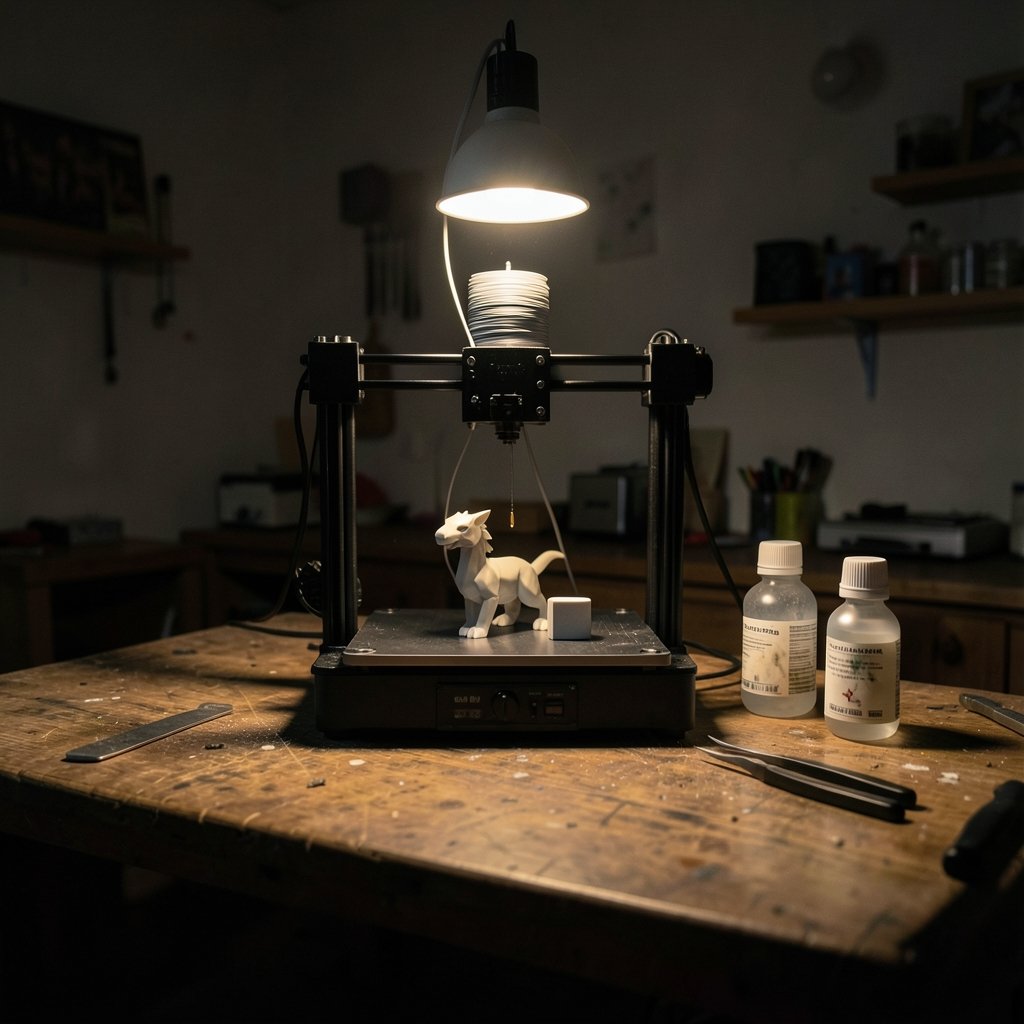
What if the biggest reason new 3D printing hobbyists quit has nothing to do with the printer and everything to do with choosing the wrong one? That happens more often than you’d think. Someone sees a gorgeous time-lapse of a printed dragon, buys the cheapest machine on sale, spends a weekend fighting a warped bed, and the printer ends up collecting dust by month two. The fix isn’t spending more money. It’s understanding what actually matters when you’re starting out, and picking a machine that matches how you learn.
This guide walks through the real decision points: filament versus resin, bed leveling, ecosystems, safety, and the software you’ll live in. It also covers the practical habits that separate people who stick with the hobby from people who don’t.
Start With the Right Question: What Do You Want to Print?
Before comparing specs, get honest about your goals. The answer changes everything.
If you want functional parts, phone stands, replacement knobs, and toys, an FDM (fused deposition modeling) printer is almost certainly the right call. These machines melt plastic filament and lay it down layer by layer. They’re affordable, use cheap materials, and tolerate mistakes well.
If you want miniature figurines, jewelry masters, or dental-style models with ultra-fine detail, a resin printer delivers sharper results. But resin printing means handling liquid photopolymer, washing prints in solvent, and curing them under UV light. Uncured resin is a skin and eye irritant and should never go down a drain. For a first printer, FDM is the safer and simpler starting point for most people.
A quick comparison helps frame the trade-off:
| Factor | FDM | Resin |
|---|---|---|
| Typical materials | PLA, PETG, ABS filament | Liquid photopolymer resin |
| Detail level | Good to very good | Excellent |
| Post-processing | Remove supports, sometimes sand | Wash, cure, handle chemicals |
| Ventilation needs | Recommended | Strongly recommended |
| Fumes and particles | Ultrafine particles and VOCs | Resin odor and irritants |
| Best for | Functional parts, large objects | Miniatures, fine detail |
The Feature That Saves Beginners the Most Pain: Automatic Bed Leveling
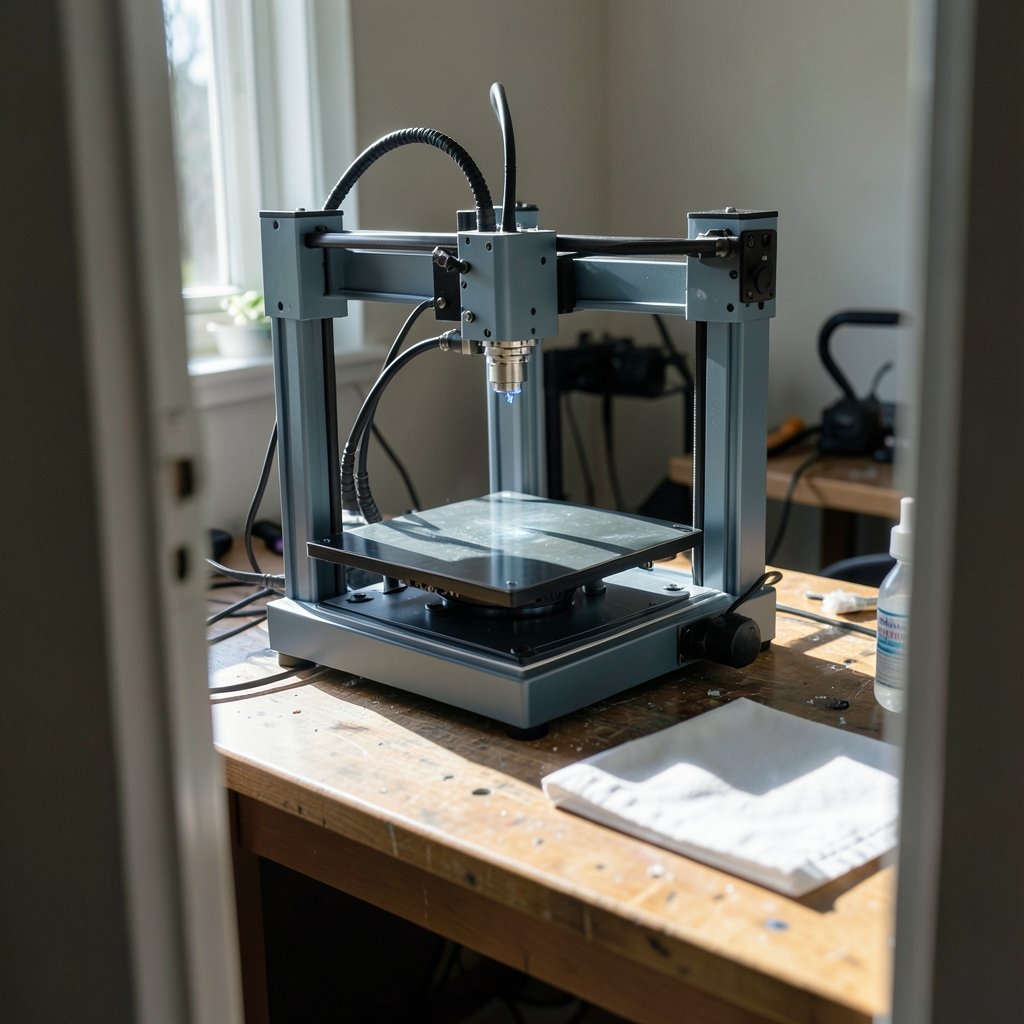
Ask experienced printers what they’d tell their past selves, and bed leveling comes up again and again. The nozzle has to sit a precise distance from the build plate, often a fraction of a millimeter. Get it wrong and the first layer smears, drags, or won’t stick at all. Manual leveling with a piece of paper works, but it’s fiddly and needs redoing.
Automatic bed leveling (ABL) uses a probe or strain gauge to map the bed and compensate as it prints. It has become common on entry-level machines, and it’s the single feature most worth prioritizing. A printer with ABL and a flexible, removable build plate will feel dramatically friendlier than a cheaper machine without them.
One practical tip: even with ABL, keep the bed clean. Oils from fingerprints are a leading cause of failed adhesion, and wiping with isopropyl alcohol before a print takes ten seconds.
Open Platform or Walled Garden?
Some beginner printers are deliberately locked down. They use proprietary filament spools with chips, or they push every job through a cloud service. That can make the first week easy and the second year expensive.
Others are open. They accept third-party filament, work with standard slicers, and let you tinker. For a beginner planning to learn, open wins. Filament from multiple vendors is cheaper, colors are easier to find, and you’re not stranded if a company changes its terms.
The same logic applies to software. Most beginners use a free slicer such as Cura, PrusaSlicer, or OrcaSlicer to turn a 3D model (usually an STL or 3MF file) into G-code, the instruction set the printer follows. Free and open slicers mean the skills you build transfer to your next machine. If you’re comparing tools generally, this same “start free, learn the workflow” logic shows up in other hobbies too, like choosing among Figma alternatives for beginners when picking a design tool.
Assembly, Kits, and the Support You’ll Actually Need
Some beginner printers arrive fully assembled and print within twenty minutes of unboxing. Others ship as kits that take an evening to build. Kits teach you how the machine works, which is genuinely valuable, but they also introduce variables. A loose belt or a misaligned gantry can cause problems a new user can’t diagnose.
There’s no wrong answer, but be honest about your patience. If you want to print, buy assembled. If you want to understand the machine, a kit is a fine teacher.
Support matters just as much. A printer with an active community means that when something goes wrong, someone has already posted the fix. Warranty terms vary widely, so read them before buying.
Setting Realistic Expectations About Speed, Size, and Quality
New users often expect instant, flawless results. The reality is a learning curve of a few weeks. Three settings dominate the early experience:
- Layer height trades detail against time. A 0.2 mm layer is a solid default; 0.12 mm looks finer but can double print time.
- Nozzle diameter affects detail and speed. A 0.4 mm nozzle is the standard starting point.
- Infill is the internal structure. Ten to twenty percent is plenty for most decorative and light functional parts.
Print speed claims on spec sheets are best treated as marketing. Real-world speed depends on the model, material, and how much quality you’re willing to trade.
Materials: Start Simple, Then Branch Out
PLA is the beginner material for good reason. It prints at lower temperatures, smells mild, sticks well, and is forgiving. It’s also brittle and softens in a hot car, so it’s not for everything.
Once comfortable, most people try PETG, which is tougher and more heat-resistant but stringier and pickier about settings. ABS and similar engineering plastics demand enclosure and ventilation and are a poor first choice.
A common mistake is buying five spools of exotic filament before mastering PLA. One spool of a reliable brand teaches more than a shelf of unused colors.
Safety and Ventilation: The Part Beginners Skip
FDM printing can release ultrafine particles and volatile organic compounds, and ventilation is recommended, especially in small or unoccupied rooms. This isn’t a reason to panic; it’s a reason to print near a window or use a simple air filter. Don’t set up a printer in a sealed bedroom closet and run it for eight hours.
Resin printing raises the stakes. Gloves, eye protection, and good airflow are standard precautions, and uncured resin waste needs proper disposal, never a household drain. Anyone comparing tools that involve heat, fumes, or fine particles will recognize this pattern; even a web application firewall is about blocking hazards before they cause trouble, and printing safety works the same way: prevent the problem rather than clean it up later.
Where to Find Models (and Why Licensing Matters)
Three repositories dominate: Thingiverse, Printables, and MakerWorld. Thousands of free models are available, from cable clips to articulated dragons.
Licensing varies per model. Many use Creative Commons variants that allow personal printing but restrict commercial sale or require attribution. Before selling a print, check the license. It’s a small habit that keeps you out of trouble.
Also, don’t judge a model by its photo alone. Check whether others have printed it successfully and read the comments. A model with dozens of successful makes is far safer than a beautiful render nobody has tested.
Practical Habits That Separate Success From Frustration
These aren’t printer features, but they matter more than most spec sheets:
- Print a test model first. A small calibration cube or benchy-style test print reveals leveling and extrusion issues before you commit to a twelve-hour job.
- Change one setting at a time. Adjusting five variables at once makes it impossible to know what fixed or broke the print.
- Dry your filament if prints turn stringy or brittle. Moisture is a silent culprit, especially with PETG.
- Keep a small log. Notes on temperature, speed, and results save hours later.
- Learn to read the first layer. If it looks squashed or gappy, stop and fix it before wasting filament.
If you enjoy learning-by-doing hobbies generally, the pattern is familiar. Picking a ukulele for beginners is less about the instrument’s specs and more about one that stays in tune and invites practice. A 3D printer is the same: the best one is the one you’ll actually use.
How Much Should a Beginner Spend?
Entry-level FDM printers have historically clustered in roughly the US$150 to US$400 range, though prices shift constantly and vary by region. Rather than chase a specific figure, budget for the whole picture: the printer, two or three spools of filament, a few tools, and possibly an enclosure or filter.
Spending slightly more for automatic leveling and a removable build plate usually pays off in saved frustration. Spending much more for speed or exotic features rarely helps a first-timer, because the bottleneck is skill, not hardware.
Common Beginner Mistakes Worth Avoiding
A few patterns show up constantly. Buying the cheapest machine and assuming problems are user error. Skipping the test print. Printing in an unventilated space. Ignoring the slicer’s default profiles, which are usually well-tuned. And perhaps most of all, comparing your first prints to polished showcase photos that were sanded, primed, and painted.
The community is generous with help. Forums, subreddits, and model-site comments are full of people who solved your exact problem last month. Asking a specific question with a photo gets fast answers.
Conclusion
The best 3D printer for a beginner isn’t the fastest or the flashiest. It’s the one that removes friction: automatic bed leveling, a clean removable build plate, an open design that accepts standard filament, and a community that answers questions. Start with FDM and PLA, print a test model, keep the bed clean, ventilate the room, and change one setting at a time. Do those things and the hobby sticks. Skip them and even a great machine will sit idle. The technology is accessible now; the difference between a frustrating start and a rewarding one is mostly preparation, not price.
Frequently Asked Questions
Is an FDM or resin printer better for a complete beginner?
For most beginners, FDM is the better first printer. It uses cheap, forgiving filament, requires less chemical handling, and handles functional parts well. Resin printers produce finer detail but add washing, curing, gloves, and ventilation requirements that make them a tougher starting point.
Do I really need automatic bed leveling?
It isn’t strictly required, but it’s the feature most worth paying for. Manual leveling works, yet it’s a common source of failed first layers and early frustration. Automatic bed leveling compensates for an uneven bed and makes the machine far more forgiving.
How long does it take to learn 3D printing?
Most people get usable prints within a few days and feel comfortable within a few weeks. The early learning is mostly about first-layer adhesion, slicer settings, and support placement. Keeping notes and changing one variable at a time speeds this up considerably.
Is 3D printing safe to do at home?
It can be, with basic precautions. FDM printing can release ultrafine particles and volatile organic compounds, so ventilation is recommended, especially in small rooms. Resin printing requires gloves, eye protection, and proper disposal of uncured resin. Never pour uncured resin down a drain.
What software do I need to start?
You need a slicer, which converts a 3D model into G-code the printer understands. Free options like Cura, PrusaSlicer, and OrcaSlicer cover nearly everything a beginner needs. You’ll also want a source of models, such as Thingiverse, Printables, or MakerWorld, and a way to view STL or 3MF files.
Can I sell things I print?
Sometimes, but check the license first. Many free models use Creative Commons variants that allow personal use while restricting commercial sale or requiring attribution. Models you design yourself are yours to sell, subject to the terms of the software and materials you used.