
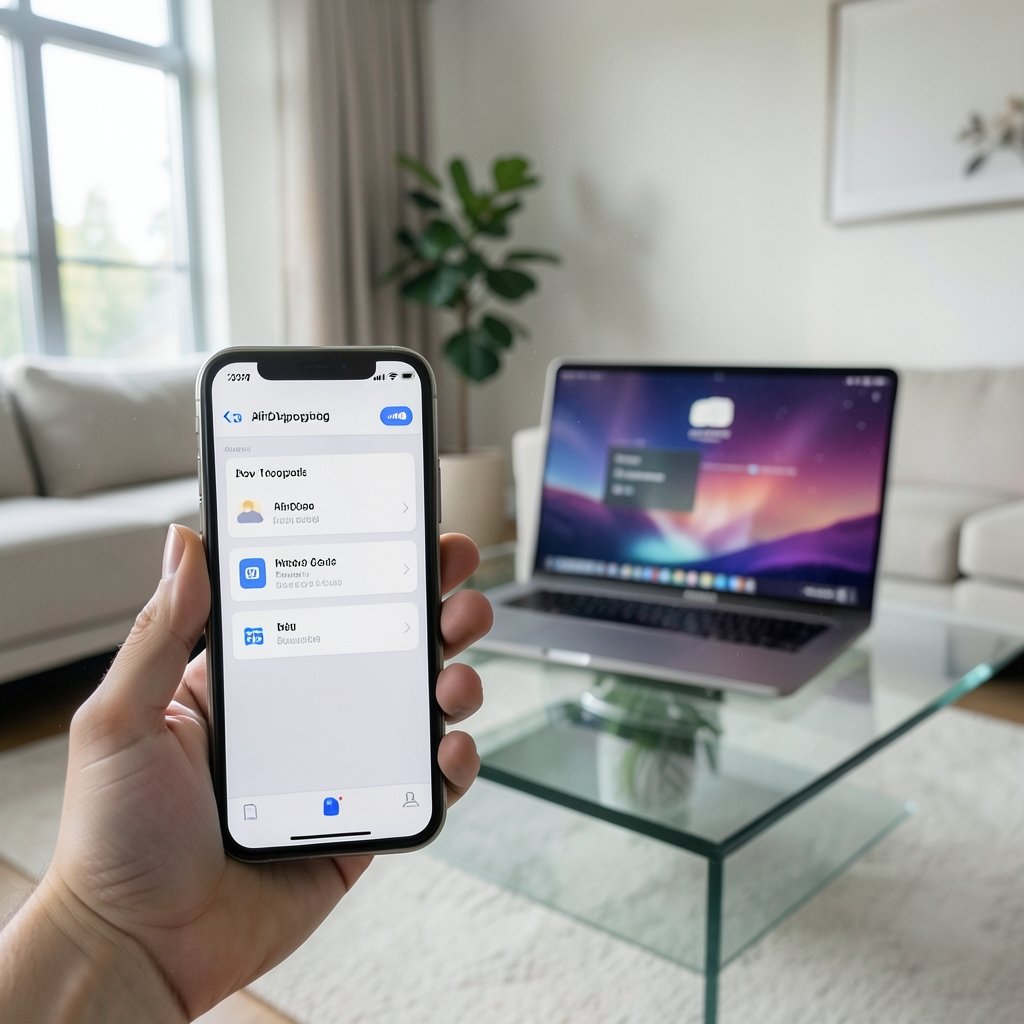
Apple’s AirDrop has quietly become one of the most-used features on the planet. Analysts estimate that Apple has shipped well over 2.35 billion active devices worldwide, and a huge share of those owners own both an iPhone and a Mac. That pairing is exactly where AirDrop shines. Instead of emailing yourself a photo or wrestling with a USB cable, you can send a file between the two devices in seconds using nothing but Wi-Fi and Bluetooth.
The catch? AirDrop is also one of the most common sources of quiet frustration. The Mac doesn’t show up. The transfer stalls. A “Waiting” label sits there forever. This guide walks through the whole process from setup to troubleshooting, with the practical details that Apple’s own documentation tends to skim over.
What AirDrop Actually Does (and Why It Feels Like Magic)
AirDrop is Apple’s peer-to-peer file transfer system. It uses Bluetooth to discover nearby devices and Wi-Fi to move the actual data. According to Apple’s platform security documentation, transfers are encrypted in transit, and the data never routes through a server. That’s why AirDrop works in a basement with no cell signal and why files arrive almost instantly even when they’re large.
The system creates a temporary direct wireless connection between the two devices. No router, no internet, no cloud account required. Apple’s support pages note that both devices need Bluetooth and Wi-Fi turned on, but they do not need to be connected to the same network.
That last point trips people up constantly. Two devices on different Wi-Fi networks can still AirDrop to each other. Two devices with Wi-Fi switched off entirely cannot.
Before You Start: The Setup Checklist
Most AirDrop failures trace back to one of five setup issues. Work through this list before you blame the software.
- Turn on Bluetooth and Wi-Fi on both devices. Use Control Center on the iPhone and the menu bar on the Mac. Do not enable Airplane Mode on either device.
- Sign in to iCloud on both devices with the same Apple ID if you want the “Contacts Only” setting to work smoothly. Different Apple IDs can still transfer, but the receiving device must be set to “Everyone.”
- Wake both devices and log in where required. A locked or sleeping Mac often won’t appear in the iPhone’s share sheet. Wake the Mac and log in.
- Set AirDrop visibility on the Mac. Open Finder, click AirDrop in the sidebar, and choose “Contacts Only” or “Everyone” at the bottom of the window. The exact wording shifts slightly between macOS versions, but the location is consistent.
- Move the devices within range. Apple’s guidance puts AirDrop range at roughly 30 feet (about 9 meters). Walls and interference shrink that number fast.
A quick note on that range figure: it’s a practical ceiling, not a guarantee. In a crowded apartment building with dozens of wireless networks, transfers can fail at half that distance. If a transfer won’t start, physically moving closer is the fastest fix.
How to AirDrop from iPhone to Mac: The Core Steps
Here’s the actual process, start to finish.
- On the Mac, open Finder and select AirDrop in the sidebar. Confirm your visibility setting is “Contacts Only” or “Everyone.”
- On the iPhone, open the app that holds the file. For a photo, that’s Photos. For a document, it’s Files. For a link, it’s Safari.
- Tap the Share button (the square with an arrow pointing up).
- In the share sheet, tap the AirDrop icon. It sits in the top row of app icons.
- Wait a moment while the iPhone scans. Your Mac should appear as a circular contact bubble with the device name.
- Tap the Mac’s bubble.
- On the Mac, a notification appears asking you to accept the file. Click Accept.
- The file lands in the Downloads folder by default. Photos may also appear in the Photos app if you accept them there.
That’s the whole flow. The first time takes maybe fifteen seconds. After that, it’s a three-tap habit.
Sending Different File Types
The share sheet changes depending on what you’re sending, and that’s where people get confused.
| File type | Where to start | What happens on the Mac |
|---|---|---|
| Photos and videos | Photos app, tap Share | Prompts to save to Photos or Downloads |
| Documents and PDFs | Files app, tap Share | Saves to Downloads folder |
| Web links | Safari, tap Share | Opens directly in the default browser |
| Contacts | Contacts app, tap Share | Adds to Contacts after acceptance |
| Passwords | Settings or a password manager | Handled by iCloud Keychain, not AirDrop |
One practical tip: for large video files, keep both screens awake. If the iPhone locks mid-transfer, the connection drops and you start over. Setting Settings > Display & Brightness > Auto-Lock to a longer interval for the duration of a big transfer saves real headaches.
Why Your Mac Isn’t Showing Up in AirDrop
This is the single most common complaint, and it almost always has a mundane cause. Here’s the diagnostic order that resolves it fastest.
Check the Mac’s AirDrop window is actually open. AirDrop discovery on modern macOS is more reliable when the Finder AirDrop pane is actively visible. It sounds silly, but closing that window and reopening it fixes the problem more often than any settings change.
Toggle Wi-Fi off and on, on both devices. This forces a fresh discovery broadcast. Do it on the iPhone first, then the Mac.
Confirm neither device is in a Personal Hotspot session. When an iPhone is sharing its connection, its Wi-Fi radio behaves differently and AirDrop discovery often breaks. Turn off the hotspot and try again.
Check for a stale “Contacts Only” mismatch. If your Mac is set to “Contacts Only” but the iPhone’s Apple ID isn’t in the Mac’s contact card, the Mac stays invisible. Switching the Mac to “Everyone” for thirty seconds is the fastest test.
Restart both devices. Yes, it’s the cliché answer, but the Bluetooth and Wi-Fi daemons on both platforms occasionally wedge. A restart clears them.
If none of that works, the issue may be a macOS or iOS version mismatch. Apple’s AirDrop troubleshooting page lists current compatibility requirements, and those minimums shift with each release. Check it before assuming hardware failure.
AirDrop Alternatives Worth Knowing
AirDrop isn’t the only path, and sometimes it genuinely isn’t the best one.
iCloud Drive syncs files automatically across devices signed into the same Apple ID. For documents you’ll edit on both devices, it beats AirDrop because there’s no manual step. The tradeoff is that it requires an internet connection and counts against your storage tier.
Handoff and Universal Clipboard let you copy on the iPhone and paste on the Mac instantly. For text snippets and single images, this is faster than any file transfer. It requires Bluetooth and Wi-Fi on both devices plus the same Apple ID.
Continuity Camera turns the iPhone into a scanner for the Mac. If you’re moving a document, scanning it directly into a Mac app skips the transfer entirely.
A plain USB cable remains the most reliable option for massive transfers, like a 60 GB video library. It’s slower to set up and faster to finish. Anyone who has priced out storage will tell you that moving big files locally also protects your data plan, and if you’re weighing device costs generally, resources like this breakdown of the iPhone Philippines price help frame the hardware investment.
Practical Habits That Prevent AirDrop Failures
After enough transfers, patterns emerge. These habits cut failure rates dramatically.
Name your devices clearly. “John’s MacBook Pro” is easier to spot than “MacBook Pro” when three of them appear in a coffee shop. Set it under System Settings > General > Sharing.
Turn off AirDrop when you’re done in public. Leaving it on “Everyone” in a crowded space invites unwanted files from strangers. Apple’s own security guidance recommends switching back to “Contacts Only” or “Receiving Off” after use.
Keep both devices on recent software. AirDrop’s discovery protocol has been revised repeatedly, and mismatched versions are a known cause of invisible devices. Checking for updates is boring advice that works.
Don’t AirDrop while downloading something huge. A saturated Wi-Fi radio can starve the peer-to-peer link. Wait for the download to finish.
For repeat transfers, consider a shared folder instead. If you’re constantly moving files between the same two devices, a synced folder removes the manual step permanently. The same logic applies to workflow tools: just as you’d pick the best code editor for Mac once rather than re-evaluating daily, set up your transfer method once and stop thinking about it.
Security and Privacy Basics
AirDrop’s encryption is solid, but the settings around it matter. When set to “Everyone,” anyone within range can attempt to send you a file. You still have to accept it, but the request itself can be annoying or, in rare cases, used to send unsolicited images.
Apple tightened this in later iOS releases with a ten-minute “Everyone” window, after which the setting reverts automatically. That change reduced a well-documented nuisance. The practical advice is simple: use “Contacts Only” as your default and switch to “Everyone” only when a specific transfer requires it.
It’s also worth knowing that AirDrop doesn’t strip metadata. Photos carry GPS coordinates and timestamps unless you remove them first. For sensitive images, edit the metadata before sending, or use a tool that strips it.
Common Mistakes People Make
A few errors show up again and again in support forums.
- Assuming AirDrop needs the internet. It doesn’t. If both devices show full Wi-Fi bars but AirDrop fails, the router isn’t the problem.
- Leaving the Mac asleep. A sleeping Mac won’t appear. Wake it first.
- Sending from the wrong app. Sharing a photo from a third-party app sometimes routes through that app’s own sharing system instead of the native share sheet. Start from Photos or Files for reliable results.
- Ignoring the acceptance prompt. The Mac shows a notification that times out. If you miss it, the transfer silently fails and you’ll need to resend.
- Expecting AirDrop to work over Ethernet-only Macs. Some desktop Macs without Wi-Fi can’t participate. Check the Mac’s wireless capability first.
If you’re troubleshooting a device that’s behaving oddly, it helps to know the shortcuts for recovering from mistakes quickly. The undo shortcut key for Windows and Mac guide covers the basics, and knowing them saves you from re-sending a file you accidentally deleted mid-transfer.
When AirDrop Keeps Failing: A Last-Resort Sequence
If everything above fails, run this sequence in order. It resolves the overwhelming majority of stubborn cases.
- Turn off Wi-Fi and Bluetooth on both devices.
- Restart both devices completely.
- Turn Wi-Fi and Bluetooth back on.
- Set the Mac’s AirDrop to “Everyone.”
- Open the Finder AirDrop window and leave it visible.
- Attempt the transfer with the devices within arm’s reach.
- If it succeeds, switch the Mac back to “Contacts Only.”
If the transfer still fails after that, the problem is likely a software bug specific to your OS versions. Checking Apple’s release notes for AirDrop fixes is the next step.
Conclusion
AirDrop between an iPhone and a Mac is one of those features that feels like magic when it works and like a prank when it doesn’t. The good news is that nearly every failure traces back to a short list of causes: a sleeping Mac, a visibility setting stuck on “Contacts Only,” a stale Bluetooth connection, or two devices that drifted out of range.
Set both devices up once, keep them updated, and use “Contacts Only” as your default. From there, the three-tap share sheet flow becomes second nature. For the files that matter most, keep a cable and iCloud Drive as backup options. Redundancy beats frustration every time.
Frequently Asked Questions
Does AirDrop work without Wi-Fi or internet?
Yes, for the transfer itself. AirDrop needs Bluetooth and Wi-Fi radios switched on, but it does not need an internet connection or a shared network. The two devices create a direct peer-to-peer link. This is why AirDrop works on a plane in airplane mode with Wi-Fi manually re-enabled, and why it fails when Wi-Fi is fully off. (Wikipedia: AirDrop)
Why can’t my Mac see my iPhone in AirDrop?
The most common causes are a sleeping Mac, an AirDrop visibility setting of “Contacts Only” when the Apple ID isn’t in the Mac’s contacts, or a stale Bluetooth connection. Wake the Mac, open the Finder AirDrop window, toggle Wi-Fi on both devices, and try again. Physical distance matters too; move within about 30 feet.
How far can AirDrop reach between an iPhone and a Mac?
Apple’s guidance puts the practical range at roughly 30 feet, or about 9 meters. Real-world performance depends heavily on interference. Walls, crowded wireless environments, and even thick furniture can cut that distance significantly. If a transfer won’t start, moving closer is the fastest diagnostic step.
Where do AirDrop files go on a Mac?
Files typically land in the Downloads folder. Photos and videos may prompt you to save them to the Photos app instead. If you accepted a file and can’t find it, check Downloads first, then search Finder by the file name. The acceptance notification times out quickly, so a missed prompt means the file was never received.
Is AirDrop safe to use in public?
Transfers are encrypted in transit, so intercepted files aren’t a realistic concern. The bigger risk is visibility. Setting AirDrop to “Everyone” in a crowded space lets strangers send you unsolicited files, though you still must accept them. Use “Contacts Only” as your default and switch to “Everyone” only for specific transfers.
Can I AirDrop from iPhone to a Windows PC?
No. AirDrop is Apple-only and works between iPhone, iPad, and Mac. Windows PCs can’t receive AirDrop transfers natively. Alternatives include iCloud Drive via a browser, email, or third-party apps that emulate AirDrop protocols. For Apple-to-Apple transfers, AirDrop remains the fastest option by a wide margin. (Apple Support: How to use AirDrop on iPhone, iPad, and iPod touch)



