What is the fastest way to waste money on a microphone? Buying the one with the best reviews before you know what you’re recording. A mic that makes a podcast host sound warm and close can make a drum kit sound like a cardboard box. A budget-friendly stage mic can be perfect for a loud singer and useless for a quiet interview in a small room. (Microphone)
The good news is that microphone choice is not a mystery. It comes down to a handful of decisions: how the mic picks up sound, how it converts that sound into a signal, how much noise it adds, and how it connects to your gear. Get those four things right and almost any well-made mic in your price range will do a solid job. Get them wrong and no amount of spending will fix the result.
This guide walks through the decisions in the order that actually matters, flags the mistakes people make most often, and explains what to check on a spec sheet before you pay.
Start With the Room, Not the Microphone
Here is the advice most buying guides skip: the space you record in shapes your sound more than the mic does. A microphone is a listener. It hears the room, the reflections off bare walls, the hum of a fridge, and the rumble of traffic outside. A sensitive mic in an untreated room will capture all of it.
Before shopping, do a quick test. Clap your hands once in the spot where you plan to record. If you hear a short, tight sound, you’re in decent shape. If you hear a long ringing tail or a fluttery echo, treat the space first with soft furnishings, bookshelves, curtains, or a thick rug. A modest mic in a treated corner will beat an expensive mic in a bare room every time.
This is also why so many home recorders get disappointing results with gear that sounds great in demos. The demo was recorded in a treated studio. The buyer records in a kitchen.
Understand Polar Patterns Before Anything Else
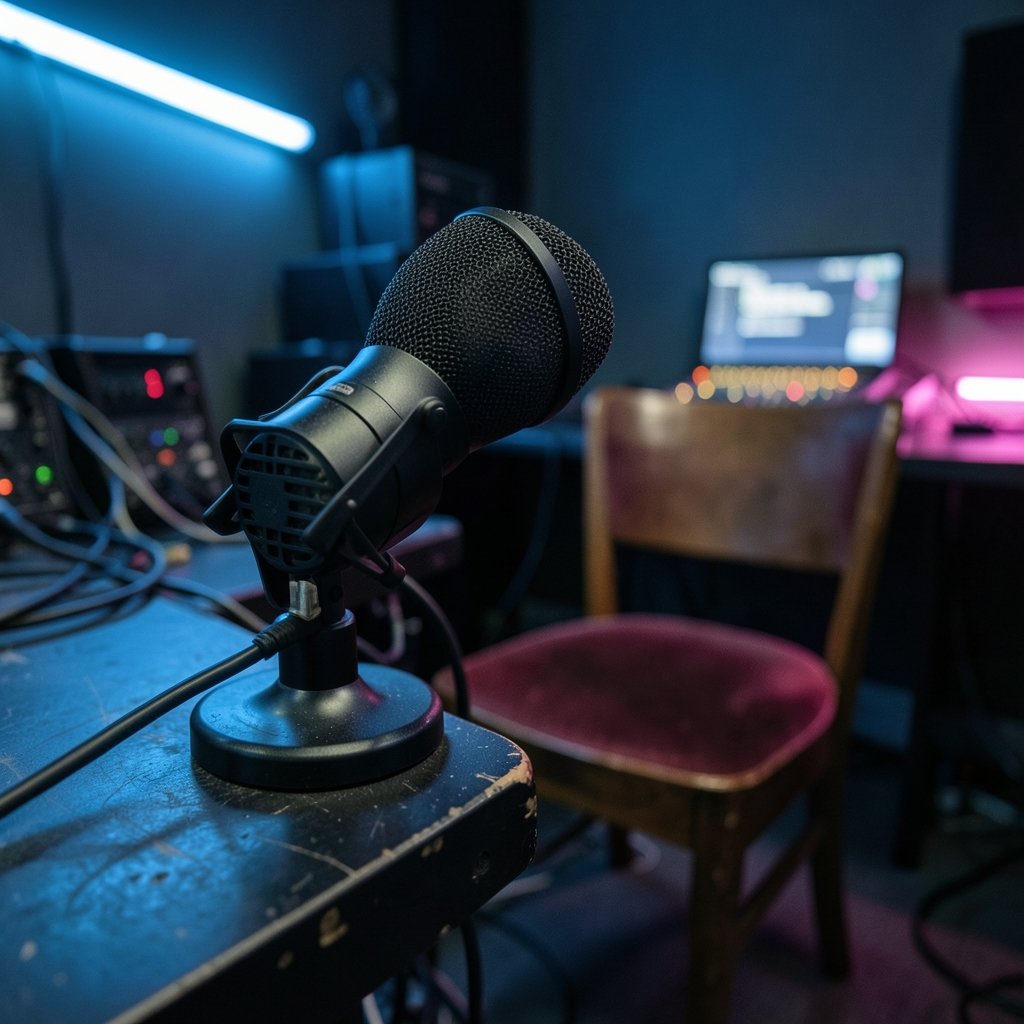
A polar pattern describes how sensitive a microphone is to sound arriving from different directions. It is the single most useful spec for solving real-world problems, because it decides what the mic ignores.
| Pattern | Picks Up | Best For | Watch Out For |
|---|---|---|---|
| Cardioid | Mostly the front | Vocals, podcasts, close-miking | Bass boost up close; picks up some room |
| Supercardioid / hypercardioid | A tighter front cone | Live stages, noisy rooms | A small rear lobe that can pick up monitors |
| Omnidirectional | Everything equally | Room sound, ensembles, interviews | Captures room noise and HVAC hum |
| Figure-8 (bidirectional) | Front and back | Two-person interviews, mid-side stereo | Rejects the sides, so placement matters |
For most spoken-word and solo vocal work, cardioid is the default because it rejects the back of the mic, which is usually where the noisiest part of a room sits. If you record two people facing each other across a table, a figure-8 or a pair of cardioids works better than one omni.
Pattern choice usually matters more than price tier. A cheap cardioid in a noisy room will often beat an expensive omni in the same room, because the cardioid simply hears less of the problem.
Condenser or Moving-Coil: The First Real Fork
Almost every microphone falls into one of two families, and the difference shapes everything downstream.
Condenser microphones use a thin, charged diaphragm and need external power, usually phantom power at 48 volts. They tend to be more sensitive and capture fine detail, which makes them a natural fit for studio vocals, acoustic instruments, and voiceover. They also tend to cost more and are more fragile.
Moving-coil microphones use a moving coil and need no power at all. They handle very loud sources, tolerate rough handling, and are the backbone of live sound. Many also work well for close-miked vocals and loud guitar amps.
Use this working rule: if the source is quiet and detailed, lean condenser. If the source is loud, close, or mobile, lean moving-coil. If you’re unsure and want one mic that survives everything, a moving-coil is the safer first purchase.
Read the Spec Sheet Like Someone Who Records
Marketing copy is written to sell. Spec sheets are written to inform, and three numbers tell you most of what you need.
Self-noise, sometimes called equivalent noise level, is the faint hiss the mic produces on its own, measured in dB-A. Lower is better. For quiet sources like a soft voice or a fingerpicked guitar, a high self-noise figure becomes audible once you add gain. For loud sources it barely matters.
Maximum SPL is the loudest sound the mic can take before it distorts, also in dB. Close-miking a drum kit or a screaming amp needs headroom here. A mic with a low maximum SPL will clip exactly when you want it to perform.
Sensitivity tells you how much output the mic produces for a given sound level. A low-sensitivity mic needs more gain from your interface, which can raise the noise floor of the whole chain.
Compare these three numbers across candidates before you compare prices. A mic that is 10 dB quieter in self-noise is often worth more than a mic with a fancier badge.
Diaphragm Size and What It Actually Changes
You’ll see microphones described as small-diaphragm or large-diaphragm. The convention puts the line at roughly one inch, though it’s a convention rather than a hard standard.
Large-diaphragm condensers tend to have lower self-noise and a fuller low end, which suits solo vocals and voiceover. Small-diaphragm condensers tend to have a more accurate, extended high-frequency response and faster transient handling, which suits acoustic guitar, strings, cymbals, and anything where you want detail without coloration.
Neither is better. They’re tools with different strengths. If you record one voice in one room, a large-diaphragm condenser is the usual starting point. If you record instruments, a pair of small-diaphragm condensers opens up stereo techniques that a single large mic can’t do.
How the Mic Connects: XLR, USB, and the Upgrade Path
Connection type decides how the mic fits into your setup, and it’s easy to get locked into the wrong one.
XLR is a balanced analog connection. Balanced lines resist interference over long cable runs, which is why studios use them. An XLR mic needs an audio interface or mixer with a preamp and, for condensers, phantom power.
USB microphones bundle the mic and interface into one box. They’re simple, portable, and fine for a single-person podcast or a first streaming setup. The trade-off is a closed upgrade path: adding a second mic, routing audio into a mixer, or upgrading the preamp usually means starting over.
A middle path that works well: buy an XLR mic and a basic two-input interface. It costs a little more up front and gives you room to grow. If you’re weighing a similar kind of “spec now versus flexibility later” decision, the same logic that applies when you choose micro sd card endurance vs performance applies here: match the specification to the job you’ll actually do, not the one you imagine.
Match the Microphone to the Job
Different recording tasks reward different priorities. Here’s how the trade-offs shake out in practice.
| Job | Priority | Typical Choice |
|---|---|---|
| Podcast or voiceover | Low self-noise, cardioid, close placement | Large-diaphragm condenser or broadcast moving-coil |
| Live vocals | Off-axis rejection, high SPL handling | Cardioid or supercardioid moving-coil |
| Acoustic instruments | Transient detail, flat response | Small-diaphragm condenser, often a pair |
| Loud amps and drums | Maximum SPL, durability | Moving-coil, close-miked |
| Two-person interview | Directional control | Figure-8 or two cardioids |
| Field recording | Portability, battery options | Compact condenser or moving-coil with recorder |
Notice that price doesn’t appear in that table. It’s a constraint, not a specification. Once you know the job, the pattern, and the noise and SPL requirements, the shortlist usually narrows itself. (Audio Engineering Society)
The Mistakes That Cost People the Most
A few errors show up again and again, and they’re all avoidable.
Buying before testing the room. Covered above, and still the most common.
Ignoring placement. A mic two inches from the mouth sounds boomy and plosive-heavy; a mic a foot away picks up the room. Most “bad mic” complaints are placement complaints. Move the mic before you replace it.
Forgetting proximity effect. Directional mics boost bass as the source gets closer. That’s useful for a thin voice and a problem for a boomy one. A pop filter and a consistent distance solve most of it.
Skipping the pop filter and shock mount. Plosives and floor vibration ruin more takes than any spec difference. These accessories cost little and change a lot.
Overbuying the first mic. A single good mic in the right pattern, placed well, will carry a whole first year of recording. The money saved is better spent on acoustic treatment.
Assuming phantom power is always safe. It’s a standard, but not every mic wants it and not every input supplies it cleanly. Check both ends of the chain before plugging in.
If you’re building a small setup and juggling several purchases at once, the same prioritization habit helps across categories. Deciding what to spend on first is the same skill whether you’re picking a mic, comparing Figma alternatives for beginners choosing a design tool, or working out how to choose the best antivirus for your computer. Spend where the constraint actually is.
A Simple Buying Sequence
If you want a repeatable process, use this order.
- Write down what you’ll record most often, in one sentence.
- Test the room and fix the worst reflections first.
- Choose the polar pattern that rejects your biggest noise source.
- Decide condenser or moving-coil based on source loudness and detail needs.
- Compare self-noise, maximum SPL, and sensitivity across your shortlist.
- Choose the connection type based on whether you’ll ever need a second mic.
- Budget for a stand, a cable, a pop filter, and a shock mount before upgrading the mic itself.
That sequence front-loads the decisions that are hard to change later and back-loads the ones that are easy.
Conclusion
Choosing a microphone is a process of elimination, not a search for the single best model. The room sets the ceiling on what’s possible. The polar pattern decides what the mic hears. The condenser-or-moving-coil choice sets the character. The spec sheet confirms whether the noise floor and headroom fit your source. Connection type decides how easily you can grow.
Get those five things aligned and a mid-priced mic will outperform a premium one that’s mismatched to the job. Get them wrong and the premium mic will sit in a drawer while you wonder what went wrong. Start with the room, pick the pattern, check the numbers, and buy the accessories. The rest is practice.
Frequently Asked Questions
Do I need an audio interface to use a microphone?
Only if the mic is XLR. XLR microphones output an analog signal that needs a preamp, which an interface or mixer provides. USB microphones have the interface built in and plug straight into a computer. Condenser mics also need phantom power, which most interfaces supply.
Is a condenser microphone always better than a moving-coil one?
No. Condensers are more sensitive and capture more detail, which suits quiet sources in controlled rooms. Dynamics handle high sound pressure, resist handling noise, and need no power, which suits loud sources and live work. The right answer depends on what you’re recording.
What does self-noise mean on a microphone spec sheet?
Self-noise, or equivalent noise level, is the faint electrical hiss the mic generates on its own, measured in dB-A. Lower figures are better. It matters most for quiet sources, because you have to add more gain to capture them, which makes any inherent noise more audible.
Can I use a vocal microphone for instruments?
Often yes, especially for close-miked instruments. A cardioid moving-coil works well on guitar amps and drums. A large-diaphragm condenser can flatter acoustic guitar, though a small-diaphragm pair gives more accurate detail. The pattern and placement matter more than the label on the box.
Why does my recording sound boomy or muffled?
The most likely causes are proximity effect and placement. Directional mics boost low frequencies as the source gets closer, and speaking directly into the capsule exaggerates plosives. Back off a few inches, angle the mic slightly off-axis, and add a pop filter before blaming the microphone.
How much should I spend on a first microphone?
Enough to get a well-made mic in the right pattern for your main use, and not more. A single competent mic placed well will carry a first year of recording. Money left over is better spent on acoustic treatment, a sturdy stand, and a shock mount, all of which change results more than a price jump does.