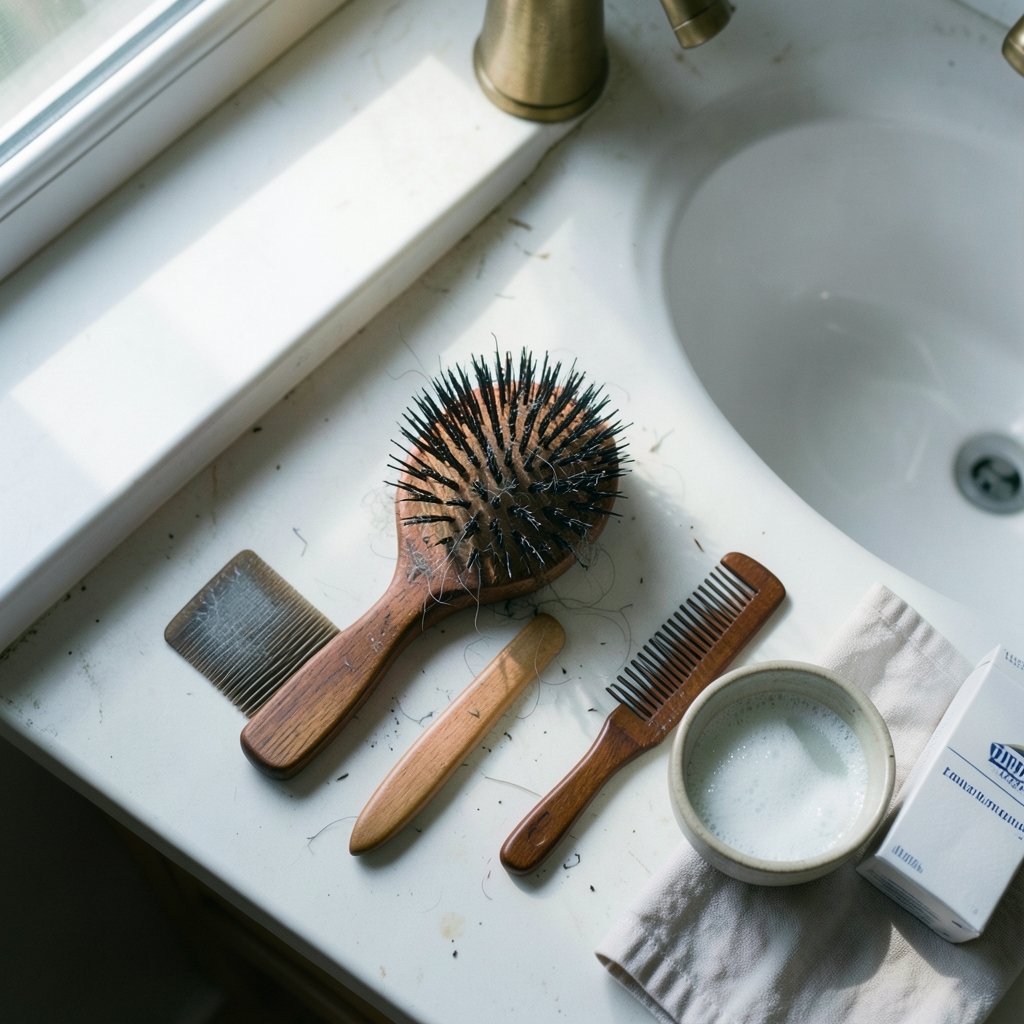
When did you last look at the back of your hairbrush and really see it? For most people, the answer is somewhere between “recently, unfortunately” and “I’d rather not say.” That mat of gray fuzz, dust, and old styling product doesn’t just look bad. It sits against your scalp every single day, and it quietly makes every stroke of the brush less effective.
The good news is that cleaning a hairbrush takes about ten minutes, needs nothing you don’t already own, and makes an almost instant difference. The trick is doing it the right way for the brush you have, because a wooden paddle brush and a vented detangling brush have very different tolerances for water.
Why a Dirty Brush Causes Real Problems, Beyond Looking Ugly
A brush collects three things: loose hair, dust and lint from the air, and residue from scalp oils and styling products. Over weeks, those combine into a waxy film that coats the bristles and the cushion underneath them. (Money pieces hair they get them right)
That film matters for a few reasons. First, it makes the brush less effective. Coated bristles can’t grip or separate strands the way clean ones do, so you end up brushing harder and longer. Second, it’s a hygiene issue. Scalps are prone to conditions like seborrheic dermatitis, and shared grooming tools can move lice and fungal material between people. Third, wet or residue-packed brushes are simply a better home for microbes than dry, clean ones, which is why drying matters as much as washing. (Clean dehumidifier coils better airflow lower bills)
One honest caveat: there is no official standard that prescribes exactly how to clean a hairbrush. The guidance below reflects widely repeated best practice from dermatology-adjacent consumer advice, not a regulated method. Treat specific intervals as rules of thumb rather than hard thresholds.
How Often Should You Clean a Hairbrush?
Frequency recommendations vary a lot between sources, and none is backed by a formal standard. A practical middle ground looks like this:
| Brush situation | Suggested cleaning |
|---|---|
| Daily use, fine or thin hair | Remove loose hair weekly, wash monthly |
| Heavy styling product use | Wash every 2 weeks |
| Thick or curly hair | Remove hair weekly, wash every 2 to 4 weeks |
| Shared brush or household use | Wash weekly |
| After illness, lice exposure, or a scalp flare-up | Wash immediately and don’t share |
If you can’t remember the last time you washed it, that’s your answer. Also watch for a waxy feel on the bristles or a faint sour smell. Both mean it’s overdue.
Step One: Pull Out the Hair Before Anything Gets Wet
This is the step people skip, and it’s the one that matters most. Hair that’s dry and loose pulls out easily. Hair that’s wet clumps, stretches, and wraps around bristle bases, making the job twice as hard.
Work from the base of the bristles outward. A comb or the tail end of a rat-tail comb is the best tool for lifting the mat out in one piece. For a dense paddle brush, a pair of blunt tweezers helps in the corners. Don’t yank from the tips; you’ll just break bristles and leave the root of the tangle behind.
If the brush has a cushion (the flexible pad the bristles sit in), check the little air hole. It’s there so the cushion can flex, and it’s also where water and gunk collect. Don’t poke anything sharp into it. Just be aware it exists so you rinse and dry accordingly.
Step Two: Wash With Warm Water and a Mild Soap
Warm, not hot. Hot water can soften and distort bristles and warp handles. A drop of mild shampoo or a gentle dish soap works well; dish soap cuts through product residue faster than shampoo does.
Here’s the practical method:
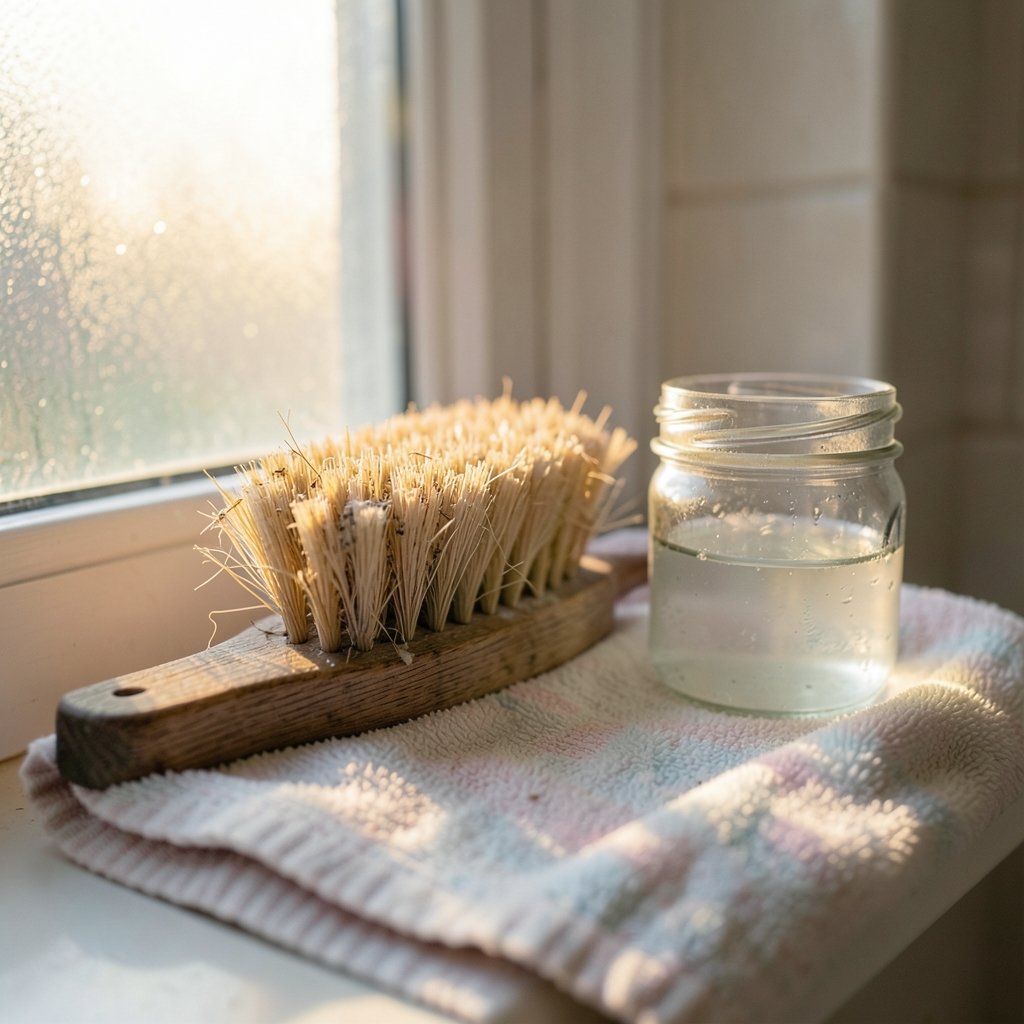
- Fill a basin or bowl with warm water and a small squeeze of soap.
- Swirl the bristle head in the water, working the soap between the bristles with your fingers.
- Use an old toothbrush to scrub the cushion and the base of the bristles, where the film actually lives.
- Rinse under running warm water, bristle-side down, so water flows out of the cushion rather than into it.
- Shake off excess water and blot the handle with a towel.
What actually works, in practice: the toothbrush step. Most people swirl the brush in soapy water and call it done, but the residue sits at the base, not the tips. A soft old toothbrush gets it out in about thirty seconds.
Common mistakes to avoid: submerging the whole brush up to the handle, using very hot water, and scrubbing with anything abrasive. Also skip harsh cleaners, bleach, and undiluted vinegar on natural-bristle brushes, which can dry out and stiffen.
A Note on Wooden-Handled Brushes
Wood and water are not friends. Prolonged soaking can warp or crack a wooden handle, and the finish can lift. The safest approach for wooden brushes is to wipe rather than submerge: dampen a cloth or toothbrush, work it through the bristles, then wipe the handle clean and dry it immediately. Never leave a wooden brush sitting in a wet sink.
Brushes with natural boar bristles deserve similar care. They’re more prone to drying out and splitting, so use cooler water, less soap, and a shorter wash.
Step Three: Dry Bristle-Down, Always
Leaving a brush wet is the most common way to undo a good cleaning. Water trapped in the cushion or between bristles encourages microbial growth and can leave a musty smell.
The fix is simple: stand the brush bristle-side down on a clean towel, or rest it on a rack so air reaches the cushion. Never stand it bristle-up to dry, because water runs down into the cushion and sits there. Keep it out of direct sunlight and away from radiators, which can warp plastic and crack wood. Give it several hours, ideally overnight, before it goes back in the drawer.
This is the same principle that applies to other household gear where moisture hides in hard-to-reach places. If you’ve ever dealt with a musty appliance, you know the drill: airflow beats heat every time. It’s why you’d clean dehumidifier coils for better airflow and lower bills rather than just wiping the outside, and why delicate surfaces need the right method rather than brute force. The same care applies when you clean a laptop screen without damaging the coating: the wrong technique does more harm than good.
Matching the Method to the Brush Type
Not every brush survives the same routine. Here’s how the main types differ:
| Brush type | Water tolerance | Best method | Watch out for |
|---|---|---|---|
| Plastic paddle or vented | High | Full wash in warm soapy water | Trapped water in the vent holes |
| Wooden-handled | Low | Wipe and spot-clean only | Warping, lifting finish |
| Boar bristle | Medium | Cool water, minimal soap | Bristles drying out and splitting |
| Round brush with a metal core | Medium | Wash bristles, keep the core dry | Water seeping inside the barrel |
| Detangling or wet brush | High | Full wash, rinse well | Product buildup between flexible bristles |
| Cushioned brush with air hole | Medium | Rinse bristle-down, dry flat | Water sitting in the cushion |
For round brushes, keep the handle and metal barrel out of the water entirely. Water that gets inside can rust the core or loosen the bristle tufts over time.
Don’t Forget the Combs, Picks, and Everything Else
Brushes get all the attention, but combs, wide-tooth picks, and sectioning clips collect the same film. Combs are actually easier: soak them in warm soapy water for a few minutes, scrub the teeth with a toothbrush, rinse, and dry. Rat-tail combs benefit from a pipe cleaner run through the tight end.
One more habit worth building: clean your brush before you clean your hair tools’ home. A drawer full of lint and loose hair will re-dirty a freshly washed brush within days. Wipe out the drawer or basket, and consider a small lidded container instead of an open tray.
How Cleaning a Brush Fits Into a Bigger Routine
Brush care is one of those small maintenance tasks that pays off across a whole routine. A clean brush distributes natural oils more evenly, which means healthier-looking hair with less product. It also makes styling tools work better, since you’re not dragging a waxy brush through clean strands.
The same logic applies elsewhere in a home. Small, unglamorous maintenance jobs prevent bigger problems later, whether that’s keeping a workspace clean enough to write on smoothly by knowing how to clean a whiteboard so it stops ghosting and writes smooth, or getting a tool to perform the way it was designed by learning to use a router table safely for clean cuts every time. None of it is exciting. All of it works.
A useful parallel appears in how we talk about cleanliness and value. The old phrase about dirty hands and clean money, and what it means for finance ethics, reminds us that “clean” often describes a process rather than an appearance. A brush that looks fine on top but has a film at the base is not clean.
When to Replace a Brush Instead of Cleaning It
Cleaning can’t fix everything. Replace the brush when:
- Bristles are bent, splayed, or falling out
- The cushion has torn or lost its flexibility
- The handle is cracked, especially on wood
- There’s a persistent smell that returns within days of washing
- The bristle tips have developed rough, snagging ends
A good brush, cleaned regularly, can last years. A cheap one with damaged bristles will snag and break hair no matter how often you wash it.
A Ten-Minute Routine That Actually Sticks
The reason most people don’t clean their brushes isn’t laziness. It’s that the task has no natural trigger. Hair gets washed on a schedule; brushes don’t.
Give it a trigger. Remove loose hair every time you wash your hair (it takes twenty seconds with a comb). Do the full soap-and-water wash on the first of each month, or whenever you change your bedding. Pair it with something you already do and it stops being a chore you remember and becomes a habit you don’t think about.
Conclusion
Cleaning a hairbrush is one of those tasks that seems trivial until you actually do it and see the difference. Pull the loose hair out dry, wash the bristles and cushion in warm soapy water with a drop of mild soap, scrub the base with an old toothbrush, rinse bristle-down, and let it air-dry the same way. Skip the soaking for wooden handles, go gentle on natural bristles, and keep round brush cores dry.
Ten minutes a month is all it takes to keep a brush working properly, smelling neutral, and treating your scalp kindly. Your hair will look better for it, and your brush will last longer too.
Frequently Asked Questions
How often should you clean a hairbrush?
There’s no official standard, but a practical rule of thumb is to remove loose hair weekly and do a full wash every two to four weeks. Wash more often if you use a lot of styling product, share the brush, or have a scalp condition. If the bristles feel waxy or the brush smells faintly sour, clean it now.
Can you put a hairbrush in the dishwasher?
No. Dishwasher heat and prolonged water exposure can warp handles, soften bristles, and damage the cushion. Hand washing in warm soapy water takes only a few minutes and is far gentler on the brush.
How do you clean a wooden hairbrush without ruining it?
Don’t soak it. Dampen a cloth or an old toothbrush with warm soapy water, work it through the bristles, and wipe the handle clean. Dry immediately with a towel and let it air-dry bristle-down. Prolonged soaking can warp or crack wood and lift the finish.
What’s the best way to remove hair from a brush?
Do it dry, before any water touches the brush. Use a comb or the pointed tail of a rat-tail comb to lift the mat out from the base of the bristles outward. Wet hair clumps and wraps around bristle bases, which makes removal much harder.
Should you dry a hairbrush bristle-up or bristle-down?
Bristle-down, always. Standing it bristle-up lets water run into the cushion, where it sits and encourages microbial growth. Rest it bristle-side down on a clean towel or rack, away from direct heat and sunlight, and let it dry for several hours or overnight.
Can a dirty hairbrush cause scalp problems?
A brush coated in oil, product residue, and dust is less effective and less hygienic. Shared brushes and combs can transfer lice and fungal material between people, and scalps are already prone to conditions like seborrheic dermatitis. Regular cleaning and not sharing brushes reduce that risk.