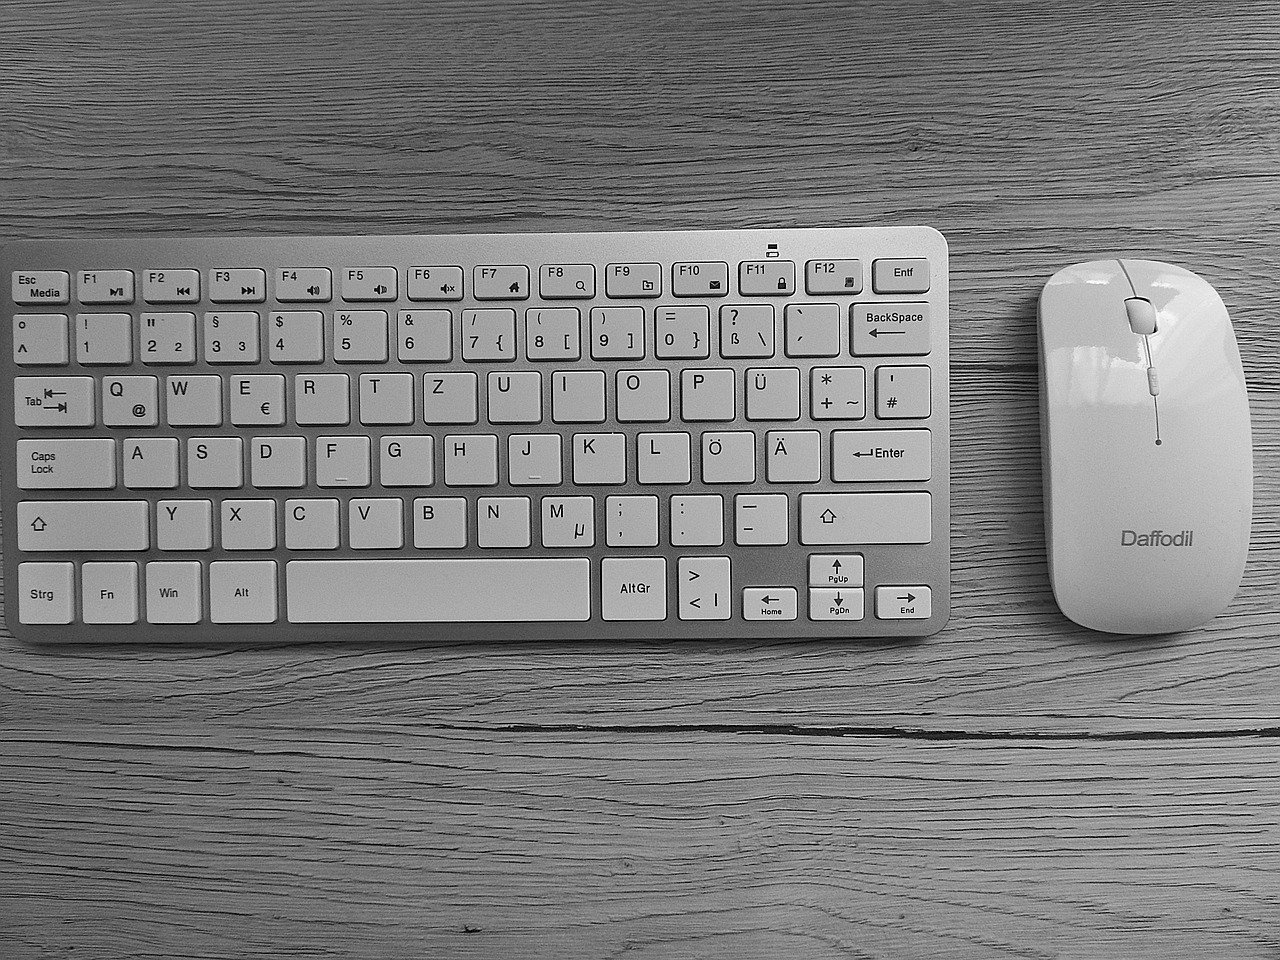
When did you last look at your keyboard under a bright light? Really look? Most people are shocked by what they find between the keys: crumbs, dust, hair, and a greasy film that never seems to come off with a dry cloth. The good news is that cleaning a keyboard properly takes about fifteen minutes, costs almost nothing, and makes the whole thing feel new again. The bad news is that a lot of popular advice online can actually damage your hardware. This guide walks through what works, what to avoid, and how to treat different keyboard types so you don’t learn the hard way. (Keyboard foam mod sound differences actually changes) (Computer keyboard)
Why a Dirty Keyboard Is Worth Fixing
A grimy keyboard isn’t just ugly. Dust and grit work their way under keycaps and into switch stems, which makes keys feel scratchy or mushy over time. Sticky residue from snacks and drinks can cause keys to bind or double-press. And because keyboards are high-touch shared surfaces, they collect whatever is on your hands throughout the day.
That last point matters more than most people think. Hand hygiene is the simplest defense against transferring grime and germs to your desk setup, and public-health guidance on handwashing is worth a quick read if you want the full picture. Regular handwashing and skipping snacks at the desk will do more to keep a keyboard clean than any cleaning product. (How to Clean Dehumidifier Coils (2026 Guide))
Know Your Keyboard Before You Touch It

The single biggest mistake people make is treating every keyboard the same. A mechanical board with removable keycaps tolerates a deep clean. A laptop keyboard does not. Before you pick up a cloth or a can of air, figure out which category you’re dealing with.
| Keyboard type | Keycaps removable? | Safe cleaning depth | Main risk |
|---|---|---|---|
| Mechanical desktop | Usually yes, with a puller | Deep clean, keycaps washed separately | Losing or bending a stem |
| Membrane desktop | Rarely | Surface clean, shake out, light air | Liquid seeping into the dome sheet |
| Laptop (scissor switch) | No, not by the user | Wipe only, gentle air at an angle | Liquid reaching the chassis |
| Wireless / battery-powered | Varies | Same as above, plus remove batteries | Accidental keypresses while wet |
If you’re unsure about your model, the safe path is surface cleaning only. A basic understanding of how keyboards are built, including the difference between membrane and mechanical designs, helps you judge how much disassembly is reasonable.
Step One: Power Down and Unplug
Before anything else, disconnect a wired keyboard or switch off and remove the batteries from a wireless one. This prevents stray keypresses from registering while you’re wiping, and it removes any chance of liquid causing a short. It’s a thirty-second step that protects the whole device.
Step Two: Shake Out the Loose Debris
Turn the keyboard upside down over a bin and shake gently. You’ll be surprised how much falls out. Tilt it side to side and tap the underside lightly with your palm. This loosens crumbs trapped between keycaps without any tools.
Do this before any wet cleaning. If you wipe first, you push dust into a paste that’s much harder to remove.
Step Three: Loosen What’s Stuck
Short bursts of compressed air at an angle can dislodge dust from between keys. Two practical cautions apply here.
First, keep the can upright. Tilted cans spray cold propellant that can leave a residue or chill the plastic. Second, use short bursts rather than a continuous stream, and hold the nozzle back a few inches.
Opinions on compressed air genuinely differ. Some manufacturers recommend it for desktop keyboards, while others warn it can push debris deeper into a mechanism. For laptops, be cautious around vents. If air makes you nervous, a soft brush or a vacuum with a brush attachment on low suction works well for surface dust.
Step Four: Wipe With Alcohol, Not Soapy Water
Isopropyl alcohol at around 70 percent is the standard choice for electronics surfaces. It evaporates quickly, which means less moisture hanging around your switches, and it cuts through the oily film that fingers leave behind. Dampen a microfiber cloth with it, then wipe the keycaps and the case.
Never spray cleaner directly onto the keyboard. Always apply it to the cloth first. Direct spraying sends liquid into switch mechanisms and, on laptops, into the chassis where it can do real damage.
If you want to understand why alcohol behaves the way it does on plastic and metal surfaces, the properties of isopropyl alcohol, including its fast evaporation and disinfecting action, explain why it’s preferred over water-based cleaners.
A few practical tips that make the wipe-down go better:
- Use a cloth you don’t mind staining. Old keycaps shed surprising amounts of grime.
- Wipe in one direction rather than scrubbing in circles, so you push debris out instead of around.
- Pay attention to the spacebar and the keys your fingers rest on most. Those collect the heaviest buildup.
- Skip paper towels on textured keycaps. They leave lint behind.
Step Five: The Deep Clean for Mechanical Boards
If your keyboard has removable keycaps, a deeper clean is worth doing every few months. A keycap puller makes this easy and avoids the prying-with-a-screwdriver approach that snaps stems.
- Take a photo of the layout before removing anything. Reassembly is much faster with a reference.
- Pull keycaps gently, straight up. Never twist.
- Put keycaps in a bowl of warm water with a drop of mild dish soap. Let them soak for ten minutes, then agitate and rinse.
- Dry the keycaps completely. This matters. Trapped water under a cap can cause problems when you refit it.
- While caps are off, brush out the exposed plate with a soft brush and use short air bursts.
- Refit the caps once everything is bone dry.
If a key ever feels wrong after refitting, don’t force it. A bent switch pin is a common cause of a dead key, and it’s fixable if you catch it before you push hard. The same patience applies to stabilizers: a rattly spacebar usually needs adjustment, not brute force, and there are known fixes for a noisy stabilizer that quiet it down without replacing parts.
Step Six: Laptop Keyboards Need a Lighter Touch
Laptop keyboards are generally not user-removable, and the mechanisms underneath are far more delicate than a mechanical switch. Stick to a soft, lint-free cloth lightly dampened with alcohol. Avoid excess moisture entirely. Wipe the deck around the keys, then run the cloth across the keycaps themselves.
Be careful with compressed air near laptop vents. Some makers advise against it because it can spin fans or push dust further inside. A soft brush is the safer tool.
Step Seven: Let It Dry Completely
This step gets skipped constantly and causes most post-cleaning problems. Moisture trapped in switches or under keycaps can cause misfires or a dead key. Wait until every surface feels dry to the touch before reconnecting power or refitting batteries. Fifteen minutes of patience beats a repair bill.
How Often Should You Actually Clean?
There’s no official standard, but a practical rhythm works for most people. A light weekly dusting with a dry cloth or brush keeps things from getting bad. A deeper clean every few months handles the buildup that accumulates regardless. Shared keyboards, gaming setups, and desks where people eat need more frequent attention.
The habit matters more than the schedule. A thirty-second wipe at the end of the week prevents the sticky, gritty situation that requires a full teardown. (Ergonomics and Musculoskeletal Disorders)
Mistakes That Cost People Money
Most keyboard damage during cleaning comes from a handful of avoidable errors. The most common is spraying liquid directly onto the keys. The second is using too much moisture on a laptop. The third is skipping the drying step. The fourth is forcing a keycap back onto a stem that isn’t aligned.
A less obvious one: using household glass cleaner or disinfectant wipes with heavy surfactants. These can leave a residue that attracts dust and, on some plastics, causes clouding. Stick with alcohol on a cloth.
For anyone who likes to tinker, the same care applies to other peripherals. A dirty keyboard and a dusty mouse pad are usually part of the same problem, and the cleaning principles carry over.
FAQ
How often should I clean my keyboard?
A light dusting once a week and a deeper clean every two to three months suits most people. If you eat at your desk or share the keyboard, clean it more often. The key is consistency rather than intensity. (Clean projector lens safely without damaging coating)
Can I use rubbing alcohol on my keyboard?
Yes, 70 percent isopropyl alcohol on a lightly dampened cloth is the standard approach for keycaps and cases. Apply it to the cloth, never directly to the keyboard, and keep moisture away from switch openings.
Is compressed air safe for keyboards?
It can be, with care. Use short bursts, keep the can upright, and hold it back from the surface. Some manufacturers warn that air can push debris deeper into a mechanism, so treat it as one tool among several rather than the only option.
How do I clean a laptop keyboard without damaging it?
Use a soft, lint-free cloth barely dampened with alcohol. Avoid spraying anything, keep moisture minimal, and don’t try to remove keycaps. Be cautious with compressed air near vents.
Can I wash keycaps in water?
Yes, if they’re removable. Soak them in warm water with a drop of mild dish soap, rinse, and dry them completely before refitting. Never put them back while damp.
What should I do if a key stops working after cleaning?
First, let everything dry fully and reconnect. If the key still fails, the cap may not be seated properly, or a switch pin may have bent during removal. Reseat the cap gently and check alignment before assuming the switch is dead.
Conclusion
Cleaning a keyboard isn’t complicated, but it rewards patience over enthusiasm. The formula that works is simple: unplug first, shake out the loose debris, loosen what’s stuck, wipe with alcohol on a cloth, and let everything dry completely before powering back on. Mechanical boards with removable keycaps can go deeper, while laptops should stay strictly surface-level. Skip the shortcuts that seem faster, like spraying cleaner directly onto the keys or rushing the drying step, and your keyboard will keep feeling crisp for years. A few minutes of care every week beats an afternoon of troubleshooting a keyboard that took on more moisture than it could handle.
One last habit worth building: keep drinks well away from the keyboard, and if you must snack at your desk, tilt the board and tap it out at the end of the day rather than letting crumbs settle in. A can of compressed air kept nearby makes the weekly dusting a two-minute job instead of a chore you postpone. None of this requires special equipment beyond a microfiber cloth, a soft brush, and a bottle of 70 percent isopropyl alcohol, which together cost less than a replacement keyboard. Treat the cleaning routine as maintenance rather than a rescue mission, and the deep clean becomes rare instead of dreaded. Your keys will stay responsive, the legends will stay legible, and the whole board will look and feel closer to the day you unboxed it.
If a spill happens, act immediately: unplug the keyboard, turn it upside down, and let it drain rather than wiping, which spreads the liquid. Leave it to dry for at least 24 hours before testing. Sticky keys after a spill often need professional attention, so don’t delay. Store the cleaning kit together so the routine stays easy to start, and the habit will hold.