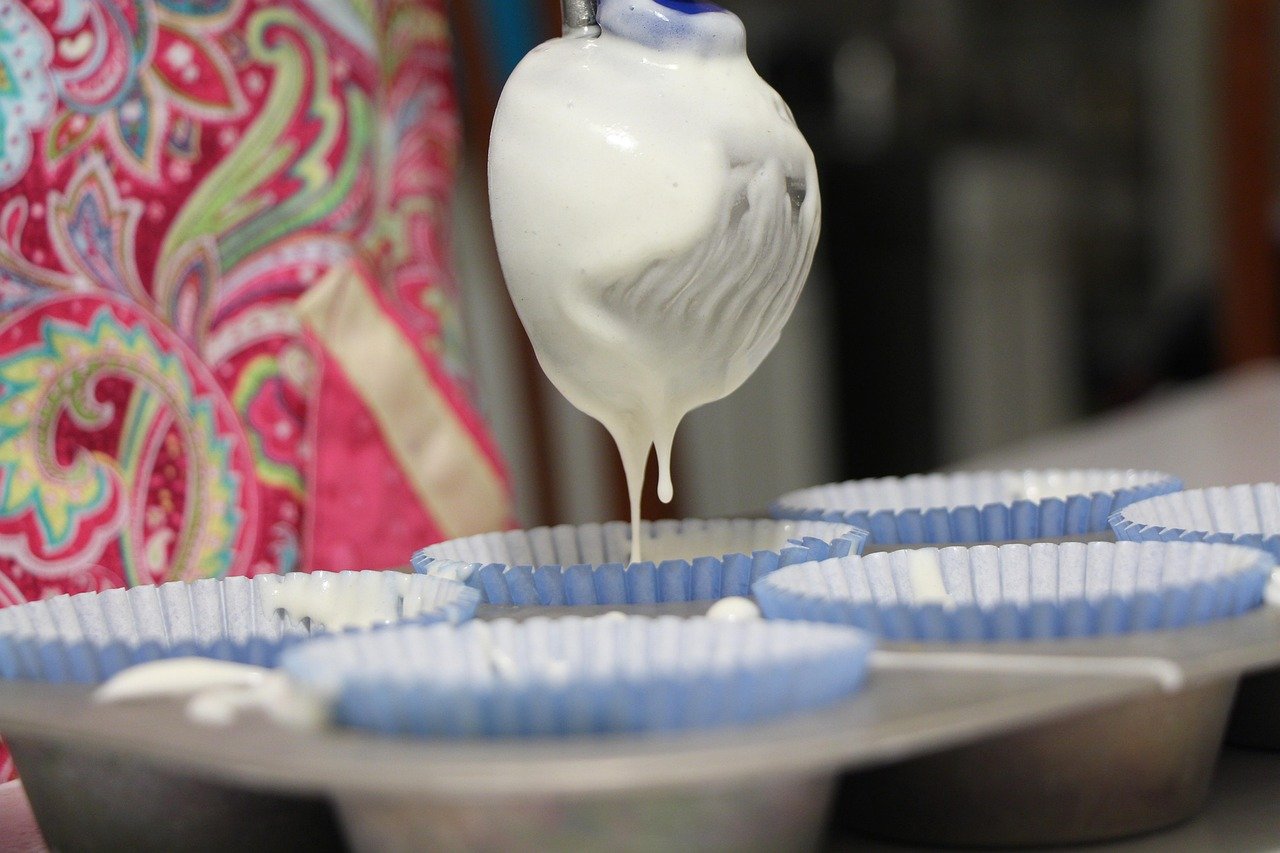
Why do some cupcakes slide out of their wrappers like a dream while others cling to the paper like it’s glued on? The answer almost always comes down to the liner. Paper cups look like the simplest thing in the baking aisle, but the difference between a cheap generic pack and the right liner for your batter is the difference between a bakery-style result and a sad, greasy mess. This guide covers what liners are made of, which ones suit which batters, the mistakes that cause sticking and fading, and how to salvage a batch when things go sideways.
What Cupcake Liners Actually Are
A cupcake liner is a thin paper or foil cup that holds batter during baking and shapes the finished cake. Most standard liners are pleated paper, roughly 2 inches across at the base and 1.25 inches tall, sized to fit a standard 12-cup muffin pan. There are also jumbo, mini, and extra-deep versions, plus tulip-style papers that stand taller than the pan for a rustic, bakery-window look.
The material matters more than most bakers realize. Three categories dominate:
| Type | Best for | Watch out for |
|---|---|---|
| Standard paper (bleached or unbleached) | Light, low-fat batters; everyday baking | Grease soaking through on rich batters |
| Greaseproof or glassine paper | Butter-heavy cakes, chocolate batters | Slightly stiffer, can peel oddly if overbaked |
| Foil or foil-lined paper | Dense, high-fat batters; dark cakes | Can’t be used in the microwave; costs more |
There’s also the silicone reusable cup, which behaves more like a mini mold than a liner. It’s a different tool with different rules, and it deserves its own mention later.
The Greaseproof Question
Greaseproof paper is treated so fat can’t pass through easily. That’s why a chocolate cupcake baked in a cheap white liner often leaves dark translucent patches on the outside, while the same batter in a greaseproof liner stays clean. If you bake rich batters often, greaseproof is worth the small upcharge. For light vanilla or angel food-style cakes, plain paper is fine and cheaper.
How to Choose the Right Liner for Your Batter
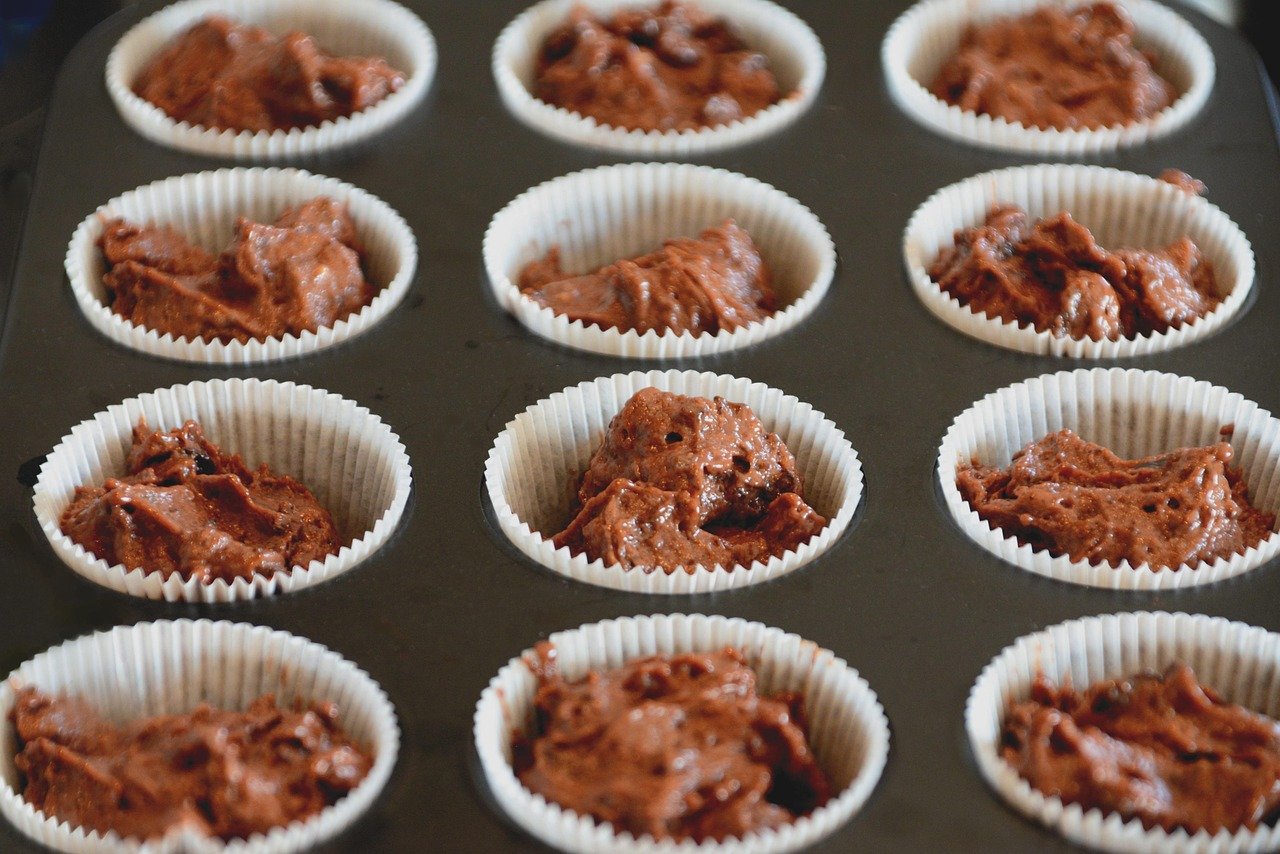
The single most common mistake is treating all liners as interchangeable. They aren’t. Match the liner to the fat content and sugar level of the batter and you’ll solve most sticking problems before they start.
High-fat batters (butter cakes, brownies baked as cupcakes, anything with melted chocolate) need greaseproof or foil. High-sugar batters benefit from a liner with a slightly waxy interior coating, which helps release. Very light batters with little fat can actually stick more to foil than to plain paper, because the batter grips the textured surface as it sets.
Size is the other trap. A liner that’s too small for the pan will collapse inward as the batter rises, and a liner that’s too large will flare at the top and let batter spill over the rim. Measure your pan’s cups at the base, not the top, and buy liners that match. Standard pans are almost always 2 inches at the base, but “standard” is a loose word in bakeware.
If you’re baking for a party or gift and want the presentation to hold up, the same principle applies as with other small-gift projects: the details people notice are the ones that stay intact. A sturdy greaseproof liner keeps its color and shape far better than a thin one, much like the difference between a cash gift that’s thoughtfully assembled and one that falls apart. The money cake ideas that actually work guide makes a similar point about construction holding up under handling.
Common Mistakes That Ruin Cupcakes in the Pan
Even good liners fail when the technique is off. These are the errors that show up most often.
- Skipping the pan. Paper liners need the support of a metal cup. Set them on a bare baking sheet and they’ll spread into flat puddles.
- Overfilling. Two-thirds full is the ceiling. Anything more climbs the paper and bakes onto the pan rim.
- Not checking liner-pan fit before mixing. Test-fit a liner in every cup of the pan while it’s still empty. It takes ten seconds and prevents a whole batch of leaning cupcakes.
- Using the wrong liner for the oven temperature. Foil handles high heat well; thin paper can scorch at 425°F and above on a dark pan.
- Cooling in the pan too long. Residual heat keeps steaming the cake against the paper, which softens the crust and encourages sticking. Move cupcakes to a rack after five minutes.
- Storing liners in a humid spot. Paper absorbs moisture, and damp liners tear and cling. Keep them sealed.
The Sticking Problem, Diagnosed
When cupcakes stick, the cause is usually one of three things: the liner is too thin for the batter’s fat content, the cake was underbaked so the crumb never set, or the cupcakes cooled completely in the pan. A quick test: if the paper peels away in shreds, the liner is too thin. If the top of the cake tears off with the paper, the cake was underbaked or cooled in the pan.
There’s a practical parallel in troubleshooting hardware. When a laptop shows a black line down the screen, the fix depends on diagnosing whether the fault is the panel, the cable, or the driver, not on replacing the whole machine. The same logic applies here: identify which of the three causes is at work before changing your whole baking setup. The black line hp laptop screen causes, tests, and real fixes breakdown follows that same step-by-step diagnostic approach.
Do You Need Specialty or Decorative Liners?
Decorative liners are everywhere now: printed patterns, seasonal themes, pastel foil, tulip papers in every color. They’re fun, and for a party they’re worth it. But there are trade-offs worth knowing before you buy a hundred-count bag online.
Printed liners use food-safe inks, but the print can fade or bleed at high heat, especially on dark backgrounds. If you’re baking at 375°F or above, expect some color shift. Foil liners hold color beautifully and release cleanly, but they can’t go in the microwave and they cost two to three times as much. Tulip liners look impressive and contain messy batters well, but they need a deep pan or a sturdy sheet pan underneath, and they bake slightly differently because the taller paper insulates the sides.
The practical advice: buy a small pack of any decorative liner and test it with your actual recipe before committing to a large order for an event. Colors that look vibrant in the product photo can look washed out after twenty minutes in the oven.
Reusable Silicone Cups
Silicone cups are reusable, which appeals to anyone baking weekly. They release cleanly, handle high heat, and don’t need a muffin pan. The catch is that they don’t produce the same texture: silicone insulates the sides, so cupcakes bake up paler and softer with less edge browning. They also need to be greased lightly for the first few uses, and they hold onto odors if washed with strong detergent. For everyday baking they’re a solid choice. For a bake sale where you want that classic domed, golden cupcake, paper still wins.
How to Store and Handle Liners So They Last
Liners are cheap, but they’re not indestructible. A few habits keep a bulk pack usable for a year or more.
Keep them in the original resealable bag or a sealed container, away from the stove and dishwasher. Moisture is the enemy: damp paper tears along the pleats and clings to the cake. Stack them loosely rather than compressing a whole sleeve, because crushed pleats don’t spring back and a creased liner bakes lopsided. And keep them out of direct sunlight, which fades printed colors even before baking.
One more practical tip: separate liners before you start mixing. Trying to peel apart stuck-together papers with batter on your hands is a small disaster. Fan them out in the pan cups while the oven preheats.
When Cupcakes Don’t Come Out Right: A Quick Fix Guide
Some problems are liner problems, and some just look like them. Here’s how to tell the difference.
| Symptom | Likely cause | Fix |
|---|---|---|
| Paper peels off in shreds | Liner too thin for the batter | Switch to greaseproof or foil |
| Cake top tears off with the paper | Underbaked or cooled in pan | Bake longer; move to a rack at 5 minutes |
| Grease spots on the outside | Non-greaseproof paper with a rich batter | Use greaseproof liners |
| Liners collapsed inward | Liner too small for the pan cup | Match base diameter to the pan |
| Colors faded after baking | Heat-sensitive print | Use foil or bake at a lower temperature |
| Cupcakes stuck to the pan, not the paper | Overfilled cups | Fill two-thirds full |
If you’re planning a bake sale or a gift box and want to get the presentation right, think about the whole package the way you would with any small handmade gift. The best cupcakes near me roundup is a useful reference for what professional bakers do with liners and finishes, and it’s a good benchmark for how your home batch should look.
A Note on Cost and Value
A pack of 200 standard paper liners costs a few dollars. Greaseproof runs perhaps 20 to 40 percent more. Foil can double the price. Given that liners are one of the smallest line items in a baking budget, the sensible approach is to keep two types on hand: a large, cheap pack of standard paper for light batters and quick batches, and a smaller pack of greaseproof or foil for rich cakes and anything going out the door as a gift. That combination covers nearly every recipe without a cabinet full of half-used specialty packs.
Bulk buying makes sense only after you’ve tested a liner with your own recipes. A hundred-count bag of a liner that sticks is a hundred-count bag of frustration.
Conclusion
Cupcake liners are a small purchase with an outsized effect on how a batch turns out. The rules are simple once you know them: match the liner to the fat content of the batter, check the fit against your actual pan, fill two-thirds full, and get the cupcakes out of the pan within five minutes of baking. Decorative and foil liners are worth it for events, silicone cups are worth it for weekly bakers who don’t mind a softer crust, and greaseproof paper is the quiet workhorse for anything rich. Buy a small pack first, test it with your real recipe, and then commit to the bulk order. That single habit prevents most of the sticking, tearing, and fading that send good cupcakes to the trash.
Frequently Asked Questions
Are paper cupcake liners safe to bake in?
Yes. Standard paper liners sold for baking are designed for oven temperatures up to about 425°F. The main caveat is that thin paper can scorch at the high end of that range, especially on a dark nonstick pan, so keep an eye on the batch and use foil or greaseproof liners for very hot bakes.
Why do my cupcakes stick to the paper liner?
The usual causes are a liner that’s too thin for a rich batter, an underbaked cake, or cupcakes left to cool completely in the pan. Switch to greaseproof or foil liners for butter-heavy recipes, bake until a tester comes out clean, and move the cupcakes to a cooling rack after about five minutes.
Can I use cupcake liners without a muffin pan?
Not reliably. Paper liners need the metal cup for support, or they spread and collapse as the batter rises. If you don’t have a pan, use reusable silicone cups set on a sheet pan, or bake the batter as a sheet cake and cut it into squares.
What’s the difference between greaseproof and regular liners?
Greaseproof liners are treated so fat can’t pass through the paper. That keeps rich, buttery, or chocolate batters from leaving dark translucent patches on the outside of the wrapper. Regular paper liners are cheaper and fine for light, low-fat batters, but they show grease quickly.
Are foil cupcake liners better than paper?
Foil liners release cleanly, hold their color through baking, and handle dense batters well. They cost more and can’t go in the microwave. For everyday baking, greaseproof paper is usually the better value. For events and rich chocolate cakes, foil is worth the extra cost.
How should I store unused cupcake liners?
Keep them sealed in the original bag or an airtight container, away from the stove, dishwasher, and direct sunlight. Moisture makes paper liners tear and cling, and crushed pleats don’t spring back. Separate liners into the pan cups before you start mixing so you’re not peeling stuck papers with batter on your hands.