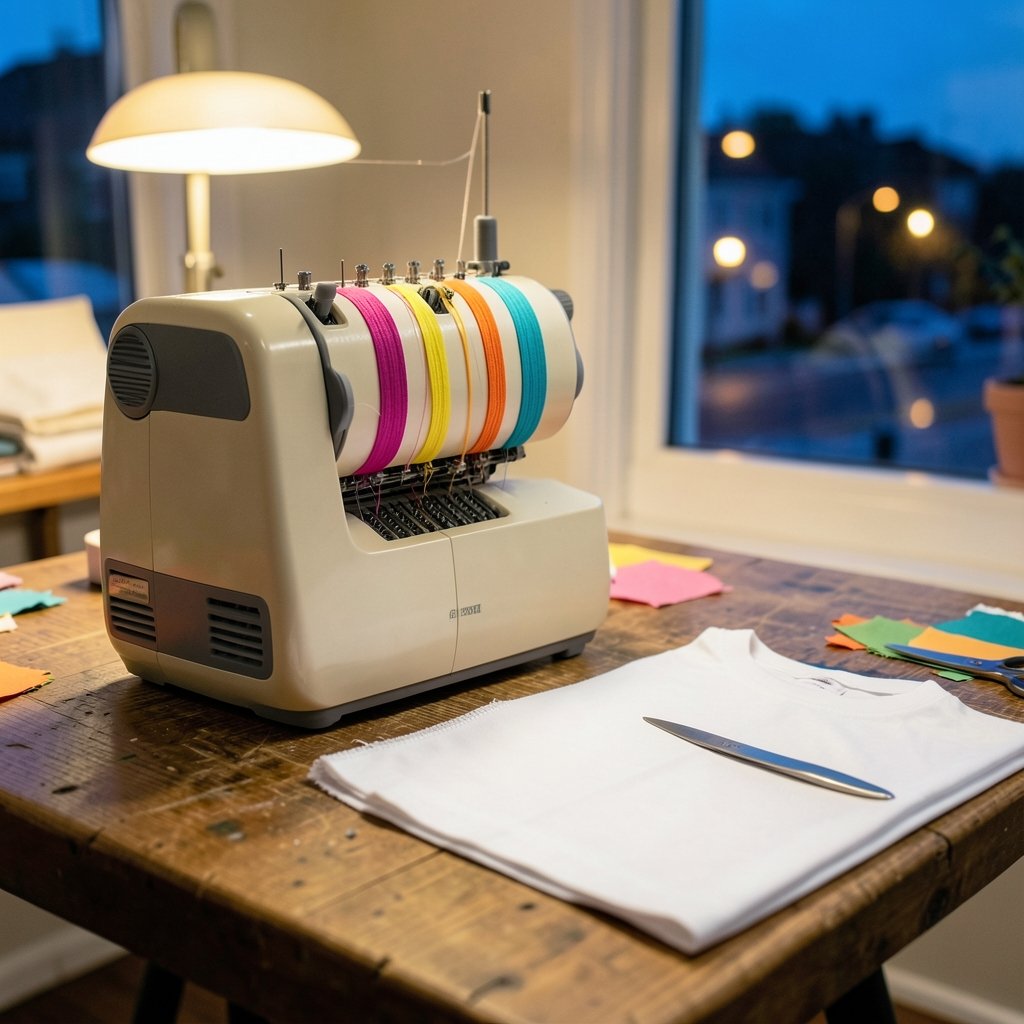
What if there were a machine that could sew a seam, trim the excess fabric, and wrap the raw edge all at the same time, in a single pass? That is exactly what a serger does. In the United States and Canada, sewists call it a serger. In the United Kingdom and Australia, the same tool goes by overlocker. Whatever the name, it is the machine that turns homemade clothing from “looks handmade” into “looks bought in a shop.”
This guide explains what a serger actually does, how it differs from a regular sewing machine, the thread setups that matter, and the mistakes that trip up almost every beginner. It also covers who genuinely needs one, who can safely skip it, and how to choose a model without overspending.
What a Serger Machine Actually Does
A serger is a sewing machine that joins fabric with an overlock stitch while simultaneously trimming the seam allowance and encasing the raw edge in thread. It uses three to five threads, sometimes two on specialty models. The result is a strong, stretchy seam with a clean, wrapped edge that will not fray.
That triple action (sew, trim, wrap) is the whole point. A conventional machine sews a straight line and leaves a raw edge that you then have to finish some other way: pinking shears, a zigzag stitch, or a French seam. A serger collapses three steps into one pass.
The core stitch belongs to what is called the 500-class stitch family, a numbering system used internationally to categorize stitch types. The overlock stitch and the machines that make it trace back to the Merrow Machine Company in the United States, which developed overedge machines in the late 19th century. Historians disagree on exact invention dates, so treat any single-year claim with a little caution.
Why the Edge Matters So Much
Fraying damages homemade clothes. Cut a piece of woven cotton and the edges start shedding threads almost immediately. Wash it a few times and seams begin to come apart. A serger handles this during construction, which is why it is standard equipment in garment production and increasingly common in home sewing rooms.
Serger vs Regular Sewing Machine: The Real Difference
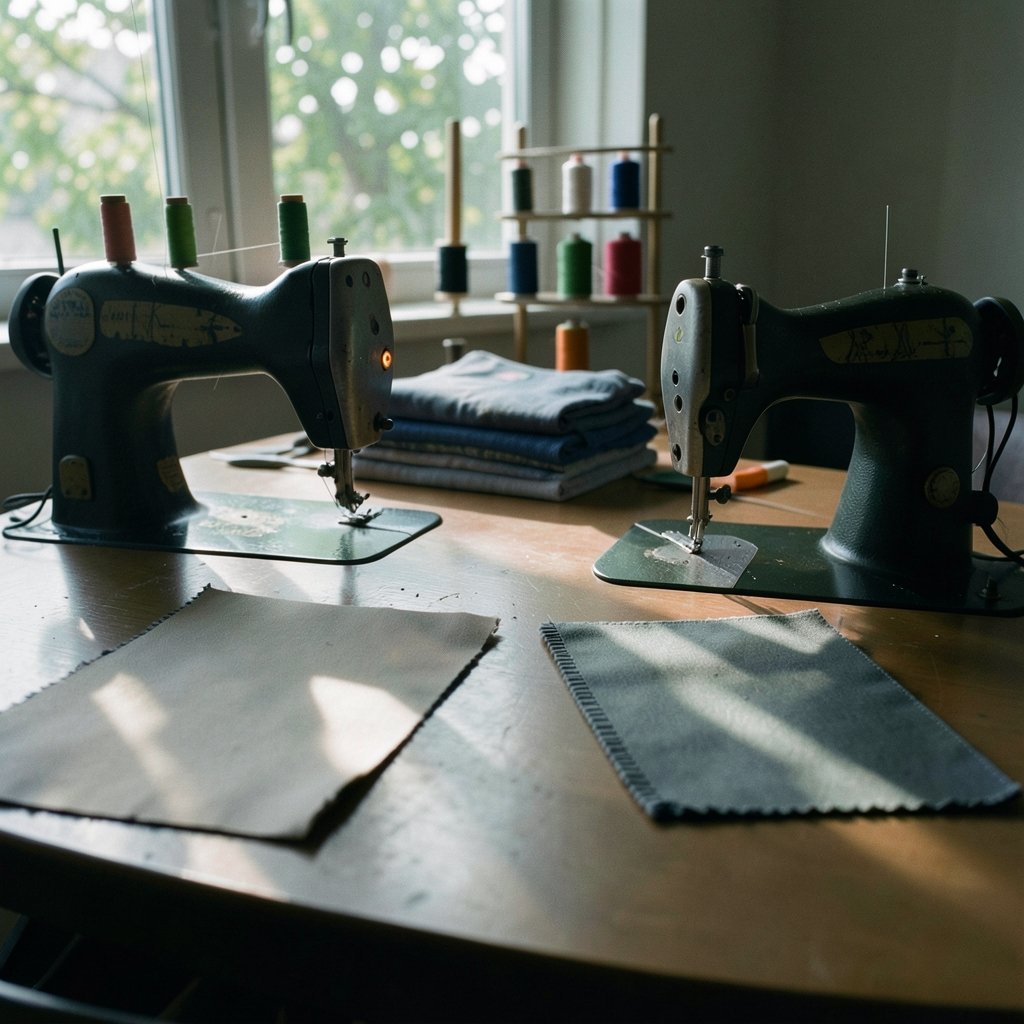
The most common misconception is that a serger replaces a sewing machine. It does not. A serger generally cannot produce a straight lockstitch or backstitch the way a conventional machine does. It is a finishing and seaming tool, not an all-in-one.
| Feature | Serger (Overlocker) | Regular Sewing Machine |
|---|---|---|
| Main job | Seam, trim, and finish edges in one pass | Straight seams, topstitching, buttonholes, zippers |
| Threads used | 3 to 5 (sometimes 2) | Usually 1 top + 1 bobbin |
| Stitch type | Overlock (500-class) | Lockstitch and decorative stitches |
| Stretch on knits | Excellent, built for it | Limited without a special stitch |
| Trims fabric | Yes, has a built-in blade | No |
| Backstitch | No | Yes |
| Best for | Edge finishing, knits, rolled hems | Everything structural |
Practical takeaway: most sewists who make clothes regularly end up owning both. If you are building a first sewing setup, the sewing machine comes first. The serger is the upgrade that makes garments look professional.
The Thread Setups: 3, 4, and 5 Thread Explained
Thread count is the first spec shoppers see, and it confuses people. Here is what each configuration actually does.
- 3-thread: The classic setup for overcasting raw edges and seaming. Light, fast, and enough for most knit and woven projects.
- 4-thread: Adds a safety stitch, so the seam is stronger and more secure. This is the workhorse setting for most garment sewing.
- 5-thread: Combines an overlock with a chainstitch, giving maximum durability for heavy-use seams. Common in production settings and heavier fabrics.
- 2-thread: A specialty setup used mainly for rolled hems and narrow edging. Many machines can be converted to it, but few people run it as their default.
A machine that supports 3 and 4 thread covers the vast majority of home projects. Five-thread capability is nice, but it adds cost and complexity that beginners rarely need on day one.
Differential Feed: The Feature Beginners Underrate
If there is one feature that separates a frustrating serger from a joy to use, it is differential feed. This mechanism controls how fast the front feed dogs move relative to the rear ones, which lets you stretch or gather fabric as it feeds through.
Why does that matter? Knits have a habit of stretching as they pass under the presser foot, which produces wavy, rippled seams. Differential feed corrects for that. Turn the dial one way and the machine gathers fabric slightly to prevent stretching. Turn it the other way and it creates deliberate gathering for ruffles and waistbands.
Many beginners buy a machine, fight wavy seams for a week, and blame the machine. Nine times out of ten, the differential feed dial is simply set wrong for the fabric. Learn that one dial and half your problems disappear.
Common Mistakes That Trip Up New Serger Owners
Sergers have a reputation for being fussy. Most of that reputation comes from a handful of avoidable mistakes.
Threading in the wrong order. Serger threading is sequential, and skipping a step or threading out of order causes skipped stitches or thread nests. The fix is simple: always thread in the exact order the manual specifies, front to back, and re-thread from scratch rather than trying to patch a mistake.
Forgetting the blade. The built-in trimmer cuts fabric as you sew. That is a feature, not a bug, but it means you must leave enough seam allowance. Many new owners trim too aggressively and end up with a seam that is too narrow. Practice on scrap fabric first.
Using the wrong needle for the fabric. A sharp needle on knits can cause skipped stitches and small holes. Match the needle to the material, and change it more often than feels necessary.
Skipping the tension test. Every new fabric deserves a test seam on a scrap. Tension settings that work on cotton jersey will misbehave on denim. Two minutes of testing saves an hour of seam ripping.
Expecting it to do everything. A serger will not sew on a button, insert a zipper, or backstitch. Keep the regular machine nearby.
Who Actually Needs One
A serger earns its place in specific situations. It is close to essential if you:
- Sew knit fabrics like jersey, ribbing, and ponte regularly
- Make garments and want professional-looking interior seams
- Produce the same item repeatedly, such as leggings, T-shirts, or children’s clothes
- Work with fabrics that fray heavily, like linen and loosely woven cotton
It is optional, possibly unnecessary, if you mostly quilt, make bags, do home decor projects, or sew occasionally with stable wovens. Quilters in particular often find a serger adds little, since quilting relies on precise straight seams and pressing, not edge finishing.
There is a middle path worth mentioning: many sewing shops and community studios rent time on a serger. Trying one for an afternoon before spending several hundred dollars is a genuinely smart move, and it is the same logic that applies when people weigh a big purchase like a home espresso setup: try before you commit, and match the machine to the actual job. The same principle of matching tool to task shows up in all kinds of buying decisions, from choosing the best espresso machine for home to figuring out which pod system suits your counter space with the best nespresso machine.
How to Choose a Serger Without Overspending
A few practical filters cut the market down fast.
Prioritize differential feed. Almost every modern serger has it, but confirm before buying. It is the single most useful feature for real-world sewing.
Check the threading system. Some machines use color-coded thread paths and air-jet threading that makes setup dramatically easier. If you are intimidated by threading, this is worth paying for.
Look at the blade and presser foot access. A swing-away foot and an easy blade disengage make rolled hems and flat locking far less annoying.
Consider the stitch count you will actually use. A solid 3/4-thread machine with good tension control beats a 5-thread machine with finicky settings for most home sewists.
Budget for thread. Sergers consume cone thread quickly and use three to five cones at once. Include that in the total cost along with the machine price.
The same “total cost, not sticker price” thinking applies to tech purchases, which is why buyers researching Azure virtual machine costs for small projects and businesses quickly learn that the headline rate is only part of the story. Tools that look cheap up front often carry ongoing costs, and a serger is no exception.
Serger Care and Maintenance Basics
A serger is a mechanical tool with a blade, and it rewards a little attention.
Clean the lint out of the machine after every few projects. Sergers generate more lint than regular machines because they trim fabric as they sew, and that debris accumulates around the blade and feed dogs. A small brush and a quick blow-out keeps tension consistent.
Oil the machine according to the manual. Some modern models are self-oiling or require minimal lubrication, but older mechanical sergers need regular oiling at marked points.
Replace the blade when cuts start looking ragged rather than clean. A dull blade drags fabric instead of slicing it, which throws off seam width and creates uneven edges.
Change needles often. A fresh needle solves a surprising share of skipped-stitch complaints.
Conclusion
A serger machine is not a magic upgrade that improves every sewing project. It is a specialized tool that does one thing exceptionally well: sewing, trimming, and finishing an edge in a single pass. For anyone sewing knits or making garments, that capability changes the quality of the finished piece and the speed at which it comes together.
The buyers who end up happy are the ones who understand the three-thread versus four-thread distinction, learn the differential feed dial early, and accept that a serger works alongside a regular sewing machine rather than replacing it. Get those basics right, practice on scraps, and the machine that once looked intimidating becomes the most-used tool in the room.
Frequently Asked Questions
What is the difference between a serger and an overlocker?
Nothing functional. They are the same machine under different regional names. “Serger” is the common term in the United States and Canada, while “overlocker” is standard in the United Kingdom and Australia. Both refer to a machine that sews, trims, and wraps an edge in one pass using multiple threads.
Can a serger replace a regular sewing machine?
No. A serger generally cannot make a straight lockstitch or backstitch, and it cannot sew on buttons, insert zippers, or do the structural work most projects require. It is a finishing and seaming tool. Most sewists keep both machines and use them for different jobs.
Do I really need a serger to sew knits?
You do not strictly need one, but it makes a large difference. Knits stretch, and a serger’s overlock stitch stretches with them while keeping the seam secure. A regular machine can handle knits with a stretch stitch, but the seams are slower to sew and less durable over repeated washing.
How many threads should a beginner serger have?
A 3-thread and 4-thread capable machine covers nearly everything a home sewist needs. Three threads handle edge finishing and light seaming, while four threads add a safety stitch for stronger seams. Five-thread machines are more capable but cost more and take longer to thread and adjust.
Why are my serger seams wavy?
Wavy seams on knits almost always trace back to the differential feed setting. Adjusting the dial slightly gathers or stretches the fabric as it feeds, which counteracts the stretching that causes ripples. Test on scrap fabric first, and also check that your needle matches the material.
Is a serger hard to learn?
The machine itself is straightforward once threaded. The real learning curve is threading in the correct sequence and understanding tension and differential feed. Most people become comfortable after a few practice projects on scrap fabric, and color-coded thread paths on modern machines make setup much easier than older models.