
What if the most expensive part of your new curtains isn’t the fabric, but the fact that they hang two inches too short? It happens constantly. People measure the glass, order fabric based on that number, and then discover the curtains don’t cover the edges of the window when closed. Or they measure once, in a hurry, and end up with a hem that pools on the floor on one side and floats on the other.
Measuring for curtains isn’t complicated, but it is unforgiving. The good news is that a tape measure, a pencil, and about twenty minutes will get you a result you can trust, provided you measure the right things in the right order. This guide walks through the whole process the way an experienced fitter would: hardware first, then width, then drop, then the fabric maths that turns those numbers into an order.
Start With the Hardware, Not the Window
The single most common mistake is measuring the window. Curtains don’t hang on glass; they hang on a track or a pole, and that hardware defines every number that follows. Before the tape measure comes out, decide what the curtains will hang from and where it will sit.
A pole usually extends beyond the window recess on both sides, with finials at each end. A track is typically fitted inside the recess or across the face of the wall. Both choices change the width you need to cover and the height from which the drop is measured. If you’re still deciding between the two, an overview of window treatments and how tracks, poles, and fittings differ is worth ten minutes before you commit.
Two practical rules apply here. First, the hardware should extend roughly 15 to 20 cm beyond each side of the window opening, so the curtains can be drawn clear of the glass and let in maximum light. Second, a pole or track fixed close to the ceiling makes a room feel taller than one sitting just above the frame. Decide this now, because moving a pole after you’ve ordered fabric is an expensive way to learn.
Measure the Width Across the Track or Pole
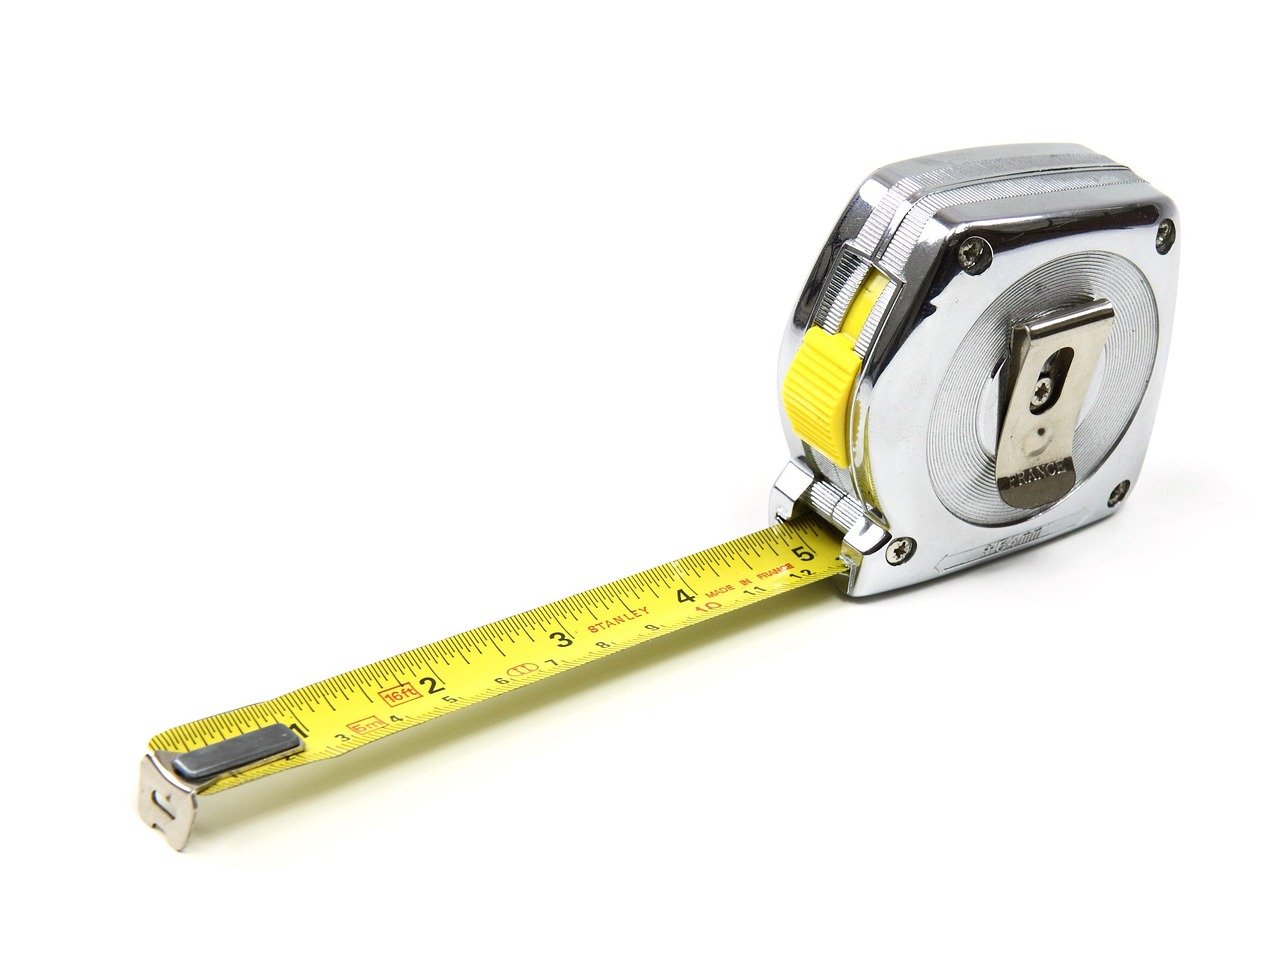
Once the hardware position is settled, measure its full width. For a pole, that means from the outer edge of one finial to the outer edge of the other, or more precisely the width between the points where the curtains will hang. For a track, measure end to end. If the track returns to the wall at each end, include those returns, because the curtains need to cover them.
This measurement is your track width, and it is not the width of fabric you buy. It is the span the finished curtains must cover when closed, plus enough extra to look generous when open. That brings in the next concept.
Work Out the Fullness Ratio
Curtains are gathered, pleated, or scrunched onto the hardware, which means the flat fabric is always wider than the space it covers. The fullness ratio (sometimes called the gather ratio) describes how much wider. A ratio of 2 means you need twice the track width in flat fabric.
| Heading type | Typical fullness ratio | Look it produces |
|---|---|---|
| Pencil pleat | 1.5x to 2x | Neat, economical, slightly formal |
| Pinch pleat | 2x to 2.5x | Tailored, deep folds, traditional |
| Eyelet | 1.75x to 2x | Soft, even waves, casual |
| Tab top | 1.5x to 2x | Relaxed, simple, less coverage |
| Wave or ripplefold | 2x to 2.5x | Uniform, contemporary, precise |
Treat these as ranges, not rules. Trade guides and retailers genuinely disagree on the exact figure, so check the instructions that come with your chosen heading before you order. A pencil pleat gathered at 1.5x looks mean and flat; the same heading at 2x looks full and generous. If in doubt, err toward more fabric, because you can always gather it tighter but you cannot add width later.
For a pair of curtains, divide the total fabric width by two so each panel is equal. A single panel covering the whole window works for narrow windows but looks lopsided on anything wider than about a metre.
Measure the Drop in Three Places
Length, or drop, is measured from the point where the curtain hangs to where you want it to finish. That starting point depends on the hardware: the top of the pole’s rings, the underside of the track, or the ceiling if the track is ceiling-fixed. Measuring from the wrong point is a classic error that throws the whole drop out by several centimetres. (Curtain)
Then decide the finish:
- Sill length ends just below the windowsill, usually 1 to 2 cm clear of it, so the fabric doesn’t crease on the sill.
- Below-sill finishes roughly 10 to 15 cm under the sill, a practical choice for radiators and busy rooms.
- Floor length ends 1 to 2 cm above the floor, which keeps the hem clean and stops it fraying.
- Puddling deliberately breaks onto the floor by 5 cm or more, a formal look that collects dust and needs regular attention.
Now the part most people skip: measure the drop at the left, centre, and right of the hardware. Floors and ceilings are rarely level, and a difference of 2 cm across a wide window is normal. Use the shortest measurement for a floor-length curtain so it never drags, or the longest if you want a consistent puddle. Note all three numbers and take the one that suits your chosen finish.
Add Allowances for the Heading and Hem
The number on your order form is the finished drop, which is the length of the curtain as it hangs, not the length of flat fabric you cut. Two allowances sit between those figures.
The first is the heading allowance. Eyelet and tab-top headings sit above the pole, so the fabric needs extra length above the eyelet line. Pleated headings need fabric above the rod line for the pleats to form. The second is the hem allowance, typically 10 to 15 cm at the bottom and a few centimetres at the top, though suppliers vary.
This is where a supplier’s own instructions beat any general rule. If you’re buying ready-made curtains, the stated drop is the finished drop and you simply match it to your measurement. If you’re having curtains made or making them yourself, give the maker your finished drop and let them add the allowances. Mixing the two up is how curtains end up 15 cm short.
Factor In Pattern Repeat
Patterned fabric adds one more calculation. The pattern repeat is the distance before the design repeats itself, and every cut length must be a whole number of repeats so the pattern lines up across panels. A fabric with a 32 cm repeat on a 220 cm drop means you may need to buy 224 cm per panel, not 220 cm. Large-scale patterns can waste a surprising amount of fabric, so check the repeat before you fall in love with a print.
Check the Fabric Width Before You Order
Curtain fabric usually comes in fixed widths, commonly around 137 to 140 cm, though this varies by supplier. That width determines how many drops (vertical lengths) you need per panel.
If your finished drop plus allowances is less than the fabric width, the fabric runs vertically and you need enough drops side by side to reach your total width. If your drop exceeds the fabric width, you’ll need to join lengths, which means a horizontal seam and a pattern that must match across it. That’s a job for a professional, and it changes the cost significantly.
A quick worked example makes it concrete. Say your track width is 200 cm, you want a 2x fullness ratio, and your finished drop is 220 cm. Total flat fabric needed is 400 cm, or 200 cm per panel. With 140 cm fabric, each panel needs two drops of 220 cm plus allowances, so roughly 4.6 metres per panel and 9.2 metres in total. That’s the number you take to the shop.
Practical Tips That Save a Return Trip
A few habits separate a smooth order from a frustrating one.
Measure in the units your supplier uses, and write everything down in one place with a sketch of the window. Photograph the sketch. Tape measures get misplaced and numbers get remembered wrongly. (Office of Weights and Measures)
Use a metal tape measure rather than a fabric one, and keep it straight and taut. A sagging tape can easily read 2 cm long over a 2.5 metre drop.
Measure the hardware as it will finally sit, not as it sits now. If the pole is going up next week, mark the intended position on the wall with pencil and measure from there.
Check for obstructions. Radiators, deep sills, window handles, and furniture all affect where curtains can hang. A radiator under a window usually rules out full-length curtains unless you choose a below-sill finish.
Finally, keep your measurements. If you move house or replace the curtains in five years, that sketch saves you repeating the whole exercise. The same discipline of measuring the thing that actually matters, rather than the thing that’s easiest to see, shows up in plenty of other technical fields. Anyone who has tracked how cloud refactoring metrics measure whether migration work actually paid off knows that measuring the wrong baseline wastes effort, and the same logic applies to cloud waste reduction metrics that measure idle spend rather than headline totals. It’s also why teams working with sensors learn to distinguish NDIR versus eCO2 sensors, direct measurement versus estimated values. In every case, the quality of the decision depends on the quality of the measurement.
Common Mistakes and How to Avoid Them
Most curtain disasters trace back to a short list of errors. Measuring the glass instead of the track is the most frequent. Forgetting the fullness ratio is the second, and it produces curtains that look flat and skimpy no matter how beautiful the fabric. Measuring the drop only once, in the middle, is the third, and it’s the reason so many floor-length curtains hover above the carpet on one side.
Others worth flagging: ordering before the pole is fitted, ignoring pattern repeat, and assuming all fabric comes in the same width. Each one is cheap to prevent and expensive to fix.
Conclusion
Measuring for curtains comes down to a sequence. Fix the hardware position, measure the full track or pole width, apply a fullness ratio that suits your heading, then measure the drop at three points and choose your finish. Add the heading and hem allowances, check the pattern repeat, and confirm the fabric width before you order.
Do that, and the curtains will hang the way you pictured them: covering the window fully when closed, stacking back neatly when open, and finishing exactly where you intended. It’s twenty minutes of careful work that decides whether the next decade of looking at that window makes you smile or wince.
Frequently Asked Questions
Should I measure the window or the curtain pole?
Measure the pole or track, not the window. Curtains need to cover the full hardware span, including any returns to the wall, so the glass width will always leave you short. If the hardware isn’t fitted yet, mark its intended position and measure from there.
How much wider than the window should curtains be?
The hardware should extend about 15 to 20 cm beyond each side of the window opening. The curtains themselves then need a fullness ratio of roughly 1.5x to 2.5x the track width, depending on the heading type. More fabric means fuller folds and better light blocking.
Where do I measure the drop from?
Measure from the point where the curtain actually hangs: the top of the pole rings, the underside of the track, or the ceiling for a ceiling-fixed track. Measure at the left, centre, and right, because floors and ceilings are rarely level, and use the shortest figure for floor-length curtains.
How much extra fabric do I need for hems and headings?
Hem allowances are typically 10 to 15 cm at the bottom plus a few centimetres at the top, and pleated or eyelet headings need extra length above the rod line. Suppliers vary, so always follow the specific instructions for your heading rather than a general rule.
Does pattern repeat affect how much fabric I buy?
Yes. Every cut length must be a whole number of pattern repeats so the design lines up across panels. A large repeat can add significant extra fabric per drop, so check the repeat figure before ordering a bold print.
Can I hang floor-length curtains over a radiator?
It’s possible but not advisable. Fabric draped over a heat source traps warmth, blocks the radiator’s output, and can discolour over time. A below-sill finish, ending around 10 to 15 cm under the sill, is the practical choice for rooms with radiators beneath windows.