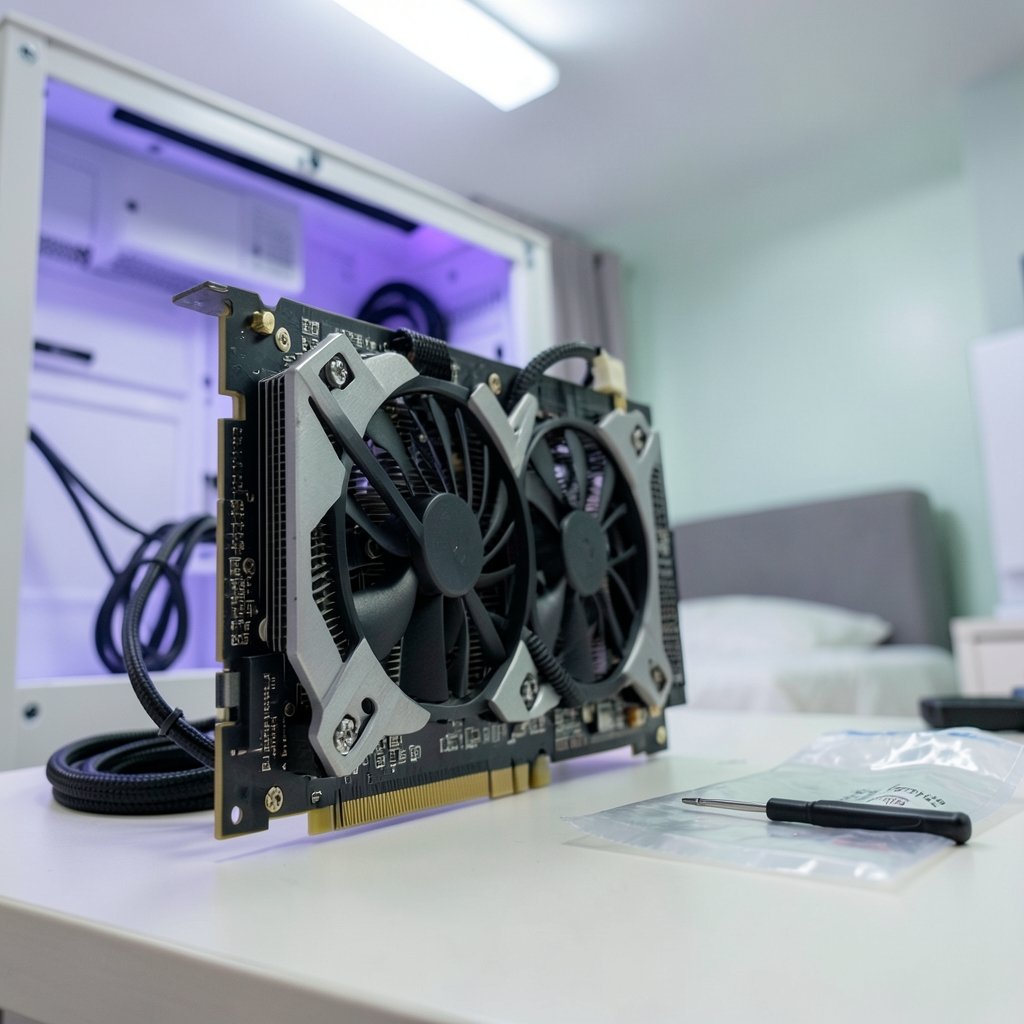
Roughly one in three PC enthusiasts who try GPU overclocking ends up reverting their settings within a week, according to community polling data that circulates on hardware forums. The reason is rarely a dead card. It is almost always instability, heat, or noise that makes the extra frames not worth the hassle. That tells you something important: overclocking a graphics card is not dangerous by itself. Doing it carelessly is what causes problems. (Overclocking)
The good news is that modern GPUs are remarkably self-protective. They throttle when hot, they crash when pushed too far, and they almost never die from a sensible tuning session. This guide walks through the whole process the way an experienced tinkerer would actually do it, with the mistakes flagged before you make them.
Why Modern GPUs Are Easier to Overclock Than You Think
Graphics processors have shipped with dynamic boost algorithms for over a decade. NVIDIA’s GPU Boost, introduced with the Kepler architecture in 2012, continuously adjusts clock speed based on power, temperature, and voltage headroom. AMD’s cards do something similar. What this means in practice is that your GPU is already overclocking itself every time you launch a game. Your job is simply to give it more room to work with.
That changes the strategy. On older cards, the goal was to raise the core clock as high as possible. On today’s power-limited designs, the biggest gains usually come from raising the power limit and lowering temperatures, not from chasing megahertz. A card that runs cooler will boost higher on its own than a hot card with an aggressive manual offset.
There is also a warranty tension worth naming up front. Most consumer GPU warranties exclude damage caused by operating outside specification, including overclocking. Yet NVIDIA ships the NVIDIA App and AMD ships Adrenalin, both with built-in tuning features. The tools are official; the risk is still yours. Treat overclocking as something you do deliberately, with monitoring, and you will almost never need to test that warranty clause.
Step 1: Check Your Thermals Before You Touch Anything

You cannot safely overclock a card that already runs hot. Before changing a single setting, establish a baseline. Run your favorite demanding game for 20 minutes and watch the GPU temperature, hotspot temperature, memory junction temperature, and fan speed.
If you are not sure how to read those sensors, this walkthrough on how to check gpu temperature in 13 steps covers the tools and the numbers that matter. As a rough community heuristic, core temperatures under about 85 °C and hotspot temperatures under roughly 100 to 105 °C are considered acceptable, but those are enthusiast rules of thumb, not official specifications. Check your card’s own spec sheet for the real limits.
If your baseline already sits near those ceilings, stop and fix cooling first. Clean the dust, improve case airflow, or repaste an older card. Overclocking a thermally saturated GPU just produces more noise and less performance.
Step 2: Pick the Right Software
You have three realistic options, and they are not equal.
| Tool | Who makes it | Best for | Notes |
|---|---|---|---|
| NVIDIA App | NVIDIA | Beginners on GeForce cards | Official, simple automatic tuning |
| AMD Adrenalin | AMD | Beginners on Radeon cards | Built-in auto-overclock and undervolt presets |
| MSI Afterburner | MSI (third party) | Manual tuning and monitoring | Works on most brands; pairs with RivaTuner for on-screen stats |
The vendor tools are the safest starting point because they use conservative, validated profiles. MSI Afterburner is the community standard for manual work because it exposes core offsets, memory offsets, power limits, voltage control, and fan curves in one place, and it has been actively maintained since 2009.
One practical tip: install only one tuning tool at a time. Running the NVIDIA App and Afterburner simultaneously can cause conflicting settings and confusing crashes that look like instability but are really software conflicts.
Step 3: Raise the Power and Temperature Limits First
This is the step most beginners skip, and it is the one that matters most on modern cards.
Open your tuning software and increase the power limit slider to its maximum. Do the same with the temperature limit if your tool exposes it. You are not forcing the card to draw more power; you are removing the artificial ceiling so the boost algorithm can use the cooling you already have.
Then run a stress test for 15 minutes and compare temperatures to your baseline. If the card gets significantly hotter, back the power limit down a notch. A modest power increase with stable temperatures beats a maximum power increase that turns your case into a space heater.
This is also the moment to set a sensible fan curve. The default curve is tuned for quiet, not for sustained boost. A curve that reaches 70 to 80 percent fan speed at high temperatures will usually buy you more performance than any core offset.
Step 4: Add Core Clock Offset Gradually
Now for the part everyone wants to do first. Increase the core clock offset in small increments, typically +25 MHz at a time. After each bump, run a short stress test or a demanding game for 10 minutes.
Watch for three failure signs:
- Visual artifacts such as flickering textures, colored dots, or geometry glitches
- Driver timeouts, where the screen goes black and the driver resets
- Hard crashes or reboots
When you hit one of these, drop back by 25 to 50 MHz and retest. The highest offset that survives a short test is your provisional maximum, not your final one. Long sessions reveal instability that short ones miss, which is why the next step exists.
If your card is older and you are considering a hardware change instead, the process of physically swapping a card is covered in this GPU upgrade and graphics card install guide.
Step 5: Tune Memory Separately, and Carefully
Memory overclocking is the sneaky one. Core instability usually announces itself with a crash. VRAM errors can corrupt data silently, producing artifacts or texture corruption without ever crashing the driver. That makes memory tuning harder to validate.
Change the memory offset in increments of +50 to +100 MHz, test after each change, and look specifically for texture flickering, stuttering that was not there before, or benchmark scores that drop despite higher clocks. A falling score is a classic sign of error correction kicking in and hurting performance.
Some cards respond well to memory tuning; others gain almost nothing because the memory is already fast enough. If you see no measurable improvement after a few increments, revert to stock and move on. There is no prize for a bigger number in a slider.
If you work with a high-end card and want to understand what deeper firmware-level changes can accomplish, this breakdown of the NVIDIA RTX 3090 BF16 firmware change explains the compute side, which differs from gaming overclocking.
Step 6: Stress Test Longer Than Feels Necessary
Here is where most people cut corners. A ten-minute test proves almost nothing. Run a proper loop of at least 30 minutes, ideally an hour, using a benchmark with a built-in stress test mode or a long gaming session in your most demanding title.
During the test, monitor four things: core clock stability, temperature, fan behavior, and whether the frame rate holds steady. A clock that fluctuates wildly or a frame rate that degrades over time both point to thermal throttling or instability.
Patience during this phase is what separates a stable overclock from a settings file you delete in frustration. If the card survives an hour without artifacts, crashes, or thermal throttling, you have something worth keeping.
Step 7: Consider Undervolting Instead
On many modern cards, the smarter move is not more voltage but less. Undervolting means finding the lowest voltage that holds a given clock speed reliably. The result is often the same performance at lower temperatures and lower fan noise, sometimes with a small performance gain because the card stays in boost longer.
The method is straightforward: fix a target clock slightly above stock, then lower the voltage curve step by step until instability appears, then raise it back slightly. Test the same way you tested the core offset.
This approach is widely recommended in enthusiast communities and is generally gentler on the hardware than pushing voltage upward. It is also the better choice for small-form-factor builds and laptops, where thermal headroom is tight.
Common Mistakes That Cause Real Problems
A few habits cause most of the trouble people report:
- Changing multiple settings at once. If you raise core, memory, and power simultaneously and the card crashes, you have no idea which change caused it. Change one variable at a time.
- Skipping the baseline. Without a before-and-after measurement, you cannot tell whether your overclock helped or just made noise.
- Ignoring the hotspot sensor. Core temperature can look fine while the hotspot is cooking. Always check both.
- Trusting a single benchmark. Different workloads stress different parts of the chip. Test with at least two.
- Forgetting to save a stable profile. Once you find a good configuration, save it in your tuning software so you can restore it after a driver update.
A Note on Laptops and Pre-Builts
Mobile GPUs are usually locked or heavily restricted. Many laptop designs do not expose voltage or power-limit controls at all, and some manufacturer tools block tuning entirely. If your laptop’s tuning software offers nothing but a fan profile, that is not a limitation you can work around safely. Desktop pre-builts sometimes ship with locked BIOS settings too, though third-party tools often still work.
How to Know When to Stop
Stop tuning when the gains become invisible. If an extra 25 MHz of core clock produces a benchmark difference within normal run-to-run variance, you have reached the point of diminishing returns. The same applies when temperatures climb faster than performance does.
The goal is a card that runs faster, cooler, and quieter than stock, not a screenshot of an impressive number. A conservative overclock you forget about is worth far more than an aggressive one you have to babysit.
Conclusion
Safe GPU overclocking comes down to a repeatable process: measure your baseline, raise the power and thermal limits, add core clock in small steps, tune memory separately, stress test for at least half an hour, and consider undervolting as an alternative to raw clock chasing. None of this requires special knowledge, and all of it is reversible.
The hardware is more forgiving than most people expect. The discipline is what most people lack. Follow the steps in order, change one thing at a time, and you will end up with a faster card and a machine that stays stable for years.
Frequently Asked Questions
Is GPU overclocking actually safe?
For most desktop cards, yes. Modern GPUs have thermal and power protections that throttle or shut down before permanent damage occurs. The realistic risks are instability, crashes, and voided warranty coverage rather than a dead card.
How much performance can I expect from a safe overclock?
Typically somewhere between 3 and 10 percent in games, depending on the card and how much thermal headroom you have. Cards that are already power-limited tend to gain less from core offsets and more from better cooling.
Does overclocking void my warranty?
Most consumer GPU warranties exclude damage caused by operating outside specification, and overclocking generally falls into that category. The tools are officially provided, but the risk remains with the user. Check your specific manufacturer’s terms.
What temperature is too hot for an overclocked GPU?
There is no universal number, because limits are set per model by the vendor. As a community heuristic, keep the core under roughly 85 °C and the hotspot under about 100 to 105 °C, and always confirm against your card’s published specifications.
How long should I stress test an overclock?
At least 30 minutes, and an hour is better. Short tests miss instability that only appears after the card heat-soaks. Run a second test in a different workload to catch problems one benchmark might not trigger.
Should I overclock the core or the memory first?
Core first. Core instability usually crashes or shows artifacts quickly, which makes it easy to diagnose. Memory errors can corrupt data silently, so tune memory only after the core is stable and verified.