
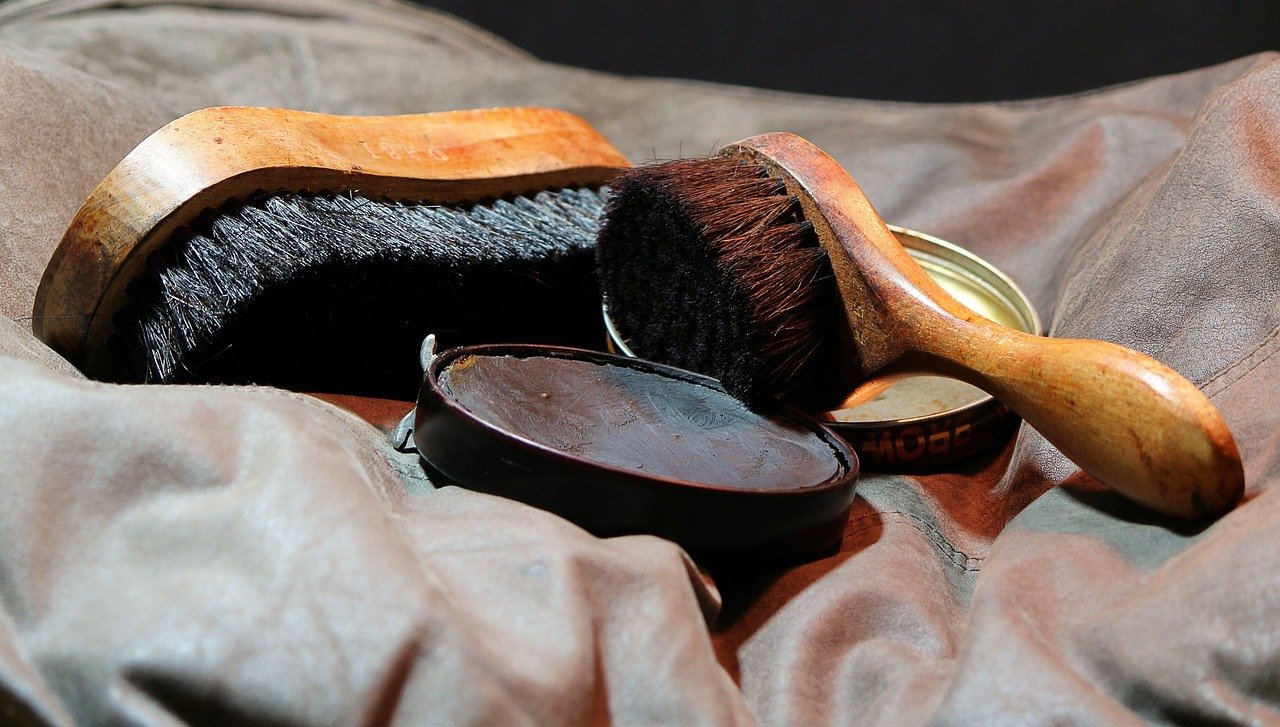
When was the last time someone glanced down at your shoes and you felt a small pang of regret? Maybe the leather is scuffed, dull, or crusted with old salt stains from last winter. The good news: a proper shine is not a mystery reserved for professional cobblers. Anyone with twenty minutes, a few basic supplies, and a bit of patience can make a tired pair of shoes look nearly new again.
This guide walks through the full process, from choosing the right polish to the final buff. It also covers the mistakes that quietly ruin leather, how to handle suede and patent finishes, and the small habits that keep shoes looking sharp for years.
Why Bother Polishing Shoes at All?
A polish isn’t just cosmetic. Leather is skin, and like skin it dries out, cracks, and loses flexibility when it’s neglected. Conditioners, many of which are built on lanolin, beeswax, or oils, help keep the material supple, which reduces the chance of deep creases turning into permanent cracks. A wax-heavy polish also adds a thin protective layer that shrugs off light rain and keeps dirt from settling into the grain.
There’s a practical angle too. Rotating shoes and storing them with shoe trees to absorb moisture and hold their shape is a long-standing recommendation in shoemaking and leather-care traditions. Polishing fits into that same upkeep routine. A pair that gets cleaned and conditioned regularly simply lasts longer than one that gets shoved into a closet wet and forgotten.
What You Actually Need
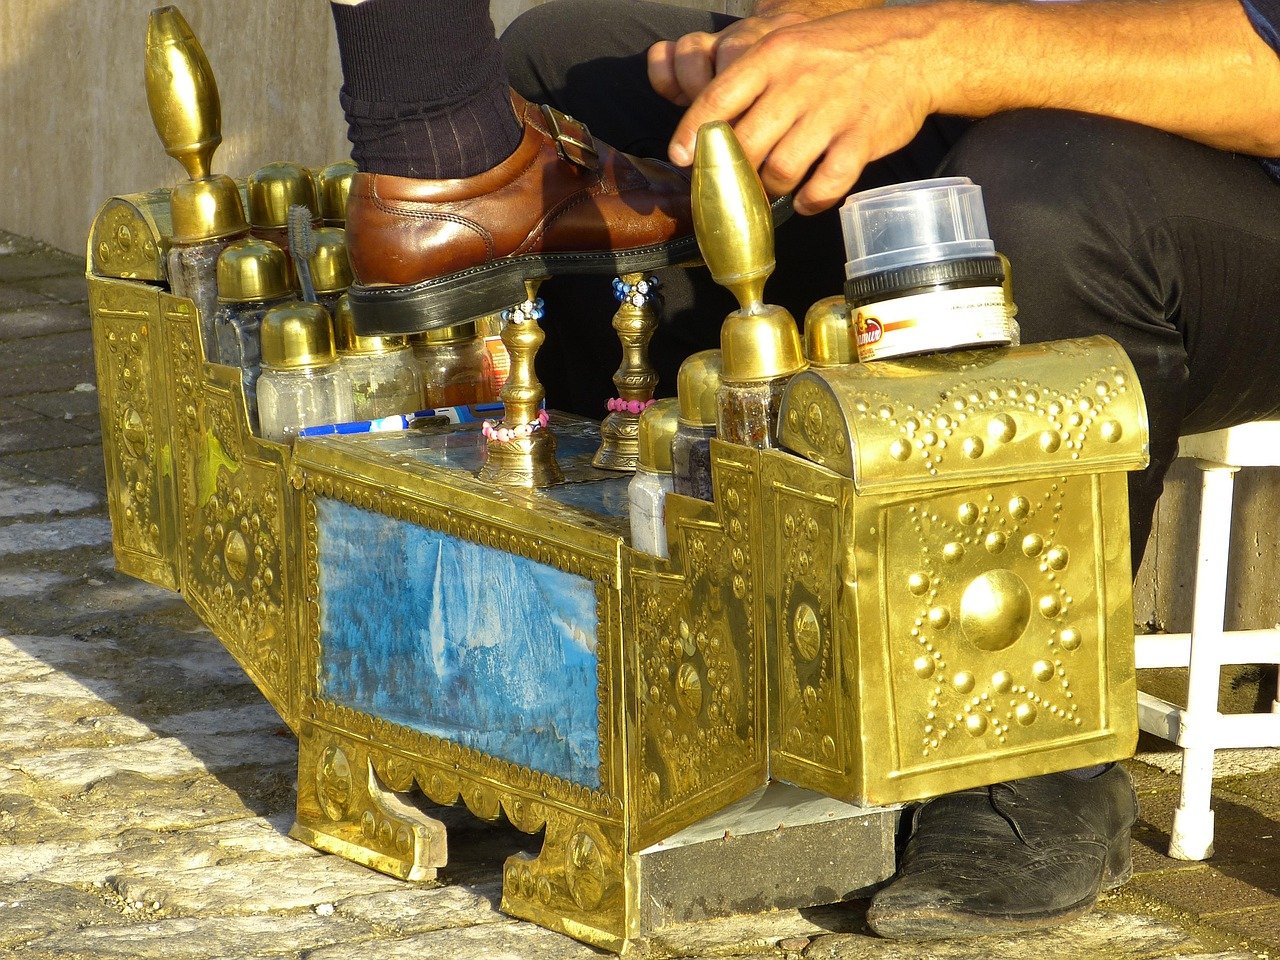
You don’t need a wall of products. A basic kit covers almost everything:
- A horsehair brush for dusting and buffing. One brush for cleaning, ideally a separate one for polish.
- A soft cloth or cotton rag for applying product and wiping away excess.
- Saddle soap or a dedicated leather cleaner for the cleaning stage.
- Leather conditioner to feed the material.
- Polish in the right form and color for your shoe.
- Shoe trees, ideally cedar, to hold shape and pull out moisture.
An old toothbrush helps with the seam between the upper and the sole, where grit loves to hide. Skip the temptation to use paper towels; they shed fibers and can leave lint stuck in the polish.
Step 1: Clean Before You Polish
This is the step most people skip, and it’s the one that matters most. Polishing over dirt and grit traps abrasive particles against the leather. Every time the shoe flexes, those particles grind against the finish. Over months, that creates a dull, scratched surface that no amount of buffing will fix.
Start by removing the laces and setting them aside. Brush off loose dust and mud with a dry brush. Then work saddle soap or a leather cleaner into a damp cloth and wipe down the whole upper, including the sides and the area around the sole. Don’t soak the leather; a damp cloth is enough. Wipe away the lather with a clean, barely damp cloth and let the shoes air dry at room temperature.
Common mistake: drying shoes near a radiator, heater, or in direct sun. Heat pulls moisture out too fast and can stiffen or crack the leather. Air drying takes longer, but it’s the safe route. Stuffing the toes with newspaper helps absorb internal moisture while the shoes dry.
Step 2: Condition the Leather
Once the shoes are completely dry, apply a thin layer of conditioner with a cloth or your fingers. Work it in small circles, paying attention to flex points where creases form. Let it soak in for ten to fifteen minutes, then brush off any excess.
Conditioner is the step people forget when they’re focused on shine. A mirror finish on dry, brittle leather looks good for a week and then starts flaking. Feeding the leather first gives the polish something healthy to sit on.
How often you condition depends on wear and climate. Shoes worn daily in dry winter air need it more often than a pair that comes out for weddings. A reasonable rule of thumb is every few weeks for daily wearers and every couple of months for occasional pairs. (OSHA Chemical Data)
Step 3: Choose the Right Polish
Not all polish behaves the same way, and the right choice depends on what you want from the shoe.
| Type | What it does | Best for |
|---|---|---|
| Wax polish | Builds a hard, glossy layer; adds water resistance | Dress shoes, boots, a high-shine finish |
| Cream polish | Penetrates and conditions while adding moderate shine | Everyday leather shoes, dry or older leather |
| Liquid polish | Quick, thin coating with a fast shine | Touch-ups on the go |
| Paste polish | Dense wax blend; slow to apply but long-lasting | Building depth and a durable finish |
A widely repeated trade distinction holds that wax-heavy polishes give a harder, glossier shine and more water resistance, while cream polishes penetrate and condition more. Many people use both: cream first to feed the leather, wax on top for protection and shine. Liquid polishes are fine for a quick refresh but don’t build much depth.
Color matters less than people think for neutral or dark shades, but matching the polish to the shoe is still the safe choice. When in doubt, a neutral polish works on most colors without risking a tint mismatch.
Step 4: Apply in Thin Layers
Wrap a cloth around two fingers, or use a dedicated polish applicator, and pick up a small amount of polish. Work it into the leather in small circular motions, covering the whole upper in an even, thin coat. Pay attention to the toe and heel, which take the most abuse.
Then stop. Let the first coat dry for ten to fifteen minutes before deciding whether a second is needed. Multiple thin coats buffed between applications generally outperform one thick coat, which tends to stay tacky, attract dust, and crack along flex lines. Two or three thin layers build a far better finish than a single heavy smear.
Common mistake: slathering on polish to speed things up. It doesn’t speed anything up. It creates a gummy layer that’s hard to buff and collects dirt.
Step 5: Buff to a Shine
Once the polish has dried to a light haze, it’s time to buff. Take a clean horsehair brush and work it briskly across the whole shoe in quick back-and-forth strokes. The friction warms the wax slightly and brings up the gloss. For extra shine on the toe and heel, follow with a soft cloth buffed in fast, light circles.
If you want a mirror finish, the old technique is to apply a tiny amount of polish with a drop of water and buff in small circles until the surface goes glassy. It takes patience, and it works best on smooth leather with a tight grain.
Handling Different Materials
Smooth leather is the easy case. Other finishes need a different approach, and using wax on the wrong material can cause real damage.
Suede and nubuck are not polished with wax at all. They’re brushed with a suede brush to lift the nap and treated with a protectant spray to guard against water and stains. A wax polish would mat the surface into a stiff, shiny patch that’s very hard to reverse.
Patent leather is typically wiped clean with a damp cloth and buffed with a soft, dry one rather than waxed. Patent has a factory-applied coating, and wax can cloud it or leave streaks.
Exotic leathers and heavily grained finishes vary widely. When unsure, test any product on a small, hidden area first.
For anyone working with metal hardware or thinking about how to polish stainless steel without wrecking the finish, the same principle applies: match the product to the surface, and go gently before going aggressively.
Step 6: Re-lace and Protect
Thread the laces back through, working from the bottom up. If the laces are frayed or stained, this is a cheap moment to replace them; new laces make an old pair look noticeably fresher. Finish with a light mist of water-and-stain protector if your shoes will see rain or slush, and let it dry fully before wearing. (National Institute of Standards and Technology)
The Mistakes That Undo Good Work
A few habits quietly cancel out the effort of polishing:
- Skipping the cleaning stage. Grit trapped under polish acts like sandpaper over time.
- Using too much product. Thick layers stay sticky and crack.
- Drying shoes near heat. Fast drying stiffens and cracks leather.
- Polishing dirty soles and welts. Clean the whole shoe, including the soles and welts, before polishing.
- Storing shoes damp. Moisture left inside breeds odor and breaks down lining and leather.
- Ignoring the label on solvent-based products. These should be used in a well-ventilated area, and specific safety and labeling rules vary by country, so read the instructions rather than assuming.
How Often Should You Polish?
There’s no single rule, but a workable rhythm exists. Wipe shoes down after each wear, brush off dust weekly, and do a full clean-and-polish every few weeks for shoes worn regularly. Occasional pairs can go a season or more between full treatments, though they should still be cleaned before being stored away.
The bigger habit that protects shoes is rotation. Wearing the same pair every day doesn’t give the leather time to dry out between wears. Alternating two pairs and using shoe trees extends the life of both more than any single product can.
Conclusion
Polishing shoes is one of those small chores that pays back far more than it costs. The process is simple: clean thoroughly, condition the leather, apply thin layers of the right polish, buff with a brush, and store the shoes properly. The details that separate a good shine from a bad one are mostly about patience. Let shoes dry at room temperature. Don’t rush the layers. Match the product to the material, and skip the wax entirely on suede and patent finishes.
Twenty minutes of careful work can take a scuffed, tired pair and make it look like it just came out of the box. And once the routine is in place, keeping shoes sharp stops feeling like a chore and starts feeling like simple maintenance, the same way you’d clean a good pan or oil a wooden table. The shoes last longer, the shine holds up better, and the person wearing them stands a little taller.
Frequently Asked Questions
Can I use the same brush for cleaning and polishing?
It’s better to use two. A cleaning brush picks up grit and dirt, and if you then use it on polish, you can drag those particles across the leather. Keep one horsehair brush for dust and dirt and a second for buffing polish.
How long should polish dry before buffing?
Most polishes need about ten to fifteen minutes to dry to a light haze. If the surface still feels tacky, give it more time. Buffing too early smears the polish instead of bringing up a shine.
Can I polish shoes without conditioner?
You can, but it’s not ideal. Polish sits on the surface, while conditioner feeds the leather underneath. Skipping conditioner on dry or older leather means the polish has a brittle base, and the finish will flake sooner.
What should I do about salt stains from winter?
Salt stains need to be dissolved and lifted out, not polished over. A cloth dampened with a mild vinegar-and-water solution can help break down the salt, followed by a wipe with clean water. Let the shoes dry fully at room temperature, then condition and polish as usual.
Is it safe to polish suede?
No. Wax and cream polishes mat the nap of suede and nubuck and leave a stiff, shiny patch that’s very hard to undo. Suede is cleaned with a dedicated suede brush and protected with a spray, not polished.
Do I need to polish new shoes?
New leather shoes usually benefit from a light conditioning and a thin coat of polish before the first wear. It adds a protective layer before the shoes meet rain, salt, and pavement, which helps the finish hold up longer.



