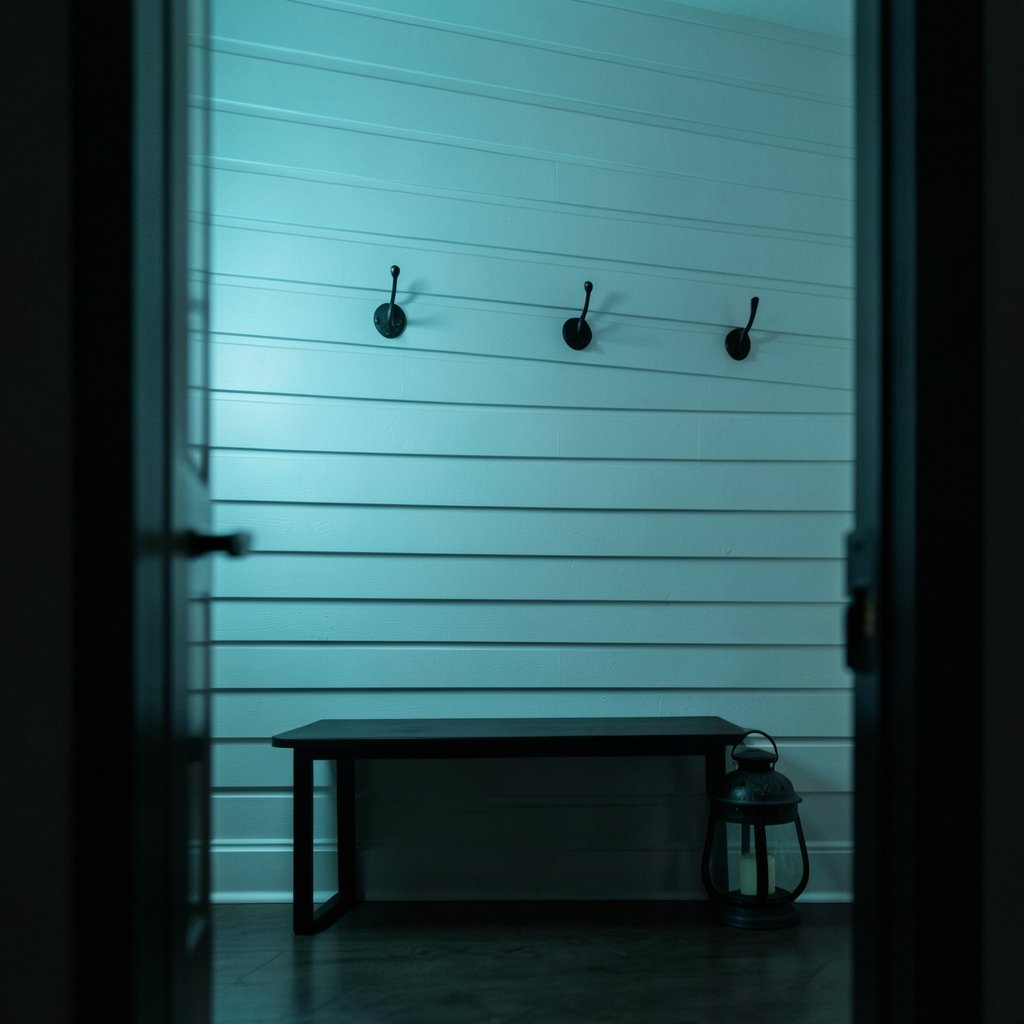
Ever walked into a room and noticed a wall with clean horizontal lines and soft shadow gaps, and wondered what that material was? That’s shiplap, and it has moved from barn exteriors and old farmhouses into kitchens, bathrooms, and living rooms across the country. But before you order a stack of boards, it helps to know what you’re actually buying.
Shiplap panels are boards with a stepped, rabbeted edge that lets each piece overlap the next, creating a flush joint with a thin, deliberate shadow line. That simple detail is the whole appeal. It looks handmade, it hides minor movement in the wood, and it installs with basic tools. The catch is that “shiplap” gets used loosely in stores and online, so a little knowledge saves you from buying the wrong product.
What Makes a Board Shiplap?
The defining feature is the profile, not the material. Each board has a notch cut along one edge and a matching lip on the other. When the lip sits over the notch, the boards overlap instead of butting together. The result is a joint that sits nearly flush with a small recessed groove running the length of the wall.
That groove is the signature look. It also does real work. The overlap allows slight seasonal expansion and contraction without opening a visible gap, and it helps shed water on exterior applications. Compare that to a plain butt joint, which telegraphs every bit of movement, and you can see why the profile has survived for well over a century.
A quick word on terminology, because it trips people up constantly. Shiplap is not the same as tongue-and-groove, where a tab on one board slots into a groove on the next, locking them together. It’s also not board-and-batten, where narrow strips cover the seams between wide boards. Retail listings mix these up all the time. If the product photo shows an interlocking tab rather than a stepped overlap, you’re looking at tongue-and-groove, no matter what the label says.
A Short History Behind the Look
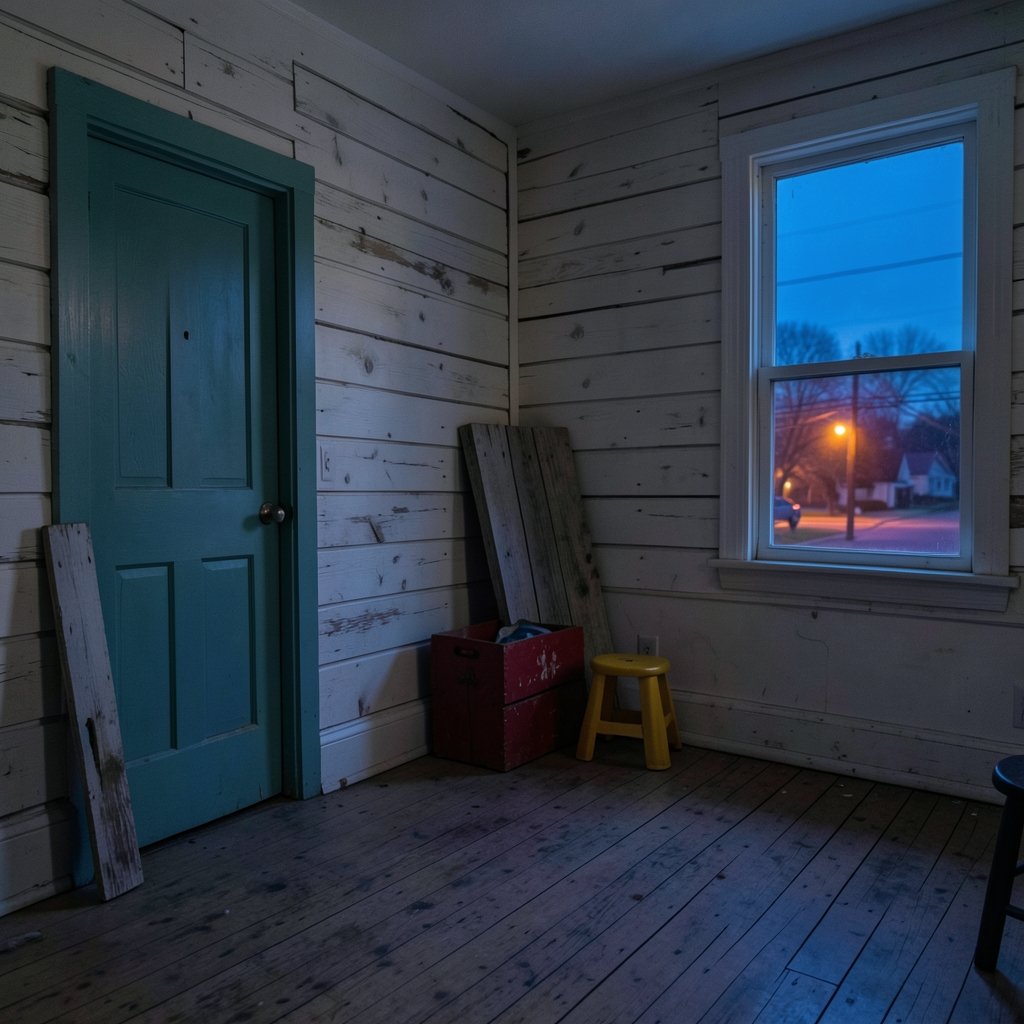
Shiplap-style boards were used in boat hulls long before they showed up on houses, where overlapping planks shed water and stayed tight. Builders later adapted the profile for exterior siding and sheathing on North American homes in the 19th and early 20th centuries. In many old houses, those boards were hidden under siding or plaster, doing structural and weatherproofing work rather than decorative work.
The modern interior trend is much newer. Shiplap as a visible wall finish took off in American residential design during the 2010s, helped along by home-renovation television. The appeal was partly practical and partly emotional: it read as farmhouse, coastal, or simply warm, and it covered a wall fast. Today it shows up in entryways, fireplace surrounds, bathroom vanities, and bedroom accent walls.
Which Material Should You Pick?
Walk down the paneling aisle and you’ll see pine, cedar, MDF, and PVC sitting side by side, often at wildly different prices. They behave very differently once installed.
| Material | Best for | Watch out for |
|---|---|---|
| Pine | Interior accent walls on a budget | Knots, sap, and movement; needs sealing |
| Cedar | Exterior use and moisture-prone rooms | Cost; still needs a drainage plane behind it |
| MDF | Painted interior walls with crisp lines | Swells if it gets wet; heavy |
| PVC or composite | Bathrooms, laundry rooms, humid spaces | Can look flat; limited color options |
Solid wood takes paint and stain beautifully and can be sanded back if you change your mind. It also moves with humidity, which is why the overlap profile matters so much. MDF gives you a perfectly smooth, consistent surface and takes paint like a dream, but water is its enemy. PVC solves the moisture problem and is genuinely useful in a shower surround, though it can read a bit plasticky under certain lighting.
The practical rule: match the material to the room’s moisture level, not to the photo you saw online. A pine wall in a steamy bathroom will cup and swell. A PVC wall in a dry living room is money spent on a problem you don’t have.
Measuring and Planning Before You Buy
Most of the frustration people report with shiplap comes from skipping the planning step. A few minutes with a tape measure and a pencil prevent most of it.
- Measure the wall’s width and height in several places. Walls are rarely perfectly square, and older houses can be off by an inch or more across a single wall.
- Decide the reveal, meaning how much of each board’s face shows once the next board overlaps it. A common reveal is around 6 to 8 inches, but the board width and your ceiling height should drive the choice.
- Calculate board count by dividing the wall height by the reveal, then add 10 to 15 percent for waste, corners, and mistakes.
- Plan your layout from the top down or bottom up so the final course isn’t a sliver. Nobody wants a two-inch strip at eye level.
- Mark the stud locations. You’ll need them, and finding them after the first board is up is a bad afternoon.
One more decision worth making early: horizontal or vertical. Horizontal is the classic look and reads as calm and wide. Vertical shiplap makes low ceilings feel taller and works well in narrow spaces. Neither is wrong, but pick before you cut.
Installation Steps That Actually Work
The installation itself is friendly to confident beginners. The sequence matters more than the speed.
- Remove or cover existing trim, and check the wall for high and low spots. A straight edge dragged across the surface reveals bumps that will show through thin boards.
- Install furring strips or a plywood backer if the wall is uneven, or if you need a nailing surface where studs don’t line up.
- Snap a level chalk line for your first course. Everything above it inherits that line’s accuracy, so don’t rush this.
- Fasten the first board with nails driven into studs, using two nails per stud and keeping them near the top and bottom edges where the next board will cover them.
- Seat each following board by pushing the lip firmly into the notch. A block and a mallet help close stubborn joints without denting the face.
- Check level every few courses. Small errors compound fast across a wide wall.
- Trim out corners, windows, and the top and bottom edges with matching trim, which also hides your least perfect cuts.
The most common mistake is nailing through the exposed face instead of the part that gets covered. Those nail heads will sit right in the shadow line, and filling them cleanly is far harder than avoiding them. The second most common mistake is skipping the level check after the first course, which is how a wall ends up visibly sloped by the time you reach the ceiling.
If you’re managing this as part of a larger infrastructure change, the same discipline that keeps a wall straight keeps a platform predictable: treat the source of truth as fixed, then let everything build from it. Teams doing that at scale often borrow ideas from a GitOps practice where infrastructure is shipped from Git as the source, and the underlying habit, verify before you build on it, transfers to carpentry more than you’d expect.
Finishing, Painting, and Sealing
Finishing is where shiplap earns its keep or loses it. Bare wood needs sealing before it goes anywhere humid, and painted walls need the right prep.
Fill nail holes with a sandable filler, then sand flush once dry. Caulk the joints where the panels meet trim, not between the boards themselves, since the shadow lines should stay visible. Prime bare wood, especially knots, with a stain-blocking primer or the sap will bleed through the topcoat within months. Then apply two coats of your chosen finish.
For a natural wood look, a matte polyurethane or hardwax oil keeps the grain visible without the plastic sheen. For painted walls, a satin or eggshell finish wipes clean without highlighting every imperfection the way high gloss does. In bathrooms, seal every cut edge, because end grain is where moisture gets in first.
Shiplap Outdoors and in Wet Rooms
Genuine shiplap joints are not watertight. That single fact governs every exterior decision. Overlapping boards shed most water, but wind-driven rain will find its way behind them, so exterior installations need a proper drainage plane and flashing behind the cladding. Skipping that step is how you get rot you can’t see until it’s expensive.
Inside the house, the same logic applies at a smaller scale. A shiplap wall behind a freestanding tub will get splashed. A wall inside a shower will get soaked. In those spots, PVC or a well-sealed composite makes more sense than pine, and a waterproof membrane behind the panels is not optional. If you’re weighing how much material choice really matters for a finished surface, the same reasoning that guides people picking a display for a specific use case applies here: match the spec to the actual conditions, not to the marketing photo. That’s the thinking behind guides on how to choose a gaming monitor that matches the panel you actually play on, and it holds for wall panels too. (Cloud refactoring implementation steps that actually ship)
Common Mistakes Worth Avoiding
A few patterns show up again and again in real installations.
Buying by the box without checking the profile is the big one. Confirm the boards actually have the stepped overlap before you commit, because returning a pallet of paneling is nobody’s idea of a good weekend.
Ignoring the wall behind the wall is another. Shiplap hides problems; it doesn’t fix them. Water intrusion, loose plaster, and out-of-square framing all get worse under a new layer of boards.
Over-tightening joints is a quieter mistake. Boards need a little room to move. If you force every joint closed with a mallet and then nail it rigid, the wall will telegraph every seasonal shift as a crack in the paint.
And finally, skipping the layout dry run. Laying boards on the floor in the order they’ll go on the wall takes ten minutes and catches mismatched widths, bad boards, and a sliver course at the ceiling before anything is nailed.
Conclusion
Shiplap panels are one of the more forgiving ways to add texture and character to a wall, provided you understand what you’re buying. The profile creates the look, the material determines where it can live, and the planning determines whether the finished wall reads as intentional or improvised. Measure carefully, choose a material that suits the room’s moisture, fasten into the covered edge rather than the face, and check level as you go. Do those things and the shadow lines will do the rest.
Frequently Asked Questions
What is the difference between shiplap and tongue-and-groove?
Shiplap uses a stepped, rabbeted edge so boards overlap and leave a visible shadow line. Tongue-and-groove uses an interlocking tab and slot that locks boards tightly together with no deliberate gap. They look different and install differently, even though retailers sometimes use the names interchangeably.
Can shiplap panels be used in a bathroom?
Yes, but material choice matters. Solid wood can cup and swell in humid rooms, so PVC or a well-sealed composite is usually the safer pick. Whatever you choose, seal cut edges and use a waterproof membrane behind the panels in wet zones like showers.
How much shiplap do I need to buy?
Divide the wall height by your chosen reveal to get the number of courses, multiply by the wall width to get total area, then add 10 to 15 percent for waste, corners, and miscuts. Always round up rather than down, and buy from a single batch so the boards match.
Do you have to remove drywall before installing shiplap?
No. Shiplap can go directly over drywall, as long as the surface is reasonably flat and you can locate studs or add furring strips for a nailing surface. If the wall is badly out of square or has moisture damage, fix that first rather than covering it.
Should shiplap be installed horizontally or vertically?
Horizontal is the traditional look and makes a room feel wider. Vertical installation draws the eye upward and can make low ceilings feel taller. Both work well; the choice comes down to the proportions of the room and the style you’re after.
How do you hide the nails when installing shiplap?
Drive nails through the portion of each board that the next board will cover, so the fasteners disappear under the overlap. If a nail does end up on a visible face, fill it with sandable wood filler, let it dry, sand flush, and touch up the finish.