Can an adult who has never put their face in the water really learn to swim? Yes, and thousands do every year. The trick is not talent or youth. It is a sequence: get comfortable, learn to float, add a kick, then build a stroke. Skip a step and panic fills the gap. Follow the order and the water starts to feel less like an enemy and more like a floor that moves.
This guide walks through that sequence in plain language. It covers the skills that matter most, the mistakes that stall beginners, and how to practice safely.
Why Water Comfort Comes Before Technique
Most adults who “can’t swim” can actually move through water. What stops them is a reflex: the moment water touches the face, breathing tightens and the body stiffens. That reflex is learned, and it can be unlearned.
So the first sessions should have almost no technique in them. Stand in chest-deep water. Walk. Bob up and down and breathe out through the nose or mouth as the chin dips. Splash the face. Blow bubbles. The goal is a simple one: teach the nervous system that water on the face does not mean danger.
This is not a soft approach. It is how formal learn-to-swim programs are built. Curricula typically start with breath control, submersion, and floating before any stroke work appears, because a swimmer who panics cannot hold an aligned body position or time a breath.
The Foundational Skills, in Order
Think of swimming as a stack. Each layer holds up the next one.
| Stage | Skill | What it develops |
|---|---|---|
| 1 | Breath control and face comfort | Calm in the water |
| 2 | Front and back float | Trust in buoyancy |
| 3 | Glide and push-off | Body alignment and momentum |
| 4 | Kick | Forward drive |
| 5 | Arm action and breathing | A working stroke |
| 6 | Treading water | Rest and safety |
| 7 | Turns, distance, open water | Real-world swimming |
Step 1: Learn to Float
Floating is the single most useful skill a beginner can own, and the one most often rushed. The back float is easiest to teach first. Lie back with arms out, chin slightly up, and let the water hold the head. A coach or partner can support the back of the head until the feeling becomes familiar.
The physics are friendly. Human lungs act like a pair of balloons, so most people float with little effort when they relax and fill the chest. Sinking legs are usually a posture problem, not a body-type problem. Pressing the head back and lifting the hips fixes most of it.
Front floating works the same way: face down, arms forward, and a slow stream of bubbles out. Ten seconds of calm front float is worth more than a hundred thrashing laps.
Step 2: Glide Before You Stroke
A glide teaches the body to be long and quiet in the water. Push off the wall with both feet, arms extended overhead, and let the momentum carry you. No kicking, no pulling. Just feel the position.
Beginners often push off with bent arms and a lifted head, which brakes the glide instantly. The fix is a body line: one hand over the other, arms squeezing the ears, head neutral, eyes down.
Step 3: Build a Kick
Kicking is not the engine of freestyle, but it stabilizes the body and keeps the hips high. Practice with a kickboard or in a body-line position. Keep the kick small and loose, driven from the hip rather than the knee. Big, splashy kicks look strong and waste energy.
Flutter kick suits front crawl and backstroke. For breaststroke, the whip kick is a different motion and worth learning separately. For treading water, the eggbeater kick, borrowed from water polo and lifesaving, keeps the head up with minimal effort.
Learning the Four Main Strokes
Each stroke solves the breathing problem differently. That difference is why teaching order matters.
Front Crawl (Freestyle)
Front crawl is the fastest and most efficient stroke, and the one most adults want first. It is also the hardest to breathe in, because the face is underwater most of the time.
The breathing pattern is a side rotation, not a head lift. As one arm recovers over the water, the head turns to that side, the mouth clears the surface, and the swimmer inhales. The exhale happens underwater, steadily, through the nose and mouth. Lifting the head forward to breathe drops the hips and stalls the stroke, which is the most common beginner error.
Drills that help:
- Swim a length breathing every three strokes to build bilateral comfort.
- Practice side kicking with one arm extended, face turned to breathe.
- Count strokes per length and try to reduce the number without rushing.
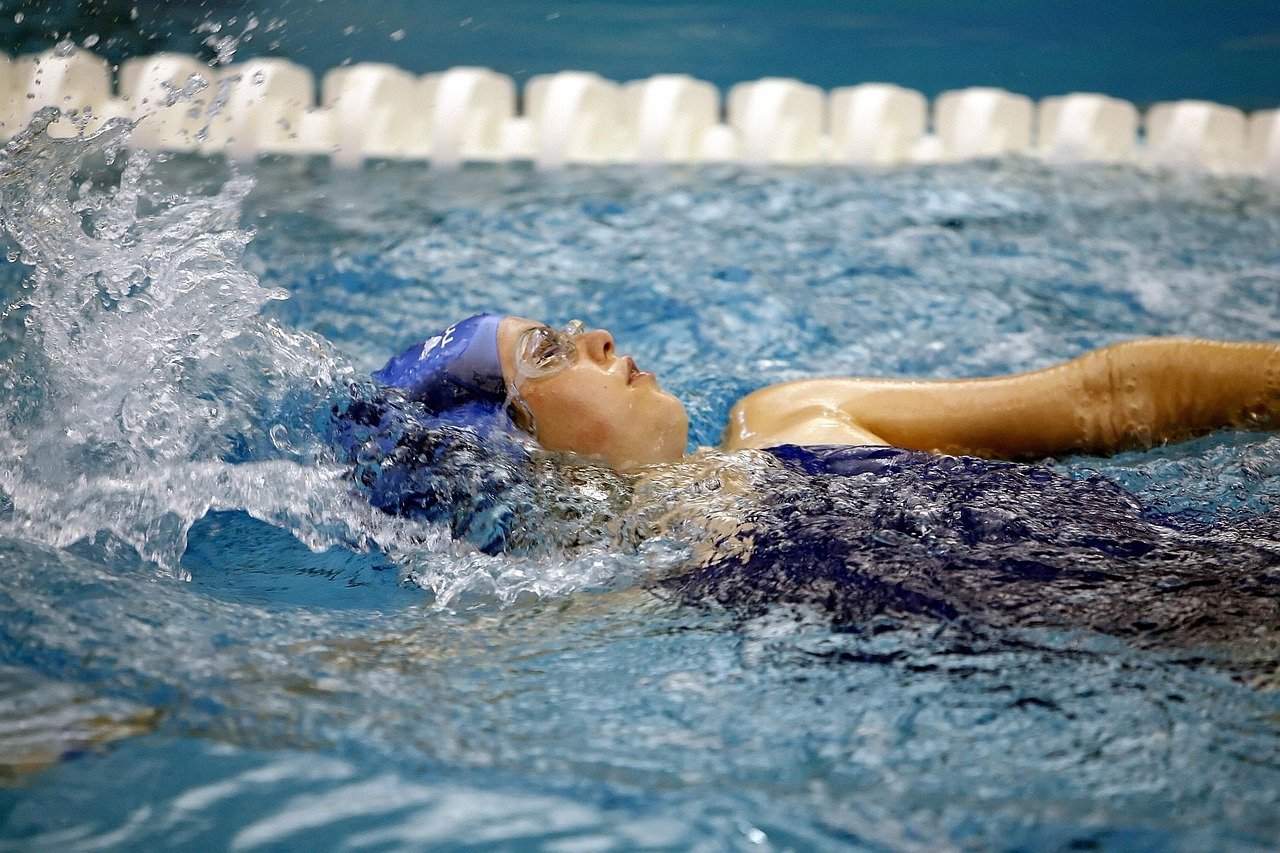
Backstroke
Backstroke is often taught early because breathing is unrestricted. The face stays out of the water, so the swimmer can breathe whenever needed. The catch is orientation: beginners drift into lanes, walls, and other swimmers.
The fix is a reference point. Pick a spot on the ceiling or sky and check it every few strokes. Keep the head still and let the body roll around a central axis. The arm enters pinky-first, pulls underwater, and exits thumb-first.
Breaststroke
Breaststroke is the stroke of choice for many casual and open-water swimmers because the head can stay up and visibility is good. It is also the most technical of the four, with a timing pattern that takes patience: pull, breathe, kick, glide.
The rule that trips people up is the glide. Beginners rush the recovery and never let the body shoot forward. A short pause after the kick, with arms extended, adds free distance.
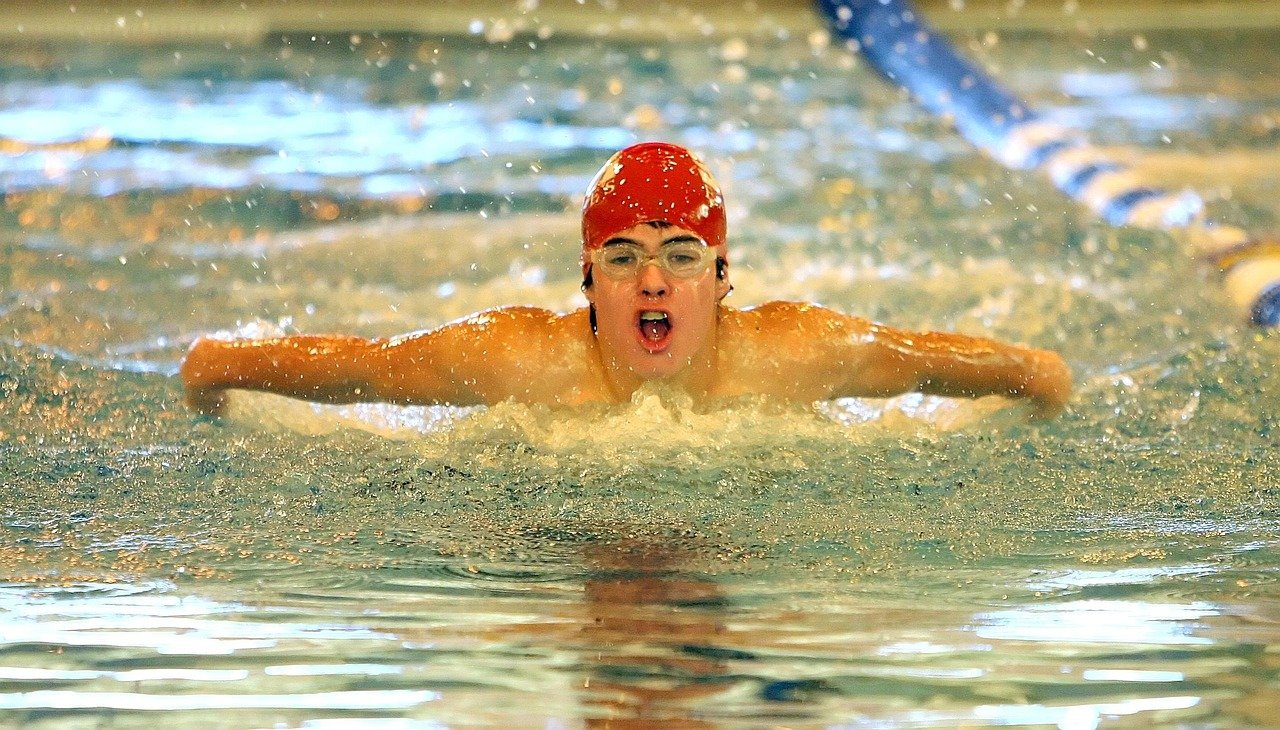
Butterfly
Butterfly is the last stroke most people learn, and for good reason. It demands rhythm, core strength, and an undulating body wave. Both arms move together, and the breath comes forward during the arm recovery.
It is worth learning eventually, but not in week one. A swimmer who can do a clean 25 meters of butterfly has usually spent months on the other three strokes first.
Breathing: The Skill Behind Every Stroke
Ask ten struggling swimmers what their problem is, and nine will say breathing. Very few actually have a lung problem. What they have is a timing problem.
Three habits fix most of it:
- Exhale fully underwater. Holding the breath and exhaling only at the surface leaves stale air in the lungs and creates a sense of panic. Breathe out slowly and continuously.
- Turn, don’t lift. In freestyle, the head rotates with the body roll. The mouth clears the water in the bow wave created by the head, not by craning the neck.
- Breathe on a rhythm. Every two, three, or four strokes. A fixed pattern prevents the frantic “gasp whenever possible” cycle.
Rhythmic breathing is also the core of dry-land training. Box breathing and slow-count breathing drills practiced on land transfer surprisingly well to the pool.
Treading Water and Staying Safe
Treading water is the skill that turns a swimmer into someone who can survive an unexpected deep end. It uses an upright position, sculling hands that sweep in and out, and a circular eggbeater or flutter kick.
Practice it in water where you can stand. Aim for 30 seconds, then a minute, then two. A person who can tread water calmly for two minutes can handle far more than they think.
Safety is not a solo skill. Drowning remains a leading cause of unintentional injury death worldwide, and public health agencies consistently stress that no single measure is enough. Lessons help, but so do supervision, barriers around pools, and life jackets on open water. The CDC’s drowning prevention guidance lays out the layered approach clearly, and it is worth reading before anyone in the family starts swimming. (About Healthy Swimming)
How Long It Takes to Learn
There is no universal timeline, but realistic expectations help.
| Starting point | Typical time to basic competence |
|---|---|
| Comfortable in water, no technique | 6 to 12 lessons |
| Nervous but willing | 15 to 25 lessons |
| Fearful of water on the face | 3 to 6 months of regular practice |
| Child aged 4 to 6 | A season or two of weekly lessons |
The variable that matters most is frequency. Two short sessions a week beat one long one. Short, repeated exposure builds comfort faster than marathon sessions.
Common Mistakes That Slow Beginners Down
A few errors show up again and again.
- Holding the breath. Covered above, but it causes more trouble than any other habit.
- Looking forward instead of down. Lifting the head in freestyle sinks the hips.
- Kicking from the knee. A bicycle kick creates drag instead of drive.
- Skipping the float. Swimmers who never learned to relax on their back tend to panic in deep water for years.
- Practicing only in deep water. Shallow water allows stopping, standing, and resetting. Confidence is built there.
- Too much gear. Fins and paddles are useful tools later. Early on, they distract from body position.
Open Water and Beyond
Pool swimming and open-water swimming are different sports with the same strokes. Open water adds cold, currents, poor visibility, and no walls to rest on. (Swimming)
The new skill is sighting: lifting the eyes forward every few strokes to check a landmark. Swimmers who only train in pools tend to veer badly on their first open-water swim. Many beginners also find that a wetsuit changes buoyancy and body position enough to require a practice session before a race or a long swim.
For anyone planning a first sea swim, a look at the best places to swim with turtles shows how much conditions vary between locations, and why local guidance matters more than pool fitness.
Conclusion
Learning to swim is less about athletic ability than about sequence and patience. Comfort first, then floating, then gliding, then kicking, then strokes. Each stage builds the one after it, and skipping ahead usually means coming back later.
The people who learn fastest are not the fittest or the youngest. They are the ones who show up twice a week, stay in shallow water until they are genuinely calm, and treat breathing as a skill to practice rather than a reflex to fight.
Start with ten minutes of floating. Then ten minutes of gliding. The stroke will come.
Frequently Asked Questions
Can adults learn to swim from scratch?
Yes. Adults learn to swim every day, and many learn faster than children because they can understand the mechanics. The main obstacle is fear, not physical ability. A patient instructor and shallow water make the process manageable.
What is the easiest stroke to learn first?
Backstroke is often the easiest to breathe in because the face stays out of the water. Front crawl is usually the goal, but many instructors start with back float and backstroke to build comfort before adding face-down breathing.
How many lessons does it take to learn to swim?
Most adults reach basic competence in 10 to 25 lessons, depending on starting comfort and how often they practice. Weekly lessons with one extra practice session shorten the timeline considerably.
Why do I sink when I try to float?
Most people who sink are holding their breath or lifting their head. Full lungs float well. Relax the neck, let the head rest back, and keep the chest full of air. Legs that drop are usually a posture issue rather than a body-density one.
Is it safe to learn to swim without an instructor?
In shallow water with a capable adult nearby, self-directed practice is reasonable for basic comfort and floating. For stroke technique and any work in deep water, an instructor or lifeguard adds a layer of safety that is hard to replace.
What should I practice first in the water?
Breath control. Bobbing, blowing bubbles, and putting the face in the water come before any stroke. A swimmer who is calm with water on the face learns everything else faster.