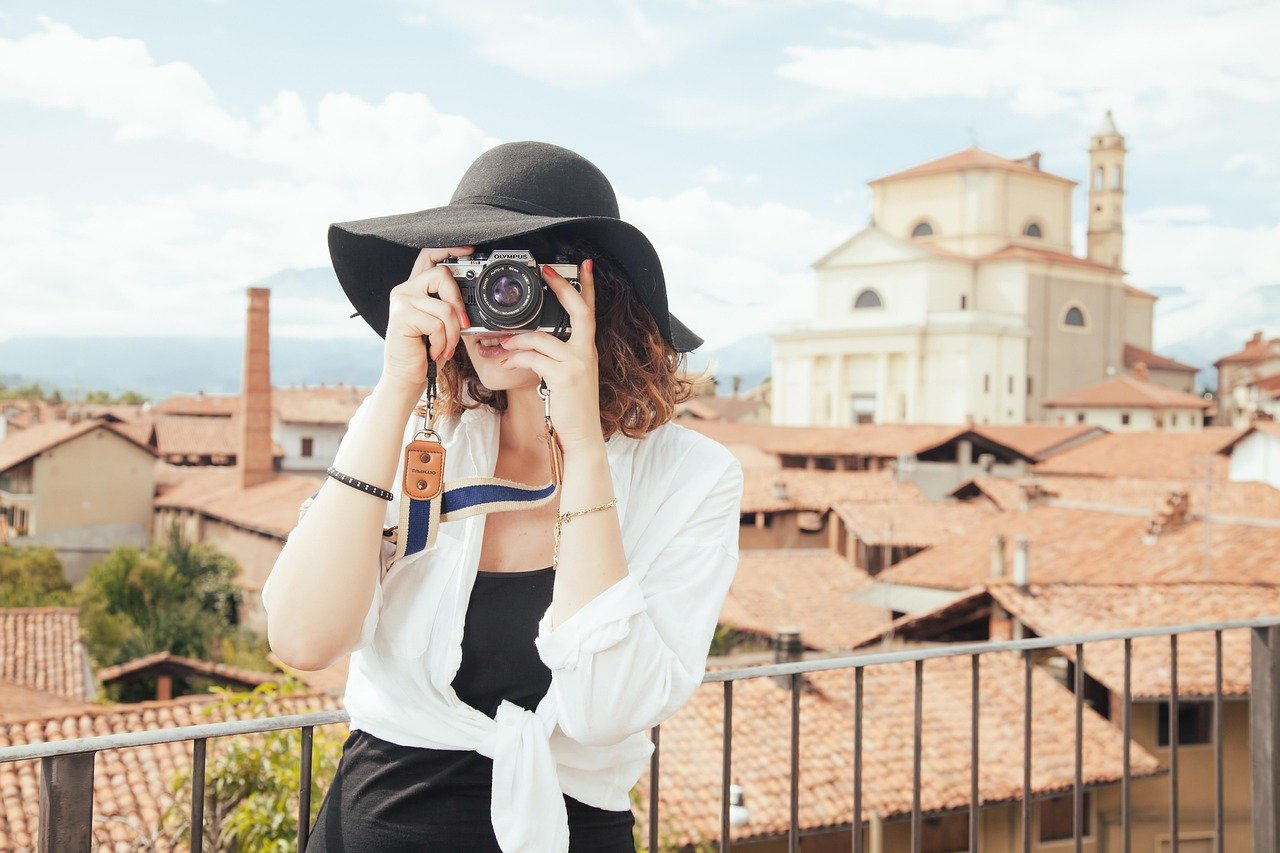
What separates a photo that makes people stop scrolling from one they scroll past without a thought? It is rarely the camera. Most of the time, it comes down to a handful of decisions made before the shutter button is pressed: where the light is coming from, what is in the frame, and whether the camera was steady. The good news is that these are learnable skills, not gifts.
This guide walks through the technical fundamentals, the composition habits, and the everyday workflow tweaks that make the biggest real-world difference. It is written for anyone shooting on a phone or a dedicated camera who wants fewer blurry, flat, or cluttered pictures and more keepers.
Start With Light, Not Gear
Before touching any setting, look at the light. Light quality shapes a photo more than any camera feature. Soft, diffuse light, such as overcast skies or open shade, wraps around a subject and keeps shadows gentle. Hard, direct sun creates harsh contrast and dark eye sockets on faces.
A practical habit: when you arrive at a scene, turn in a slow circle and watch how the light falls on your subject from each direction. Direction matters as much as intensity. Side light reveals texture. Backlight creates glow and silhouettes. Front light is flattering but flat. Photographers often chase the “golden hour” around sunrise and sunset because the low sun angle produces warmer, softer light, but open shade at midday can work just as well for portraits.
If the light is harsh and you cannot move the subject, look for natural diffusers: a building’s shadow, a tree canopy, or a doorway. On a phone, tapping the screen to set focus and then dragging the exposure slider down slightly often rescues a scene that looks blown out.
Nail the Exposure Triangle
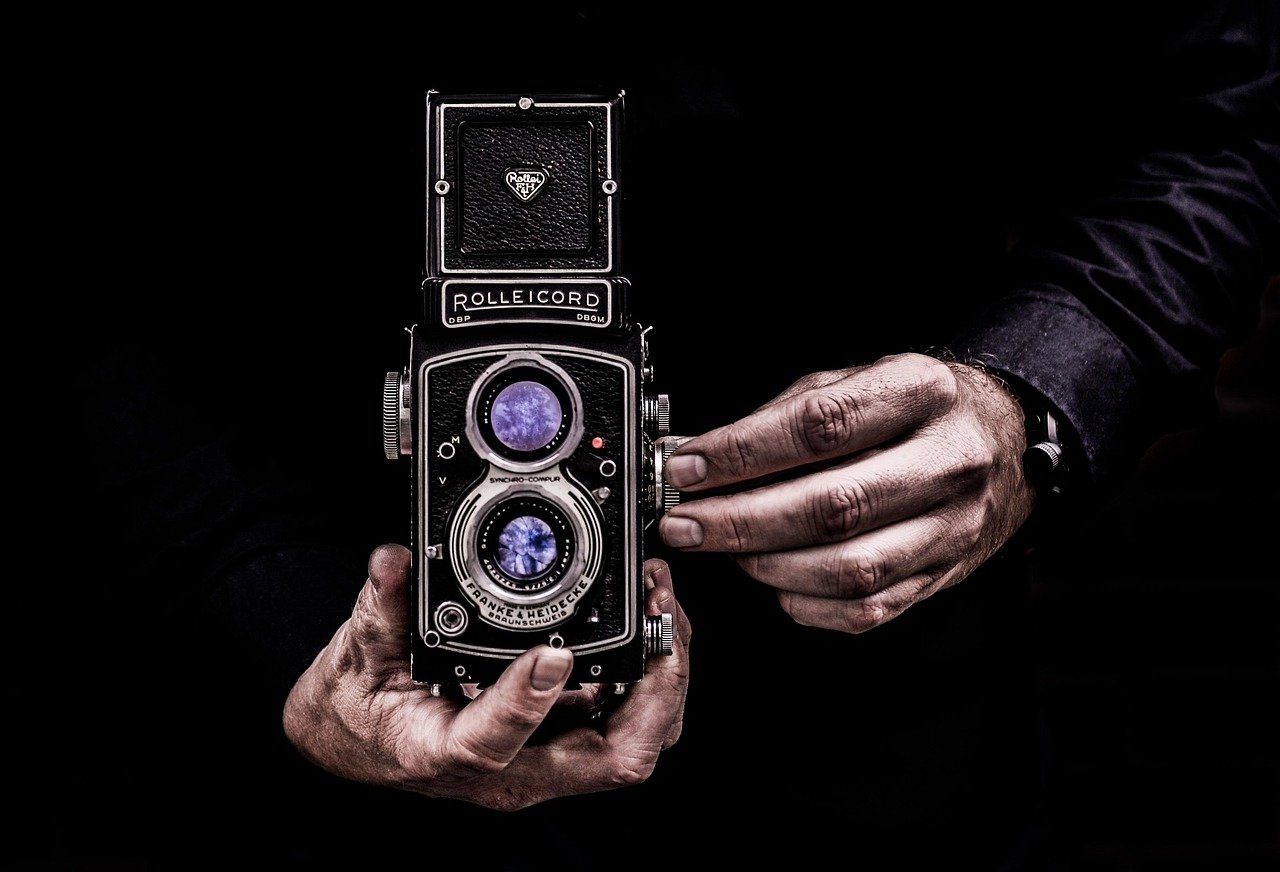
Every camera, from a phone to a professional body, balances three settings that together control brightness and look. Understanding them is the single biggest technical factor.
| Setting | What it controls | Visual effect | Typical mistake |
|---|---|---|---|
| Aperture | Size of the lens opening | Blurred or sharp background | Shooting wide open in bright sun without checking shutter speed |
| Shutter speed | How long the sensor is exposed | Freezes or blurs motion | Letting it drop too low and getting camera shake |
| ISO | Sensor sensitivity to light | Noise levels | Cranking ISO instead of adding light |
The three trade off against each other. Open the aperture to blur the background, and you must shorten the shutter speed or lower ISO to keep the exposure balanced. The relationships are the same whether you shoot in full manual or let the camera decide.
A reliable handheld rule of thumb is to keep the shutter speed at or above roughly one over the focal length (in 35mm-equivalent terms). A 50mm lens suggests about 1/50 second. Modern stabilization and phone computational processing push that limit further, so treat it as a starting point rather than a law.
One common mistake: beginners buy a fast lens, shoot everything at its widest aperture, and end up with soft, fuzzy images because focus landed on an eyelash instead of an eye. Stop down a little when sharpness across the subject matters more than background blur.
Understand What Stabilization Can and Cannot Do
Image stabilization, whether optical in the lens, in-body, or built into a phone’s software, fights camera shake. It does not freeze a moving subject. This distinction trips up a lot of people who wonder why their shots of kids or pets are still blurry at 1/15 second despite “great stabilization.”
If the subject moves, you need a fast enough shutter speed regardless of how steady your hands are. For running children, 1/500 second or faster is a sensible starting point. For a seated portrait, 1/125 is usually comfortable.
Tripods solve a different problem: they hold the camera still for long exposures, such as night scenes or flowing water. If you shoot long exposures regularly, a modest tripod is one of the highest-value purchases you can make.
Compose With Intention
Composition rules are conventions, not physics. They are widely taught because they help beginners stop centering everything by default. The rule of thirds suggests placing key elements along imaginary lines that divide the frame into a grid. Many cameras and phones can overlay this grid, and turning it on is a quick win.
Other dependable habits:
- Fill the frame. Step closer. Amateur photos are often full of empty space around a tiny subject.
- Simplify the background. Move your feet until distracting elements, poles, or bright patches are out of the frame.
- Look for leading lines. Roads, fences, and shorelines pull the eye toward the subject.
- Change your height. Shooting from eye level is the default; crouching, standing on something, or tilting the camera changes the story.
- Leave breathing room. Give moving subjects space to “move into” within the frame.
Framing choices also affect how a scene reads. If you are working with audio or video alongside stills, the same instinct for placement applies; the principles behind speaker toe placement angle speakers better stereo imaging show how small positioning adjustments change what an audience perceives, and framing works the same way.
Decide Between Raw and JPEG Deliberately
Raw files keep more data in the bright and dark areas, which gives you room to recover a bright sky or lift a dark face during editing. JPEGs are processed in-camera, smaller, and ready to share. Neither is “better” in the abstract; the choice depends on whether you plan to edit.
If you shoot raw, expose carefully. Pushing brightness too far in editing amplifies noise. The histogram shows whether bright areas are clipping, since blown-out detail cannot be recovered from any file.
On phones, the default camera app often applies heavy processing automatically, including multi-frame stacking and HDR merging. That is usually helpful, but it can also flatten contrast in ways you did not intend. Third-party camera apps that allow raw capture give you more control when you want it.
Edit With a Light Touch
Editing is where a decent photo becomes a good one, and also where many photos get ruined. The most common over-editing mistakes are cranking clarity and saturation until skin looks orange, and lifting shadows so far that the image looks flat and gray.
A simple, repeatable edit sequence:
- Fix the crop and straighten the horizon.
- Adjust exposure and contrast to taste.
- Recover bright areas and lift shadows only as needed.
- Correct white balance so whites look white.
- Apply sharpening sparingly, and only at the end.
If you use AI tools to clean up or upscale images, keep expectations realistic. For example, guides on the best ai image upscalers for high resolution photos explain that upscaling invents detail rather than recovering it, which matters when accuracy counts. Similarly, learning ai image editor how to edit photos with ai can speed up routine edits, but the judgment about what looks natural still belongs to you.
Practice Deliberately, Not Randomly
Shooting thousands of photos without reviewing them builds habits slowly. Deliberate practice works better. Pick one skill per outing, such as shooting only at a single focal length or only in backlight, and review the results afterward. Ask what worked and what did not, and note one change for next time.
A few practical habits that pay off:
- Shoot raw plus JPEG if your camera allows it, so you have an editable file and a shareable one.
- Offload memory cards regularly and keep at least two copies in different places. Losing a card with a year of photos is a common and painful mistake.
- Clean your lens. A smudge causes soft, hazy images that look like a focus problem.
- Check the edges of the frame before pressing the shutter. Most accidental photobombs and cut-off heads happen at the borders.
Common Mistakes That Hold People Back
Some errors show up again and again in beginner work. Recognizing them speeds up progress considerably.
The first is shooting into the sun without adjusting exposure, which turns subjects into dark silhouettes. The second is relying on digital zoom, which crops and degrades image quality; walking closer almost always beats zooming. The third is ignoring the background, so a beautiful portrait gets a distracting bright window or a stranger’s elbow behind the subject.
A fourth mistake is over-relying on auto mode in tricky light. Auto exposure is easily fooled by bright skies or dark stages. Learning to use exposure compensation, usually a simple plus/minus control, gives you quick manual override without leaving auto. (Exposure (photography)))
Finally, many people never back up their photos until they lose some. A simple routine, such as importing to a computer and copying to a second drive the same day, prevents the worst kind of loss. If you have ever needed to recover deleted photos android realistic step by step guide, you know how stressful that situation is.
When Gear Actually Matters
It is easy to believe better photos require better gear. Sometimes they do, but the threshold is higher than most people think. A newer camera helps most when you are hitting a specific limit: poor low-light performance, slow autofocus for action, or a lens that cannot get wide enough or close enough.
For most everyday shooting, a phone with a clean lens and good light produces images indistinguishable from a dedicated camera at normal viewing sizes. The bigger gains come from learning to see light and compose deliberately. Spend money on experiences and practice before spending it on bodies and lenses.
Conclusion
Taking better photos is less about secrets and more about attention. Watch the light before you raise the camera. Learn how aperture, shutter speed, and ISO trade off so you can predict what a scene will look like. Compose on purpose, simplify the background, and review your work with a critical but kind eye. Back up your files, clean your lens, and practice one skill at a time. None of this requires expensive equipment, and all of it compounds. The photographers whose work you admire are not seeing a different world; they have simply trained themselves to notice more of the one in front of them.
Frequently Asked Questions
What is the single most important thing for better photos?
Light. Soft, well-directed light flatters subjects and hides flaws that no setting can fix. If you can only change one thing, move yourself or your subject so the light falls more gently, then adjust exposure to match.
Do I need a professional camera to take good photos?
No. Modern phones handle exposure and focus well in most conditions, and their computational processing is genuinely capable. A dedicated camera helps with fast action, very low light, and interchangeable lenses, but composition and light matter more than the body.
Why are my photos blurry even though I focused?
Usually because the shutter speed was too slow for the subject’s movement or your handshake. Stabilization helps with camera shake but not with moving subjects. Raise the shutter speed, add light, or brace the camera against something solid.
What is the rule of thirds, and should I always follow it?
It is a composition guideline that places key elements along imaginary dividing lines rather than dead center. It is a useful default for beginners, but plenty of strong photos ignore it. Use it as a starting point, then break it deliberately.
Should I shoot in raw or JPEG?
Shoot raw if you plan to edit and want more room to recover bright and dark areas. Shoot JPEG if you want smaller files that are ready to share immediately. Many cameras can save both at once, which is a practical compromise.
How do I stop over-editing my photos?
Edit in small steps and compare against the original regularly. Watch for orange skin, gray shadows, and halos around edges. If an edit looks dramatic on its own but odd next to the original, dial it back.