
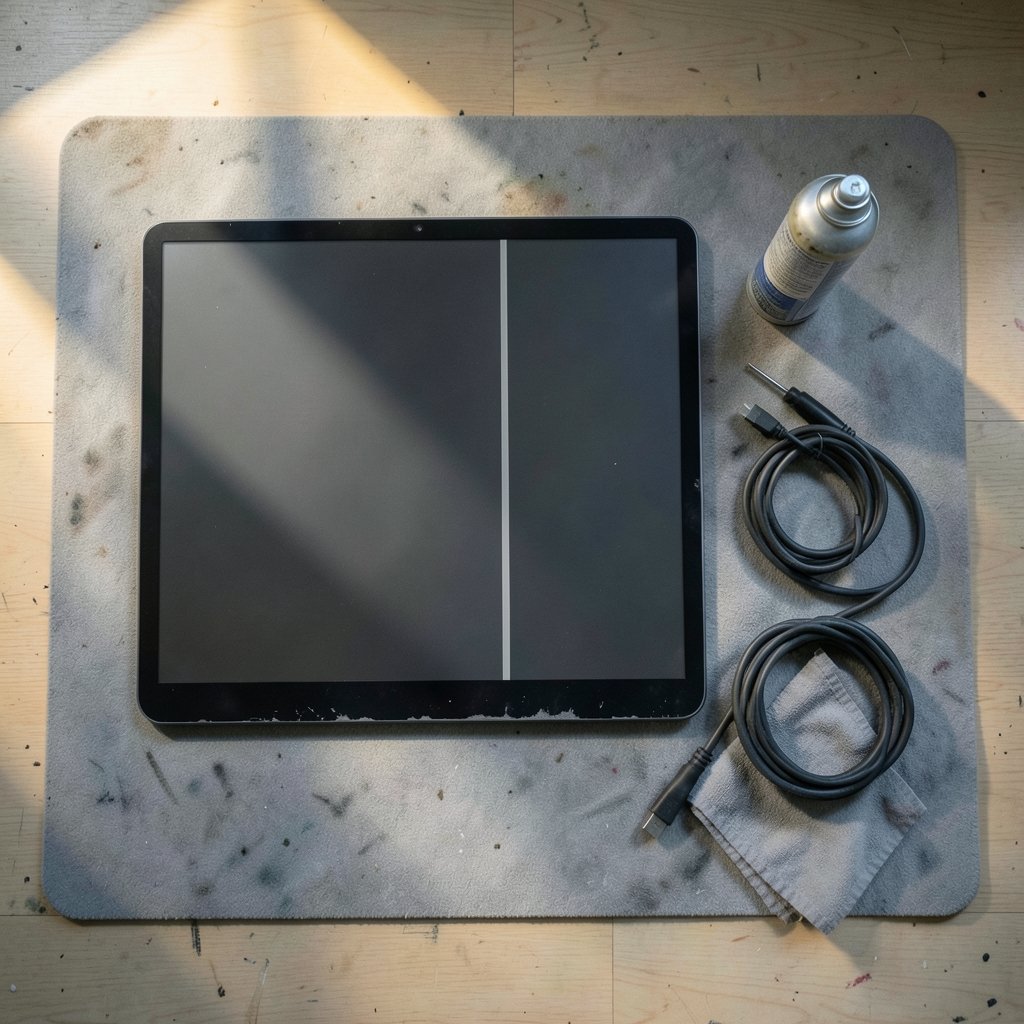
A thin colored stripe appears down the screen. Then another. Maybe the whole panel flickers and a band of dead pixels settles in on the left side. Is the monitor dying, or is it something simpler like a loose cable? That question is the one most people ask first, and the answer decides whether a repair is worth pursuing or a replacement is the smarter move.
Vertical lines on a computer monitor are one of the most common display faults, and they are also one of the most misunderstood. Some cases are fixed in two minutes with a different cable. Others mean the panel itself has failed and no amount of troubleshooting will bring it back. This guide separates the two, explains what actually causes the symptom, and shows how to test each layer of the chain in a logical order instead of guessing.
What Vertical Lines Usually Mean
On an LCD, a vertical line is rarely a software problem. It almost always points to a hardware fault somewhere in the chain that turns a digital signal into light. That chain has four links: the graphics card, the cable, the monitor’s control board, and the panel itself.
The panel is the glass layer containing millions of pixels. Each column of pixels is driven by a driver chip bonded to the edge of the glass through a flexible connector, often called COF (chip-on-film). Those signals are coordinated by the T-con board, the timing controller that converts the incoming video signal into the row and column voltages the panel needs. A break in any of those connections produces a line, a band, or a whole dead column. Understanding that structure explains why the same symptom can come from a five-dollar cable or a dead panel, and why the diagnostic order matters so much.
First Test: Is the Monitor or the Computer Guilty?

Before buying anything, isolate the fault. The monitor’s own hardware can answer the question without a computer attached.
Most monitors have a built-in self-test accessed through the on-screen display menu. Some vendors call it a diagnostic mode, factory test, or burn-in test. It draws solid color fields directly from the monitor’s internal electronics, bypassing the video input entirely.
- Open the monitor’s OSD menu and find the self-test or diagnostic option.
- Cycle through the color screens and watch the lines.
- If the lines appear on the internal test screens, the monitor is faulty.
- If the lines vanish during the self-test but return with a signal, the problem is upstream.
A second method works on almost any monitor: unplug the video cable while the screen is on. If the monitor shows a “no signal” box and the lines are still visible in the background, the panel or its internal boards are at fault. If the lines disappear with the cable, suspect the cable, the graphics card, or the driver.
Cable and Connector Problems
Cables fail more often than people expect. A DisplayPort or HDMI cable that has been bent sharply behind a desk, pinched by a monitor arm, or plugged in at an angle can lose one of its high-speed data lanes. The result is often a vertical band, flickering, or a line that comes and goes when the desk is bumped.
The practical checks, in order of effort:
- Reseat both ends of the cable firmly. Listen for the click on DisplayPort.
- Swap the cable for a known-good one, ideally the cable that came in the box.
- Try a different port on the monitor and on the graphics card.
- Try a different input type entirely, such as HDMI instead of DisplayPort.
A common mistake is testing with a spare cable of unknown quality pulled from a drawer. Cheap cables rated below the bandwidth the resolution needs can produce artifacts even when they are not physically damaged. If the monitor runs at high refresh rates or 4K, use a cable rated for that bandwidth.
Resolution, Refresh Rate, and Scaling
Some panels show vertical banding when they are fed a signal they were not designed for. Running a non-native resolution, an unsupported refresh rate, or an unusual scaling mode can produce stripes that look like hardware failure but are purely a settings mismatch.
Set the display to its native resolution and a refresh rate the panel officially supports. On Windows, this lives under Settings, System, Display, Advanced display. On macOS, it is under System Settings, Displays. If the lines disappear at the native setting and return at a custom one, the monitor is fine and the configuration was the culprit. This is also worth checking after a graphics driver update, since updates occasionally reset custom resolutions.
Graphics Card and Driver Causes
When the monitor passes every self-test but lines persist with the computer attached, the graphics card becomes a suspect. Failing VRAM often shows up as vertical lines, colored blocks, or artifacts that move when windows are dragged. A corrupted driver can mimic the same symptoms.
Two tests settle it:
- Connect the monitor to a different computer, a laptop, or even a game console. If the lines follow the monitor, the monitor is at fault. If they stay with the original computer, the computer is.
- Boot into safe mode or a live operating system. If the lines vanish there, a driver or software conflict is likely.
If artifacts appear on a second display connected to the same graphics card, the card itself is the problem. That is a different repair path entirely, and it is worth ruling out before blaming the monitor.
The Pressure Test and What It Reveals
There is a quick physical check that tells you a lot. With the monitor on and a line visible, apply gentle pressure to the bezel near the edge where the line starts, or flex the panel very slightly at the top and bottom corners. Do not press hard on the glass.
If the line flickers, changes color, or disappears while pressure is applied, the fault is almost certainly a bonding failure between the driver chip and the glass, or a cracked trace in the panel edge. That is a manufacturing defect in the panel assembly. It is not something a firmware update or a settings change will fix, and it tends to get worse over time as the bond continues to degrade.
This test is diagnostic only. Some forum advice suggests pressing harder or applying heat to “reseat” the connection. In practice, that usually turns a thin line into a wider band or a permanently dead column. Treat it as information, not a repair.
When the Panel Itself Has Failed
If the line survives the self-test, a cable swap, a different computer, and the native resolution check, the fault is inside the monitor. At that point the realistic options narrow.
| Fault location | Typical symptom | Realistic repair |
|---|---|---|
| Cable or connector | Line flickers when moved, disappears with new cable | Replace cable |
| Graphics card or driver | Artifacts on multiple displays, worse under load | Driver reinstall or card replacement |
| T-con board | Full-width bands, distorted image, lines across whole screen | Board replacement, often not stocked |
| Panel or COF bonding | Sharp single line, responds to pressure, fixed position | Panel replacement, usually uneconomical |
| OLED uniformity | Soft vertical banding, visible on gray backgrounds | Warranty claim or replacement |
The economics are the hard part. Panel replacement for a consumer monitor often costs as much as a new unit, and many manufacturers do not sell panels as spare parts to individuals. Board-level repair exists through independent technicians, but it makes sense mainly for high-end or professional displays where the panel is a significant investment.
Warranty is the first thing to check. Most consumer monitor warranties run between one and three years depending on the vendor and region, and manufacturing defects in the panel are typically covered. Policies vary widely, so read the specific terms for the model rather than assuming. Some vendors have a zero bright dot policy for pixels but treat line defects differently, which is why it helps to describe the problem precisely when filing a claim.
Pixel Defects Versus Line Defects
People often confuse a single stuck pixel with a line. They are not the same failure. A stuck pixel is one subpixel locked on a single color, and it is a cosmetic issue that pixel policies address. A vertical line is a whole column of pixels failing together, which points to the driver circuitry rather than an individual transistor. (Dead pixel)
Standards such as the ISO 9241 family define defect classes for displays, but those classes were written primarily around pixel defects. Whether a line counts as a covered defect under a given policy depends on the manufacturer’s own terms, not on the standard alone. When making a warranty claim, photograph the line against a solid white and a solid black background and note whether it appears in the monitor’s self-test. That evidence is far more persuasive than a description.
Practical Prevention and Buying Advice
Not every failure is preventable, but a few habits reduce the risk.
- Do not lift or carry a monitor by the panel edges. Flexing the glass stresses the COF bonds.
- Leave clearance behind the monitor so cables are not bent at a sharp angle against a wall.
- Use a cable rated for the resolution and refresh rate, and avoid daisy-chaining adapters.
- Keep the monitor out of direct sun and away from heat sources, since heat accelerates bonding and capacitor failures.
- When buying, check the dead pixel and line defect policy before purchase, not after.
If a monitor is being repurposed as a second screen and space is tight, the setup details matter more than most people think. Rotating a panel into portrait orientation, for example, changes how the internal cabling is stressed and how the graphics driver handles scaling, which is covered in this guide to monitor portrait mode coding when vertical screens actually help. For multi-computer desks, a clean monitor KVM switch setup for two computers also reduces the plugging and unplugging that wears out connectors over time.
Gamers chasing high refresh rates should also confirm the panel is running within spec, since pushing an unsupported mode is a known source of artifacts; this walkthrough of gaming monitor performance settings covers the settings worth checking. And if the lines appear alongside other strange behavior, such as windows resizing or the screen going black, it is worth ruling out malware as well as hardware by reviewing what a computer virus actually does and keeping antivirus protection chosen and configured properly. Display faults are usually hardware, but a methodical check costs nothing.
Conclusion
Vertical lines on a computer monitor are a diagnostic puzzle with a clear order of operations. Test the monitor on its own first, then the cable, then the settings, then the computer. Each step eliminates a layer, and within a few minutes the fault is narrowed to either something cheap and replaceable or a panel that has reached the end of its life. The pressure test is the single most useful clue: a line that reacts to a gentle squeeze is a bonding failure, and no software fix will touch it. Knowing that early saves hours of driver reinstalls and forum rabbit holes, and it makes the warranty conversation much shorter.
Frequently Asked Questions
Can vertical lines on a monitor fix themselves?
Occasionally a line caused by a loose cable or a marginal signal disappears after reseating the connection or changing the refresh rate. A line caused by panel bonding or a T-con fault does not heal. It may fade temporarily with temperature or pressure, but it returns and usually worsens.
Is a vertical line always a dead pixel?
No. A dead or stuck pixel is a single point of failure. A vertical line represents an entire column of pixels failing together, which points to the driver circuitry or the panel edge connection rather than one transistor. The two are handled differently under warranty policies.
Should I press on the screen to test the line?
A gentle press on the bezel near the line is a useful diagnostic and is generally safe. Pressing hard on the glass or applying heat is not. Those methods can crack the panel or permanently widen the defect, turning a repairable monitor into scrap.
Does a vertical line mean I need a new monitor?
Not necessarily. If the line disappears during the monitor’s self-test or with a different cable, the monitor is fine and the fault is upstream. If the line persists with no cable attached, the panel or an internal board has failed, and replacement is usually the practical outcome for consumer displays.
Will a factory reset remove vertical lines?
A factory reset clears settings, which can help if an unsupported resolution or refresh rate caused the artifact. It will not repair a hardware fault. It is worth trying because it is free and takes a minute, but do not expect it to fix a line that responds to physical pressure.
Are vertical lines covered by warranty?
Manufacturing defects in the panel are commonly covered, but the exact terms vary by vendor, model, and region, and line defects are sometimes treated differently from pixel defects. Check the specific policy for the model, document the line with photos on solid backgrounds, and mention that it appears in the self-test.



