A fresh coat of paint can change how a room feels in a single weekend, and it costs far less than most people expect. That is why painting remains the project almost every first-time DIYer starts with. The appeal is simple: low cost, fast results, and mistakes you can paint over. But painting is just one entry point. Plenty of other beginner projects deliver real value without demanding a workshop full of tools or years of experience.
This guide walks through the projects that genuinely suit beginners, the ones that quietly go wrong, and the safety habits that separate a satisfying weekend job from an expensive repair. It focuses on what works in practice, not what looks good on a supply-store display.
Why beginner projects are worth doing
Small projects build skills in layers. Hanging a shelf teaches you about wall structure. Replacing a toilet flapper teaches you how shutoff valves behave. Caulking a window teaches you patience and a steady hand. None of these require a contractor, and each one saves money while building confidence for bigger jobs later.
There is also a financial case. According to the U.S. Department of Energy’s Energy Saver guidance, air sealing and weatherstripping are among the lowest-cost ways to cut energy waste at home. That means a tube of caulk and a roll of weatherstripping can pay for themselves in reduced heating and cooling bills. Few beginner projects offer that kind of return.
The catch is that “beginner-friendly” is a loose label. Some lists include swapping electrical outlets, which is genuinely risky without training. Others skip prep work entirely, which is where most DIY disappointments begin. The projects below lean toward low risk and high visibility, with honest notes on where to stop and call a professional.
Painting: the classic first project
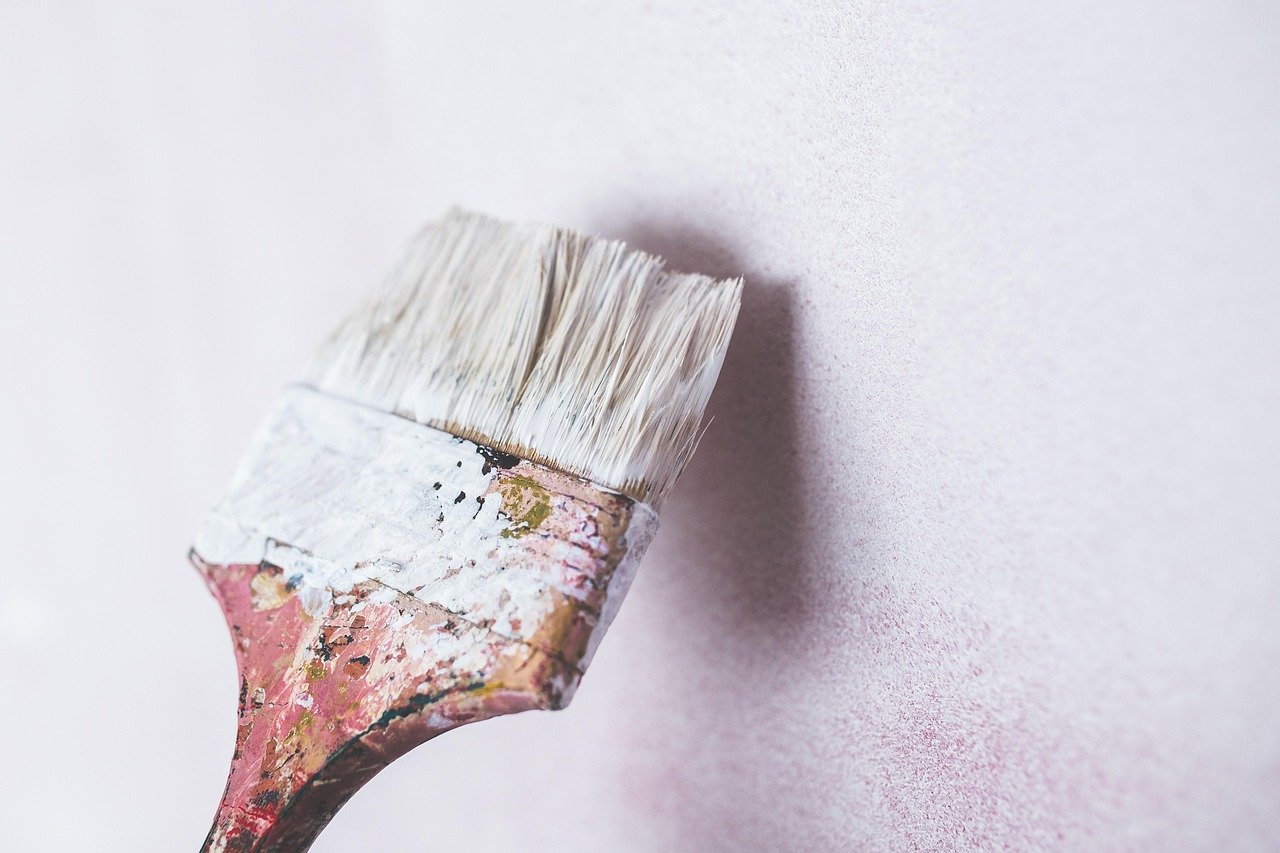
Painting tops nearly every beginner list for good reason. Materials are cheap, the learning curve is gentle, and the transformation is immediate. A single room usually needs about one gallon per 350 square feet of wall, though coverage varies by brand, sheen, and how porous the surface is. Always check the label on the specific product rather than trusting a general rule.
What actually works in practice comes down to preparation. Skipping it is the most common mistake beginners make.
- Clear the room and cover floors and furniture with drop cloths.
- Fill nail holes and cracks with spackle, then sand smooth once dry.
- Wipe down walls so dust and grease do not stop paint from bonding.
- Apply painter’s tape along trim and edges, pressing it firmly.
- Cut in edges with a brush before rolling the main wall areas.
- Apply two thin coats rather than one thick one, letting each dry fully.
Ventilation matters as much as technique. Paint and primer release fumes, and the U.S. Consumer Product Safety Commission consistently emphasizes proper ventilation and safe storage of household chemicals. Open windows, run a fan, and keep children and pets out of the room until it dries.
One more practical tip: buy a small amount of test paint first. Colors look different on a wall than on a swatch, and a sample pot costs far less than repainting a whole room.
Caulking and weatherstripping for lower bills
Air leaks around windows and doors waste energy quietly. Caulking gaps and installing weatherstripping are simple, forgiving tasks that suit beginners well. The tools are minimal: a caulk gun, a tube of exterior or interior sealant depending on location, a putty knife, and a rag.
The most common mistake is caulking over old, failing caulk instead of removing it. Fresh sealant will not bond properly to a dirty or crumbling surface, and the new bead will peel within months. Scrape out the old material, clean the area, let it dry completely, then apply the new bead and smooth it with a damp finger or tool. (This Old House)
Weatherstripping around doors is equally approachable. Self-adhesive foam strips work for interior doors, while metal or rubber sweeps suit exterior doors that see heavy use. Check that the door still latches cleanly after installation, since thick stripping can throw off the fit.
Fixing a running toilet
A toilet that runs constantly can waste a surprising amount of water, and the fix is one of the cheapest wins in home maintenance. In most cases the culprit is a worn flapper, a rubber seal that costs very little to replace.
The process is straightforward:
- Turn off the water supply valve behind the toilet.
- Flush to empty the tank.
- Unhook the old flapper from its mounts.
- Take it to the store to match the size and shape.
- Install the new flapper and reconnect the chain with slight slack.
- Turn the water back on and test a flush.
The common error here is adjusting the chain too tightly, which stops the flapper from sealing, or too loosely, which lets water trickle continuously. A little slack is right. If the toilet still runs after a new flapper, the fill valve may be the problem, and that is a slightly bigger job but still manageable for a careful beginner.
Swapping cabinet hardware and small fixtures
Replacing kitchen or bathroom cabinet knobs and pulls is a low-risk upgrade with an outsized visual effect. It requires only a screwdriver, and if the new hardware uses the same hole spacing, no drilling is needed at all. Measure the distance between screw holes before buying, because mismatched spacing means drilling new holes and filling old ones.
Light fixtures are a different story. Swapping a simple ceiling fixture is often listed as beginner-friendly, but electrical work carries real risks and code requirements that vary by location. The National Fire Protection Association, which publishes the National Electrical Code, is clear that electrical installations must follow applicable code. For beginners, the sensible rule is to turn off power at the breaker, verify it is off with a tester, and hire a licensed electrician for anything involving new wiring, added circuits, or uncertainty.
Hanging shelves and artwork correctly
Hanging things seems trivial until a shelf pulls out of the wall with a crash. The deciding factor is wall type. Drywall alone holds light items with proper anchors. Heavy shelves need to reach studs, the wooden framing behind the wall.
A stud finder is the single most useful tool for this job. Mark stud locations with light pencil, then align brackets accordingly. Where studs are not available, use anchors rated for the weight of the item, and follow the manufacturer’s load limits rather than guessing. Masonry walls need masonry anchors and a drill with the correct bit.
The common mistake is underestimating weight. A shelf loaded with books is far heavier than the empty shelf, and anchors rated for a picture frame will not hold it. When in doubt, size up.
Choosing projects that fit your budget
Not every beginner wants the same scope. Some want a quick afternoon fix, others want a visible upgrade. Matching the project to the budget keeps expectations realistic.
| Project | Typical cost range | Time needed | Skill level |
|---|---|---|---|
| Painting one room | Low | One weekend | Beginner |
| Caulking and weatherstripping | Very low | Two to four hours | Beginner |
| Replacing a toilet flapper | Very low | Under an hour | Beginner |
| Swapping cabinet hardware | Low to moderate | One to two hours | Beginner |
| Hanging shelves with anchors | Low | One to two hours | Beginner |
| Replacing a light fixture | Moderate | One to two hours | Intermediate, with electrical caution |
For anyone planning a larger project, it helps to understand the full picture before starting. A realistic look at home renovation costs prevents the classic mistake of budgeting for materials but forgetting permits, tools, and disposal fees. Likewise, if a project grows beyond savings, exploring home improvement loans can clarify whether borrowing makes sense or whether scaling back is wiser. (Home improvement)
Tools worth owning before you start
Beginners often buy too much. A small core kit covers most of the projects above: a screwdriver set, a claw hammer, a tape measure, a level, a utility knife, a caulk gun, a stud finder, and a cordless drill. Add a drop cloth, painter’s tape, and safety glasses, and you are equipped for months of small jobs.
Buying tools project by project is often smarter than a giant starter kit. Cheap tools that fail mid-job cost more in frustration than a single decent tool bought when needed. A mid-range drill and a reliable tape measure earn their keep quickly.
Smart additions that pair well with DIY
Once basic projects feel comfortable, small tech upgrades become appealing. Beginner-friendly smart devices, such as smart plugs, bulbs, and thermostats, are often installable without special skills. A guide to the best smart home devices for beginners can help narrow the options without overcomplicating the setup.
For households thinking bigger, other projects build on the same skills. Anyone considering a DIY climbing wall will find that stud finding, anchoring, and load limits matter even more than they do for a shelf. The same principles apply, just at a larger scale.
Common beginner mistakes to avoid
Experience teaches a few lessons faster than any guide. These come up again and again.
Skipping prep work. Sanding, cleaning, and taping feel like delays, but they determine the final result. Rushed prep shows in every paint line and caulk bead.
Ignoring load limits. Anchors, shelves, and wall mounts all have ratings. Exceeding them is how walls get damaged.
Working without ventilation. Paint, adhesives, and sealants all release fumes. Open windows and take breaks.
Skipping the power check. Before any electrical work, turn off the breaker and confirm with a tester. A switch in the off position does not guarantee the circuit is dead.
Buying the cheapest materials. Budget paint and budget caulk often need more coats or fail sooner, erasing the savings.
Not checking local rules. Permits and code requirements vary by jurisdiction, and national guidance may not match local rules. A quick call to the local building department settles most questions.
Safety habits that matter
A few habits prevent most DIY injuries. Ladder safety is the big one, and the Occupational Safety and Health Administration treats falls as a leading cause of serious injury in workplaces, a warning that translates directly to home projects. Keep ladders on level ground, maintain three points of contact, and never stand on the top rung.
Wear safety glasses when drilling or hammering overhead. Keep a fire extinguisher nearby for any project involving heat or electrical work. Store solvents and adhesives out of reach of children, and follow label instructions on drying times and disposal.
Conclusion
The best beginner projects are the ones that match your comfort level and finish cleanly. Painting a room, sealing drafts, fixing a running toilet, and hanging shelves correctly all deliver visible results without demanding professional skills. Each one teaches something useful: how walls are built, how water systems behave, how preparation shapes the outcome.
Start small, buy tools as you need them, and treat safety and local code as non-negotiable. Confidence from one finished project carries into the next, and before long bigger jobs stop looking intimidating. That is the real reward of DIY: a better-looking home and a set of skills that keeps paying off.
FAQ
What is the easiest DIY project for a total beginner?
Painting a single room is usually the easiest starting point. It needs minimal tools, tolerates mistakes, and produces an obvious result. Replacing a toilet flapper and caulking windows are close seconds, both cheap and quick.
How much should a beginner budget for a first project?
Most first projects cost very little. A room repaint, a caulk-and-weatherstrip pass, and a flapper replacement can each be done for the price of materials alone. Budget extra for tools you do not yet own, and buy them as projects require them.
Is it safe for a beginner to replace a light fixture?
It can be, with care. Turn off power at the breaker, verify with a tester, and follow the manufacturer’s instructions exactly. Anything involving new wiring, added circuits, or uncertainty should go to a licensed electrician, since code requirements vary by location.
How do I know which wall anchors to use?
It depends on wall type and load. Drywall needs expanding anchors rated for the weight, while heavy items should reach studs. Masonry requires masonry anchors and the correct drill bit. Always follow the anchor’s stated load limit rather than estimating.
What tools should a beginner buy first?
Start with a screwdriver set, tape measure, level, claw hammer, utility knife, caulk gun, stud finder, and cordless drill. Add safety glasses and a drop cloth. Buying tools project by project usually beats a large starter kit full of items you will never use.
Why does caulk peel off after a few months?
Usually because it was applied over old caulk, dirt, or a damp surface. Fresh sealant needs a clean, dry, sound surface to bond. Remove the old bead completely, clean the area, let it dry, then apply the new caulk and smooth it promptly.