
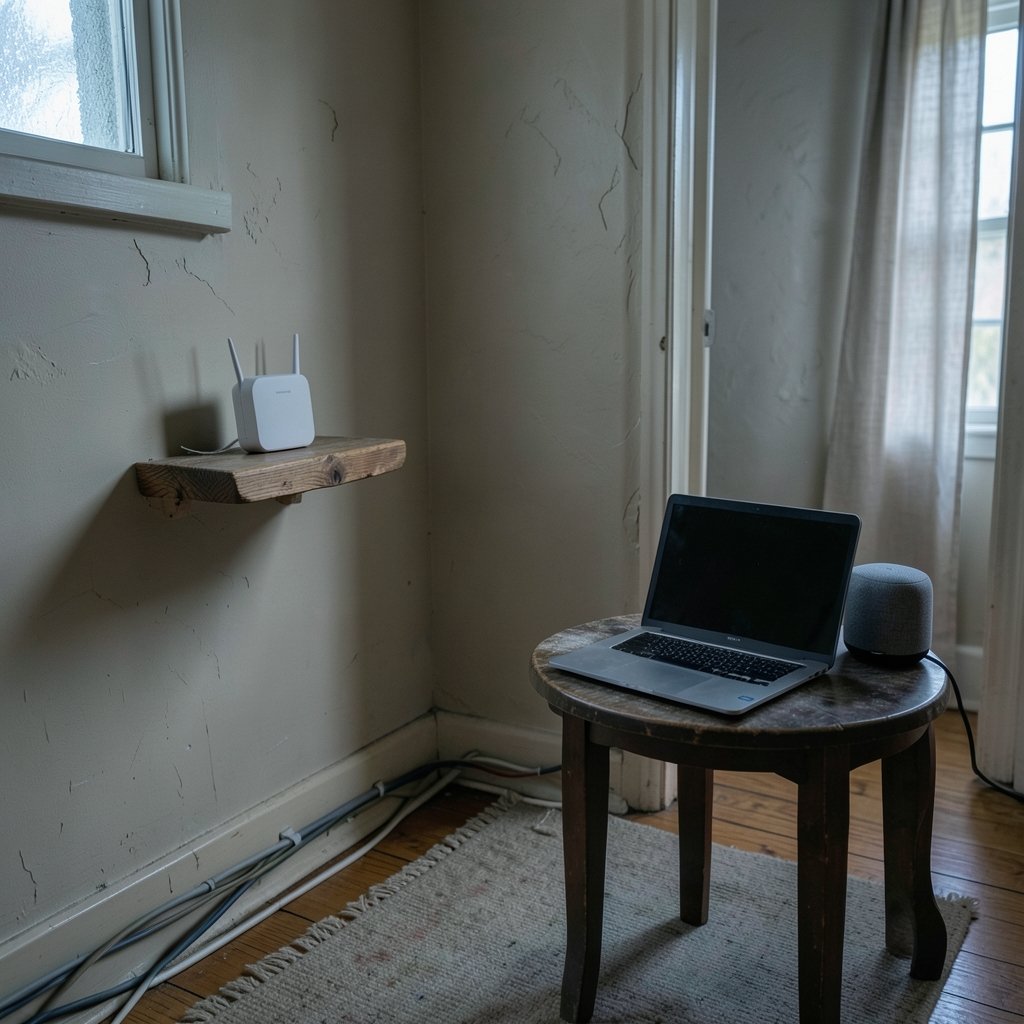
A study from the Wi-Fi Alliance found that more than half of households report at least one spot where the signal simply gives up. You know the spot. It’s the back bedroom, the garage, or that one corner of the kitchen where your video call freezes and your smart speaker pretends it can’t hear you. The good news is that dead zones are almost never a mystery. They have physical causes, and physical causes can be fixed.
This guide walks through the diagnosis, the placement tricks that cost nothing, and the hardware upgrades that actually deliver. It also covers the mistakes people make most often, because the wrong fix can easily cost $200 and change nothing at all.
What Actually Causes a Wi-Fi Dead Zone
Before buying anything, it helps to understand what you’re fighting. A dead zone is rarely a broken router. It’s usually one of four things:
- Distance. Wi-Fi signals weaken with every meter. At 5 GHz and 6 GHz, that weakening happens fast.
- Obstruction. Brick, concrete, metal lath, foil-backed insulation, and aquariums all eat signal. A single load-bearing wall can cut throughput dramatically.
- Interference. Neighboring networks, microwaves, baby monitors, and cordless phones crowd the 2.4 GHz band.
- Placement. A router tucked inside a media cabinet or sitting on the floor is working against itself.
The Wi-Fi Alliance, the industry body behind the 802.11 standards, notes that coverage depends on the environment, not solely on the router’s specs. Two identical routers in two different homes can perform completely differently. That’s why vendor square-footage claims should be treated as marketing, not measurement.
Step One: Find the Dead Zones Properly

Most people guess where the weak spots are. Guessing leads to buying the wrong fix. Instead, walk the house with a simple method:
- Open your phone’s Wi-Fi settings and watch the signal bars as you move room to room.
- For real numbers, use a free Wi-Fi analyzer app that shows signal strength in dBm.
- Write down readings at chest height in each room, not at the router’s location.
- Test at the times you actually use the network, since interference changes in the evening.
Here’s a quick reference for reading those numbers:
| Signal strength (dBm) | What it means |
|---|---|
| -30 to -50 | Excellent, right next to the router |
| -50 to -60 | Good, reliable for streaming and calls |
| -60 to -70 | Fair, fine for browsing, shaky for video |
| -70 to -80 | Poor, dropouts likely |
| Below -80 | Effectively a dead zone |
If a room reads -75 or worse, you have a genuine coverage problem. If it reads -55 but still stutters, the issue is probably interference or an overloaded channel, not coverage. That distinction saves money.
Step Two: Move the Router Before You Buy Anything
This is the free fix, and it works more often than people expect. A router belongs high, central, and out in the open. Not in a closet. Not behind the TV. Not on the floor next to a metal filing cabinet.
Practical rules that hold up in real homes:
- Central beats corner. Put the router near the middle of the living space, even if that means a hallway shelf.
- Elevation helps. Two meters up clears furniture and people.
- Avoid metal and water. Fish tanks, radiators, and steel appliances are signal killers.
- Point antennas sensibly. If the router has external antennas, orient them vertically for same-floor coverage.
- Get it out of the cabinet. A wooden media console is survivable; a metal one is not.
One commonly overlooked point: the router’s location is fixed, but the modem’s isn’t always. If your internet entry point is in a far corner, a longer Ethernet cable between modem and router can relocate the router to a better spot. That single cable is often the cheapest coverage upgrade available. (Wireless access point)
Step Three: Fix Interference and Channel Congestion
If your readings are decent but performance still stumbles, congestion is the likely culprit. In apartment buildings, dozens of networks fight over the same channels.
On 2.4 GHz, only channels 1, 6, and 11 are non-overlapping in North America. Set your router to one of those three and check which is least crowded using an analyzer app. On 5 GHz and 6 GHz, there’s far more room, so the better move is usually to push devices onto those bands whenever possible.
A few habits that reduce interference:
- Keep the router at least a meter away from microwaves and cordless phone bases.
- Disable legacy modes if your router offers the option, since old devices can slow the whole network.
- Split the bands into separate network names if your router allows it, so you can deliberately connect stubborn devices to 2.4 GHz and everything else to 5 GHz.
The tradeoff is worth knowing: 2.4 GHz travels through walls better but is slower and more crowded. 5 GHz and 6 GHz are faster but lose strength faster with distance. Matching the band to the room is half the battle.
Step Four: Choose the Right Hardware Fix
When placement and channels aren’t enough, it’s time for hardware. There are three main categories, and they are not interchangeable.
| Solution | Best for | Main tradeoff |
|---|---|---|
| Wi-Fi extender | One stubborn room, tight budget | Halves throughput on the extended leg |
| Mesh system | Whole-home coverage, multiple floors | Higher cost, needs good node placement |
| Wired access point | Homes with Ethernet or coax runs | Requires cabling, best performance |
Range extenders: cheap, but read the fine print
Extenders rebroadcast the existing signal. That’s convenient, but the extended leg typically runs at roughly half the speed because the radio has to receive and transmit on the same channel. They work best when placed midway between the router and the dead zone, not in the dead zone itself. Putting an extender where the signal is already weak just repeats a weak signal.
Mesh systems: the practical default
Mesh kits use multiple nodes that cooperate as one network, and they handle roaming between nodes automatically. For most two-story homes, a three-node mesh system is the pragmatic choice. The key rule: nodes need a decent signal to relay. Place them about halfway out from the main unit, not at the far end of the house.
Wired backhaul: the upgrade most people skip
If you can run Ethernet, or if your home has coaxial cable outlets, using a wired connection between mesh nodes is the single biggest performance jump available. Wired backhaul removes the wireless relay bottleneck entirely. Many mesh systems support Ethernet backhaul, and MoCA adapters let you reuse existing coax without new cabling. It’s more work upfront and noticeably more reliable afterward.
If you’re troubleshooting a broader connectivity failure rather than coverage, it helps to separate the two problems. A page that won’t open at all is a different issue from a page that loads slowly in one room, and the fixes for a website that will not load don’t apply to weak signal.
Common Mistakes That Waste Money and Time
A few patterns show up again and again in real troubleshooting:
- Buying a bigger router first. More transmit power helps less than better placement. Regulatory limits cap output anyway.
- Putting the extender in the dead zone. It needs a strong source signal to repeat.
- Ignoring the 2.4 GHz band. Some smart home devices only work on 2.4 GHz, and naming your network thoughtfully makes setup far easier. A clear, memorable SSID also helps you pick the right band on your phone, which is why guides on choosing the best name for your wifi are more practical than they sound.
- Stacking extenders. Chaining two extenders compounds the throughput loss.
- Forgetting firmware. Router firmware updates fix bugs and sometimes improve radio behavior.
There’s also a category of “dead zone” that isn’t a dead zone at all. If a single device drops while others stay connected, the problem is the device, not the network. Check for driver updates and power-saving settings before blaming coverage.
When the Problem Isn’t Wi-Fi at All
Sometimes the network is fine and something else is throttling you. If the whole house slows down at once, or one particular device stutters while others stream happily, look at the device’s own resource usage. On Windows machines, background processes can quietly consume bandwidth and CPU. A guide on how to fix antimalware service executable high cpu usage covers a common culprit that makes video calls stutter even on a strong connection. (Cybersecurity)
Similarly, if you’re troubleshooting a handheld or console that keeps dropping its connection, the fix may live in the device’s settings rather than the router. Owners dealing with Decky loader not working on Steam Deck often find that network configuration, not signal strength, is the real blocker.
A Realistic Order of Operations
Here’s the sequence that saves the most money, in order:
- Map the dead zones with an app and real readings.
- Relocate the router to a central, elevated, open spot.
- Change channels on 2.4 GHz to 1, 6, or 11.
- Push devices to 5 GHz or 6 GHz where possible.
- Add a mesh node or access point near the weak area, ideally with wired backhaul.
- Consider a full mesh upgrade only if steps 1 through 5 fall short.
Most homes solve their problem at step 2 or 5. Very few need step 6, despite what the packaging suggests.
Conclusion
Wi-Fi dead zones are a physics problem, not a mystery. Distance, walls, interference, and placement explain nearly every case, and each has a practical fix. Start with the free moves: move the router, pick a clean channel, and match devices to the right band. Then, if a stubborn room remains, add a mesh node or access point placed where it can actually relay a strong signal. Wired backhaul is the upgrade that separates “good enough” from genuinely reliable. The single most useful habit is to measure before you spend, because the right fix is usually cheaper than the one you were about to buy.
FAQ
Why do I have a Wi-Fi dead zone in just one room?
Single-room dead zones almost always come down to a wall. Brick, concrete, metal lath, and foil-backed insulation block signal far more than drywall. Distance from the router compounds it. Before buying hardware, test whether moving the router a meter or two toward that room fixes it.
Does a Wi-Fi extender actually work?
Yes, with a caveat. Extenders work best when placed roughly halfway between the router and the dead zone, where they still receive a strong signal. Placed inside the dead zone, they repeat a weak signal and deliver disappointing results. Expect throughput on the extended leg to drop by about half.
Is mesh better than a range extender?
For whole-home coverage, usually yes. Mesh nodes coordinate with each other and let devices roam without dropping, while extenders create a separate network name and often need manual switching. Mesh costs more upfront, but it handles multiple floors and many devices far more gracefully.
How can I improve Wi-Fi coverage without spending money?
Move the router to a central, elevated, open location. Get it out of cabinets and away from metal and water. Change the 2.4 GHz channel to 1, 6, or 11, whichever is least crowded. Point external antennas vertically. These steps alone resolve a surprising share of coverage complaints.
Does a faster internet plan fix dead zones?
No. Your internet plan controls speed coming into the house. A dead zone is a local wireless coverage problem, so a faster plan won’t reach the back bedroom any better. Fix coverage first, then evaluate whether your plan is the bottleneck.
How many mesh nodes does a typical home need?
Most two-story homes do well with two or three nodes. More nodes isn’t automatically better, since each one needs a strong signal to relay. Start with the main unit plus one node near the weak area, measure the result, and add a third only if a specific room still falls short.



