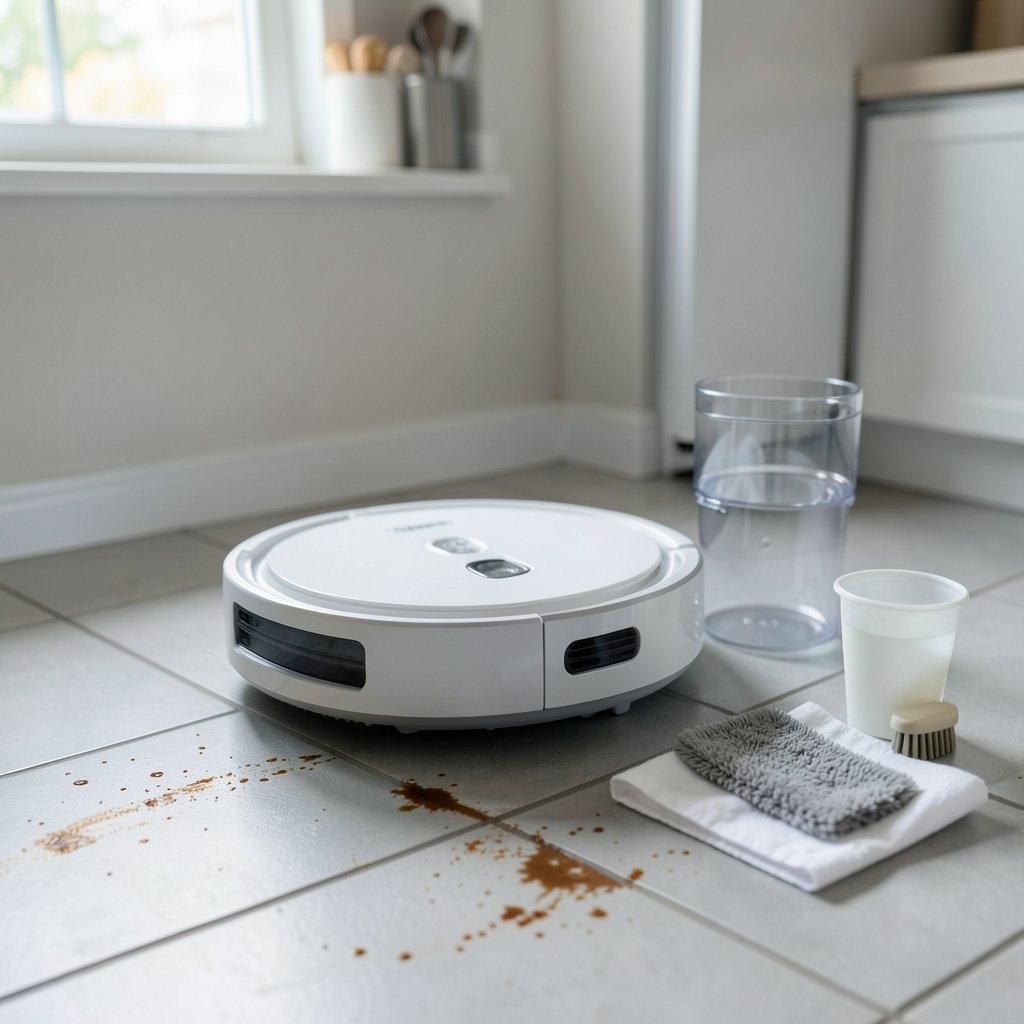
The robot rolls out, glides across the kitchen floor, and leaves… nothing. No shine, no damp trail, just a dry pass over last night’s spilled coffee. If your robot vacuum mop has stopped dispensing water, you are not alone. It is one of the most common complaints in owner forums, and the frustrating part is that the fix is often embarrassingly simple. Usually it comes down to one of five things: a tank that is not seated right, a clogged nozzle, a mop pad the robot does not detect, a setting buried in the app, or a firmware quirk that needs a reset. This guide walks through each cause in the order you should check them, explains how the different water-delivery designs change the troubleshooting path, and covers what to do when nothing on the checklist works.
How Robot Mop Water Systems Actually Work
Before you start poking at the tank, it helps to know which type of system you are dealing with. Most robot mops use one of three water-delivery designs, and the diagnosis differs for each.
| System type | How water moves | Typical symptom when it fails |
|---|---|---|
| Gravity-fed tank | Water drips through a valve or capillary filter onto the pad | Slow seep or nothing at all, often after the cap is not fully closed |
| Electric pump and nozzles | A small pump pushes water through one or more spray nozzles | No spray, weak spray, or spray only on one side |
| Rotating or vibrating mop pad | The pad is wetted from an onboard tank and spun or oscillated | Pad stays dry or dries out mid-clean |
Gravity systems are the simplest and the most sensitive to air leaks. Pump systems are more precise but vulnerable to mineral scale in the nozzles. Rotating-pad models sit somewhere in between and often depend on the pad being properly attached before any water flows at all. If you are still shopping and want to avoid this headache entirely, it is worth reading up on the best vacuum mop combo options before you buy, since water-delivery design varies a lot between models. (Vacuum cleaner)
Start With the Simplest Checks
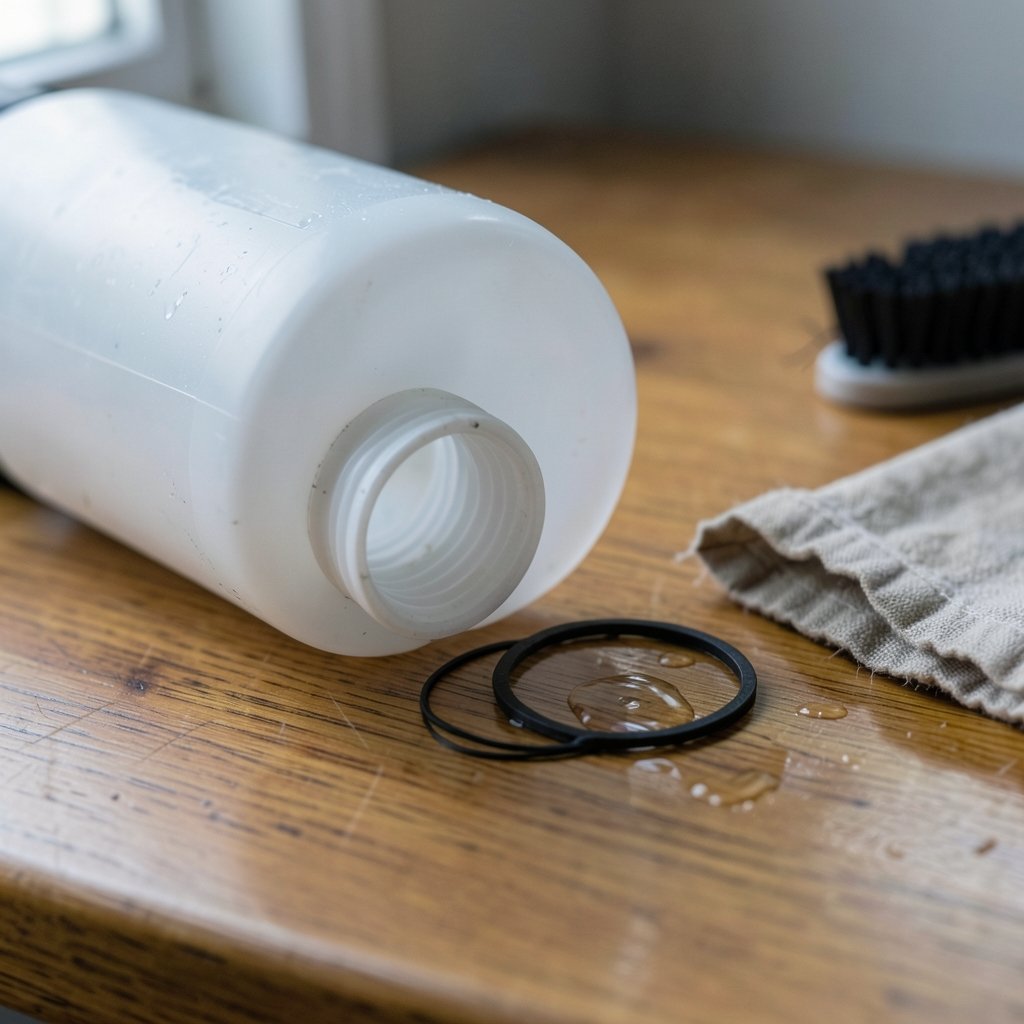
Nine times out of ten, the problem lives in one of these five spots. Work through them in order before you assume the pump is dead.
1. The tank is empty, dry, or not clicked in
This sounds obvious, but a partially seated tank is the single most common cause. The tank has to click or lock into place, and on many models the robot will not dispense water if the tank is even a few millimeters out of position. Pull it out, check the water level, and push it back until you feel or hear the click.
2. The tank cap or lid is not fully closed
On gravity-fed models, a loose cap breaks the seal that lets water drip at a controlled rate. If the cap is cross-threaded or the rubber gasket is missing, water either floods out or stops entirely. Twist the cap until it is snug and check that the gasket is sitting flat.
3. The mop pad or plate is missing or mis-seated
Many robots will not release water unless they detect that the mop pad or mop plate is attached. A pad that has slipped off its Velcro, a plate that is not clipped in, or a pad that is too thick can all suppress flow. Reattach the pad, press the plate firmly into its slots, and try a short test run.
4. The nozzle or filter is clogged with scale
Hard water is the quiet killer of robot mops. Minerals build up in nozzles, filters, and capillary tubes and slowly choke the flow. If your robot sprays weakly or only from one nozzle, scale is the likely culprit. Remove the nozzle or filter if your model allows it, rinse it under warm water, and soak it in a diluted descaling solution according to the manual. Never use a pin or needle to poke the nozzle; you can widen the opening and make the spray pattern worse.
5. The app is set to low flow or mopping is off
Modern robots bury a surprising number of water settings in the app. Check the water flow level, confirm that mopping is enabled for the room or zone, and make sure a “vacuum only” mode is not active. Some models also let you set per-room water levels, so a single dry room may just be a setting, not a fault.
When the Dock Is the Problem
Self-washing and self-emptying docks add another layer. If your robot returns to the base and comes out dry, the dock itself may be the issue. Check three things: the clean-water tank on the dock is full, the dirty-water tank is not overfilled, and the supply line between the dock and the robot is not kinked or pinched. A full dirty-water tank can trigger a shutoff on some models, so empty it even if it looks only partly full.
Firmware, Resets, and the Order That Works
If the physical checks all pass, move to software. Power-cycle the robot by holding the power button until it shuts down, then restart it. Re-seat the tank while the robot is off, then run a short mop-only cycle on a hard floor where you can see the trail. If the robot still runs dry, check the app for a firmware update; water-dispensing bugs have been patched in several models over the years. A factory reset is the last software step, but it wipes your maps and schedules, so save it for last.
One practical tip from real-world use: run the test on a dark tile or a sheet of paper. Water on a light floor is nearly invisible, and plenty of owners have “fixed” a robot that was working the whole time.
Common Mistakes That Make It Worse
A few habits reliably turn a small problem into a bigger one.
- Using tap water in hard-water areas. Many manuals recommend distilled or filtered water to slow scale buildup. If your kettle furs up, your robot will too.
- Overfilling the tank. Water above the max line can slosh into the electronics or dilute the drip rate.
- Poking nozzles with pins. This widens the opening and ruins the spray pattern permanently.
- Skipping the filter. The small filter between the tank and the nozzle catches debris and scale. Clean it monthly.
- Ignoring the pad. A stiff, crusty pad absorbs water poorly and makes it look like nothing is dispensing.
What to Do If Nothing Works
If you have checked the tank, cap, pad, nozzle, app settings, dock, and firmware and the robot still runs dry, the problem is likely internal: a failed pump, a cracked internal line, or a sensor that no longer detects the tank. At that point, contact the manufacturer’s support with your model number and a short video of the dry pass. Most brands will troubleshoot or replace under warranty, and a video saves a week of back-and-forth.
It is also worth knowing when to cut your losses. If the robot is out of warranty and the repair quote approaches half the price of a new unit, replacement often makes more sense. Owners who mostly fight pet hair should look at the best robot vacuums for pet hair, since those models tend to have more robust water systems and larger tanks. And if your home is mostly carpet, a mop may simply be the wrong tool; the best vacuum for carpet will do more for you than any dripping robot.
Maintenance That Prevents the Problem
The owners who never post “my mop stopped dispensing water” tend to do four small things. They rinse the tank weekly, descale the nozzle monthly, clean the filter every few weeks, and store the robot with the tank removed or emptied. Standing water in a tank for weeks grows biofilm that clogs filters fast. A five-minute monthly routine beats an hour of troubleshooting every time.
Conclusion
A robot vacuum mop that stops dispensing water is rarely broken. In most cases, the fix is a tank that needs reseating, a cap that needs tightening, a pad that needs reattaching, a nozzle that needs descaling, or a setting that needs changing. Work through those five checks first, then move to the dock, the firmware, and a reset. Keep the tank clean, use filtered water if your area is hard, and clean the filter on a schedule. Do that, and your robot will keep leaving that satisfying damp trail across the kitchen floor instead of a dry, disappointing pass.
Frequently Asked Questions
Why is my robot vacuum mop not dispensing water at all?
The most common cause is a tank that is not fully seated or a cap that is not closed tight. On gravity-fed models, a loose cap breaks the seal and stops the drip. If the tank and cap are fine, check that the mop pad is attached and detected, then look for a clogged nozzle or filter. Work through those in order before assuming the pump has failed.
How do I unclog a robot mop nozzle?
Remove the nozzle or filter if your model allows it, rinse it under warm water, and soak it in a diluted descaling solution following the manual. Do not poke it with a pin or needle, because that widens the opening and ruins the spray pattern. If the nozzle is not removable, run a descaling cycle if your model supports one, or wipe the nozzle face with a soft cloth soaked in descaling solution.
Does my robot mop need distilled water?
Many manuals recommend distilled or filtered water, especially in hard-water areas, because minerals in tap water build up in nozzles and filters and slowly choke the flow. If your kettle or showerhead furs up quickly, your robot will too. Distilled water is cheap insurance against a clogged nozzle.
Why does my robot mop spray water on one side only?
A one-sided spray almost always points to a partially clogged nozzle on that side, or a nozzle that is misaligned. Remove and clean the nozzle, check that it sits flush, and run a short test. If the problem persists after cleaning, the nozzle may need replacing.
Why does my robot come out of the dock dry?
Check the dock’s clean-water tank, the dirty-water tank, and the supply line. A full dirty-water tank can trigger a shutoff on some models, and a kinked or pinched line stops flow entirely. Empty the dirty tank, refill the clean one, and check that the line is not bent.
When should I stop troubleshooting and contact support?
If you have checked the tank, cap, pad, nozzle, app settings, dock, and firmware and the robot still runs dry, the fault is likely internal: a failed pump, a cracked line, or a tank sensor. Contact support with your model number and a short video of the dry pass. Most brands will troubleshoot or replace under warranty, and the video saves days of back-and-forth.
A Final Word on Water Quality and Storage
Two habits deserve a last mention because they prevent most of the failures covered above. First, match your water to your hardware: if your area’s water is hard, use distilled or filtered water for every fill, not just the occasional one. Second, never store the robot with water sitting in the tank. Empty and rinse the tank after each mopping session, leave the cap off to air-dry, and store the robot with the pad removed. Biofilm and scale both thrive in standing water, and both are far easier to prevent than to remove. Treat the water system like the small, simple machine it is, and it will reward you with years of reliable damp passes. (Indoor Air Quality)