
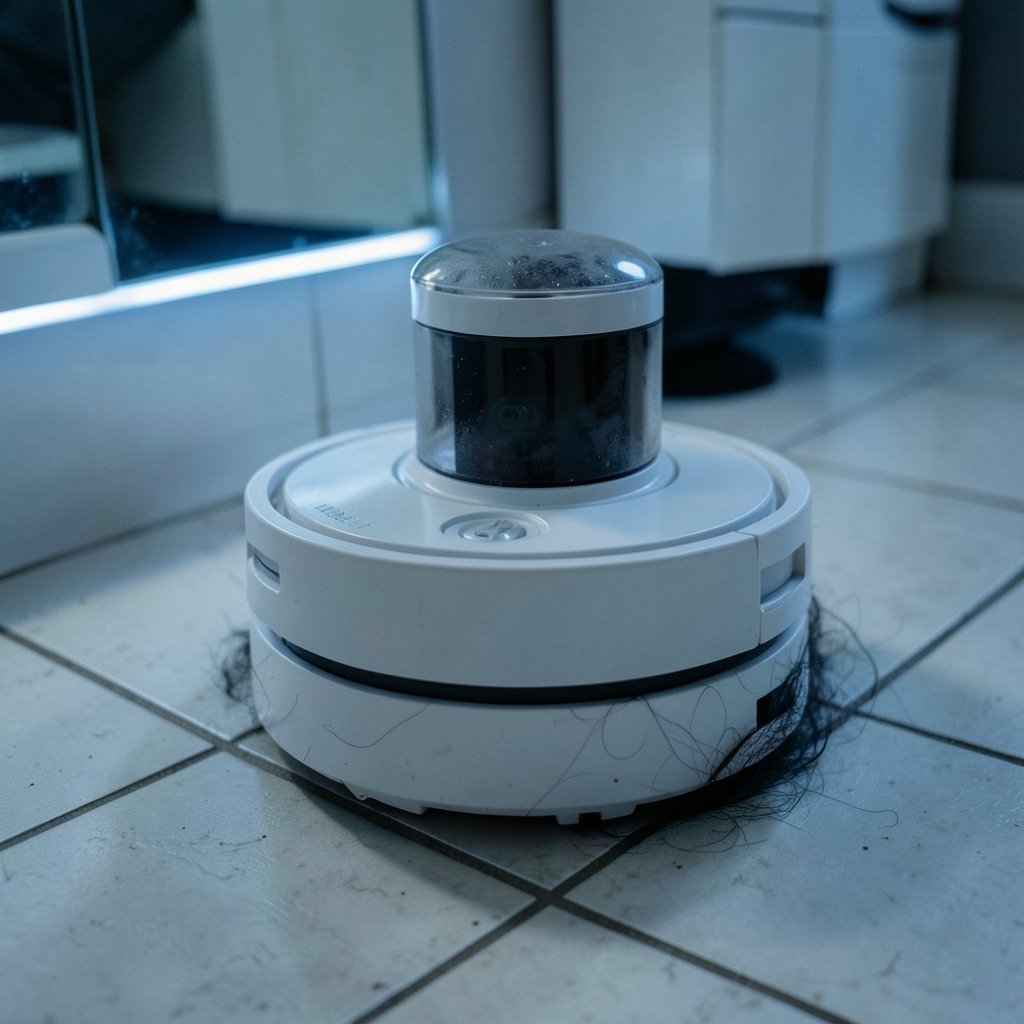
Is a robot vacuum worth owning if it keeps bumping into furniture and wandering in circles? That frustrating behavior usually traces back to one small component: the lidar sensor. The spinning turret on top of the robot maps the room with a laser, and when dust, hair, or smudges cloud its window, the map falls apart. Cleaning the sensor takes about five minutes, costs nothing, and often restores navigation instantly. This guide covers what actually works, what ruins the module, and how to tell the difference between a dirty sensor and a broken one. (Best vacuum mop combo)
What the Lidar Sensor Does and Why It Gets Dirty
Lidar stands for light detection and ranging. The robot’s turret spins several times per second and fires a laser outward, measuring how long the light takes to bounce back off walls and furniture. Those measurements become the map the robot uses to plan routes, avoid obstacles, and find its dock.
The turret sits on top of the robot, which is exactly where dust settles. Add pet hair, kitchen grease, and the fine grit tracked in from outside, and the transparent window over the laser gets coated. Even a thin film of dust scatters light and throws off distance readings. That is why a robot with a dirty sensor often looks “confused” rather than broken: it is acting on bad data, not failing mechanically.
The concept behind lidar dates back decades and is well documented on Wikipedia’s lidar page, but for owners the practical takeaway is simple. The sensor is an optical instrument, and optical instruments need clean glass to work. (Lidar)
What You Need Before You Start
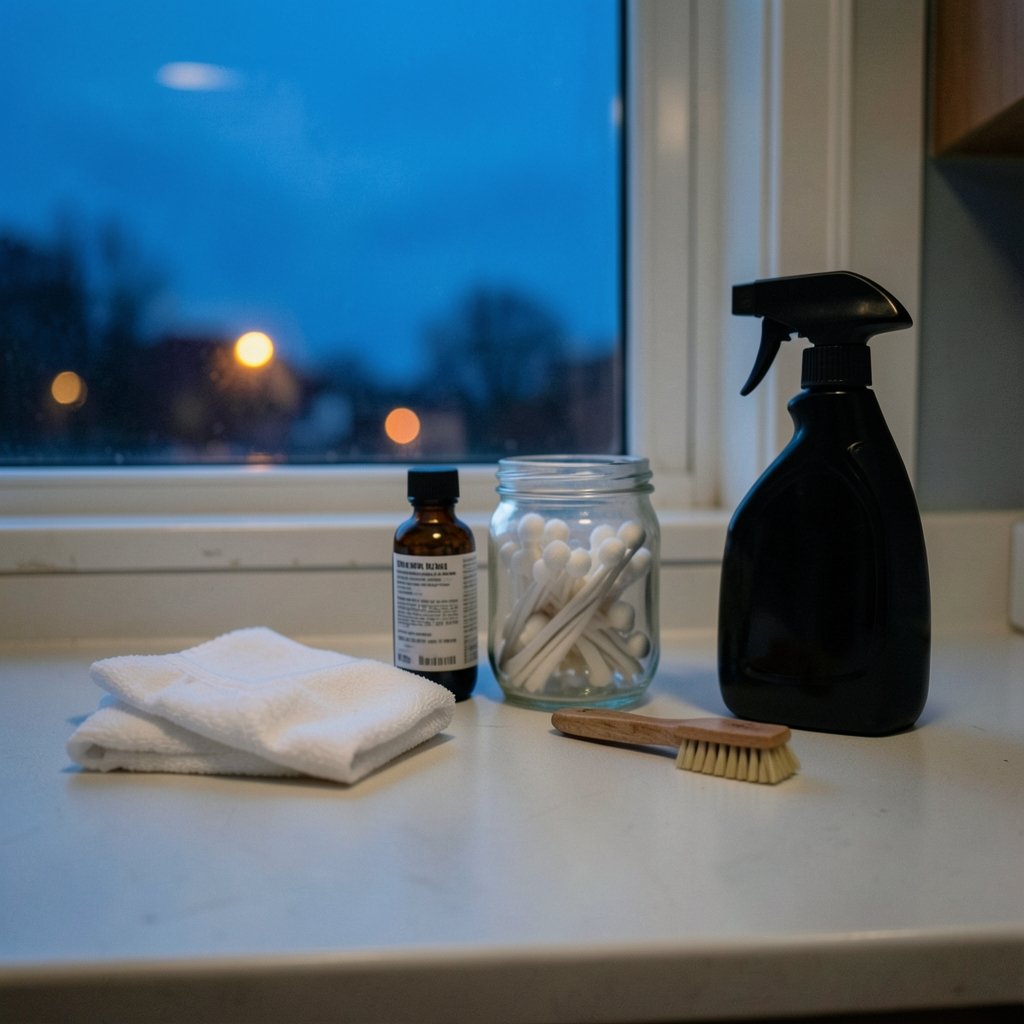
Gather supplies first so the robot does not sit half-cleaned while you hunt for a cloth.
| Item | Purpose | Notes |
|---|---|---|
| Soft microfiber cloth | Wiping the lidar window | Dry or barely damp |
| Cotton swab | Reaching the window’s edge | Dry only |
| Soft-bristle brush | Loosening dust around the turret base | A clean toothbrush works |
| Compressed air | Blowing out loose debris | Use short bursts, never close-up |
| Manufacturer manual | Confirming model-specific steps | Check the exact model number |
A few things to leave in the cupboard: glass cleaner, rubbing alcohol, wet wipes that drip, and paper towels. Paper towels can scratch the window, and solvents can damage the optical coating. Manufacturers generally warn against spraying liquid directly at the sensor, and warranty terms typically exclude damage from liquid ingress or disassembly.
Step-by-Step: Cleaning the Lidar Sensor Safely
1. Power Down and Remove the Robot From Its Dock
Turn the robot off using the power switch or the app, then lift it off the charging dock. Working on a powered robot risks accidental startup, and moving it away from the dock gives you room to inspect the turret from every angle. Flip the robot over and give the drive wheels and brushes a quick look too, since navigation problems sometimes come from a wheel stuck on a hair tangle rather than the sensor.
2. Inspect the Turret and Window
Look closely at the transparent window on the turret. Tilt the robot toward a light source. You are checking for three things: a visible dust film, smudges or fingerprints, and hair wrapped around the turret’s base or gap. Hair is the sneaky one. A single strand caught in the turret gap can slow or stop the spin, which produces mapping errors that look identical to a dirty window.
3. Wipe the Window With a Dry Microfiber Cloth
Fold a clean microfiber cloth and wipe the window gently in one direction, then the other. Use light pressure. The goal is to lift dust, not to polish. If a smudge persists, breathe on the window once and wipe again with a dry section of cloth. That small amount of condensation is usually enough. Avoid pressing hard on the turret itself, since the assembly sits on a bearing and excessive downward force is never a good idea.
4. Clean Around the Turret Base
Use the soft-bristle brush to sweep dust out of the gap between the turret and the robot’s body. Work around the full circumference rather than scrubbing one spot. If your model has a removable lidar cover, check the manual before prying anything. Some brands design the cover to pop off for cleaning, and others seal the module completely. Guessing wrong is how people crack a turret.
5. Use Compressed Air Carefully, or Skip It
Compressed air divides opinion. Short bursts from a distance can clear loose dust from the turret gap, but holding the nozzle close risks pushing debris into the module or damaging delicate coatings. If you use it, keep the can upright, use brief pulses, and never aim directly into the window at close range. Many owners get better results with a dry brush and cloth alone. (Indoor Air Quality)
6. Reassemble, Power On, and Test the Map
Set the robot back on the dock, power it on, and run a short cleaning cycle in one room. Open the app and watch the map draw. A clean sensor typically produces a crisp, complete map within a minute or two. If the map still looks warped or the robot spins in place, check the app for error codes before assuming the worst. A “lidar blocked” or sensor error message after cleaning usually means something is still obstructing the window or the turret is not spinning freely.
Common Mistakes That Damage the Sensor
The most expensive mistake is opening the lidar module. On most robots, the turret is a sealed unit, and prying it open voids the warranty and risks misaligning the optics permanently. The window is the part you are meant to clean. Everything inside is a repair job, not a maintenance task.
The second mistake is spraying liquid on the sensor. Water or cleaner seeps into the turret gap and can short the motor or leave residue that attracts more dust. Apply any moisture to the cloth, never to the robot.
The third is scrubbing with the wrong material. Paper towels, rough sponges, and abrasive cleaners leave micro-scratches that permanently degrade the window. A clean microfiber cloth is the only tool the window needs.
Finally, people often clean the sensor and ignore everything else. A robot that still navigates poorly after a sensor wipe may have a full dustbin, clogged filter, or hair-wrapped brush roll dragging down performance. If navigation is the issue but the sensor looks spotless, work through the rest of the maintenance checklist. Owners dealing with heavy shedding should also review guidance on the best robot vacuums for pet hair, since some designs handle hair around moving parts far better than others.
How Often Should You Clean the Lidar Sensor?
There is no universal schedule, but a practical rhythm works for most homes:
- Weekly: quick visual check of the turret window during routine emptying.
- Every two to four weeks: full wipe of the window and brush-out of the turret gap.
- After any remodeling, deep cleaning, or pet shedding season: immediate clean, because drywall dust and fur coat the window fast.
Homes with pets, long-haired residents, or nearby construction need the frequent end of that range. A robot that suddenly starts bumping into things it used to avoid is your cue to clean now, regardless of schedule.
When Cleaning Does Not Fix the Problem
Sometimes the sensor is clean and the robot still misbehaves. Work through these possibilities before booking a repair:
- Check the app for error codes. Most brands surface specific sensor warnings that point to the cause.
- Confirm the turret spins. With the robot powered on and lifted safely, listen for the faint whir of the turret. Silence means a mechanical problem.
- Update the firmware. Mapping bugs occasionally get fixed in software updates.
- Re-seat the dustbin and filters. A poorly seated bin can trigger sensor-adjacent errors on some models.
- Test in a different room. Reflective surfaces, glass doors, and direct sunlight can confuse lidar even when the hardware is perfect.
If the turret does not spin, the window is scratched beyond cleaning, or the app reports a persistent hardware fault, contact the manufacturer. Sensor module replacement is a service-center job on most models, and attempting it yourself usually costs more than professional repair.
Robot navigation technology is evolving quickly, and lidar is no longer the only approach. Some newer robots combine cameras and lidar, and the broader hardware race is worth watching, as covered in this look at Tesla’s robotaxi, semi, and roadster hardware bets. For now, though, the spinning turret remains the workhorse of home robot navigation, and a clean window keeps it honest.
Conclusion
Cleaning a robot vacuum’s lidar sensor is one of the highest-value five minutes in home maintenance. Power the robot down, wipe the turret window with a dry microfiber cloth, brush dust out of the gap, and resist every urge to open the module or spray it with cleaner. Then run a test cycle and watch the map redraw. If the map comes back crisp, you just saved yourself a repair bill. If it does not, the app’s error codes will tell you whether you are dealing with a stubborn smudge or a genuine hardware fault. Either way, you will know exactly what to do next, which beats watching the robot bump into the same chair leg for the tenth time.
Frequently Asked Questions
Can I use alcohol wipes on the lidar sensor?
It is better to avoid them. Alcohol and pre-moistened wipes can damage optical coatings and leave residue that attracts dust. A dry microfiber cloth handles almost every situation, and a breath of condensation covers the rare stubborn smudge.
What happens if I open the lidar module to clean inside?
On most models the turret is a sealed unit, and opening it voids the warranty and risks permanently misaligning the optics. The window is the only part designed for user cleaning. Anything inside the module is a service-center job.
Why does my robot still bump into things after I cleaned the sensor?
Several things can cause it. Check the app for error codes, confirm the turret is actually spinning, update the firmware, and test in a different room. Glass doors, mirrors, and bright sunlight can confuse lidar even when the sensor is spotless.
How do I know if my robot vacuum even has a lidar sensor?
Look for a raised cylindrical turret on top of the robot, often with a visible dark window. Robots without lidar usually rely on cameras or bump sensors and have a flat top. The manual or product page will confirm the navigation method.
Can a scratched lidar window be repaired?
Not at home. Scratches scatter the laser beam and degrade mapping, and polishing the window yourself usually makes it worse. A scratched window means a replacement module through the manufacturer or an authorized service center.
Does cleaning the lidar sensor really improve navigation?
Often, yes. A dust film or smudge scatters light and throws off distance readings, which shows up as bumping, circling, or incomplete maps. A clean window frequently restores crisp mapping immediately, which is why it is the first thing to try when navigation goes wrong.
Where to Find Replacement Parts If cleaning reveals a cracked or deeply scratched window, order the part through the manufacturer’s official store or an authorized service center rather than a third-party marketplace. Counterfeit modules are common, and a poorly matched replacement can fail within weeks. Keep your proof of purchase, since sensor modules are often covered under extended warranties. Registering the robot when you buy it makes warranty claims far smoother when a lidar fault appears months later, and it ensures you receive firmware notices that can resolve mapping bugs before hardware ever becomes the suspect.



